the restoration continues ...after a lot of testing and waiting, the time has finally come for the real deal:
stencilling 
but let's start with something different first, a short explanation of what's about to come (amongst others): there are two taito-style cabinets out there with different artwork on the sides


on the front, the cabinet looks like this
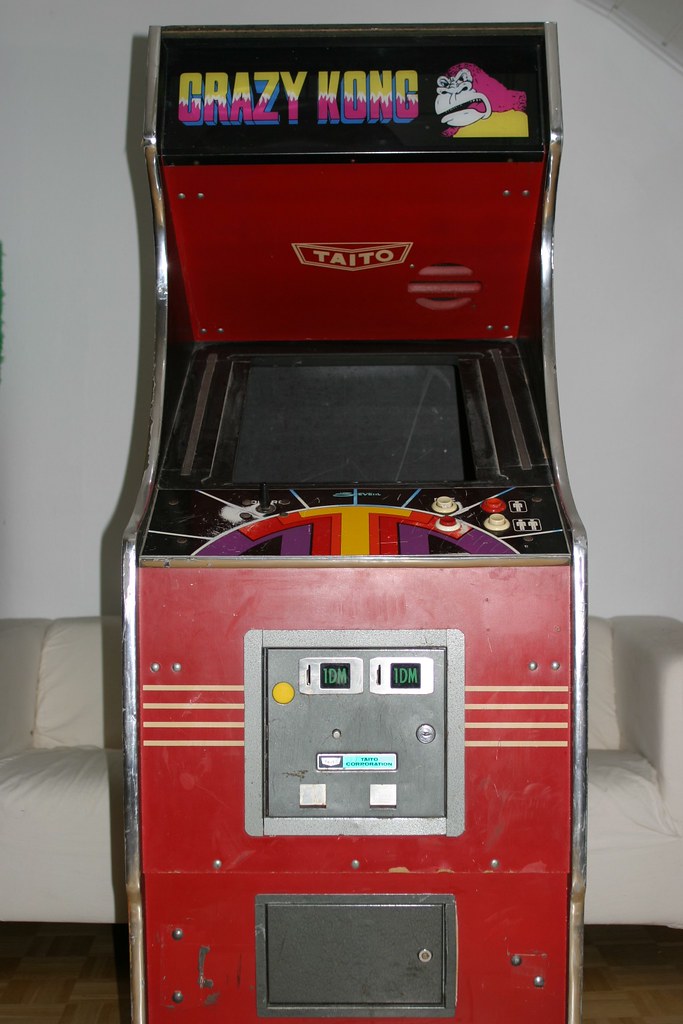
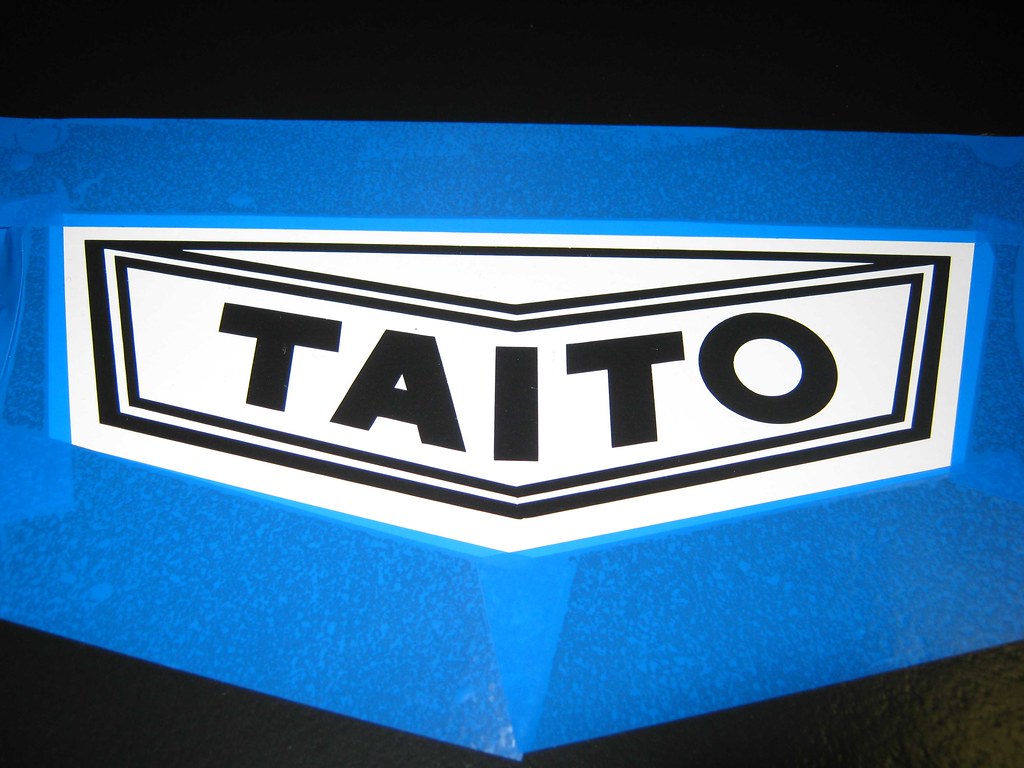
if you look closely you'll realize that those cabs have only one speaker cut-out but a nice little taito logo on the speaker board
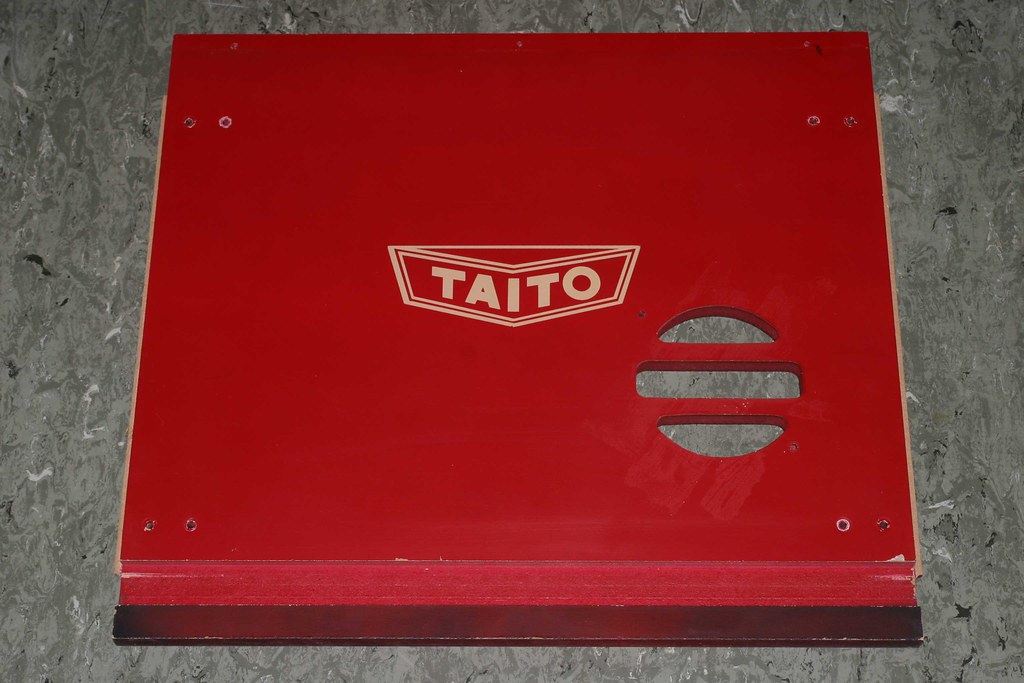
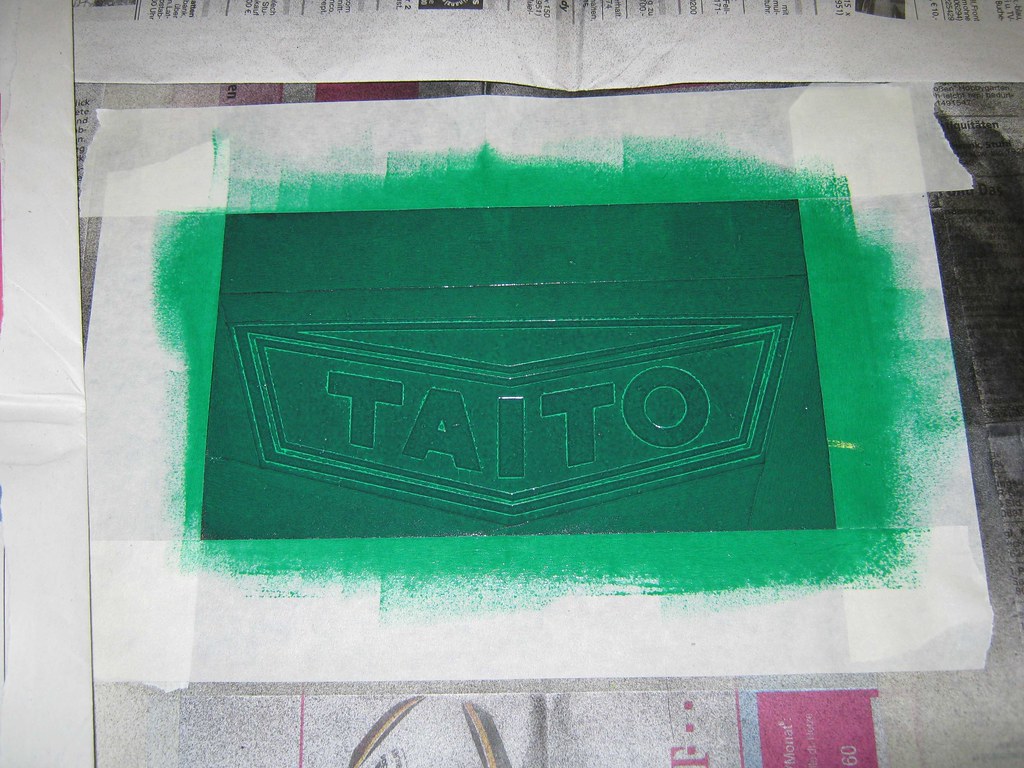
the second taito cab version (like jungle king) has two speaker cut-outs but the taito logo is missing for whatever reason - the speaker board is simply black. i've always thought that there is something missing on those cabs, that's why i scanned / vectored the logo and asked brian from gamestencils.com to cut those stencils for me (thx brian

)!
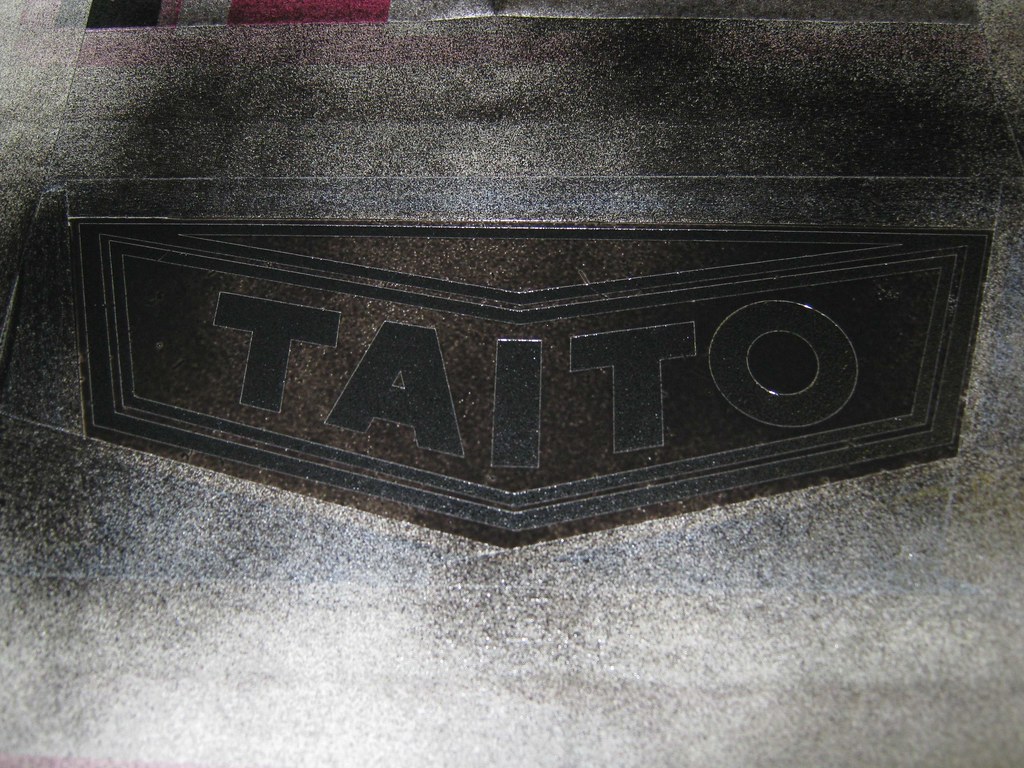
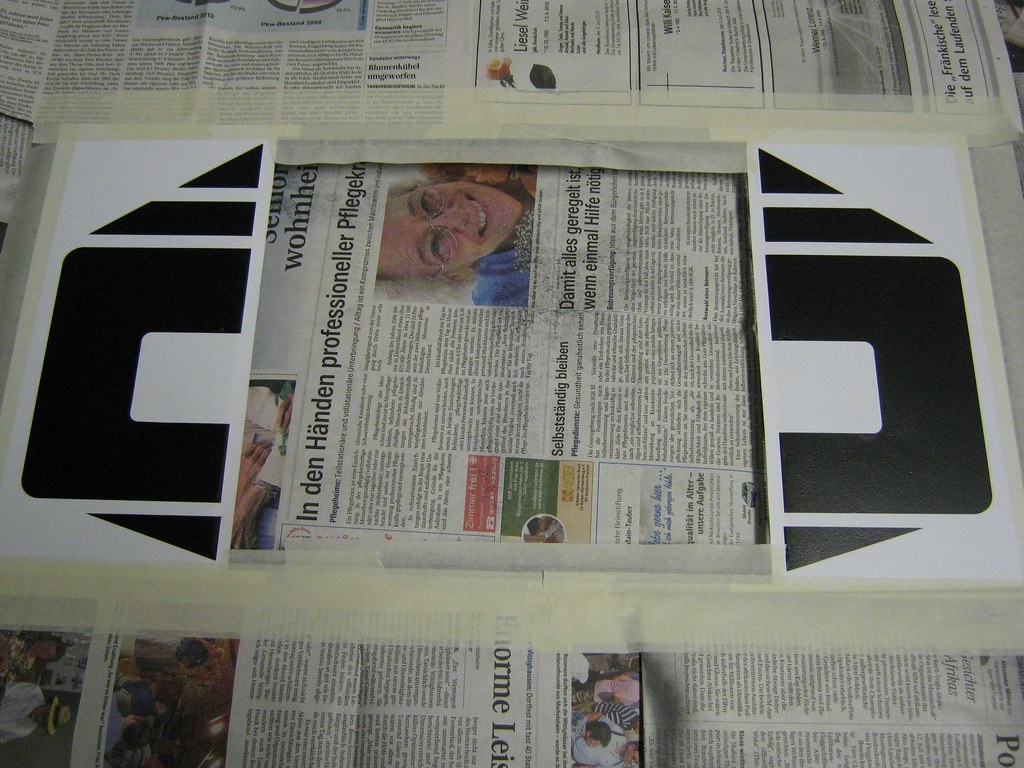
here's the uncut logo stencil on the black jungle king speaker board

during application
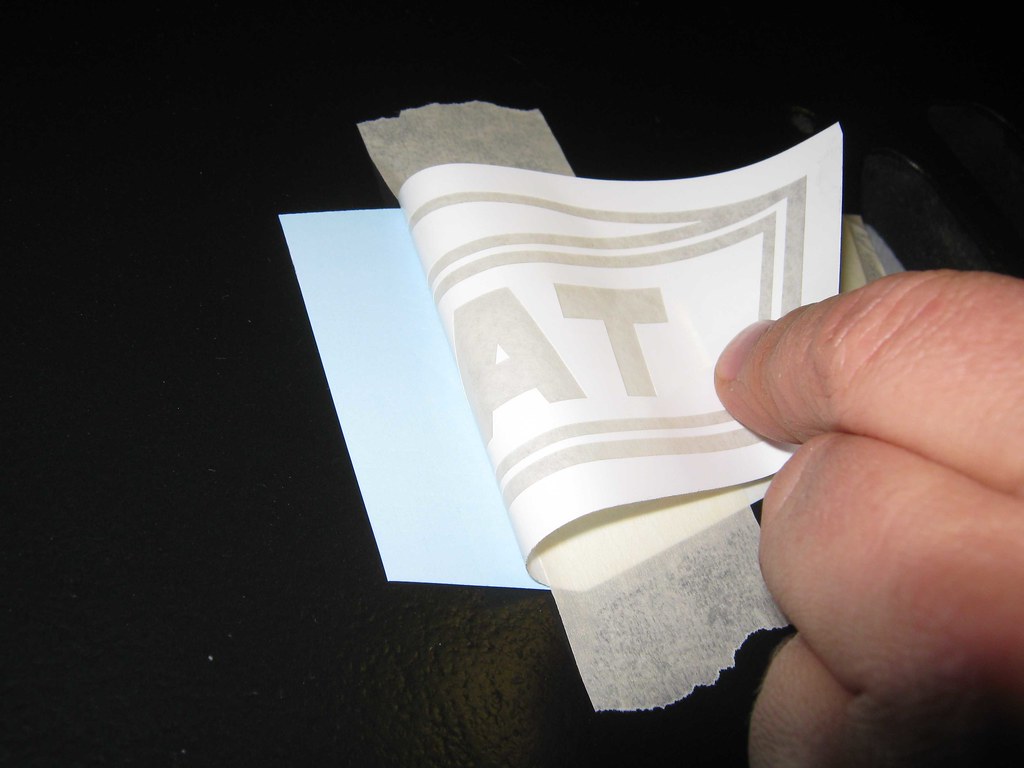
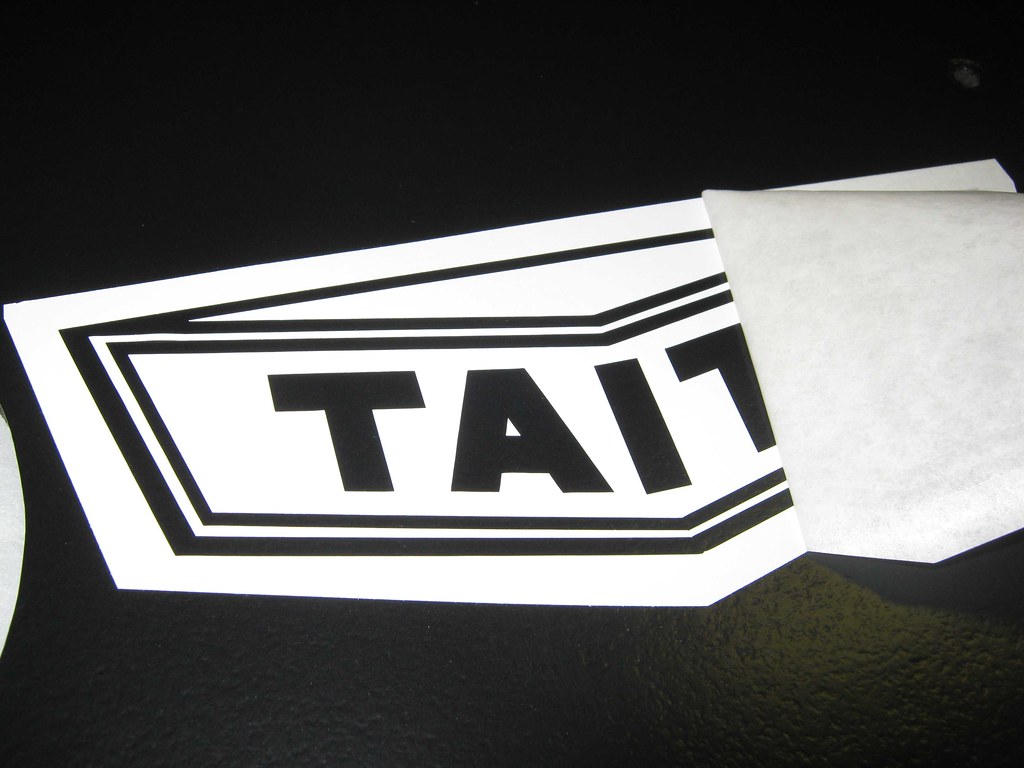
removing the premask
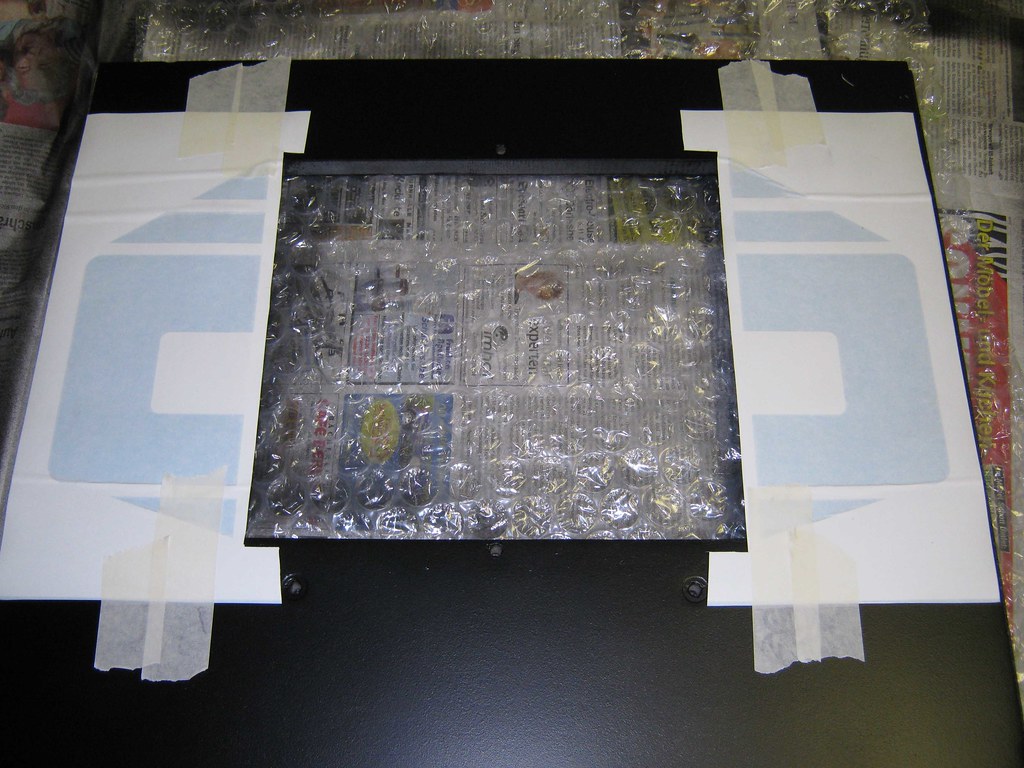
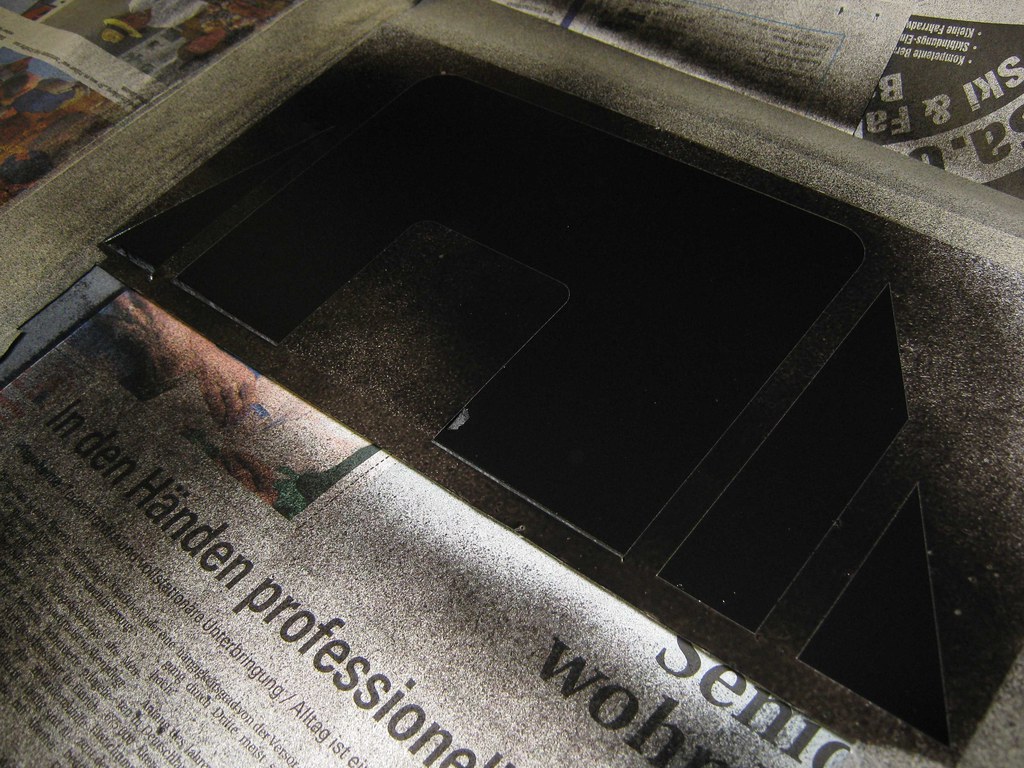
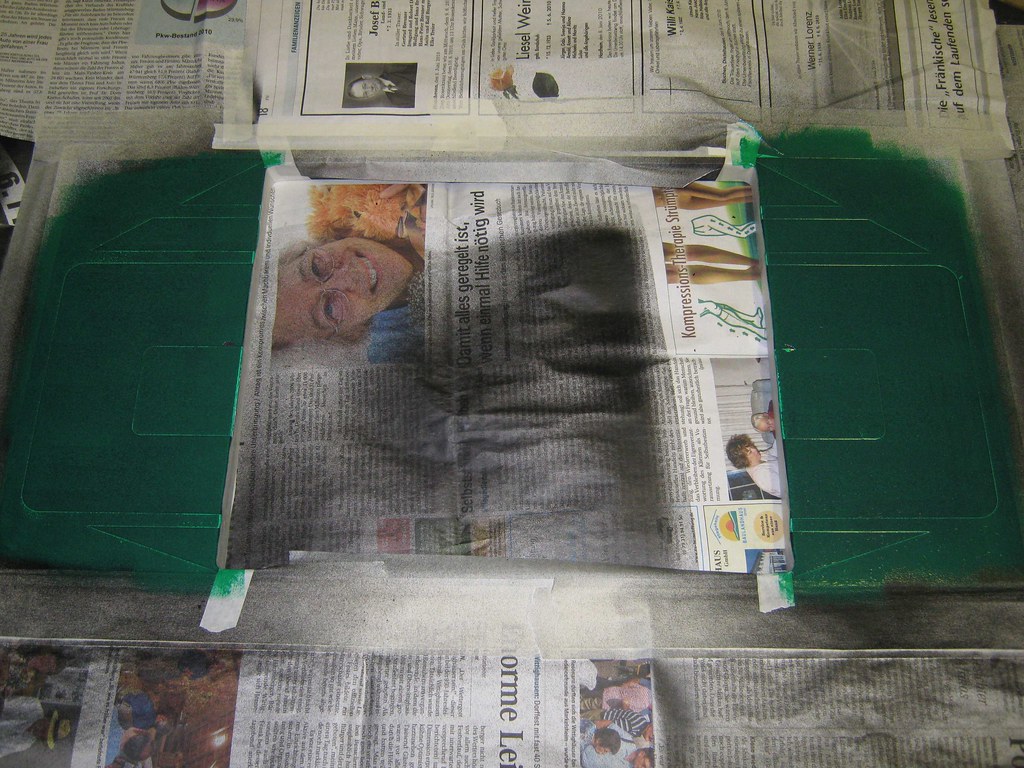
masking off the rest of the speaker board
maximum protection all the way
and then - like i did during the tests before - i'm spraying a light coat of black to seal off the stencil's edges
i'm doing the same type of work for the front
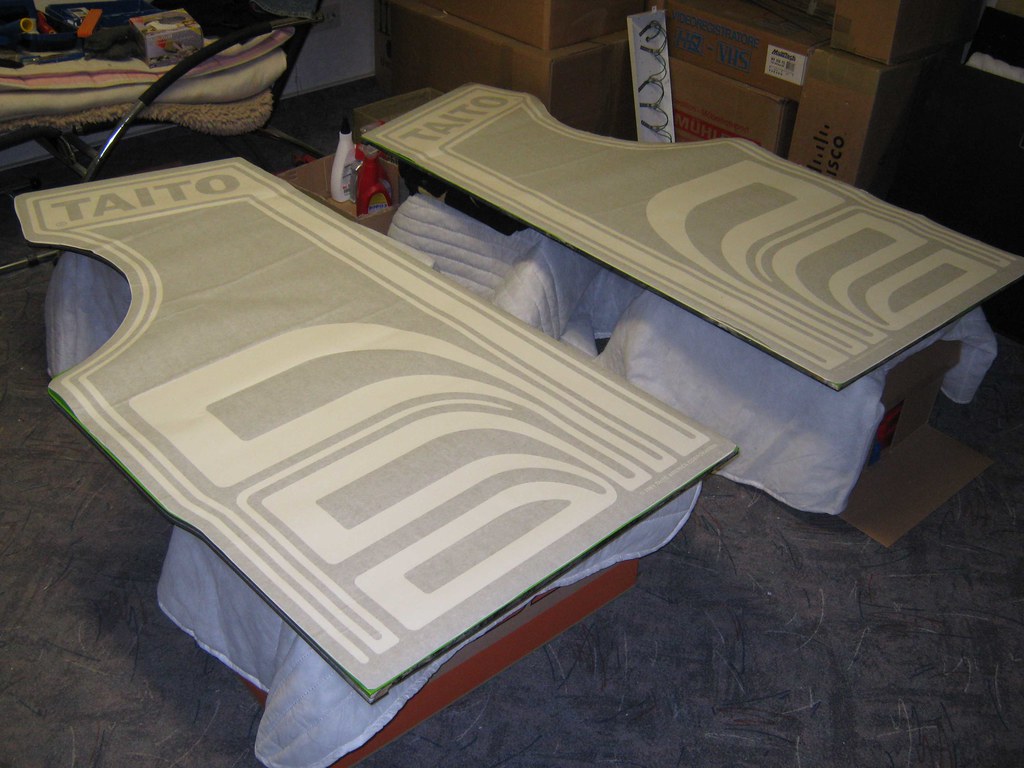
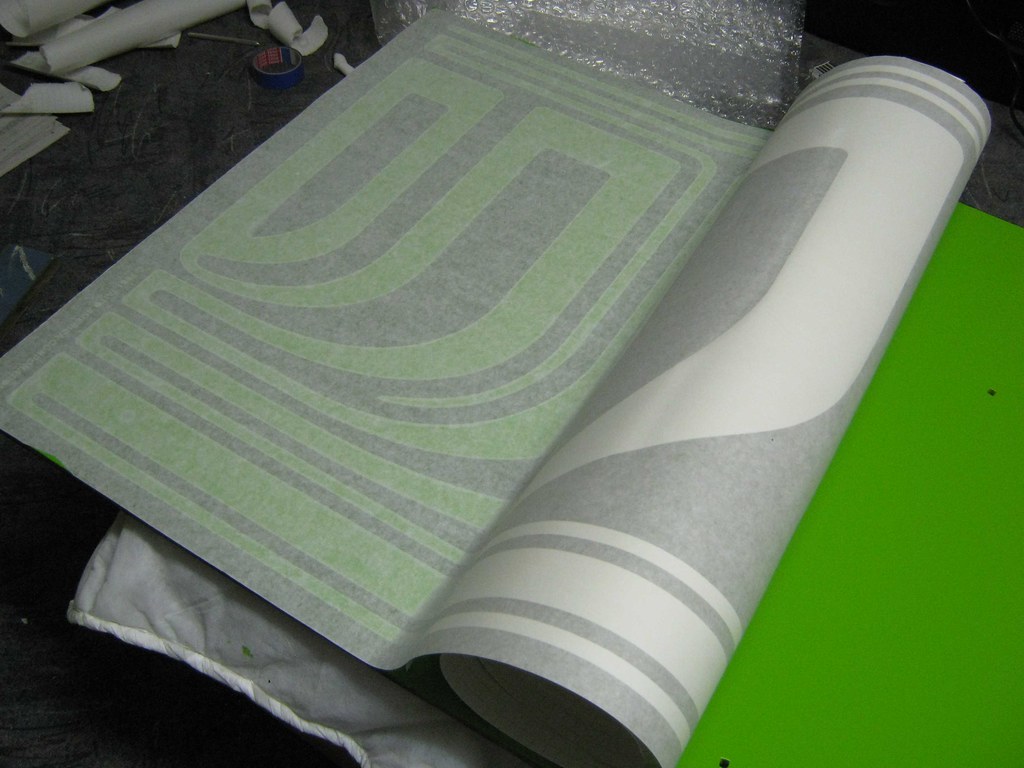
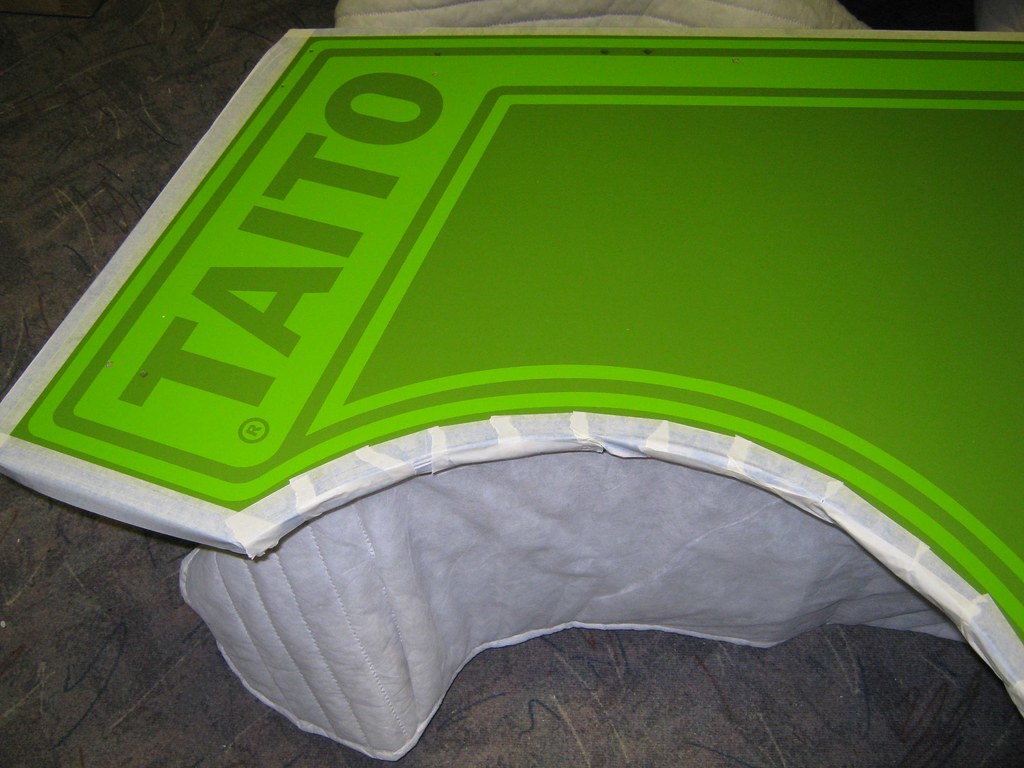
it's time to move on to the sides: i've had the sideart stencils simply
lying on the sides to flatten out for quite a while - now they are ready to be applied!
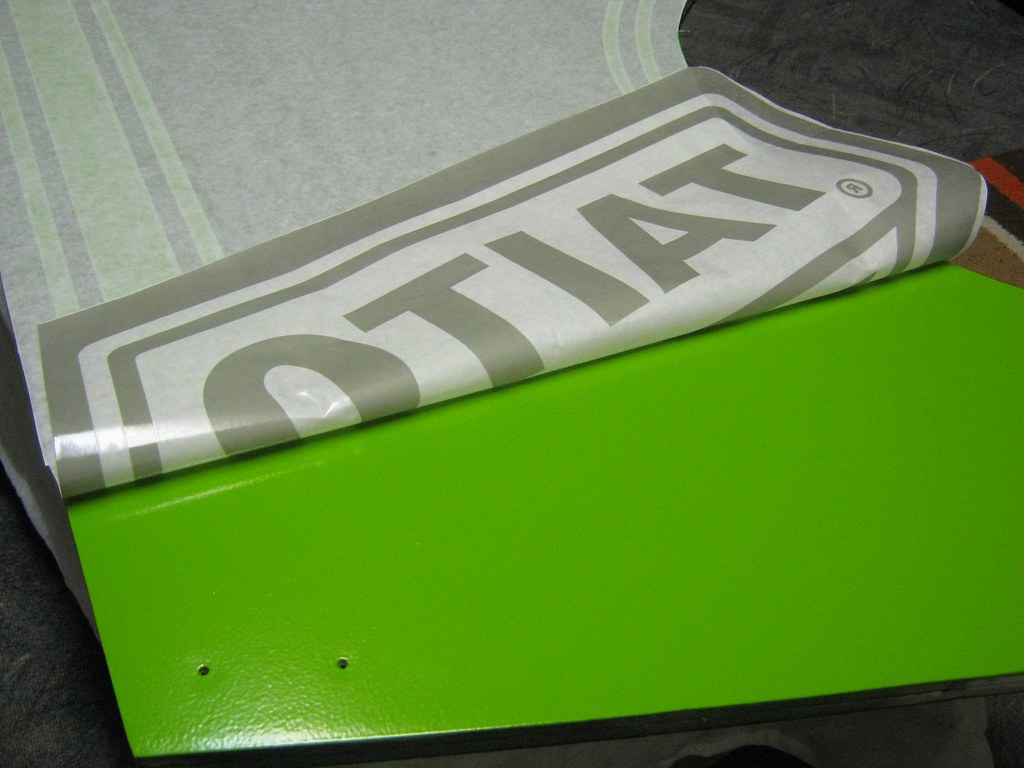
starting at the very bottom ...
... i'm slowly moving upwards ...
... until i've reached the top!
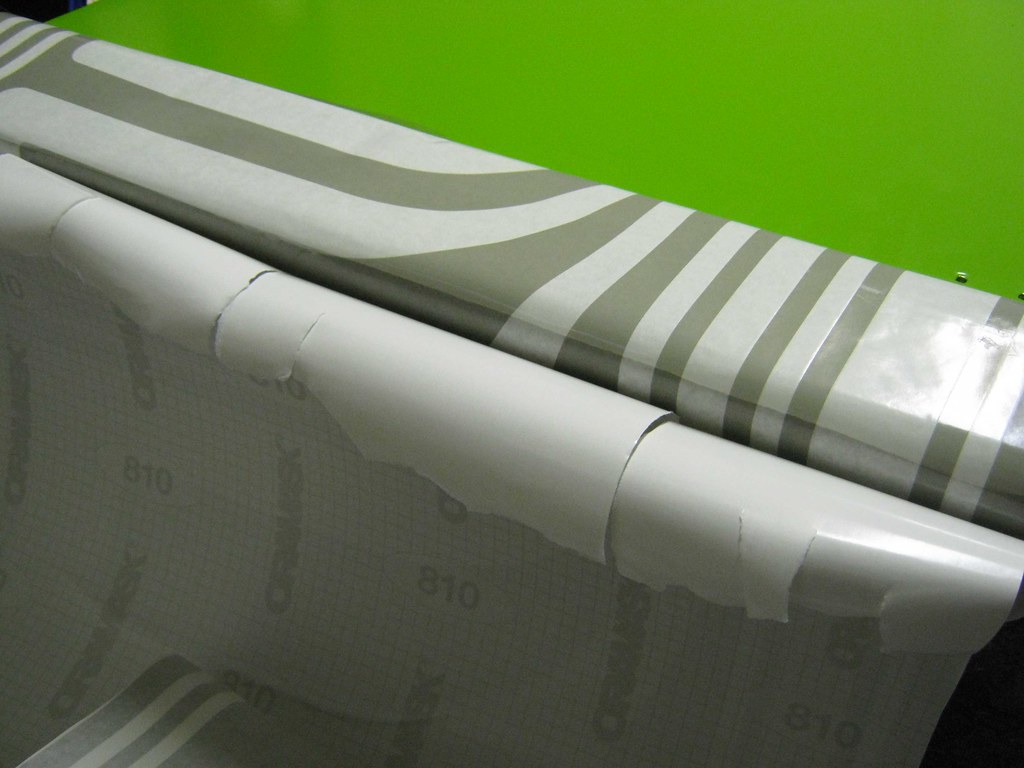
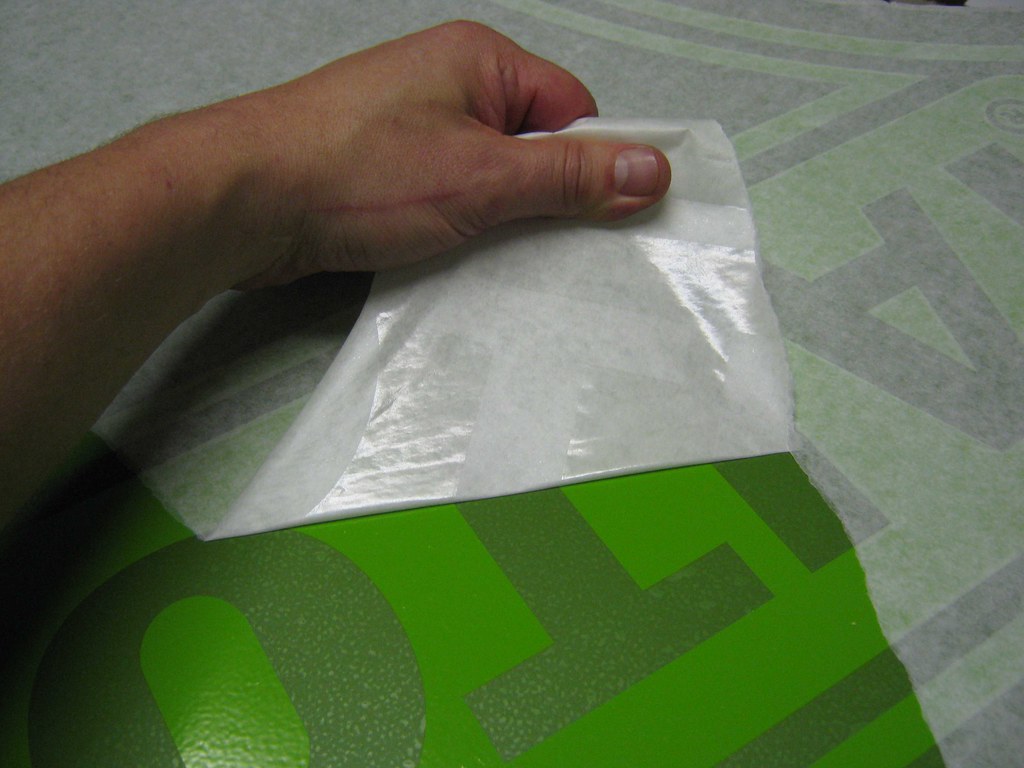
let's remove the premask
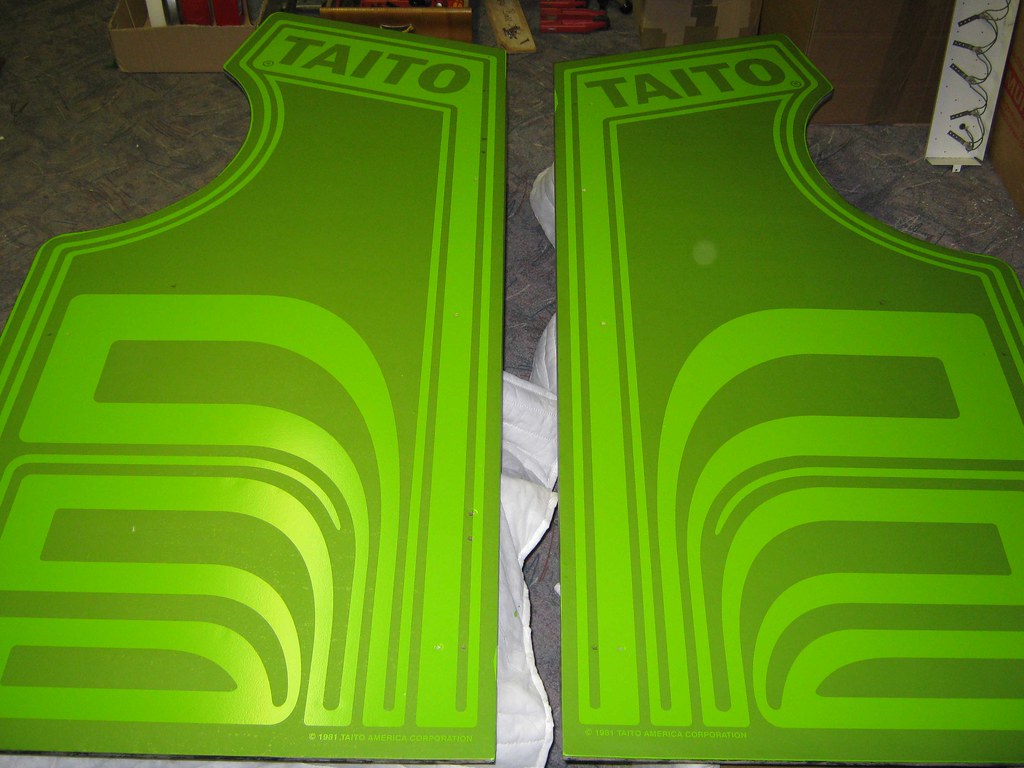
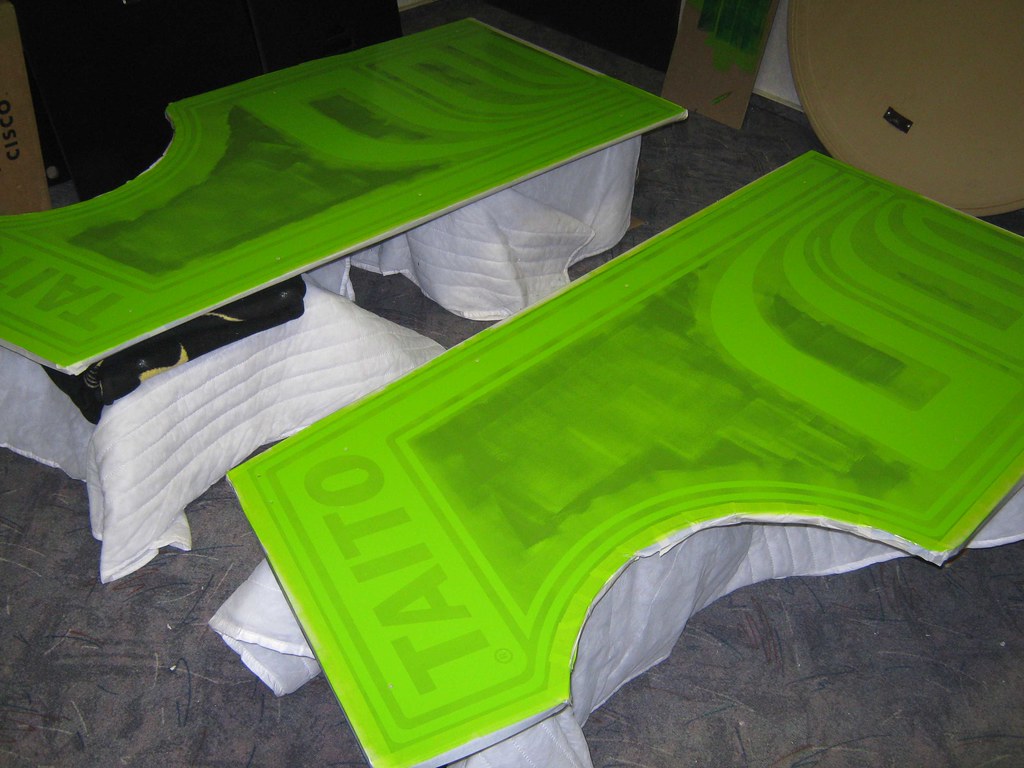
here we are - looking very taito-ish already

masking off the sides of the sides

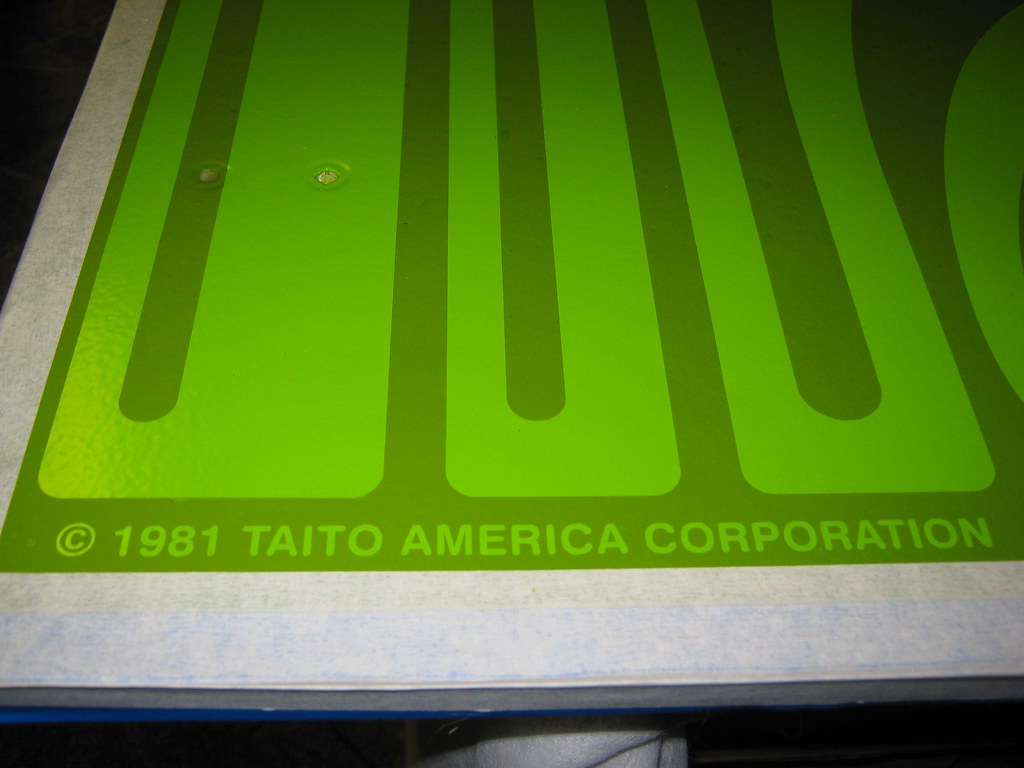
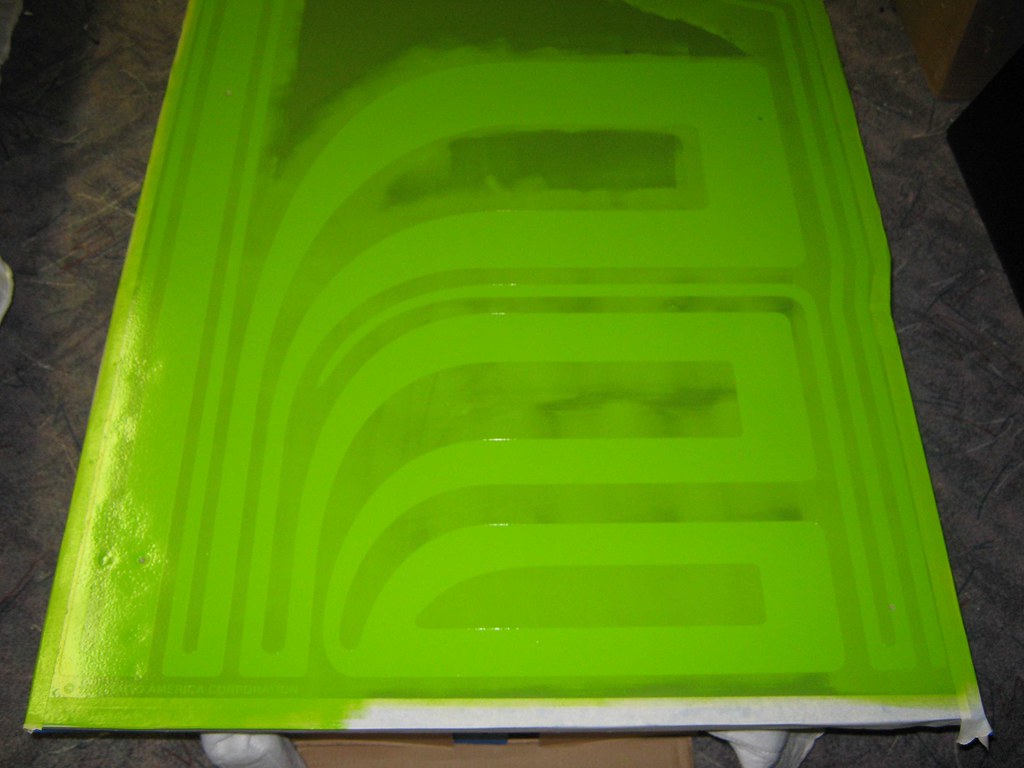
bring on the paint to seal off the stencils
a very thin layer of light green applied
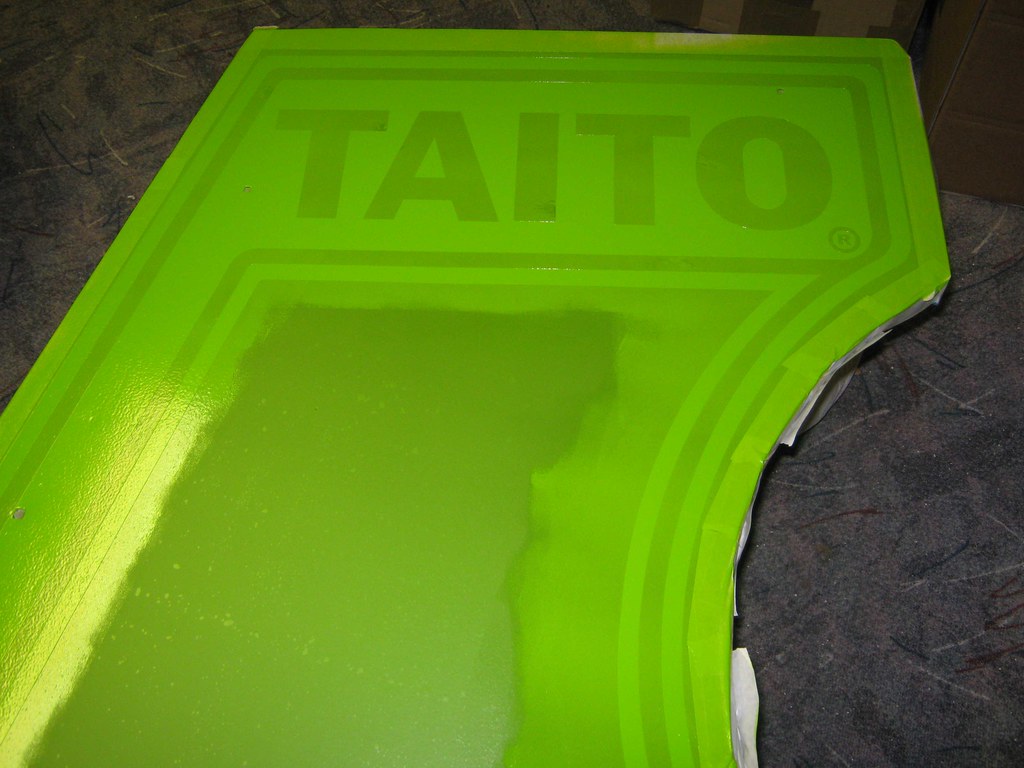
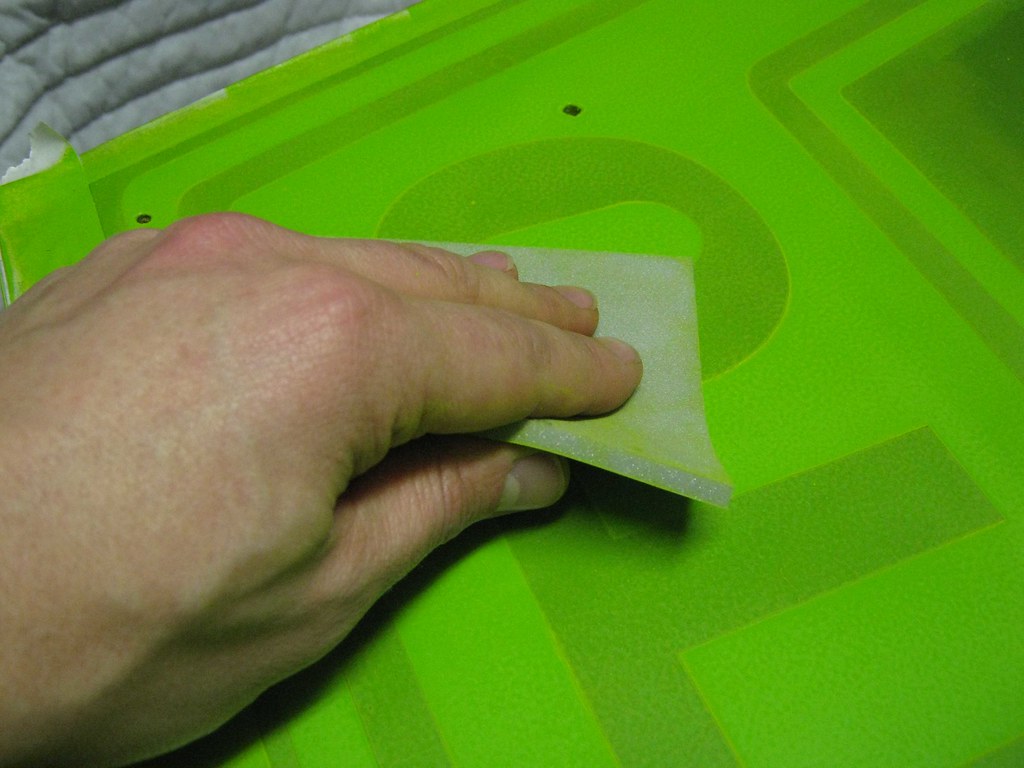
after giving the paint enough time to dry, i'm doing some smooth sanding before moving on to the dark green color
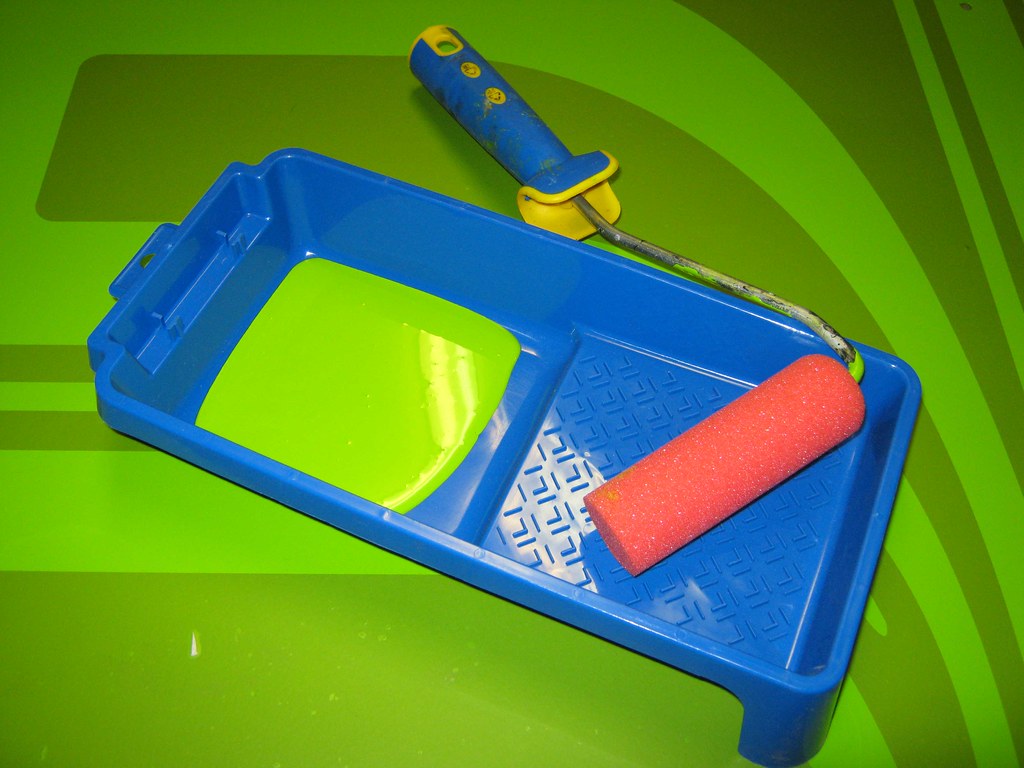
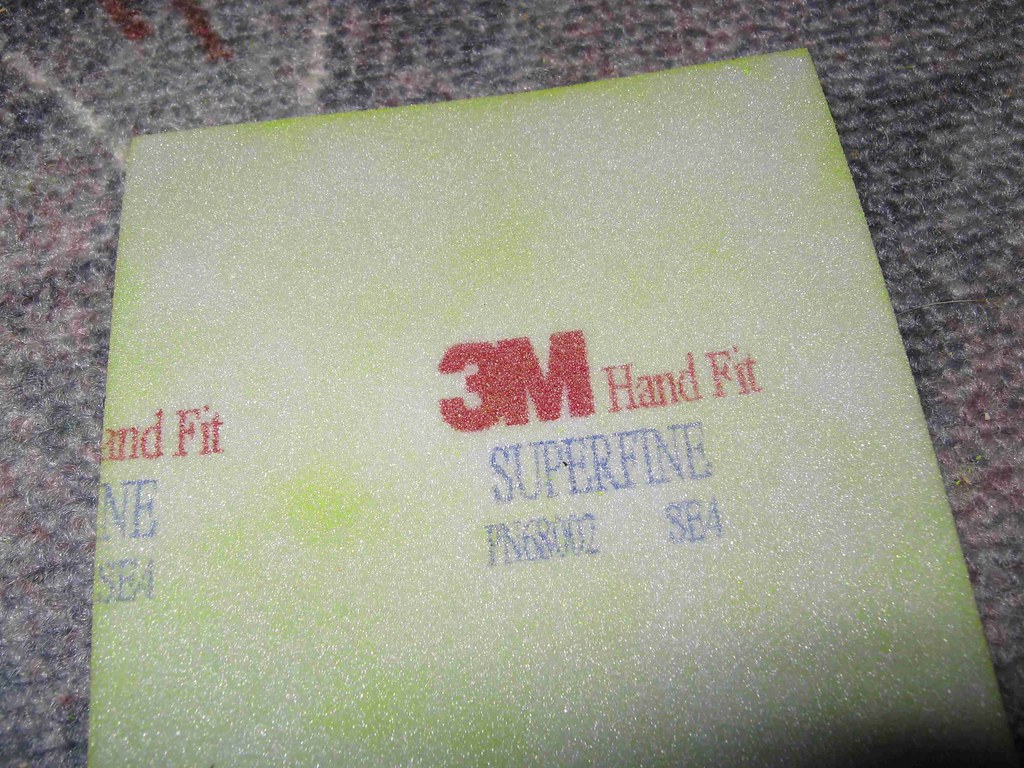
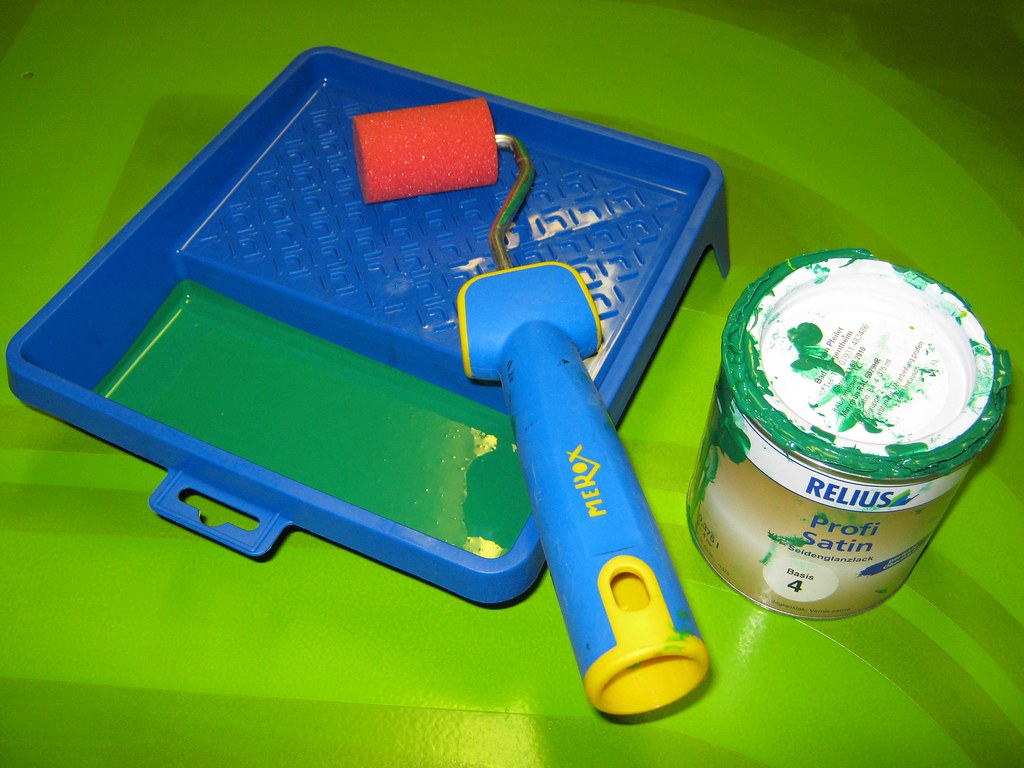
my weapon of choice

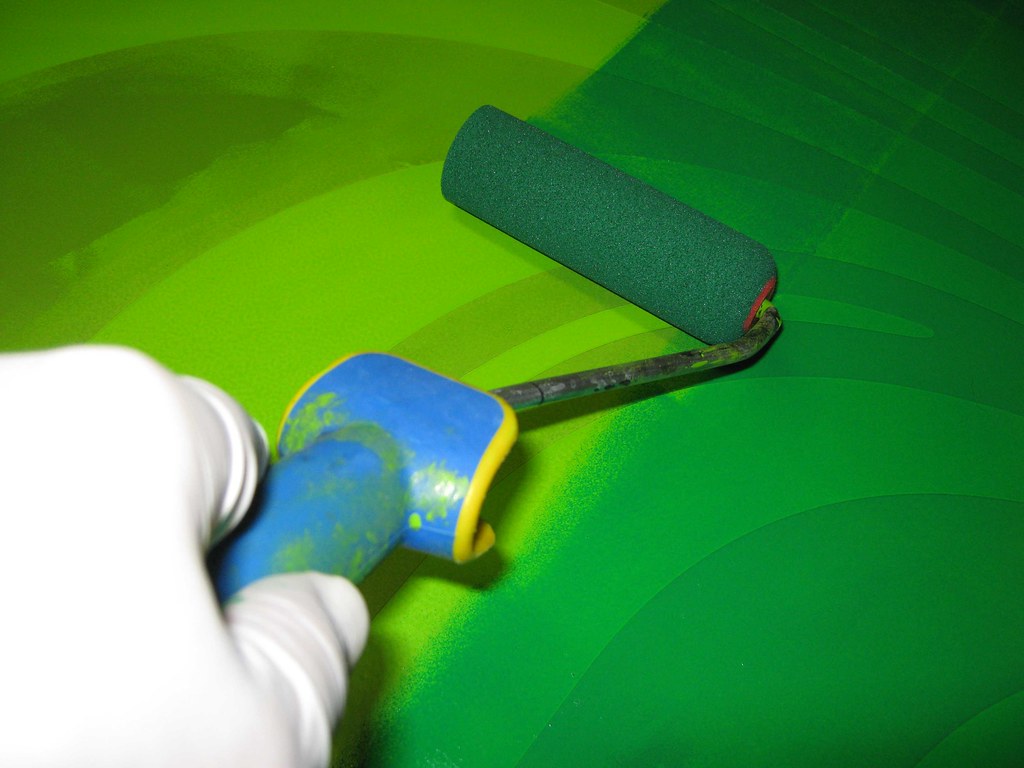
bring on the next color:
dark green!
rolling on a thin first layer
layer one done!!!

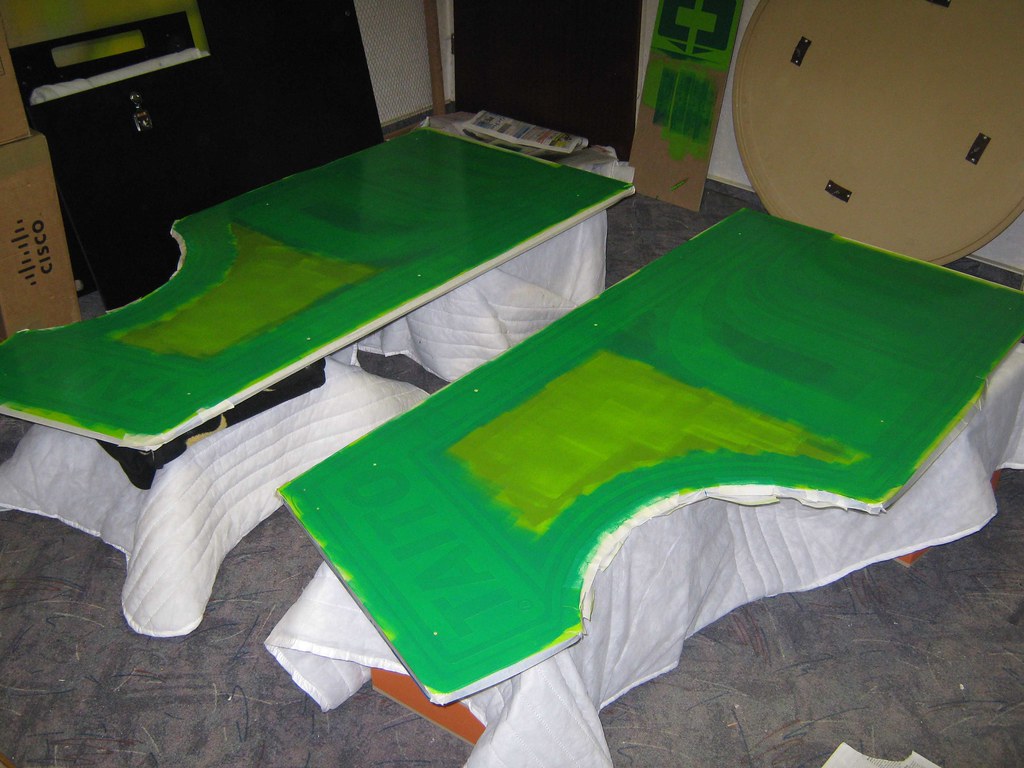
the same job for the front ...
... and the speaker board! looking good so far
 to be continued ...


