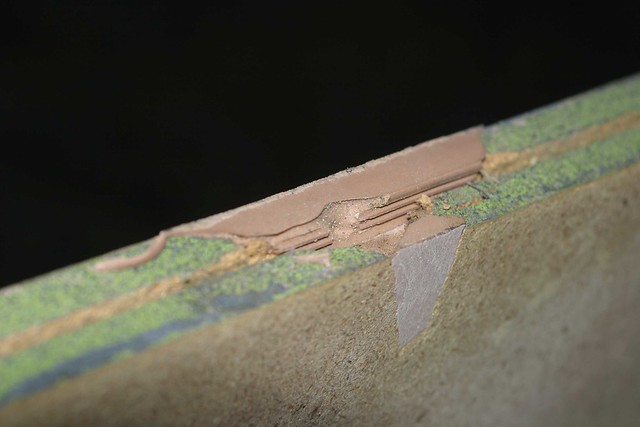
the restoration continues ...while removing the wooden coin door panel, i realized some nails at the bottom which weren't supposed to be there

this needed some further investigation (see how beat up that cabinet is?)
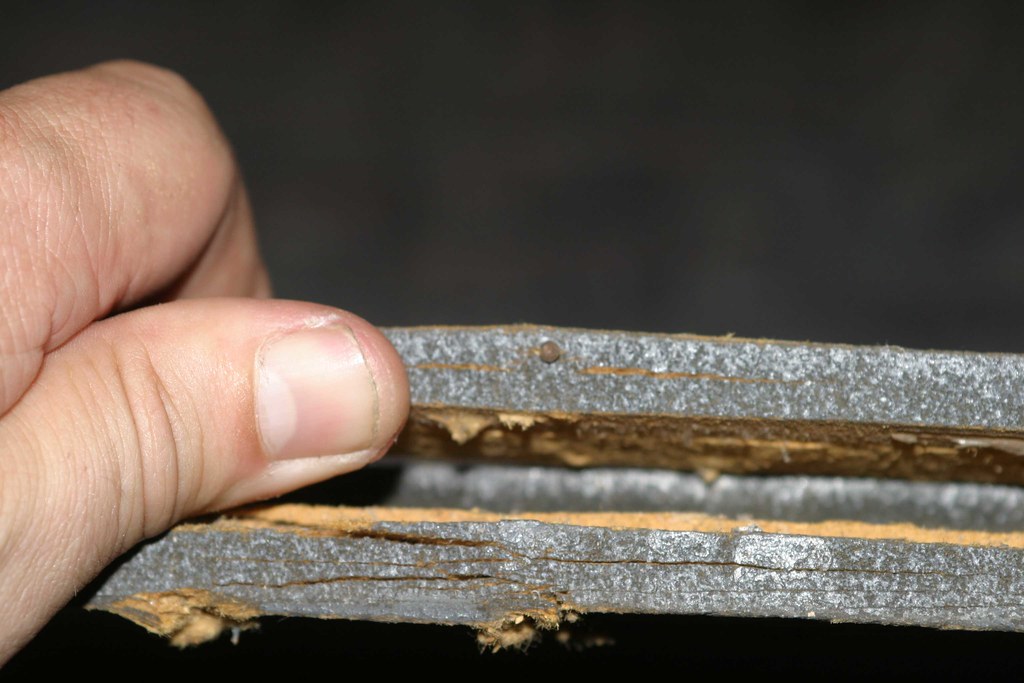
i removed all the nails that didn't belong there ...


... and guess what: a part of the panel simply fell off
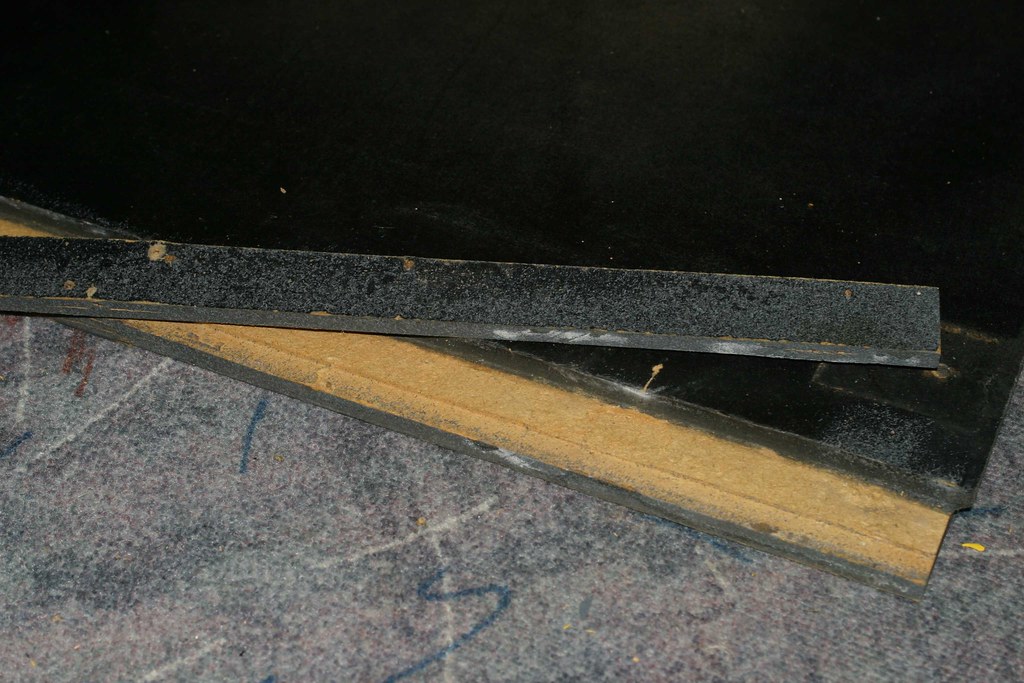
without using any of those nasty nails, i simply glued it back on again. other parts of the cabinet were loose as well, so they got the same treatment!

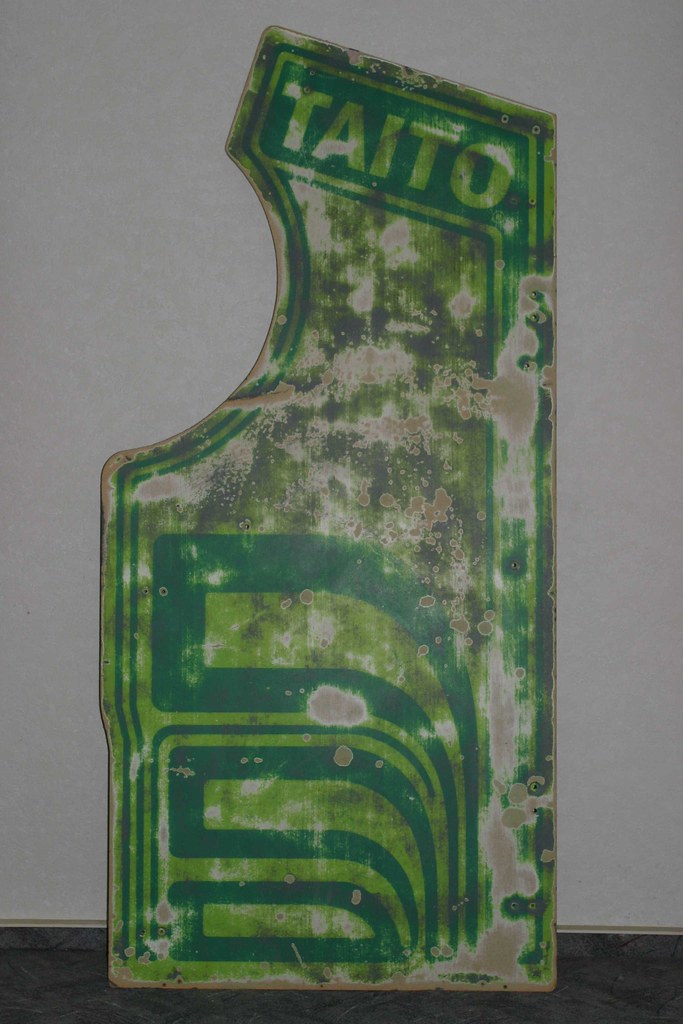
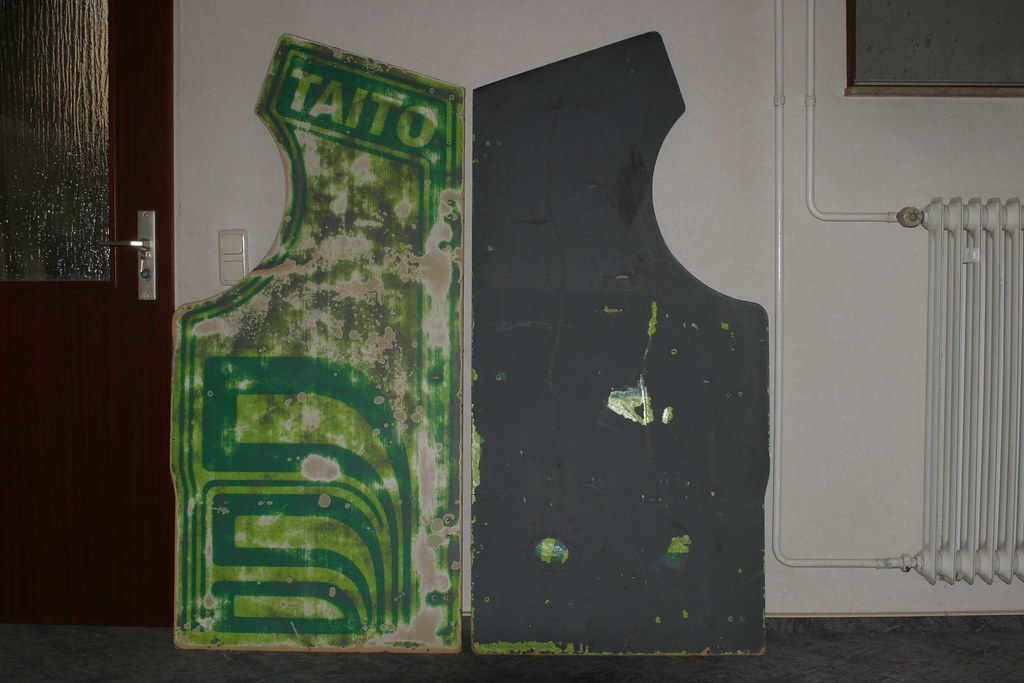
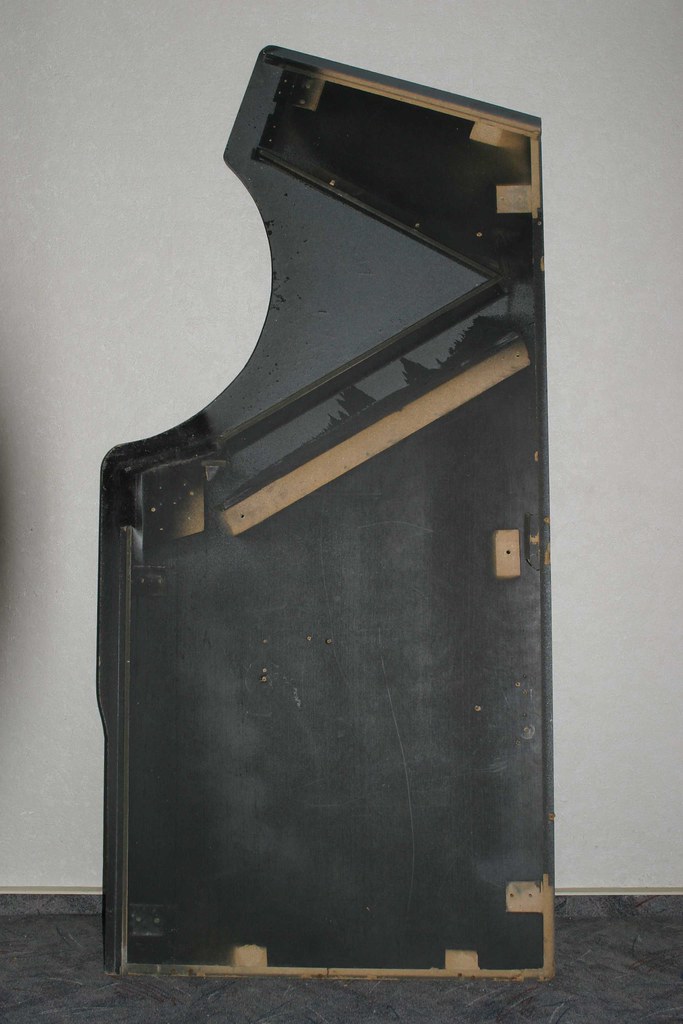
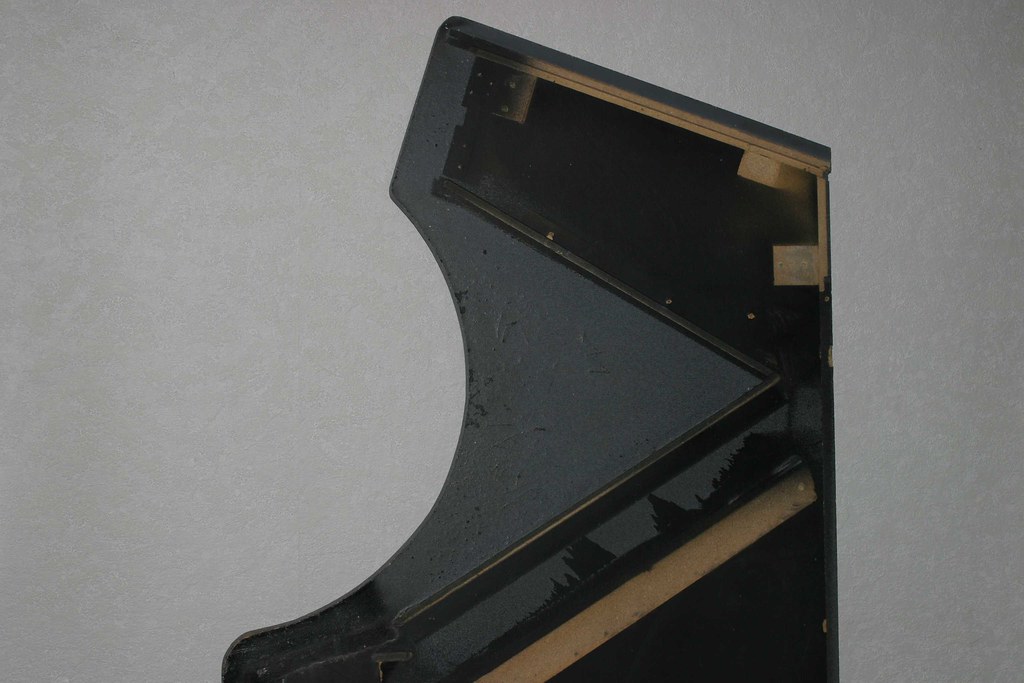
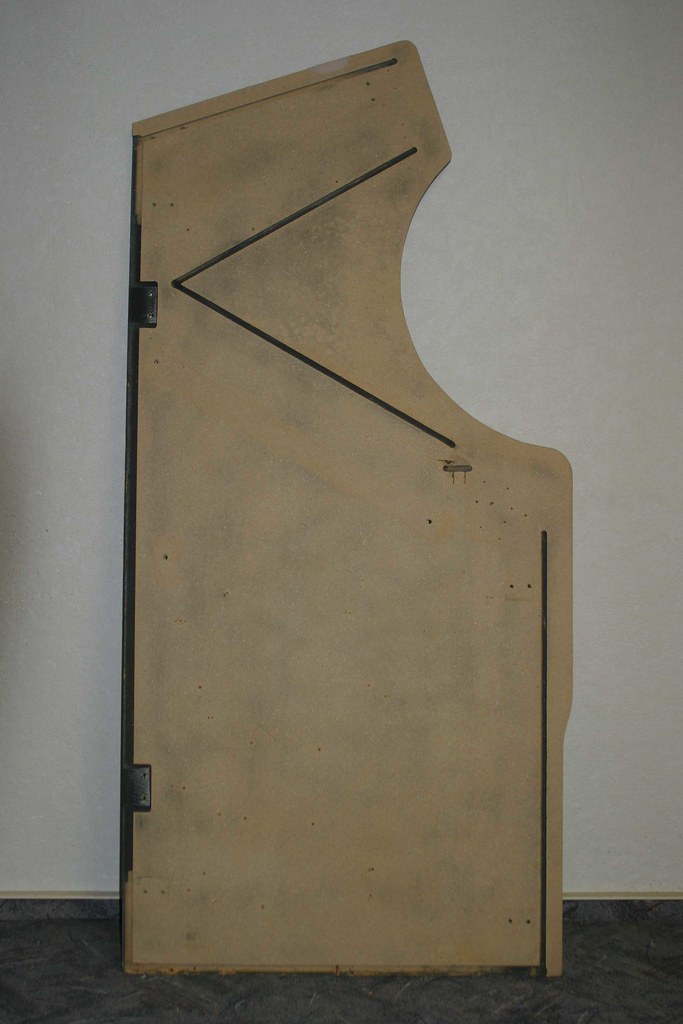
and here they are, all the pieces of the cabinet lined up nicely

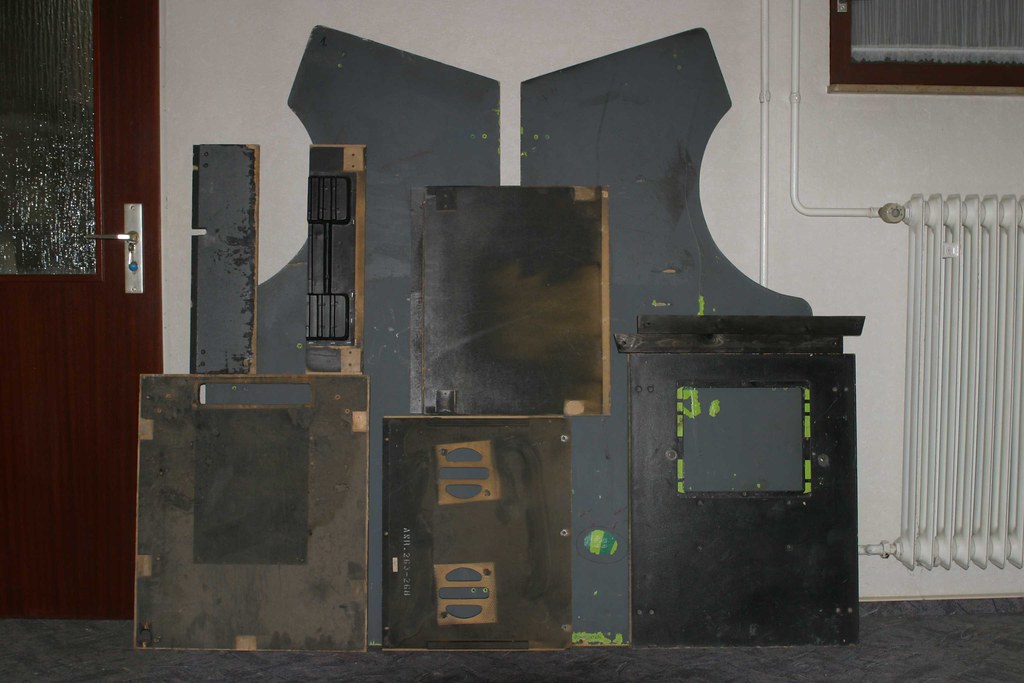
as i've said before, having those individual parts gives me much better control over the restoration process. with that being said, i started to sand down the old color layers - look how the original paint job starts to shine through

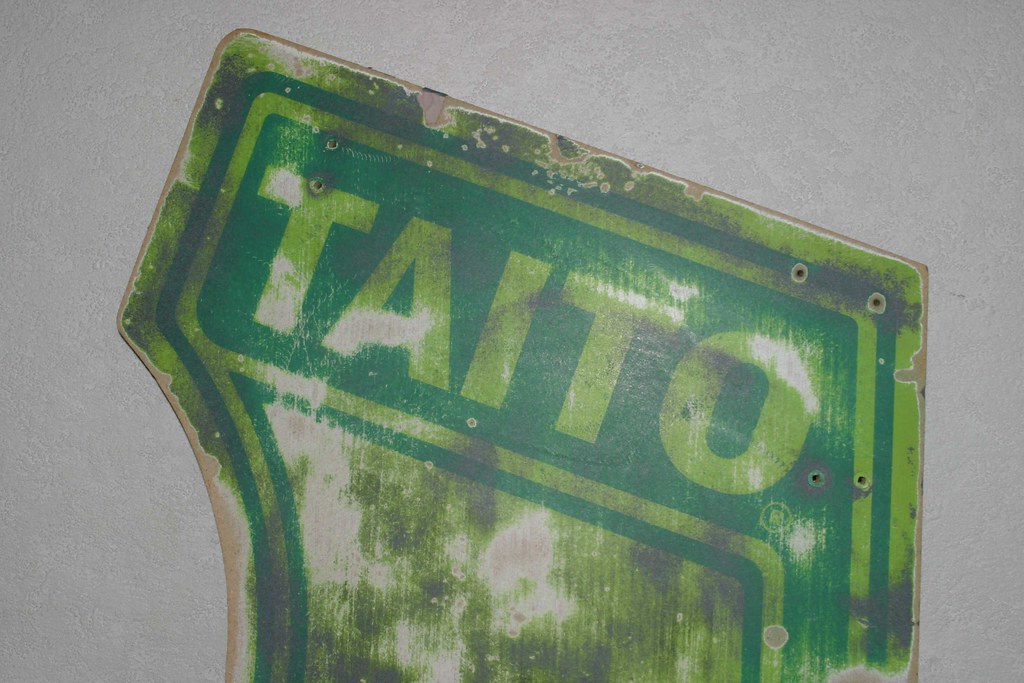
coin door panel: DONE!

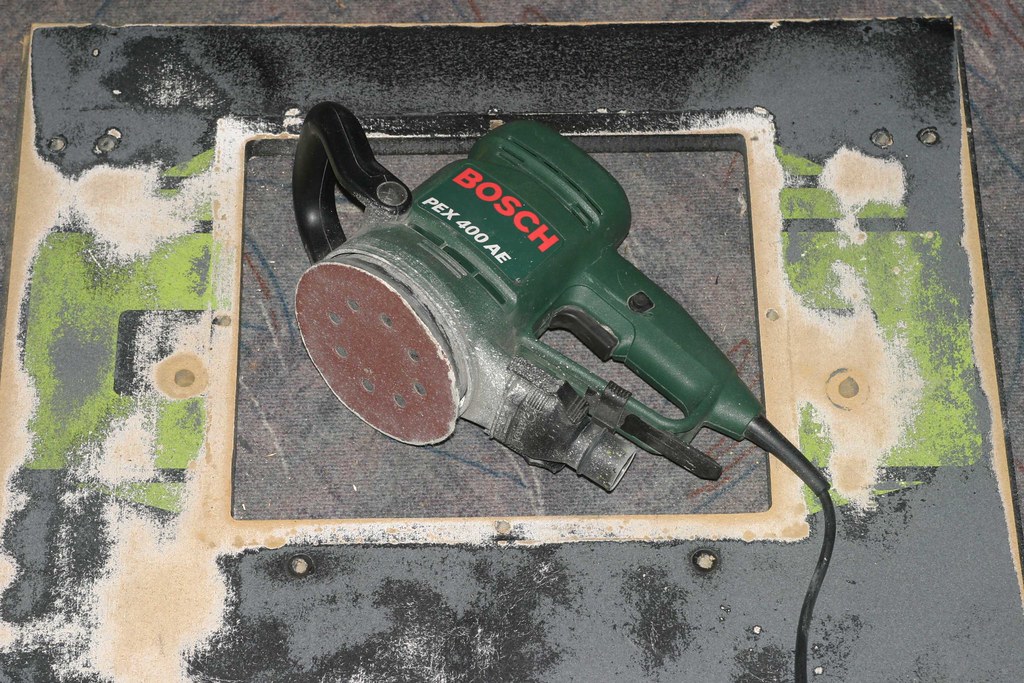
the same was done to the other parts, i especially loved removing the grey color layer from the sides
some would consider this restored

on the left JUNGLE KING, on the right SHINOBI. which one looks better?
of course that was not good enough, so i continued with my mission

underneath that paint i found a huge crack in one of the sides ...
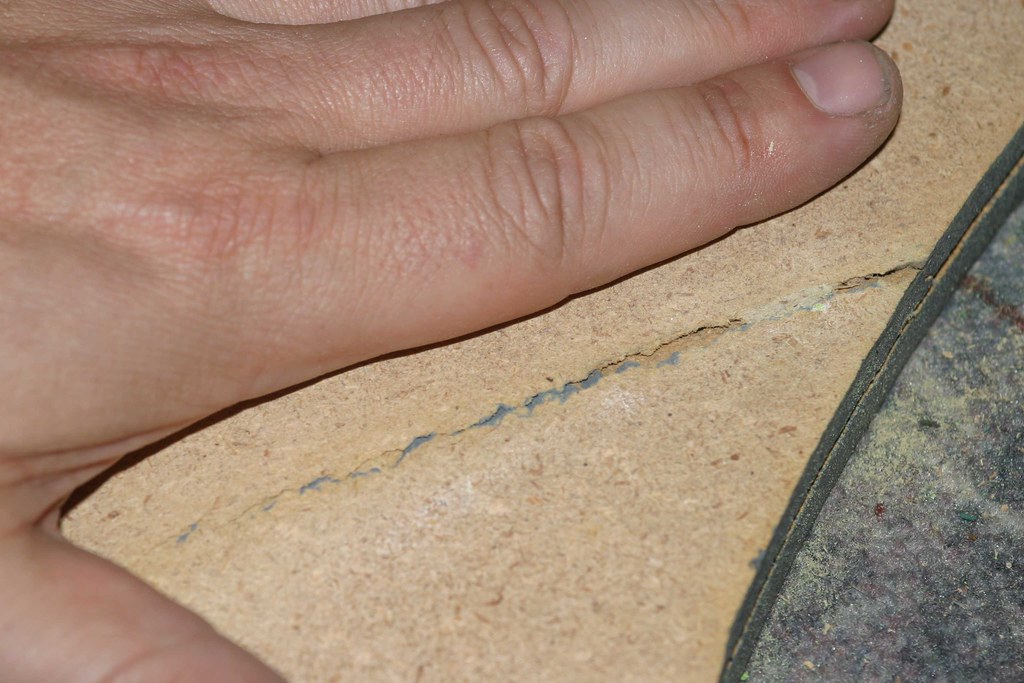
... and a part where the cabinet had obviously been fixed before

another comparison shot

blank!

with the outside done, i turned to the inside
you can clearly see where they painted over the original black color for the grey shinobi look
my first thought was to only remove that grey color, but when i started to do so i realized that (a) the black comes off easily and (b) removing the old smelly paint entirely probably isn't the worst idea
so here's the result of that consideration ...
... and the results of many hours doing nothing but sanding, sanding and sanding

in between those sanding sessions, i found the time for some minor side projects (which all revolved around sanding as well

):
the monitor mounting bracket before the operation
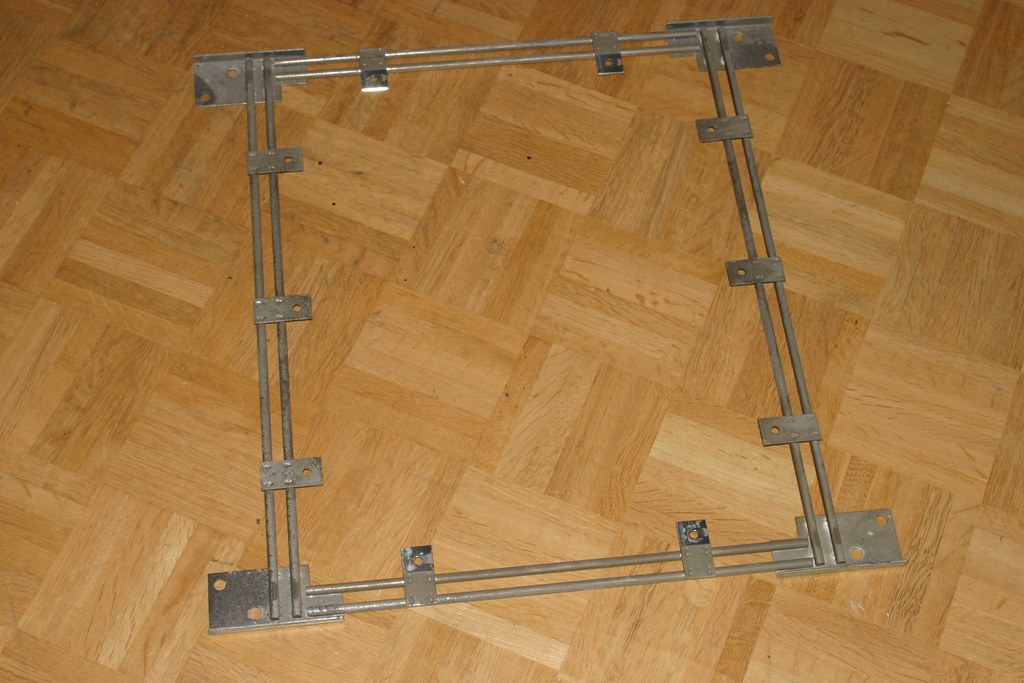
as you can see, full of color spots and lighty rusted
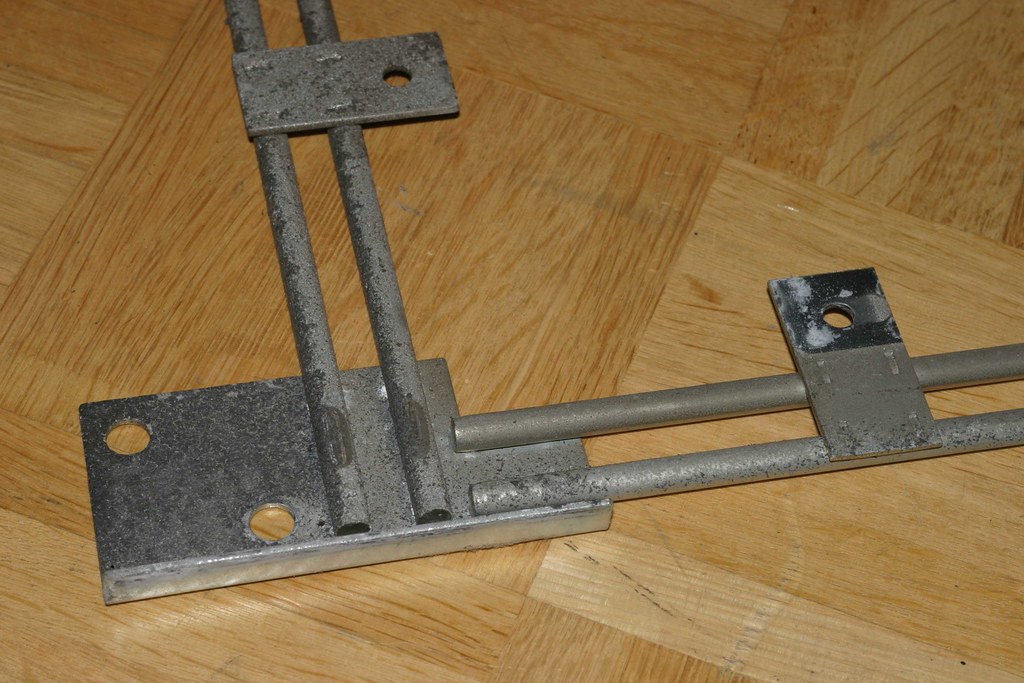
after some sanding and polishing rounds, here are the results: not perfect, but good enough - i didn't want to be too anal about this part


next up: the cabinet wheels. as you can see, they were totally worn with huge chunks of plastic sticking out
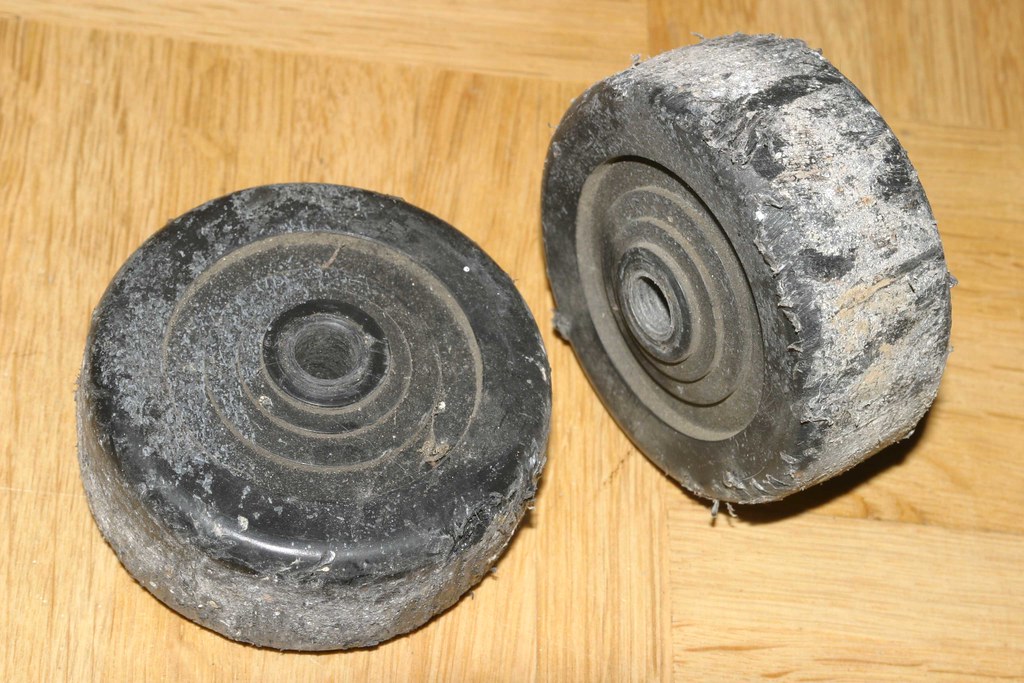
i could have simply bought new ones, but as long as pieces are salvageable, i'll try to use them. what i did was stick the wheels on a pen and let the rotational pull of the sander do the trick

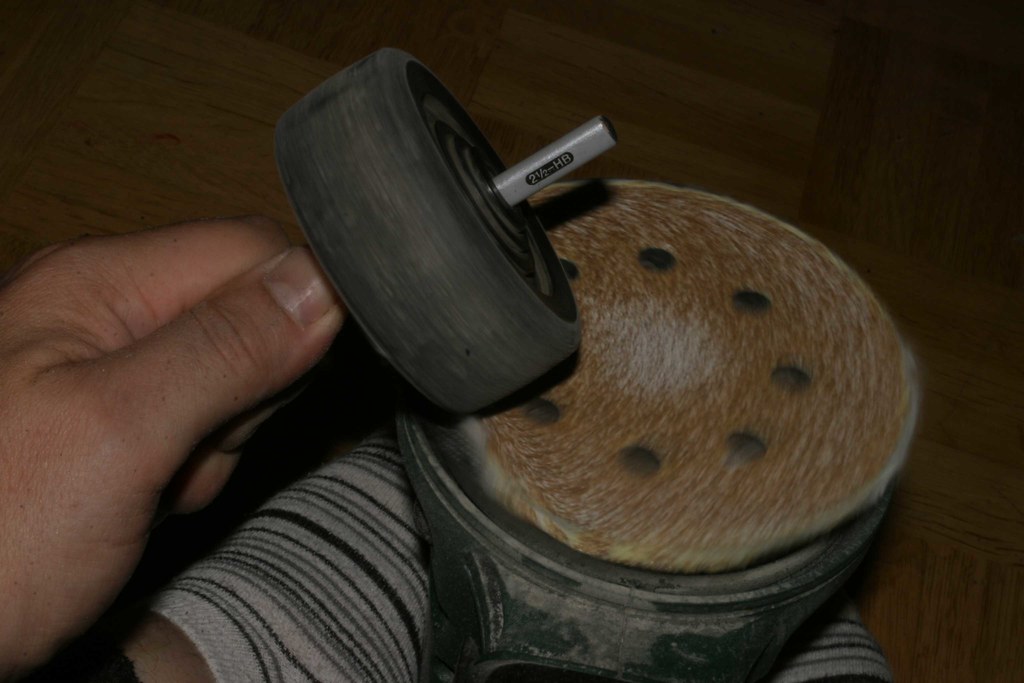
so much better than before!

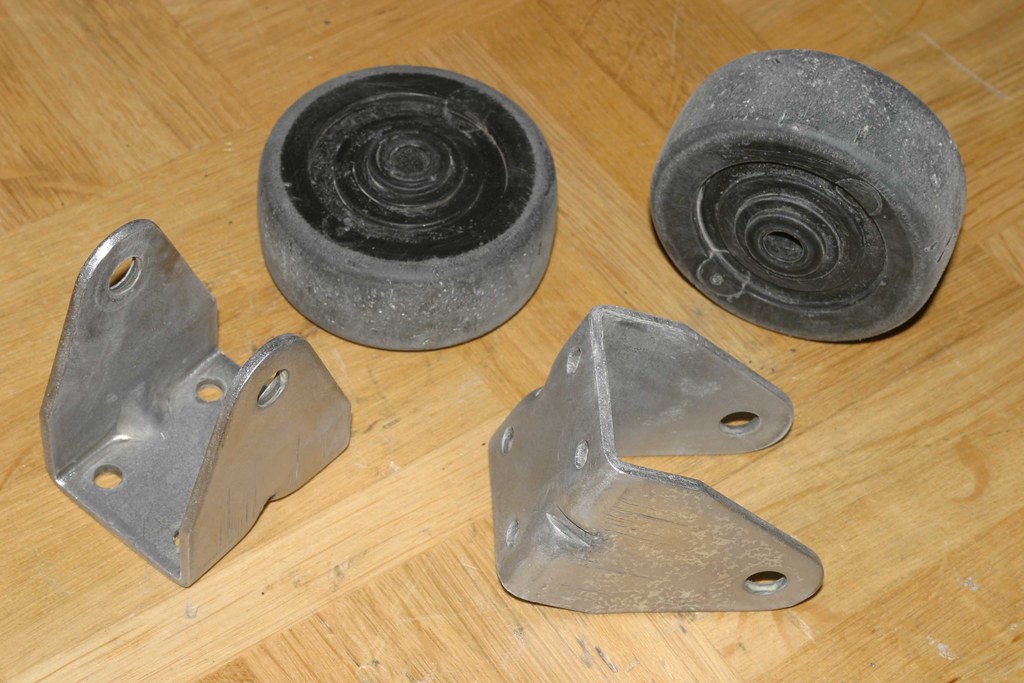
here they are again together with the sanded / polished "wheel holders" (i don't know what the correct term for those parts is)
and finally: from a rusty dull coin box to a shiny polished coin bucket
 to be continued ...


