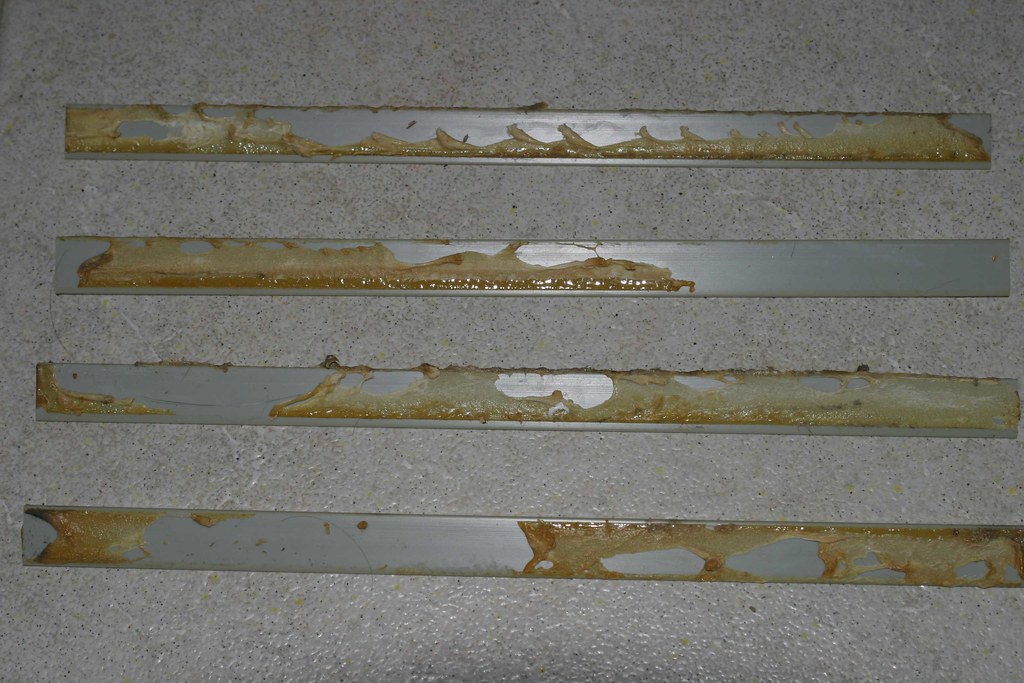
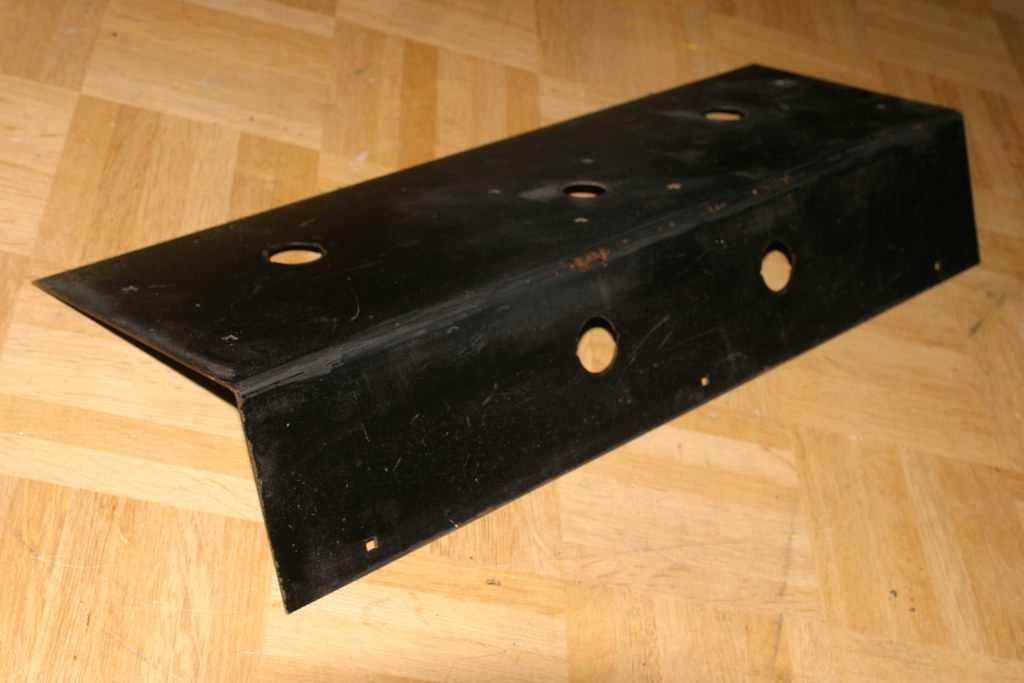
the restoration continues ...starting with something simple this time: the pcb brackets. as you can see on the following pictures, the rails which hold the pcb in place are somewhat out of alignment and the ugly yellowed glue underneath can be seen!

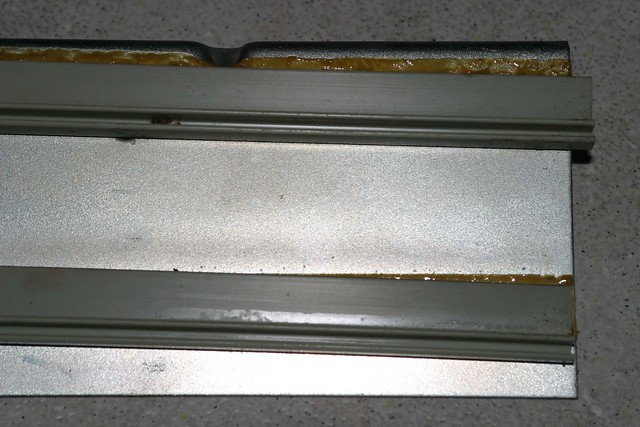
of course, superully has to correct this

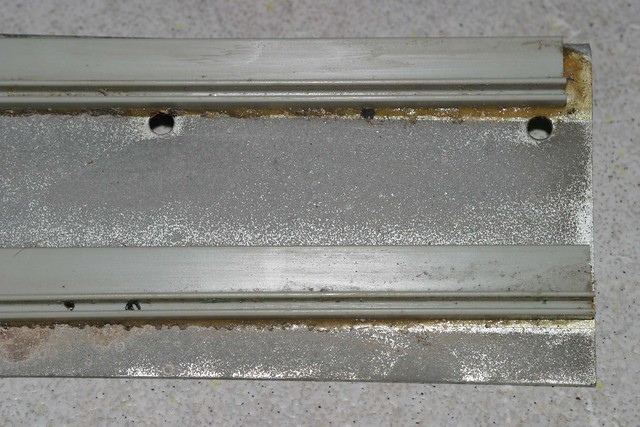
so let's get the rails off first!
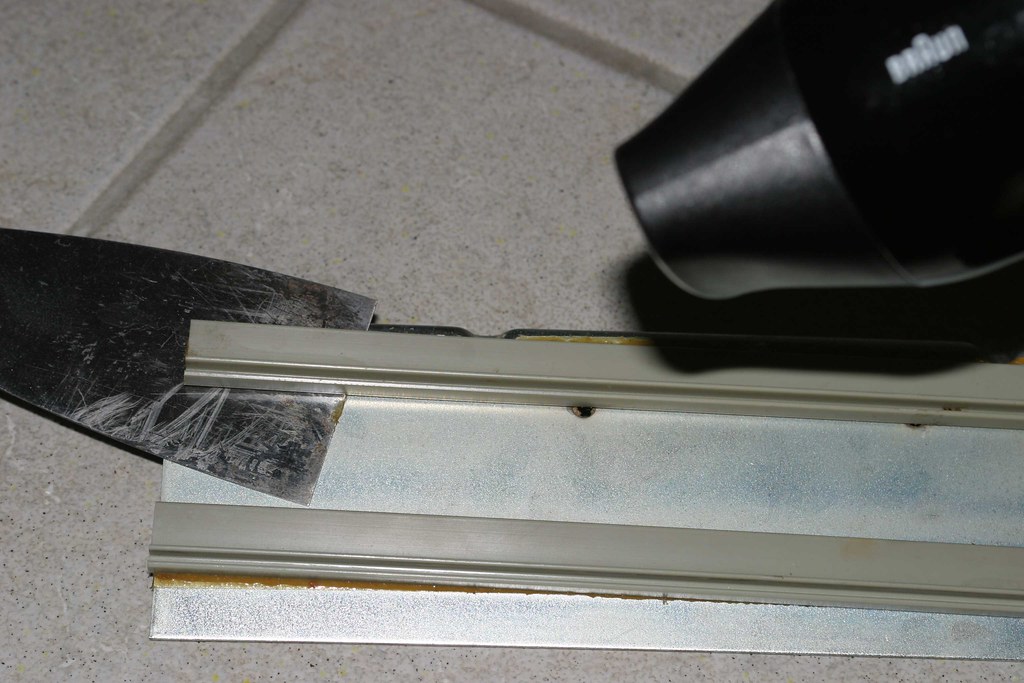
done ...
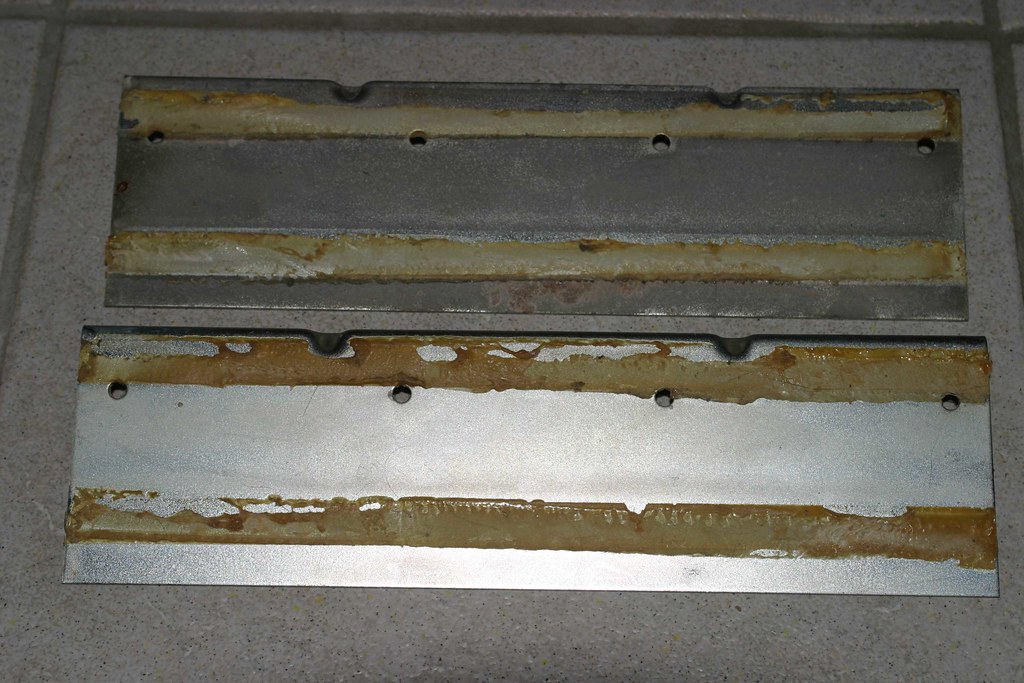
... and done!
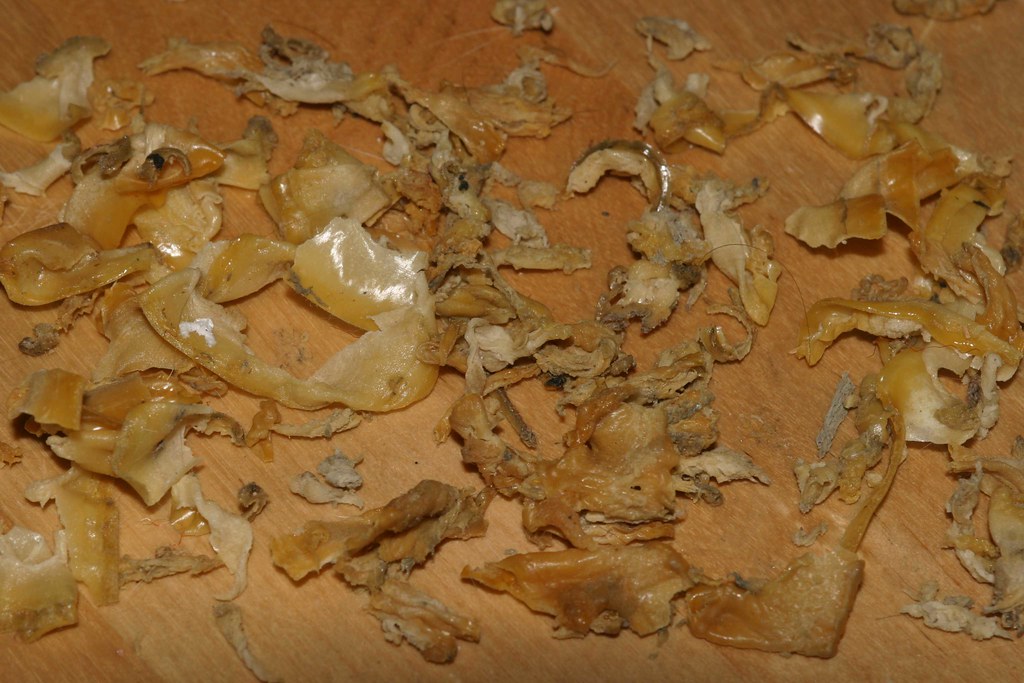
anyone need glue?

after a lot of polishing, the pcb brackets have gone from this ...
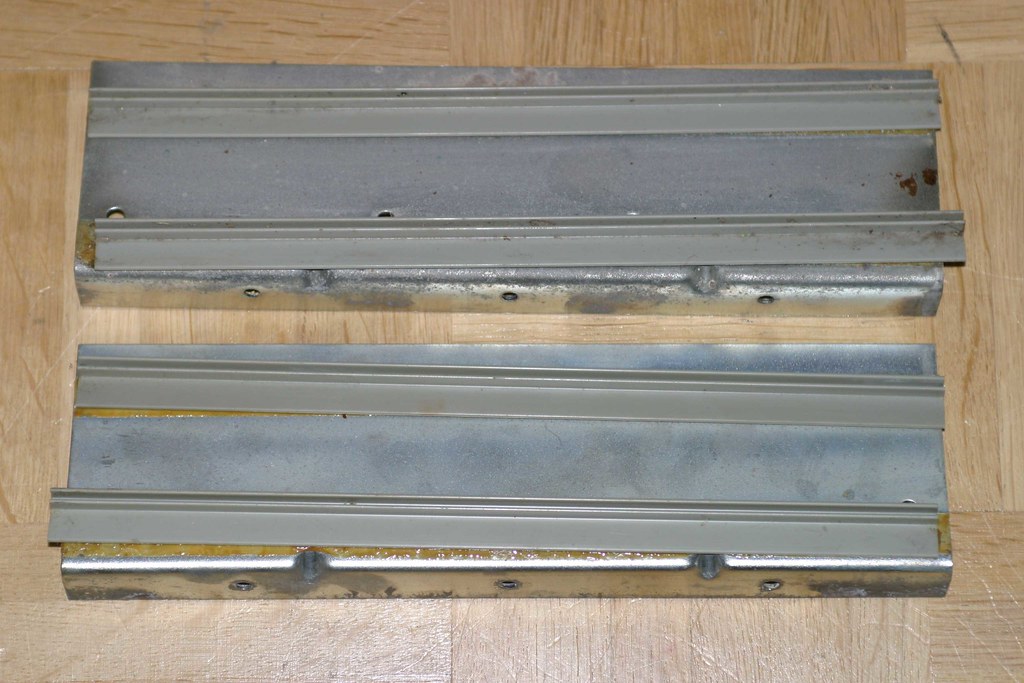
... to that!


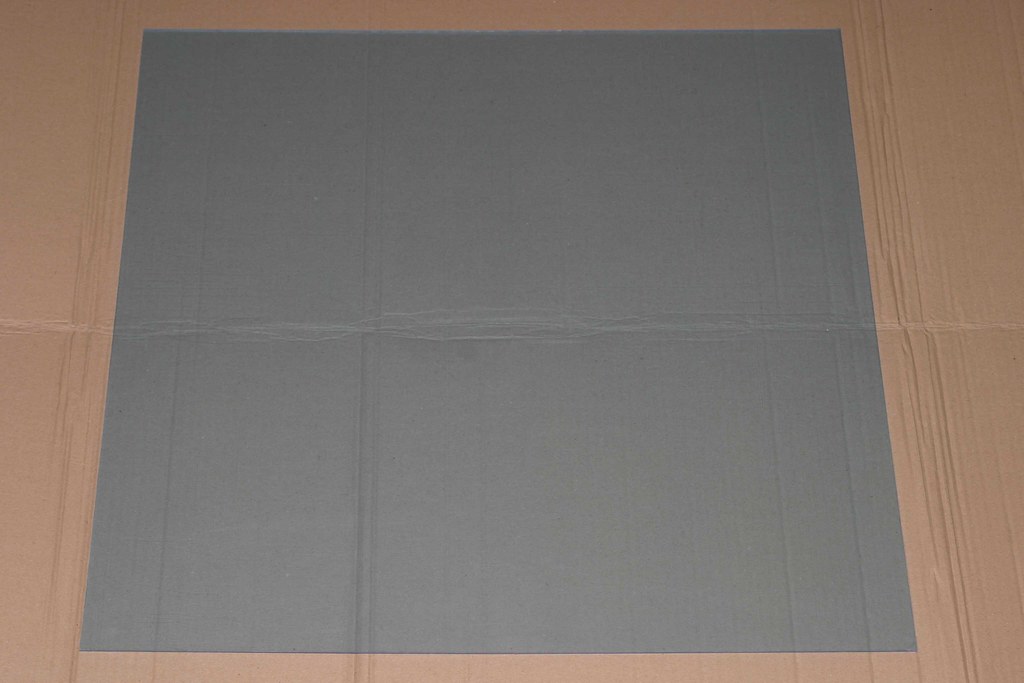
up next: the bezel! i've tried to find one in europe - without success. i
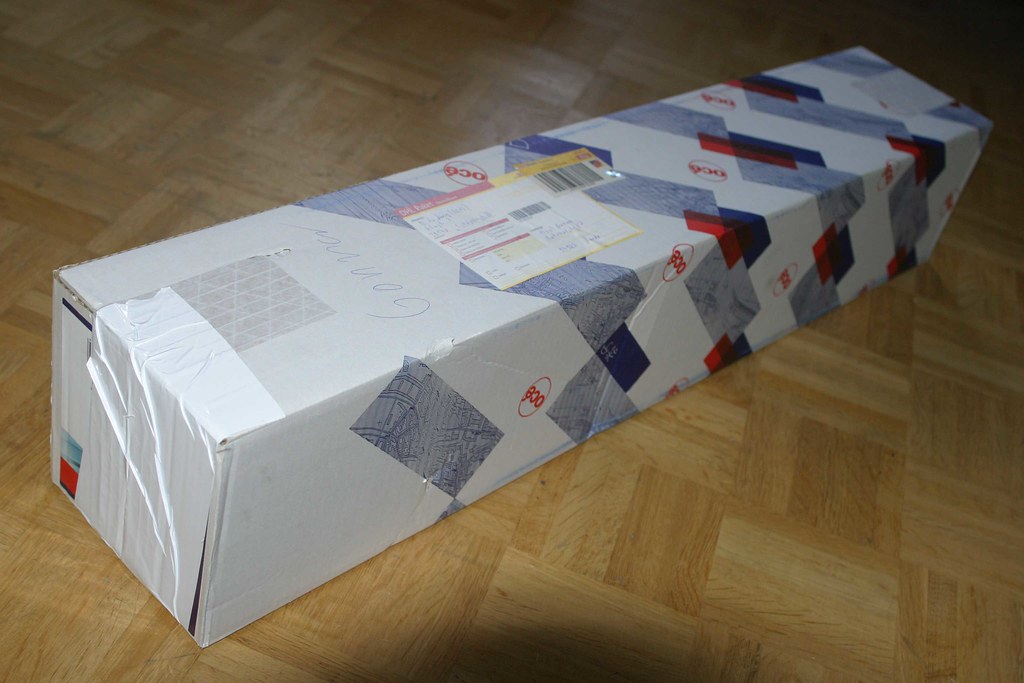
had found one in the usa, but importing that huge piece of glass would have cost a fortune - around 130 bucks (and you never know whether it's going to arrive in one or in a zillion pieces). therefore, i've decided to go with my own reproduction. as a start, i've placed an order for something big!

inside, a cut-to-size plexiglass
however, that's not good enough yet! i need something else, so let's place another order

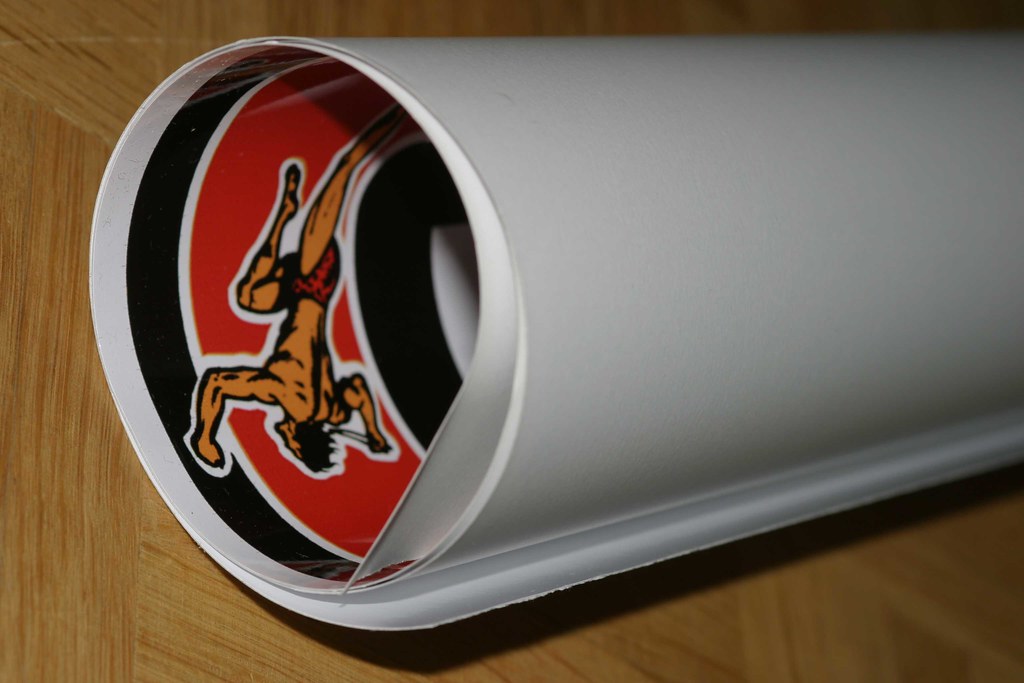
a first peek inside
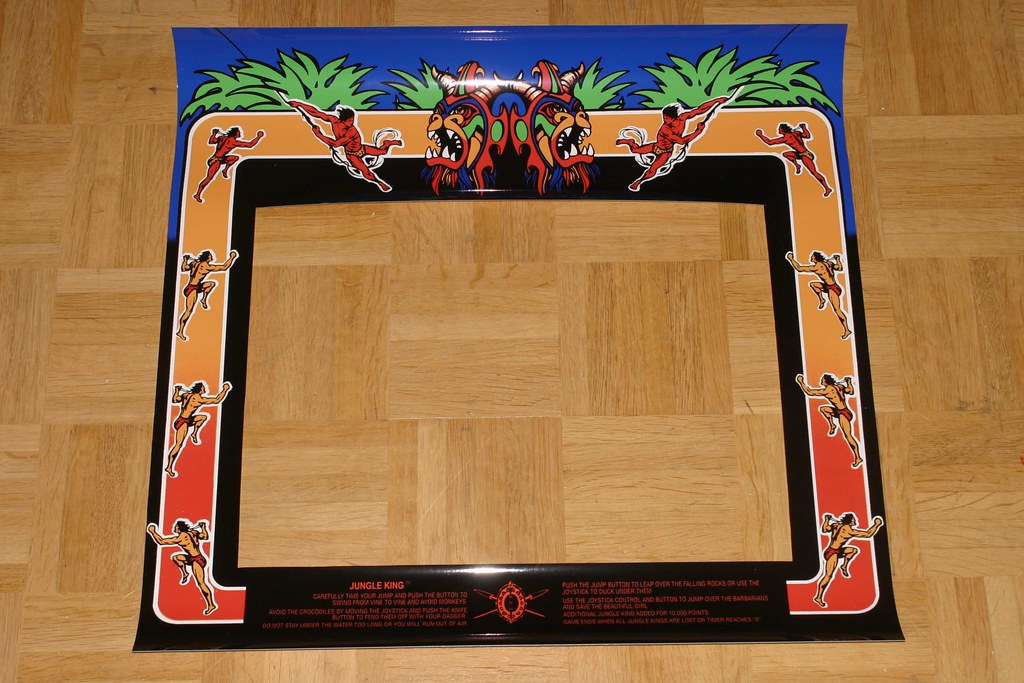
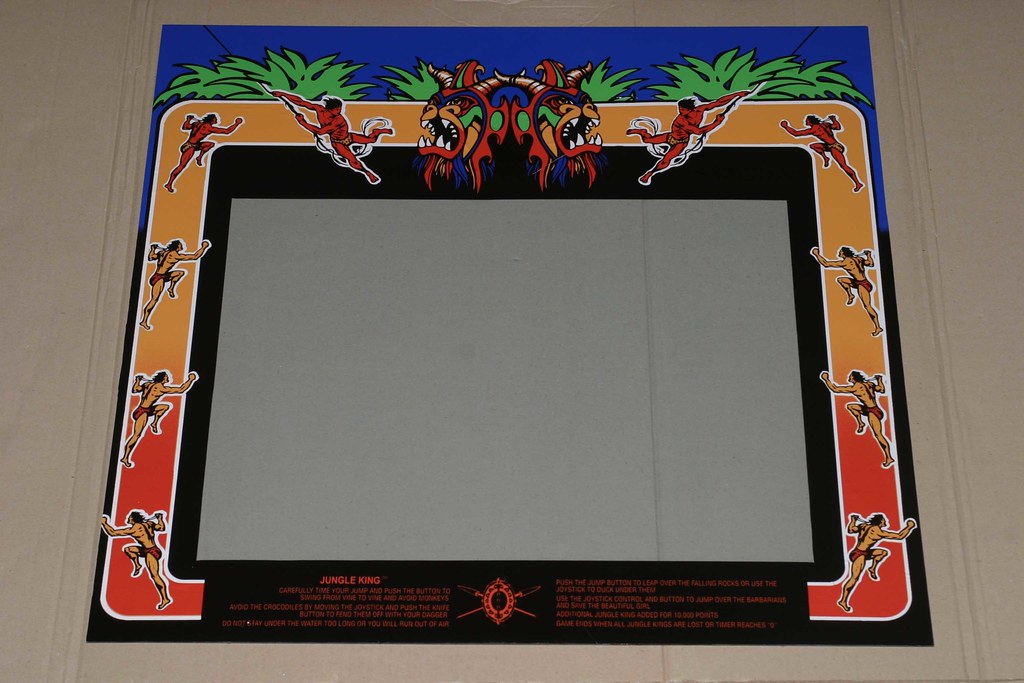
thx to andré (for sending me the graphics file) and some guy from the german arcade forum (for printing it), i now have a nice printout of the bezel artwork!
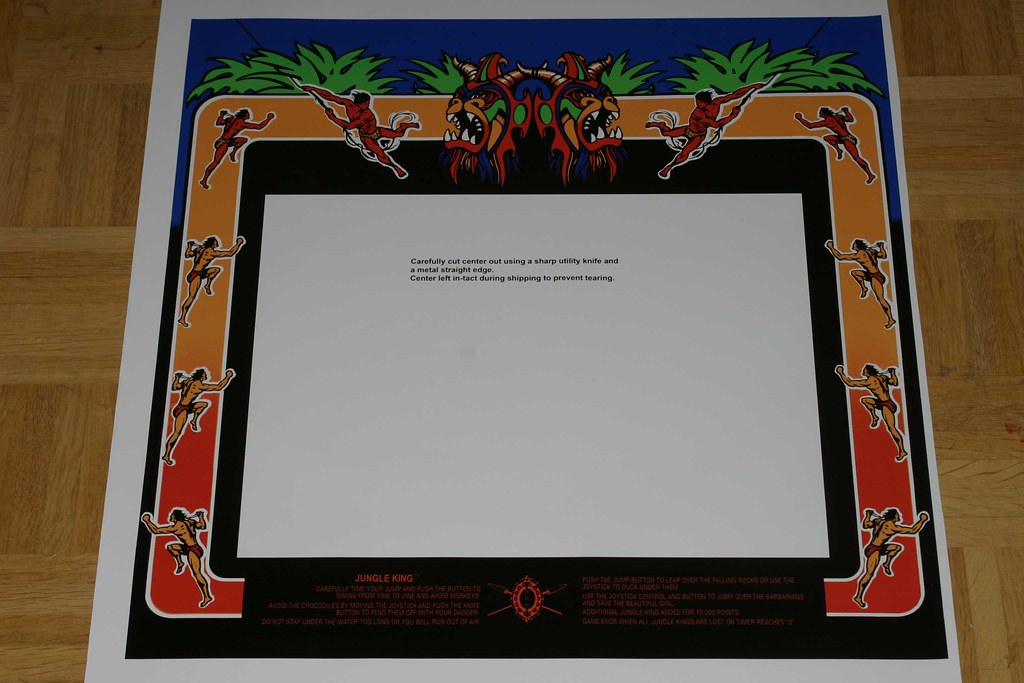
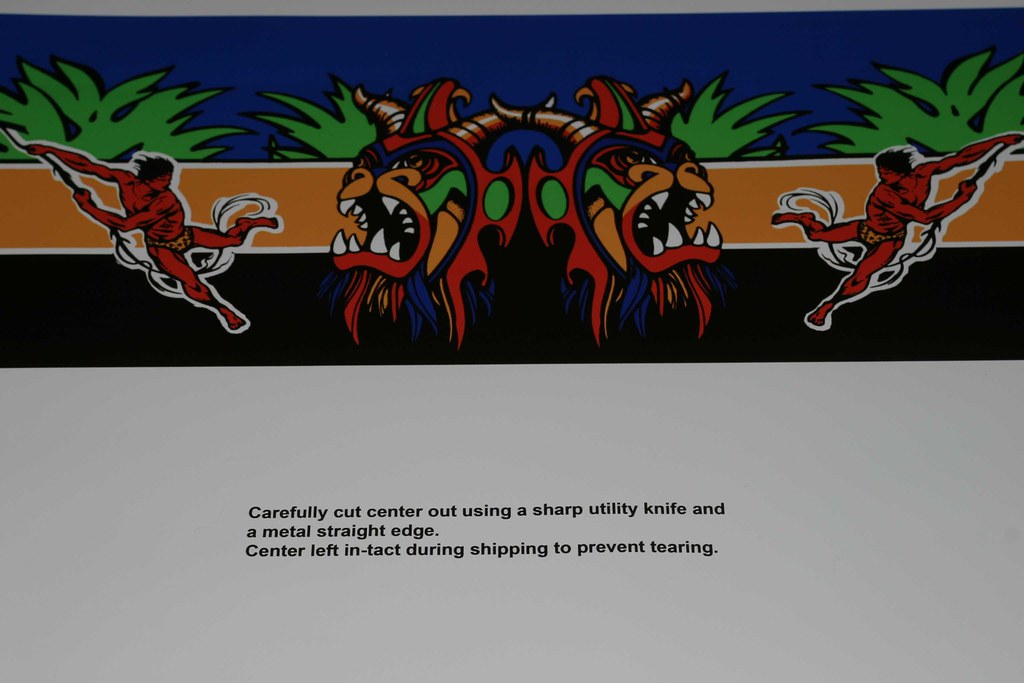
in detail
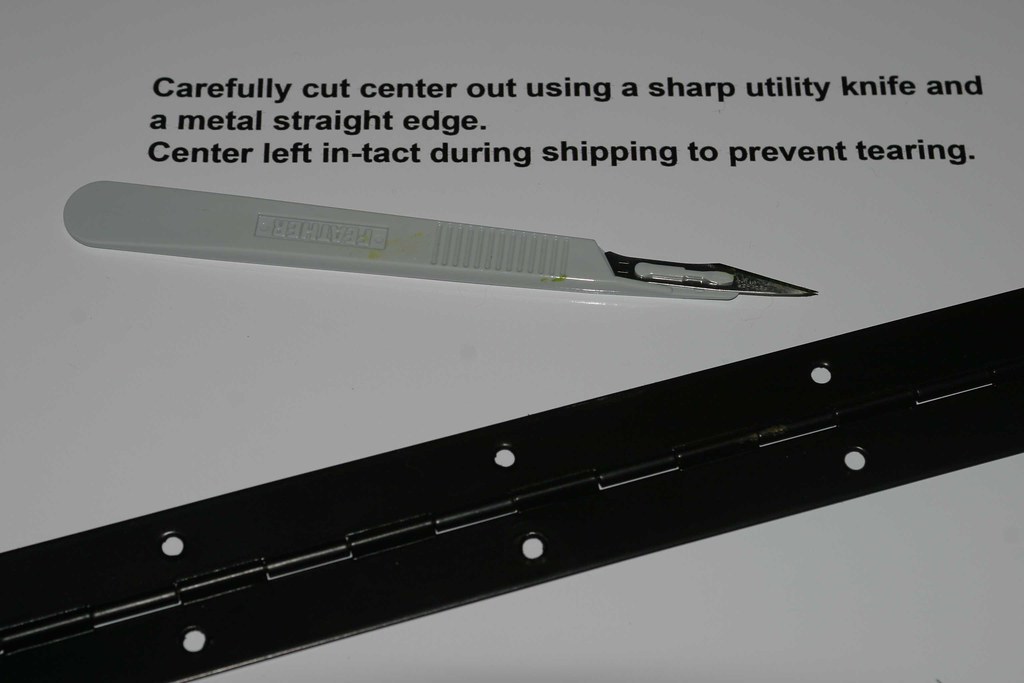
here are the tools i'm going to use to make the necessary cuts
operation successful!!!
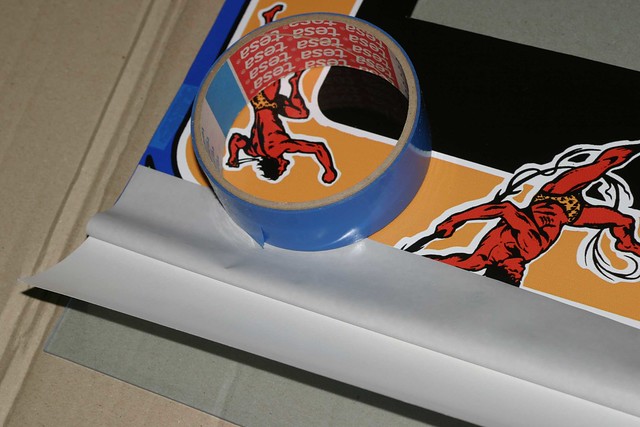
fixing the artwork in the correct position
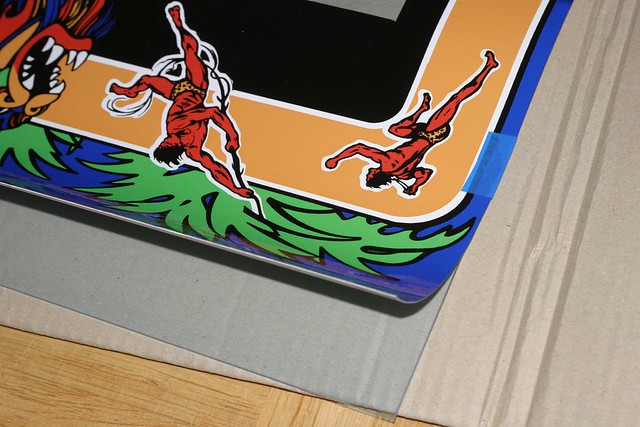
the artwork was a pain in the a** to apply because of the missing inner piece and the stretchy nature of the material. here's a picture of it after the application to the plexi. while it looks nice on the picture, it doesn't look that great in reality, because there really are some obvious air bubbles and sharp bends. perhaps i should have cut the inner white part
AFTER attaching it to the plexi

however, one other thing bothers me (which i didn't realize before). have a look at an original bezel - can you spot the difference?

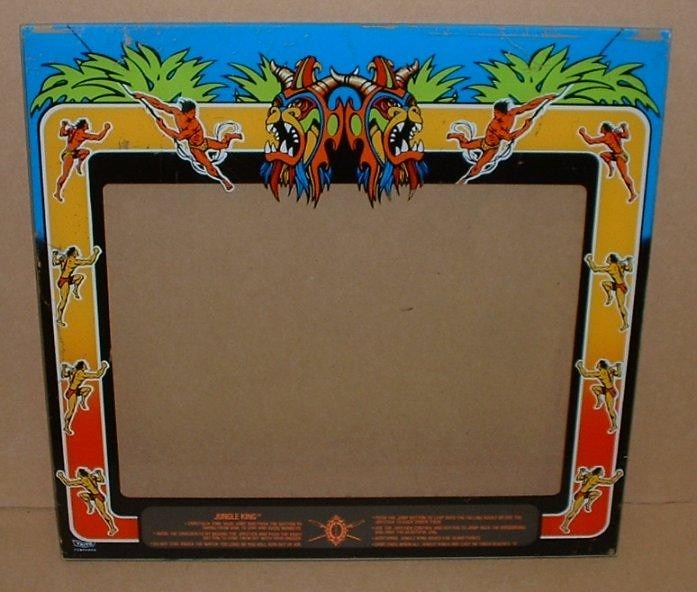
apart from the fact that the instruction card at the bottom is an extra piece attached from behind, have a look at the top of the bezel where the "tarzans and the masks" are. have you noticed the cutout? this is not present on the reproduction and extremely difficult (if not impossible) to duplicate. i might give it another try with a second printout, but i want to replace the repro bezel with an original eventually!
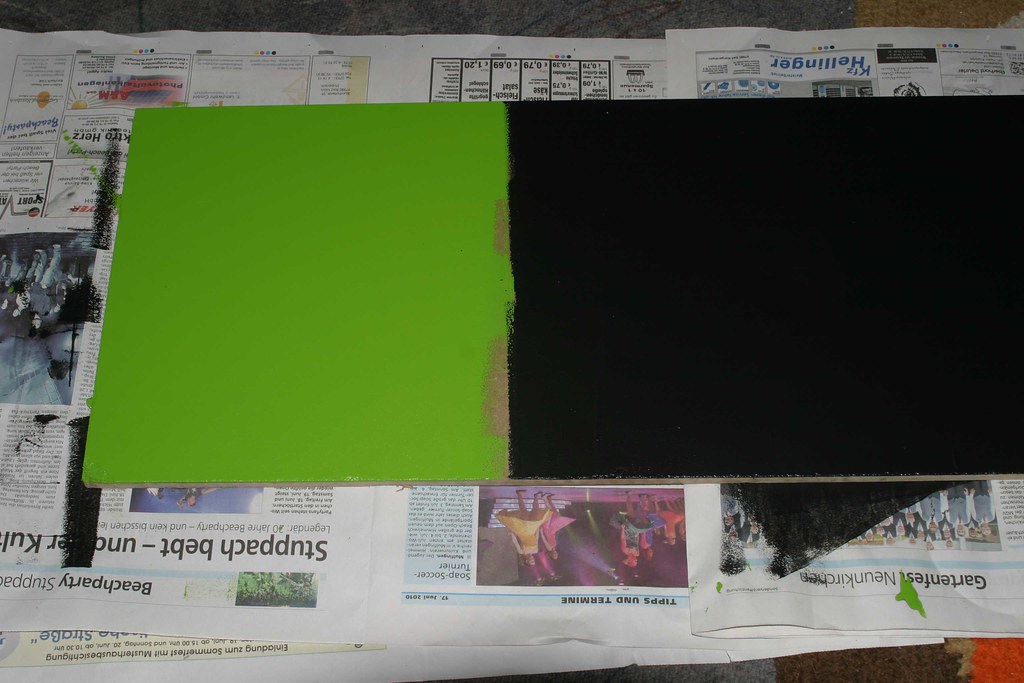
i'm turning my attention to something else: the stencil problem i described above! in order to do some more tests, i got myself a piece of mdf wood (which is close to the original material) and painted it with the individual base colors!
spare stencils applied

after painting a couple of layers (sorry, no picture!) and giving the paint some time to dry, i'm slowly removing the stencils
great results on black

no problem with the copyright stencils on light green either
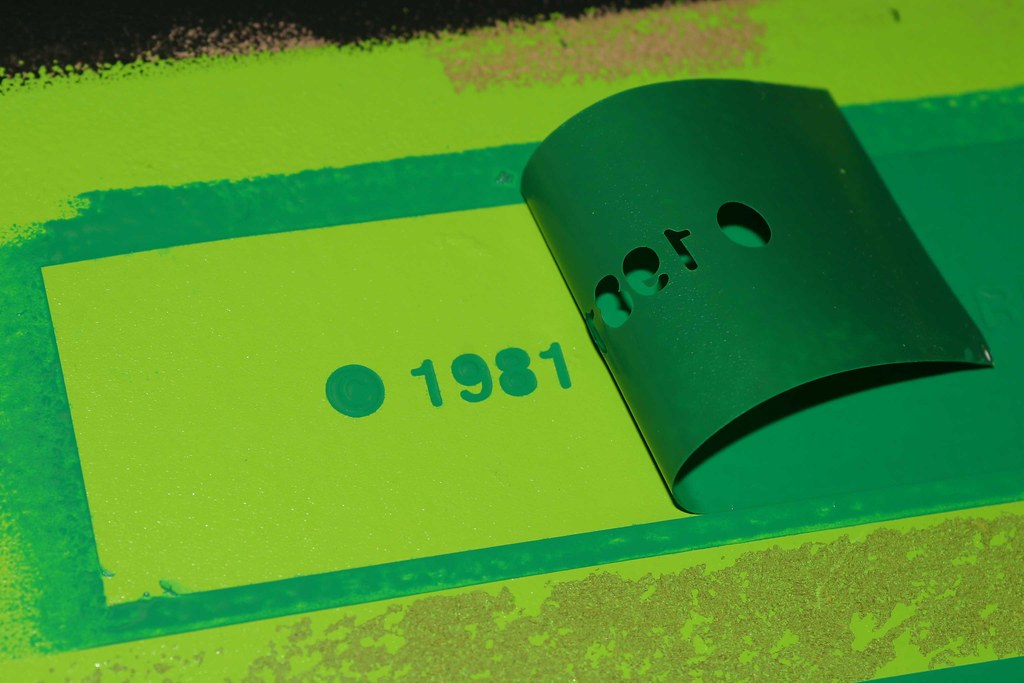
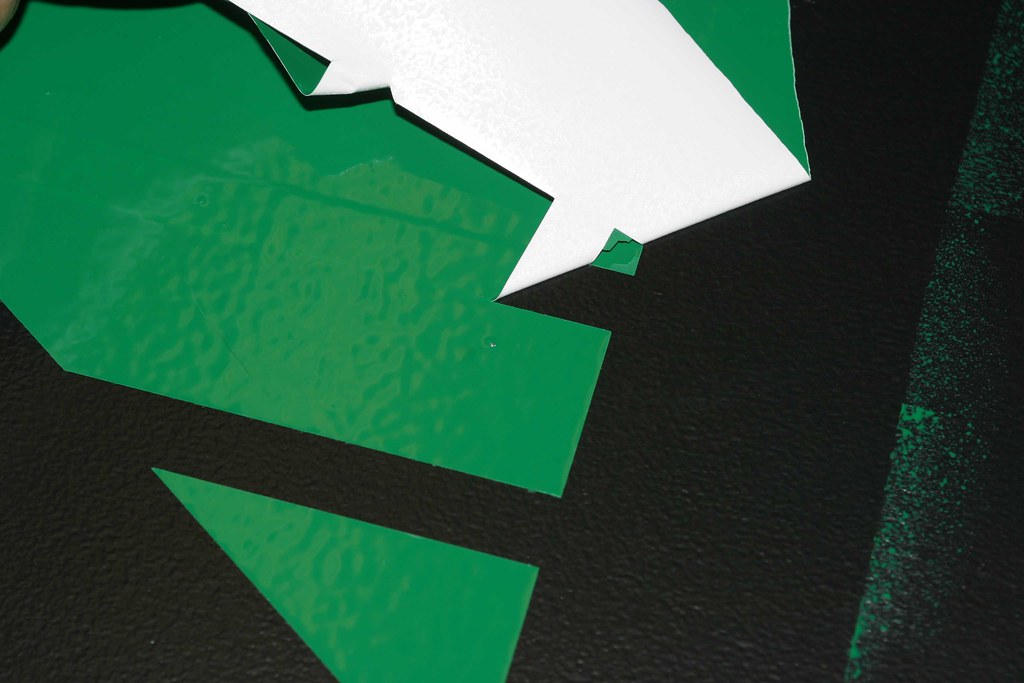
however, when i'm pulling off the bigger stencil, almost the entire light green layer comes off with it
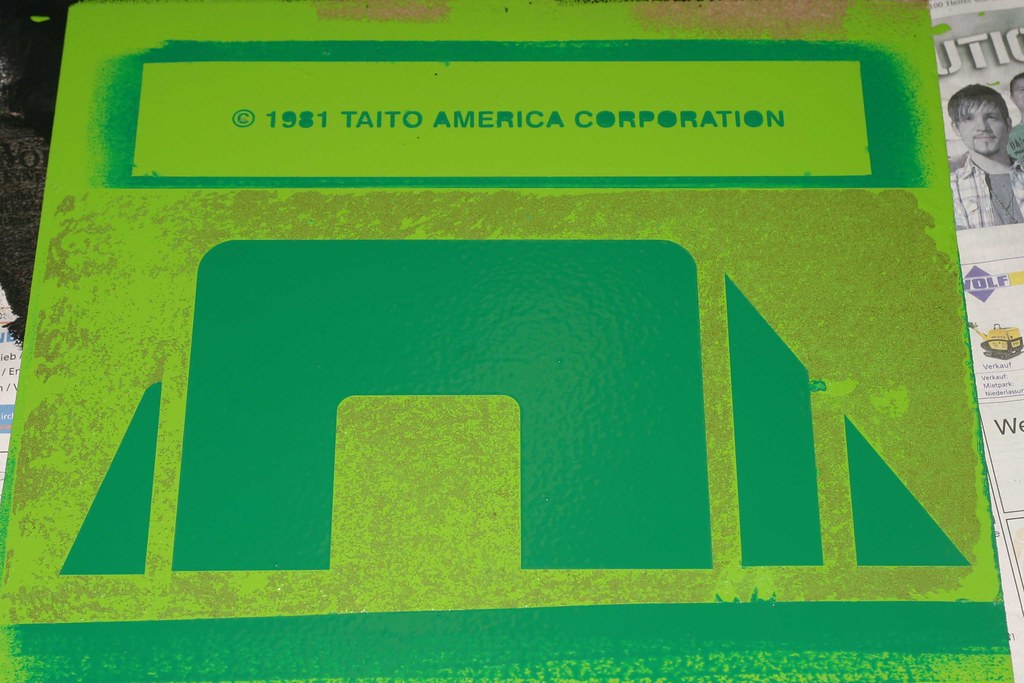
the mess in detail
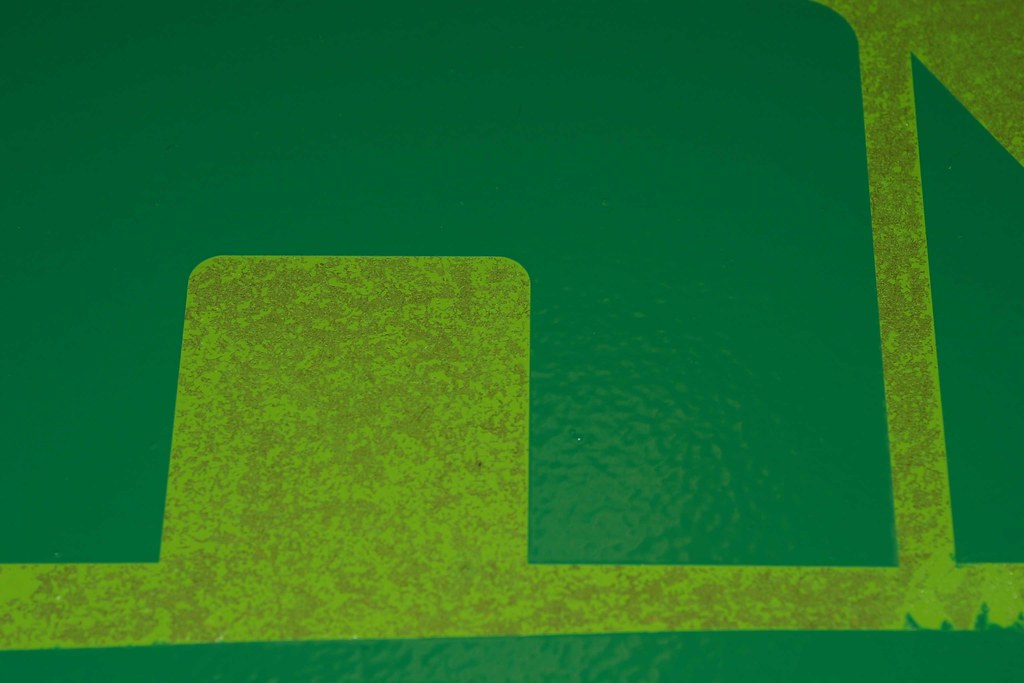
"why does the copyright message work and the rest doesn't?", you might be thinking. i have the answer for you

! i didn't give the light green paint enough time to dry completey before the first stencil job, i only waited for two days before applying the stencils. i received the copyright message stencils much later and therefore the light green layer had much more time to dry (i'd say five days). for that reason, the base layer wasn't dry yet when i put the first stencils on, but it was completely dry for the copyright message stencils. make sense?
one thing i need to change however is the thickness of the dark green paint: i put too much on the stencils which made the edges almost disappear. the individual layers have to be thinner! for that, i'm doing another test run, i want this to be perfect
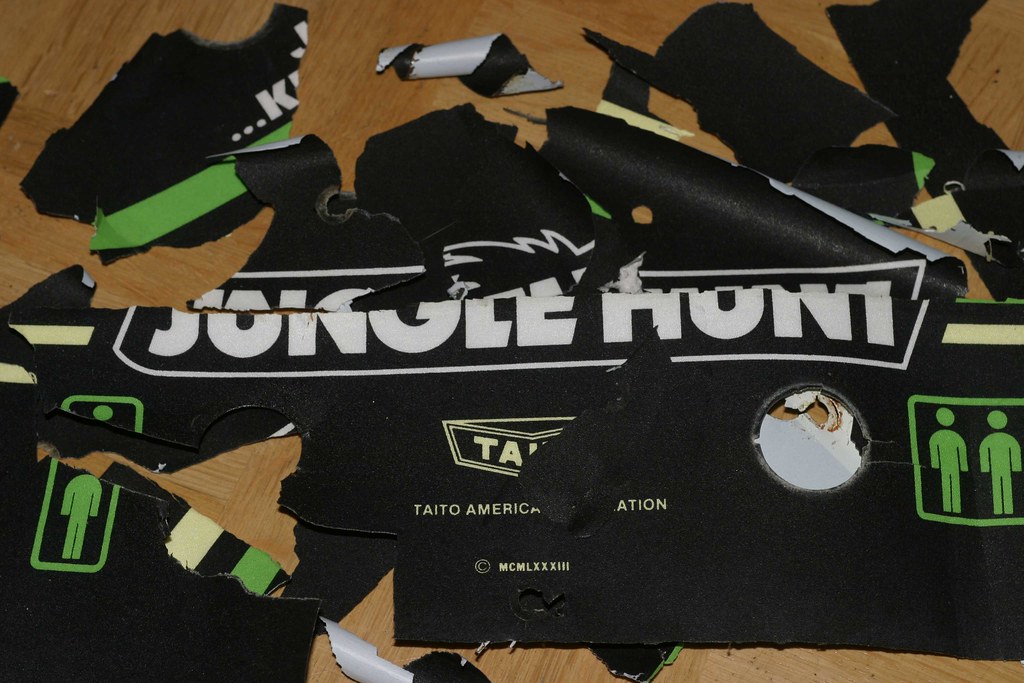
last thing for now: the jungle hunt control panel

while i think that the jungle
king artwork totally rockzzz, the jungle
hunt artwork on the other hand totally suckzzz - so it has to go!

the panel after a rough removal of the overlay - still a lot of glue on it

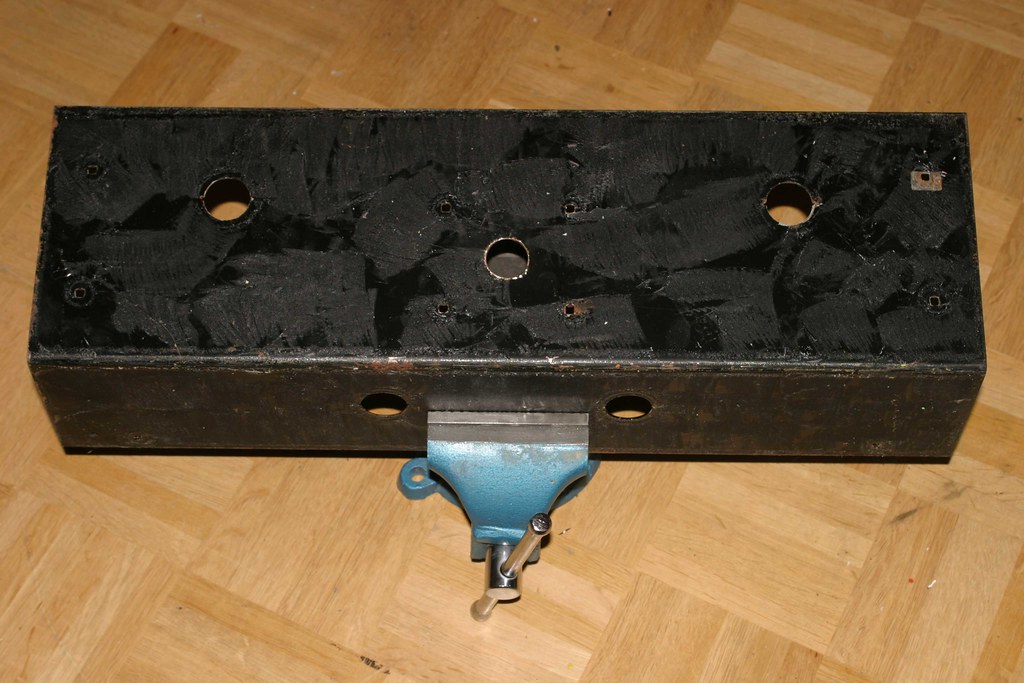
after tons of paint thinner and a gigantonormous headache following the use of that stuff, the control panel is ready for the roadtrip to the powdercoater!
the hunt is over, bring on the king!!!
 to be continued ...


