the restoration continues ...inspired by scr33n's fabulous defender stencil job, i decided it was time to finish my jungle king paint job as well! as you might (not) remember, i was having trouble applying the paint without getting tons of hairs / dust onto the paint layer. while the final outcome is not perfect, i'm extremely happy with how it turned out, but before showing you the money shots, here's what went down

after each layer had dried, i sanded lightly in between coats
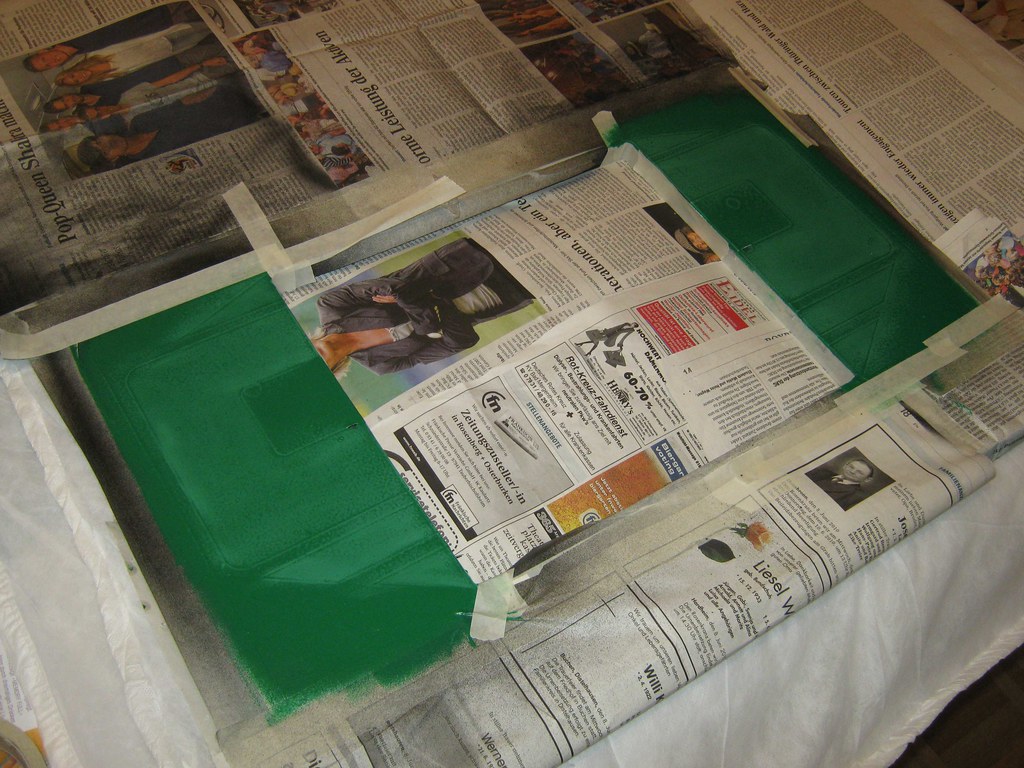
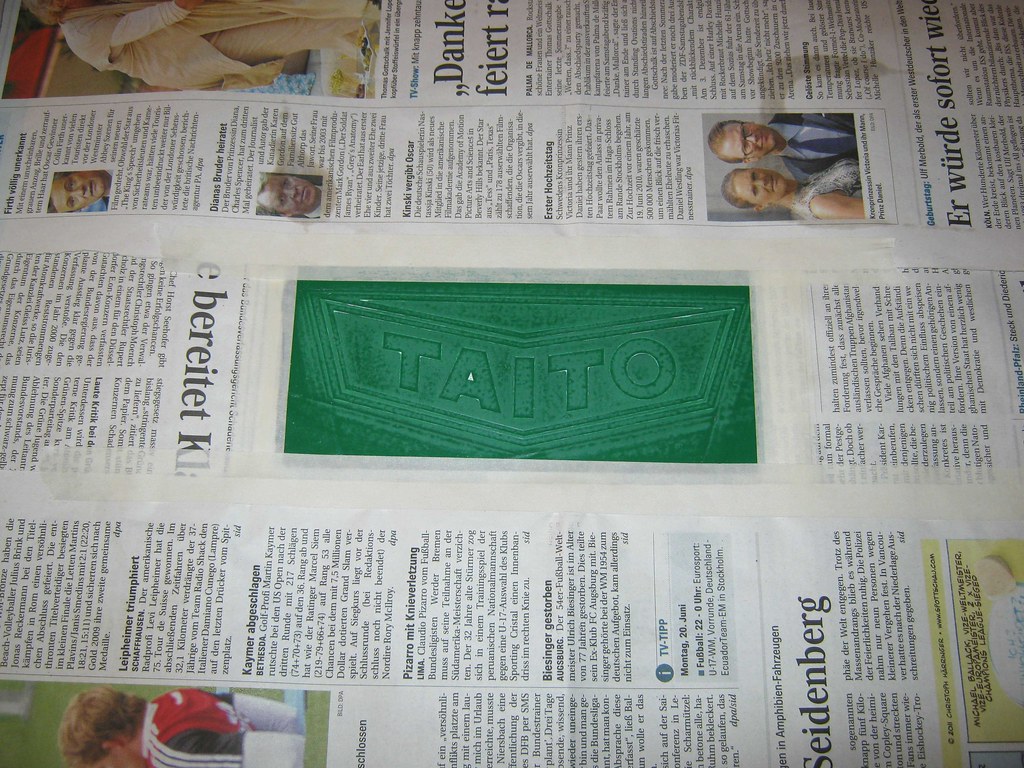
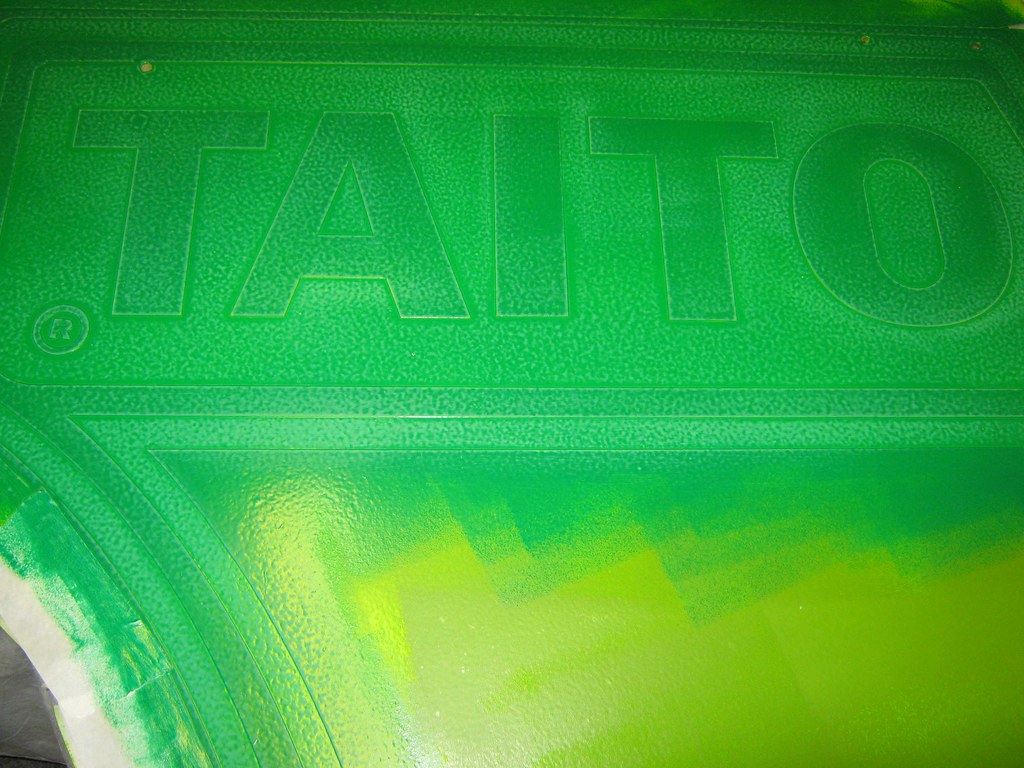
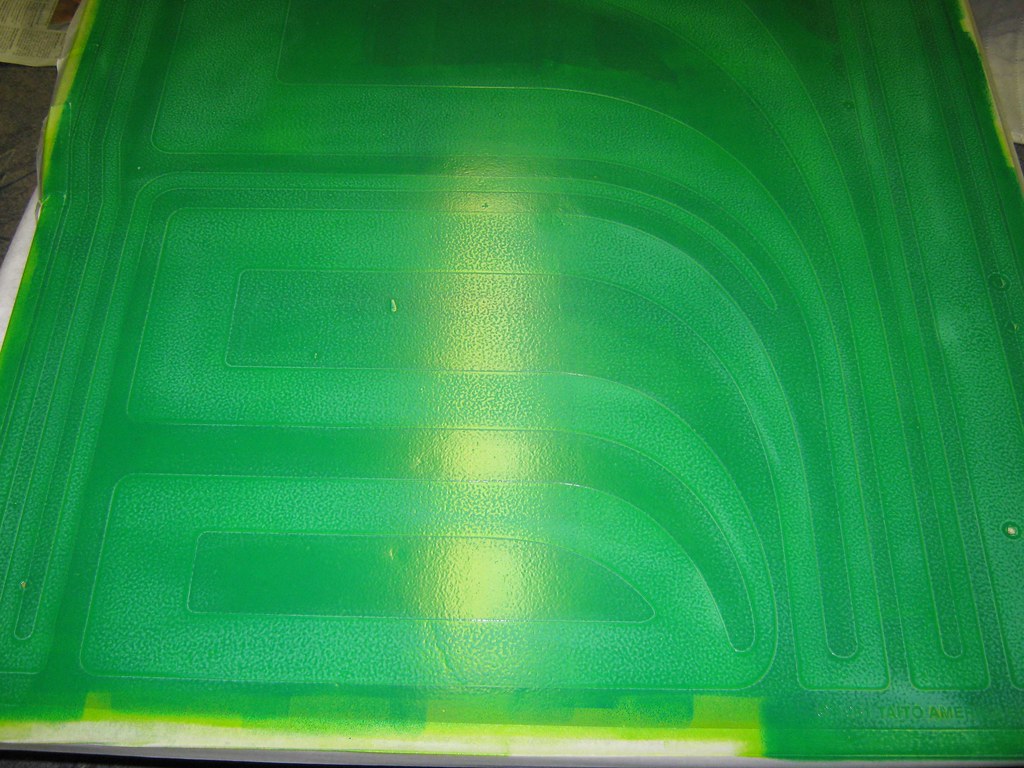
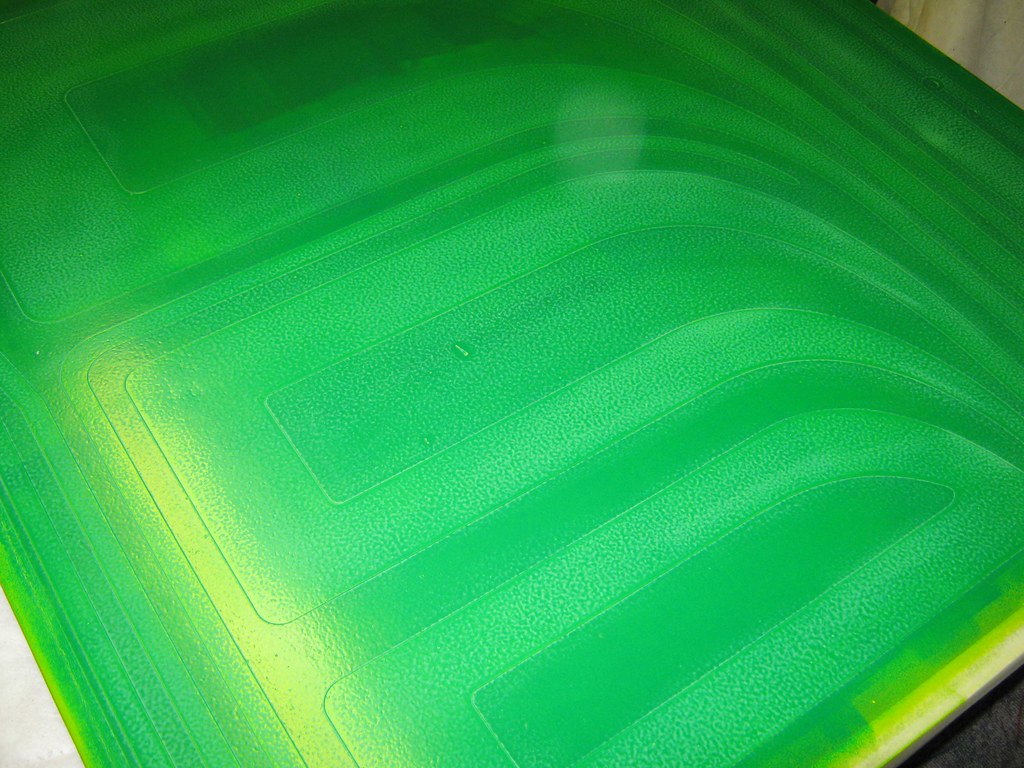
paint layer number three done
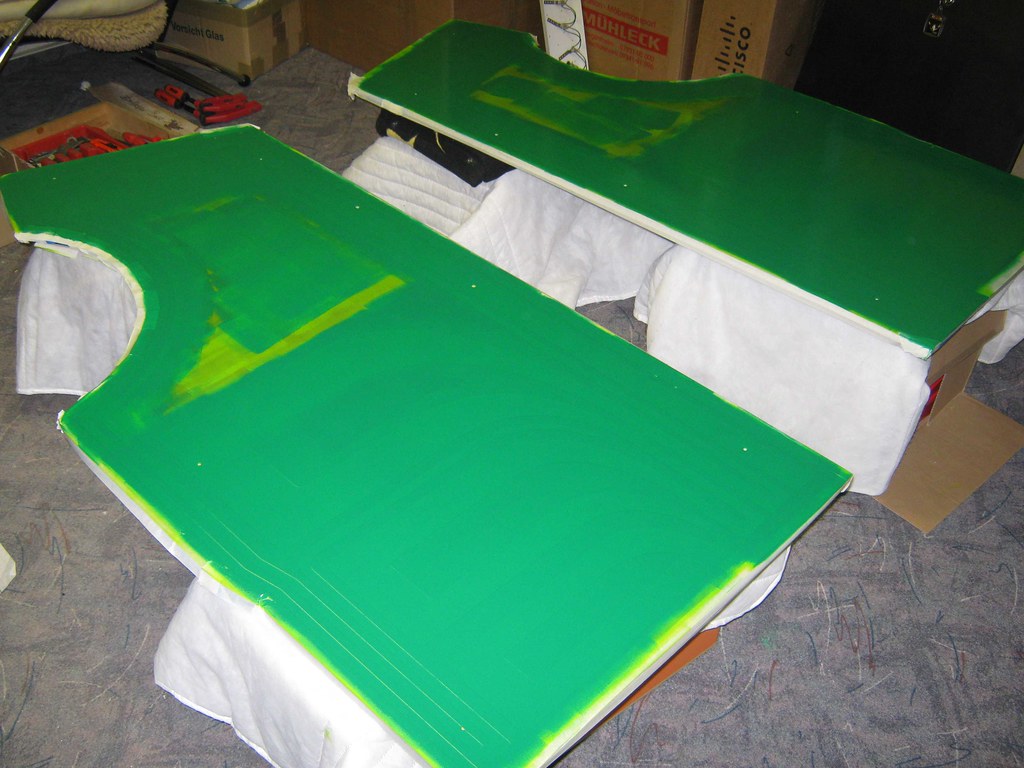
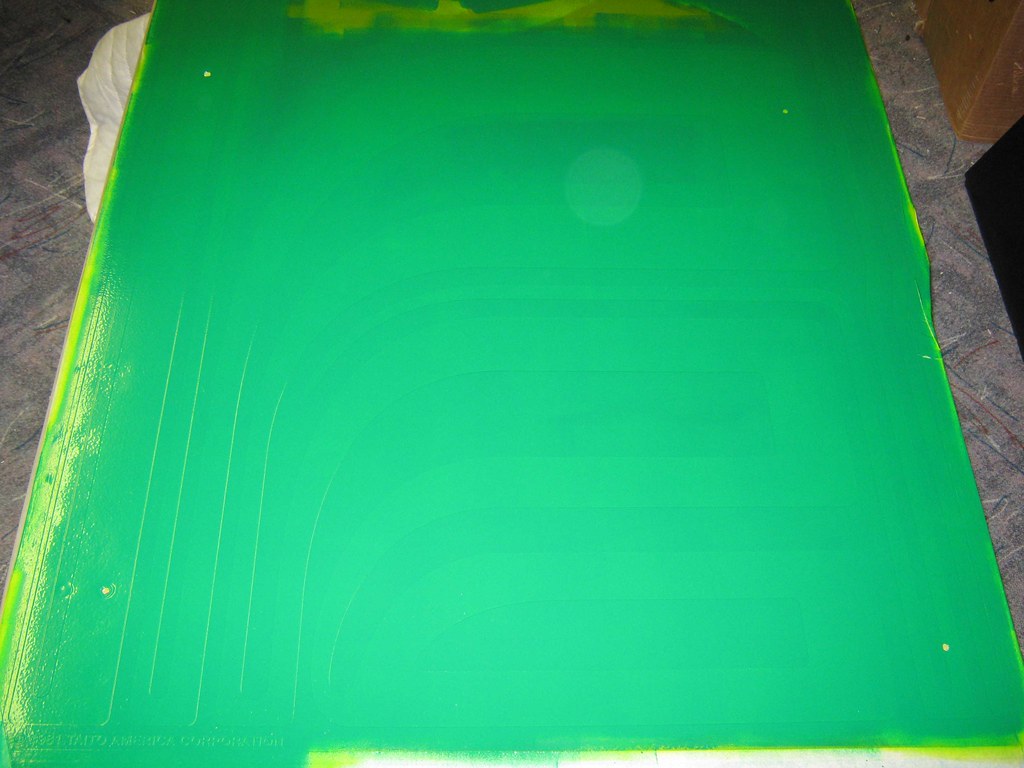
before rolling on the final layer of dark green paint, i added a new paint conditioner to the paint. i had read about it on the internet and it is supposed to even out the color, to create a flat surface and to prevent the orange peel effect. if i had known how fabulous that stuff was going to work, i would already have added it to the very first layer!
reminder to myself: paint conditioner all the way!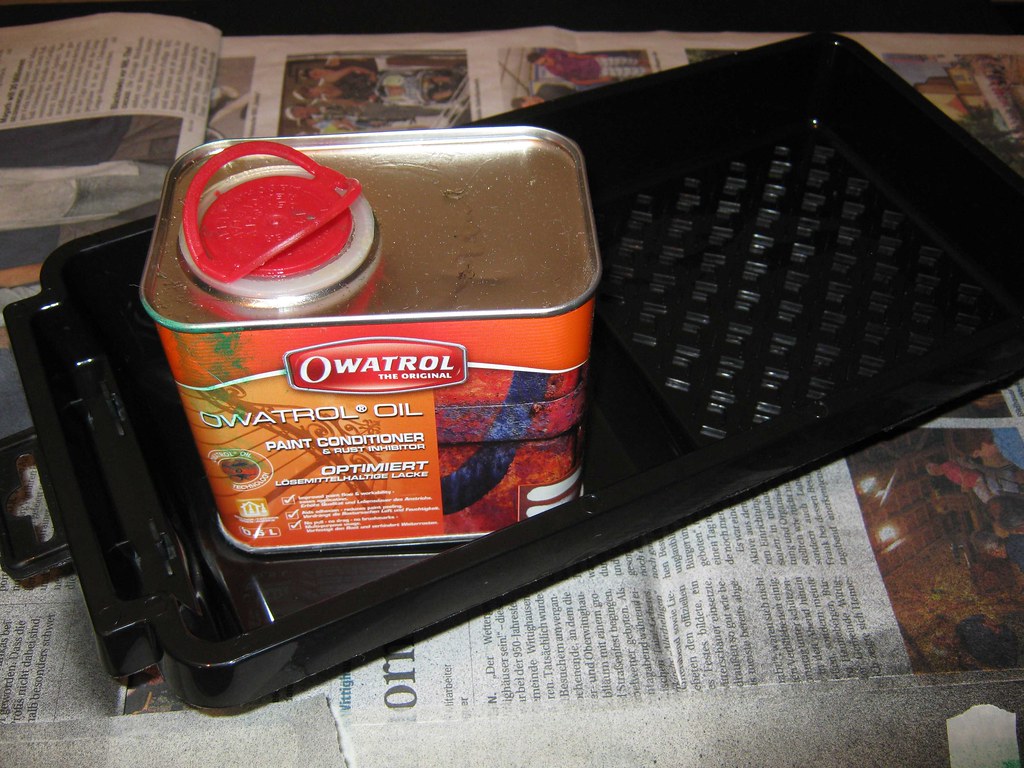
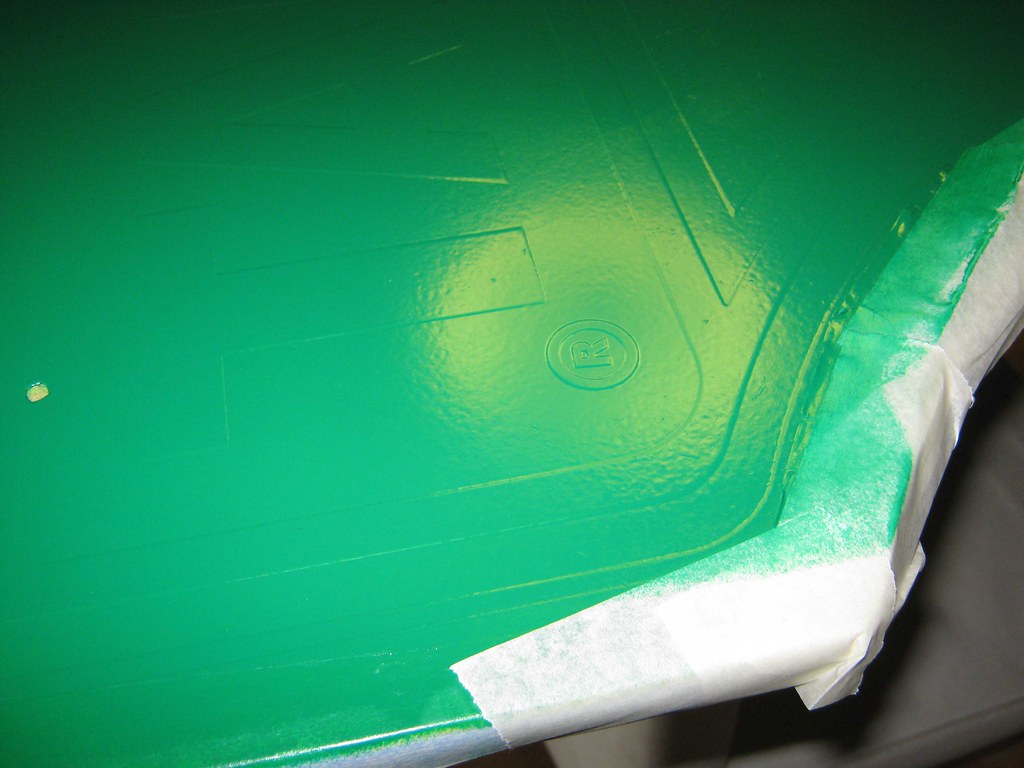
with the conditioner thrown into the mix, it was time for the final layer (part of the protection already removed on the following picture)
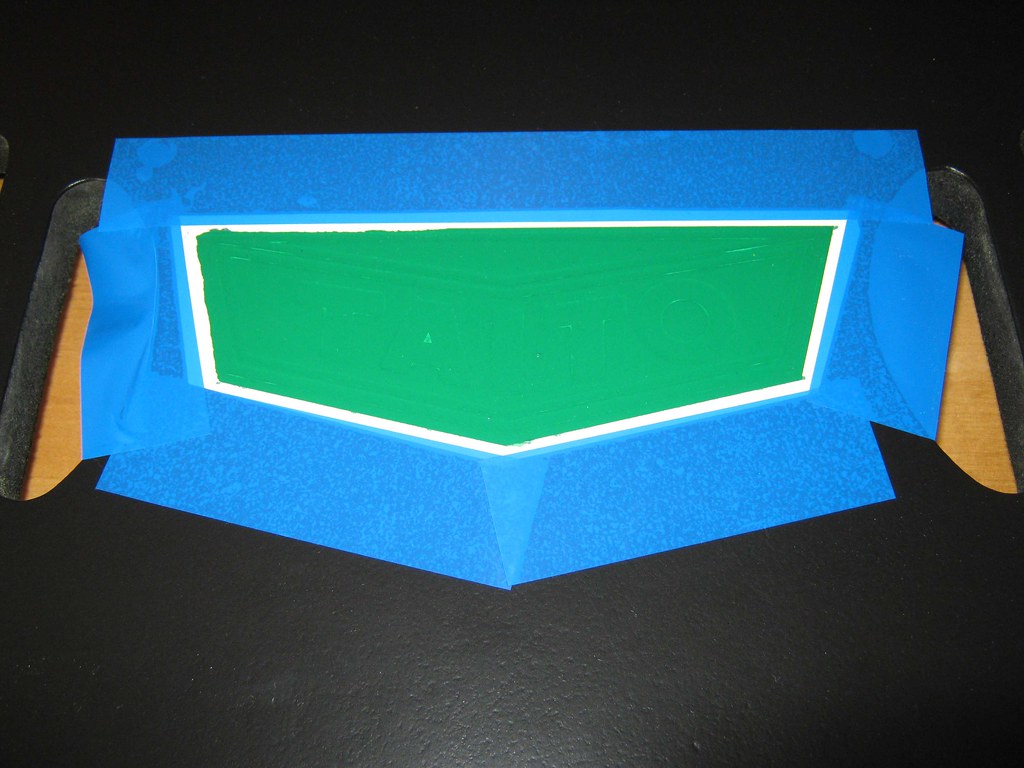
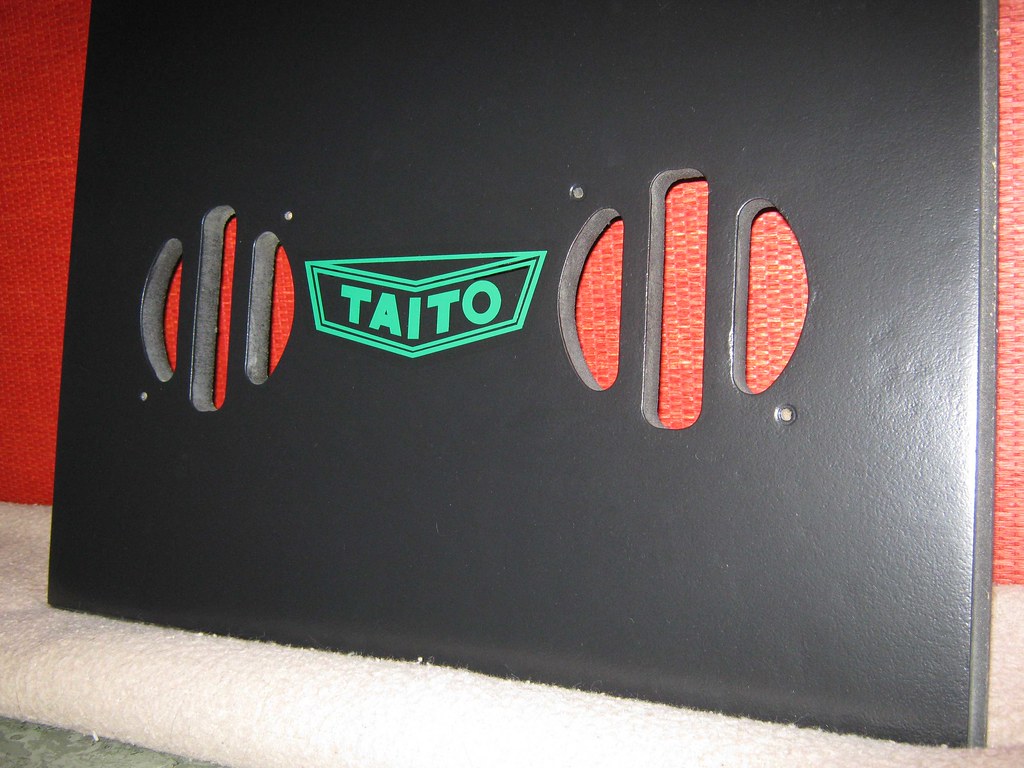
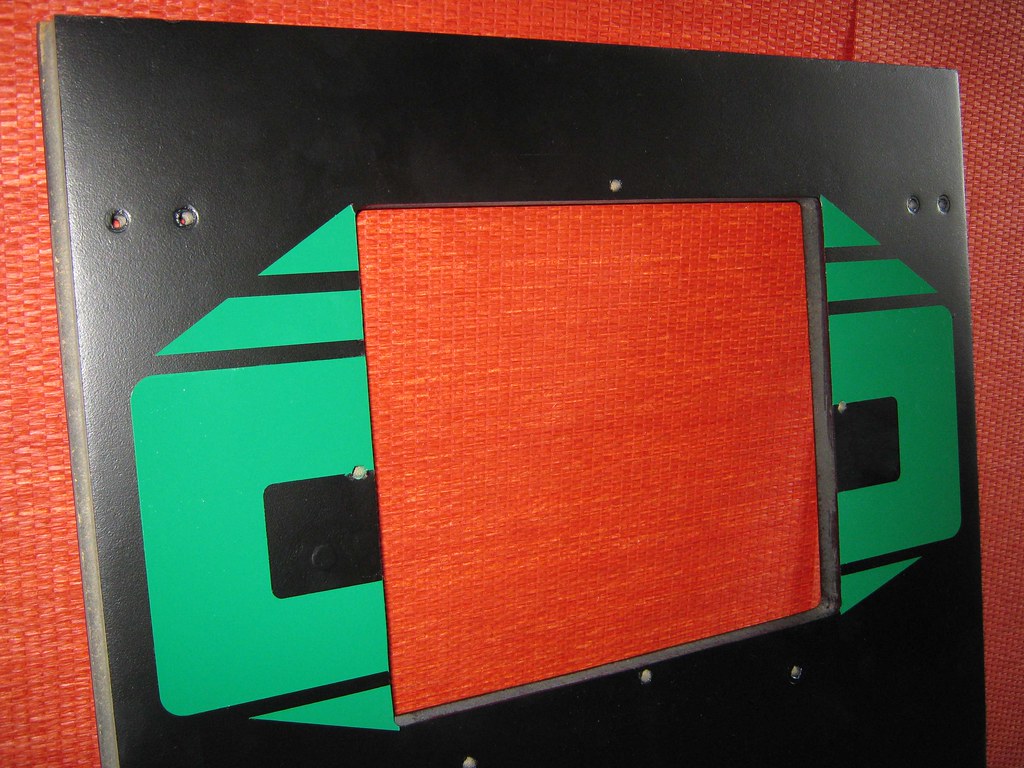
let's find out if the stencil job on the speaker board was a success

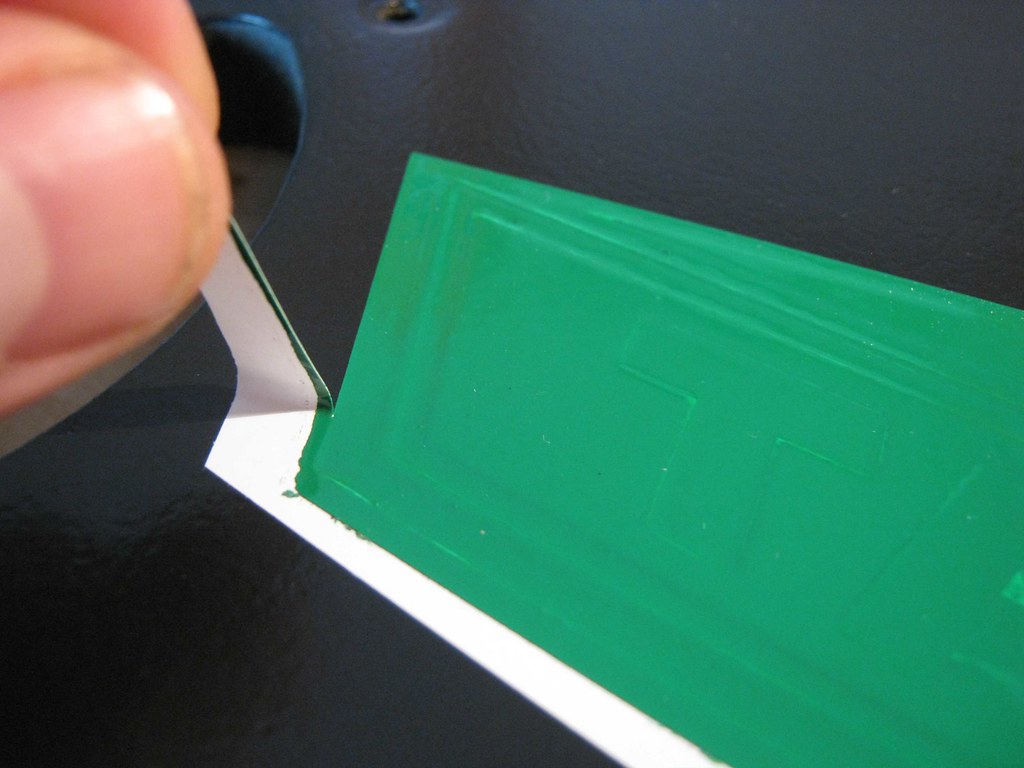
looking very good
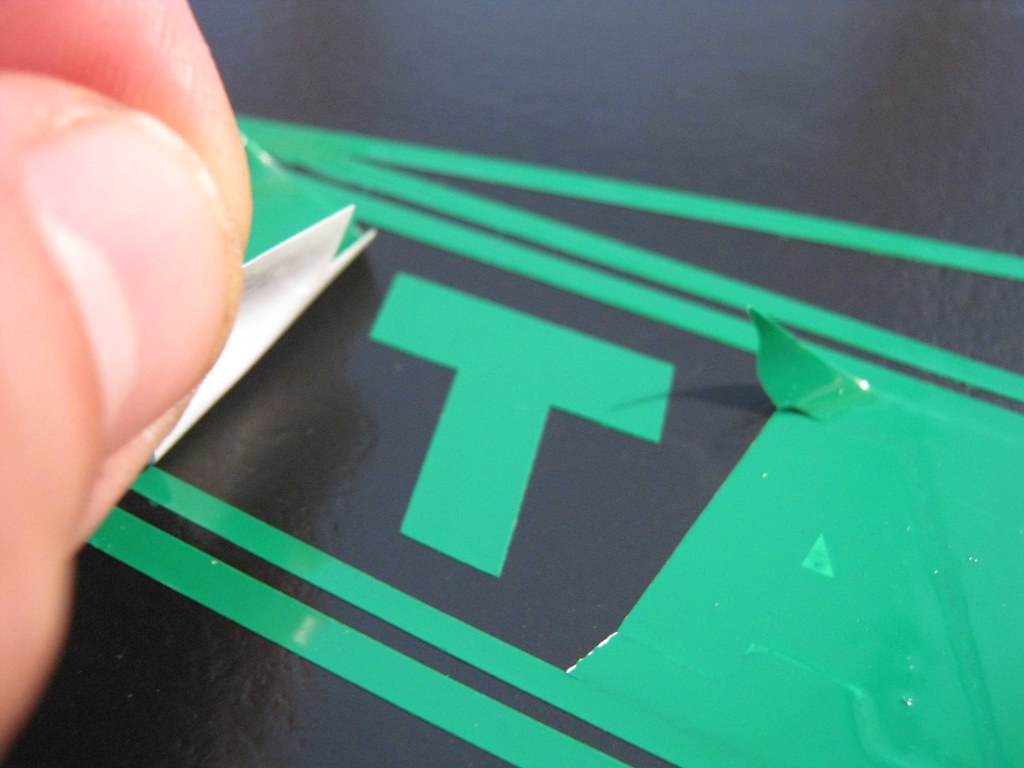
yes!

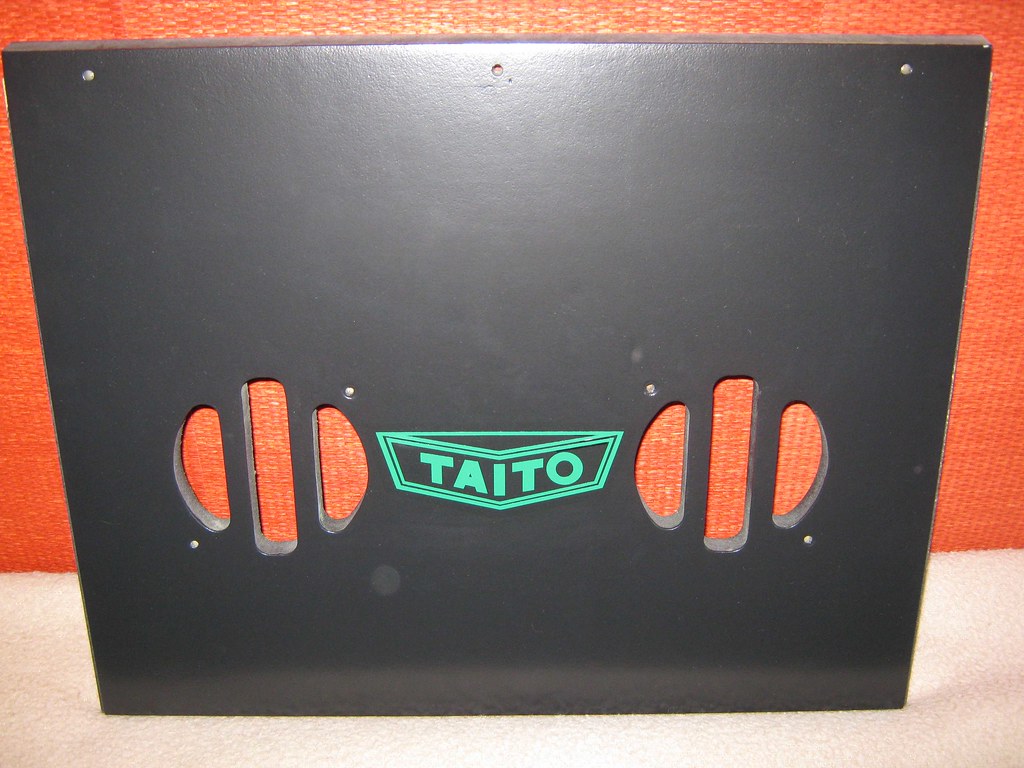
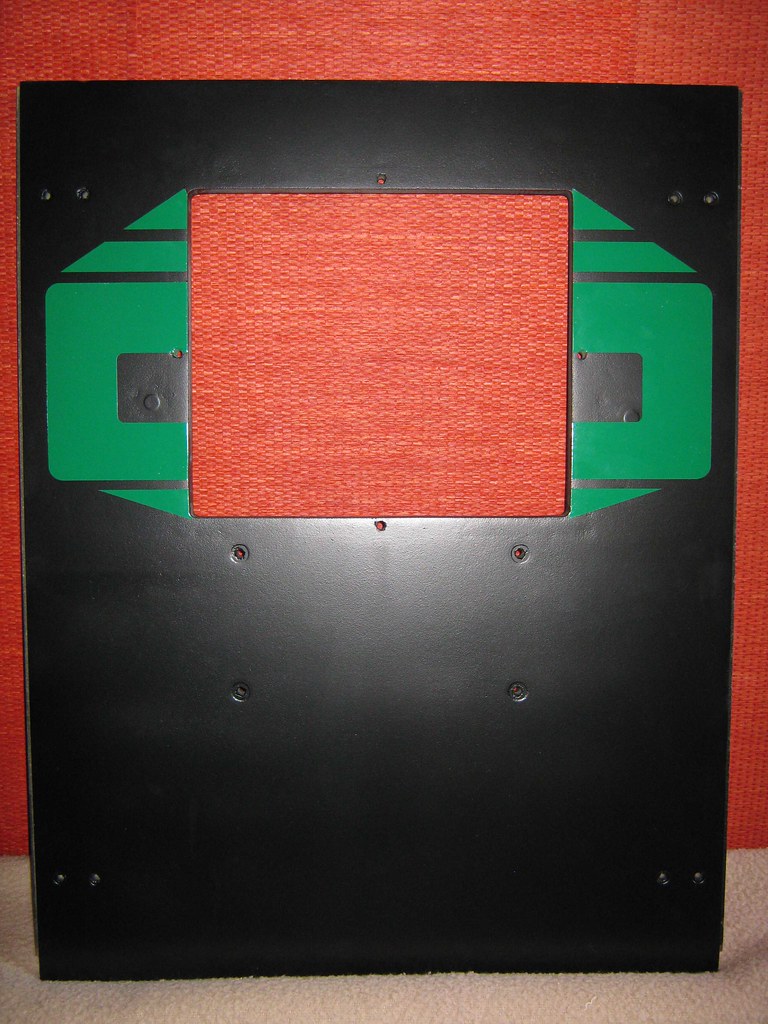
let's turn our attention to the front panel

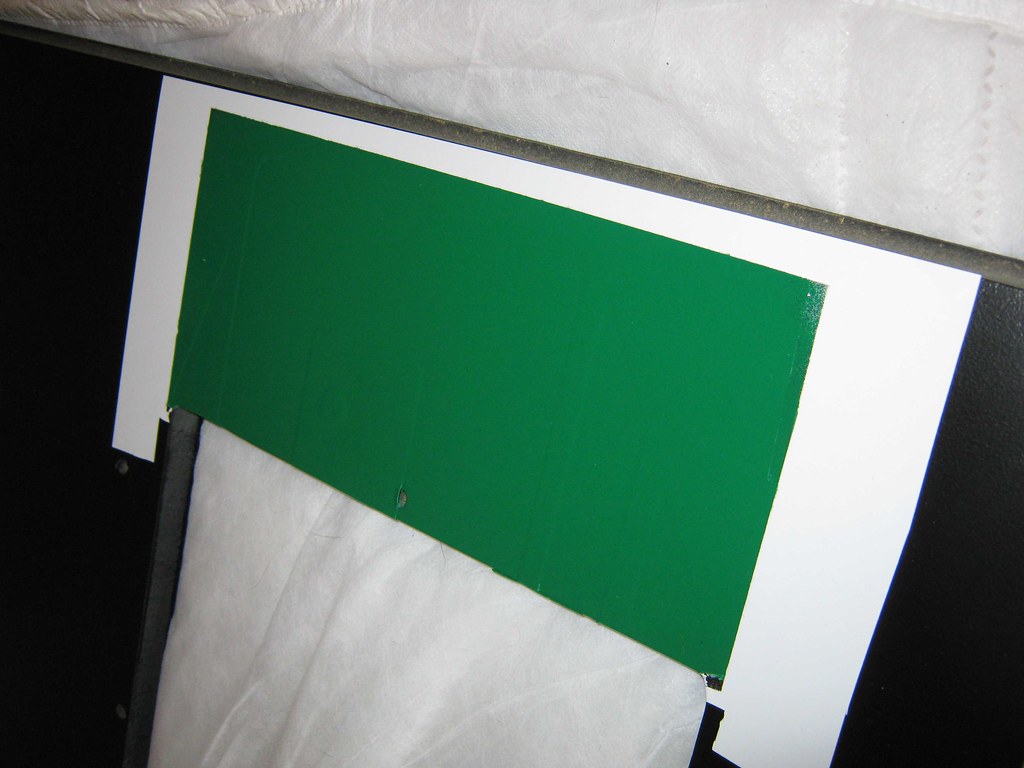
smooth finish
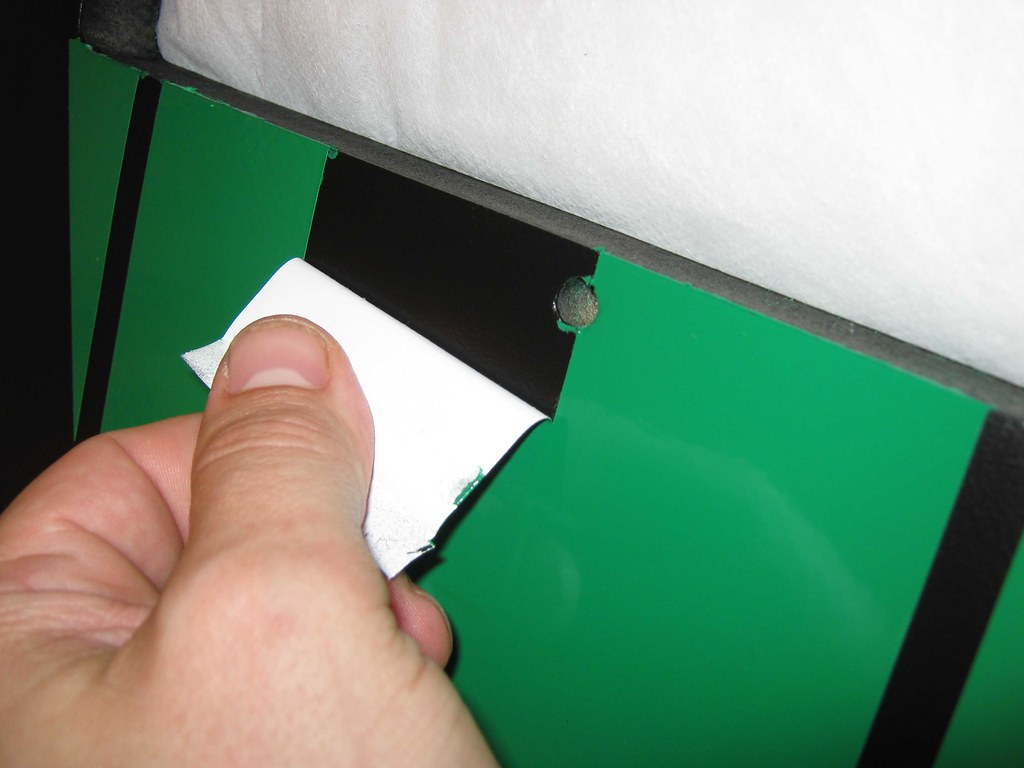 yes!!
yes!! 

fingers crossed for the most difficult (and most important) pieces: the sides

carefully removing the protective stripes
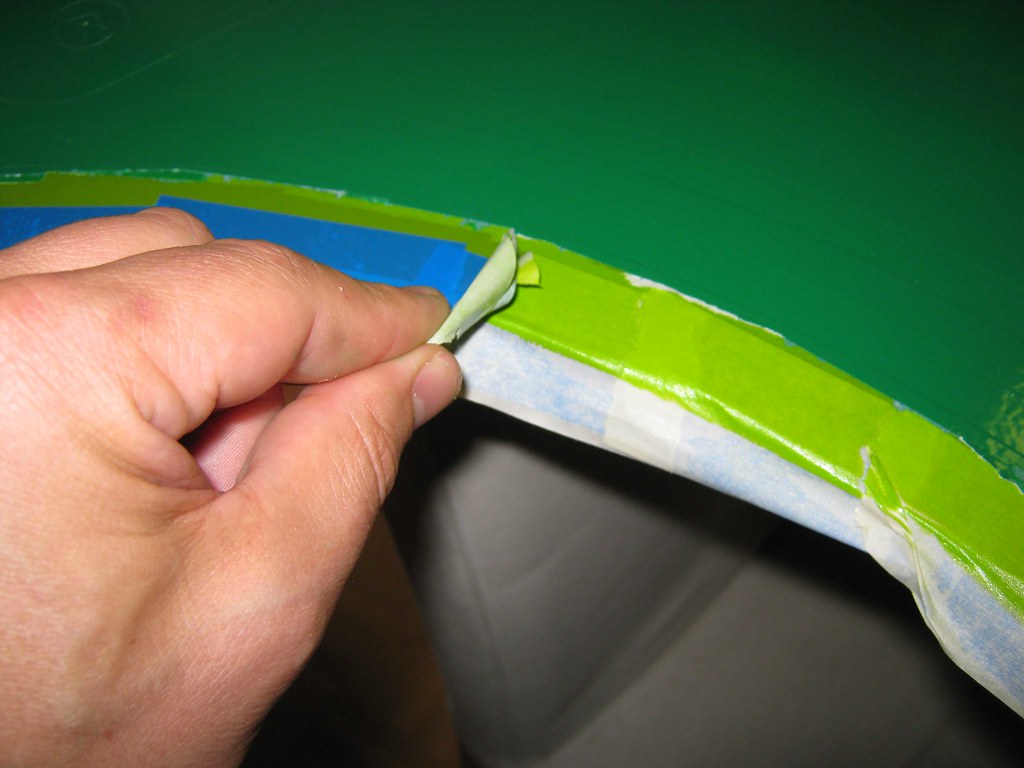
successful operation - but this was the easy part!
now on to the stencils! those first few seconds when you start pulling the stencils off are the most intense, because they already tell you whether this is going to work or not ...

as always, i'm being "helped" by my cat gnocchi
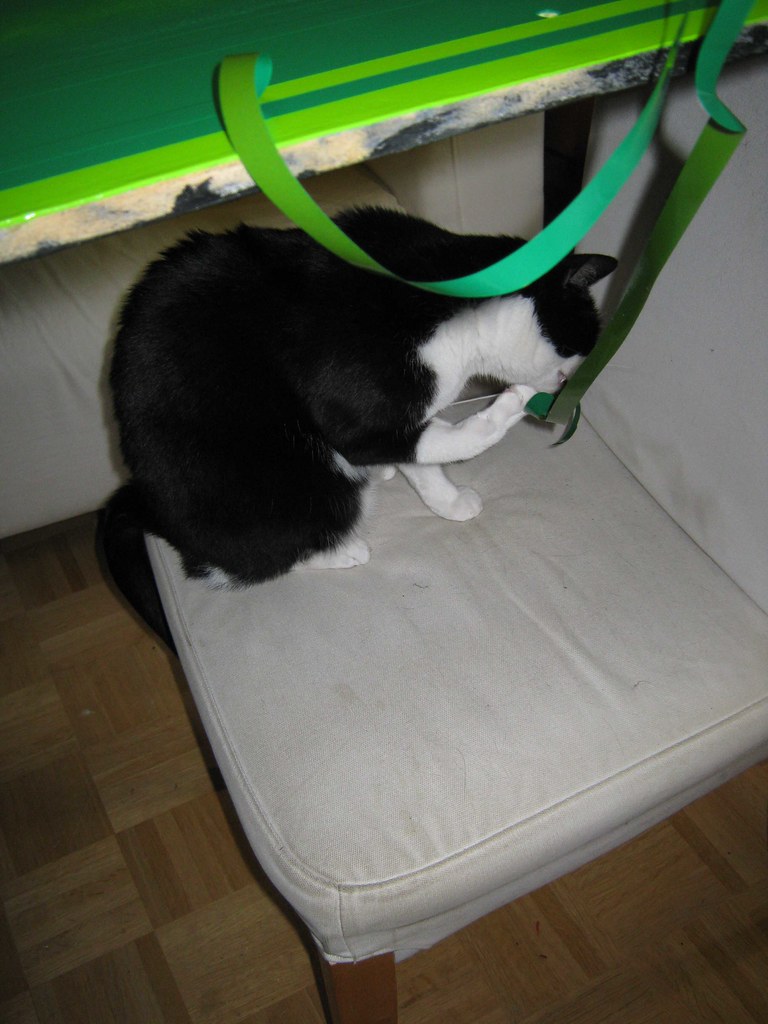
i have a feeling this is going to be a winner!

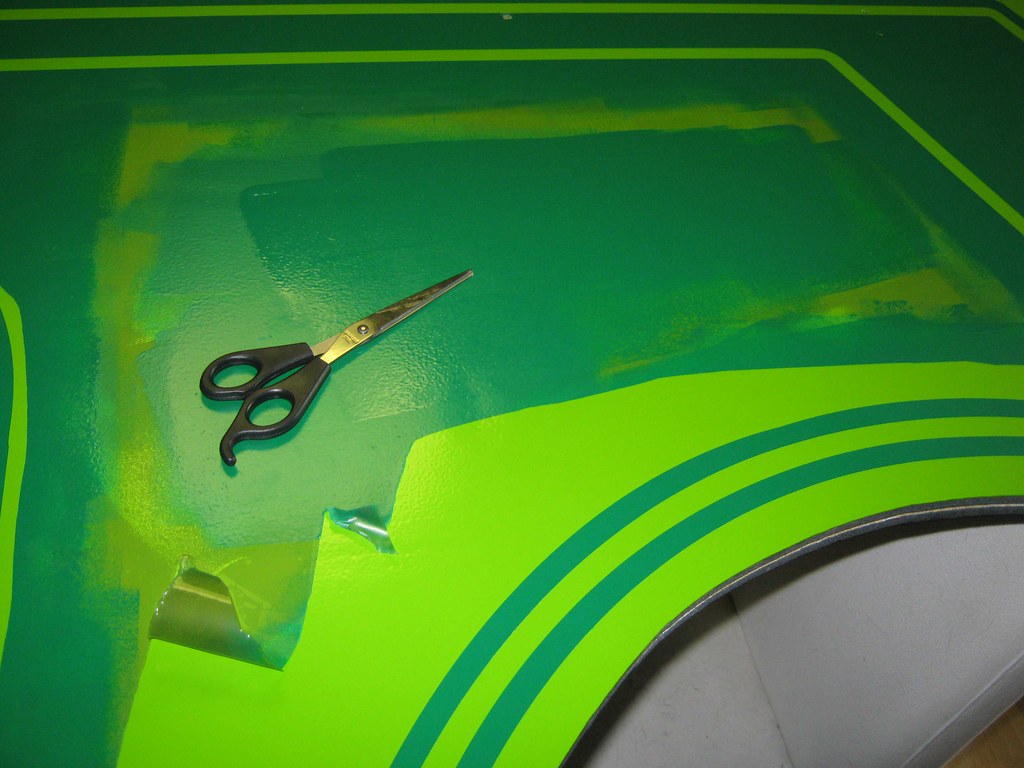
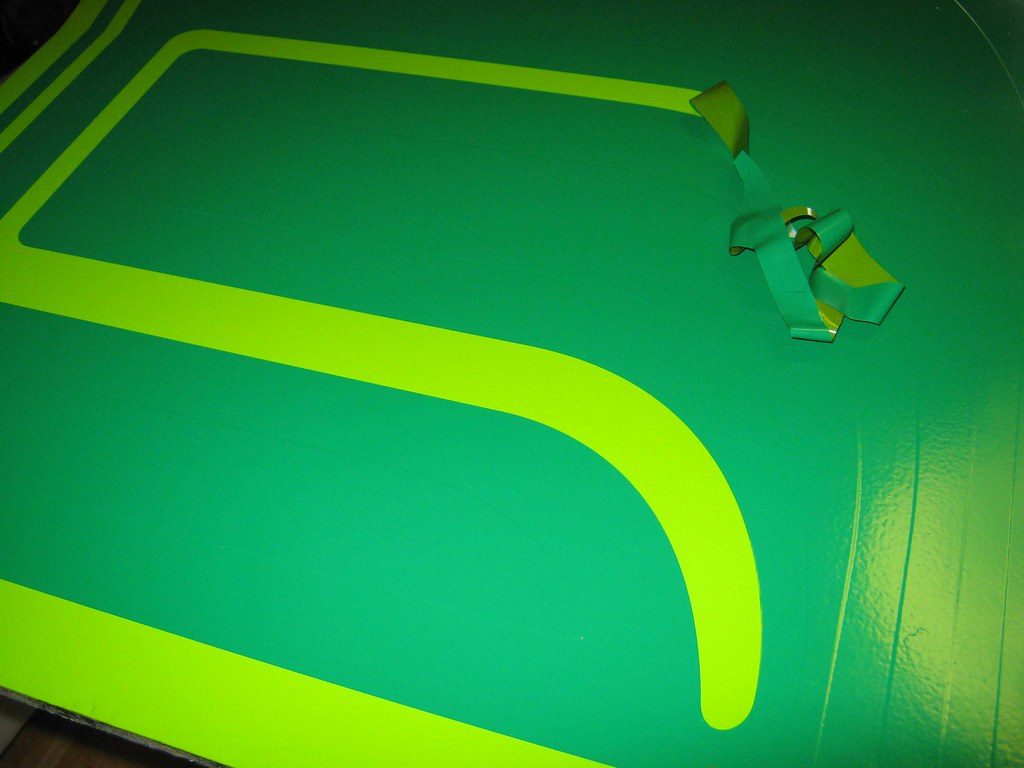
im approaching one of two critical areas: the copyright message
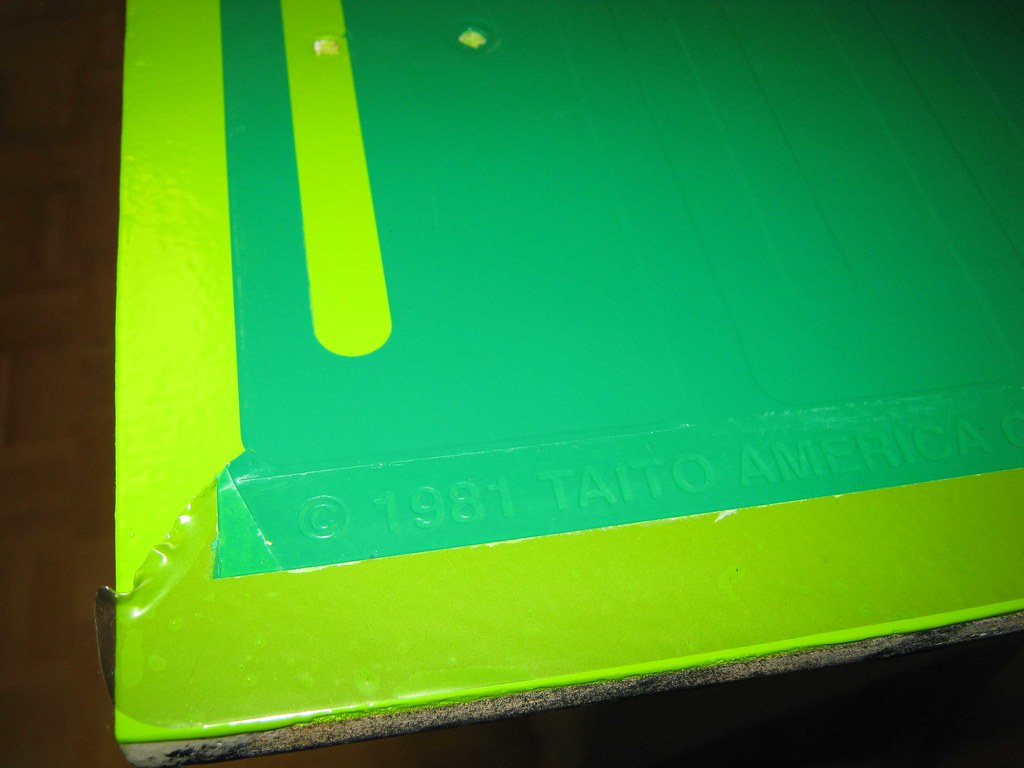
much easier that i had expected: no paint lifts at all!
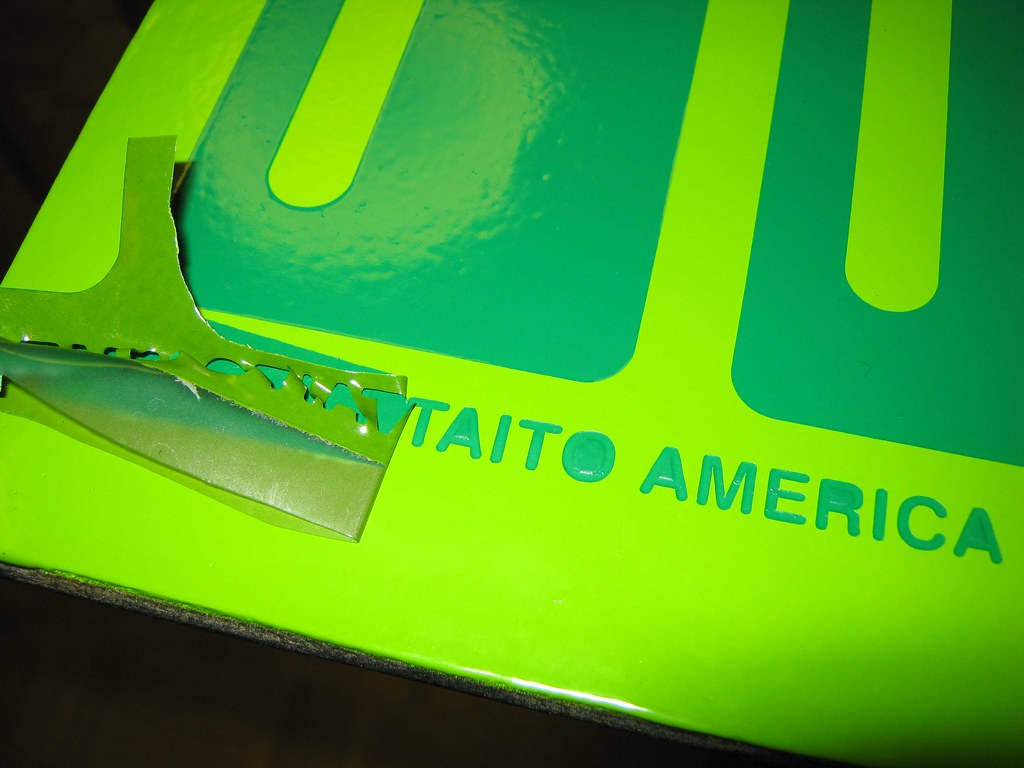
YES!!!


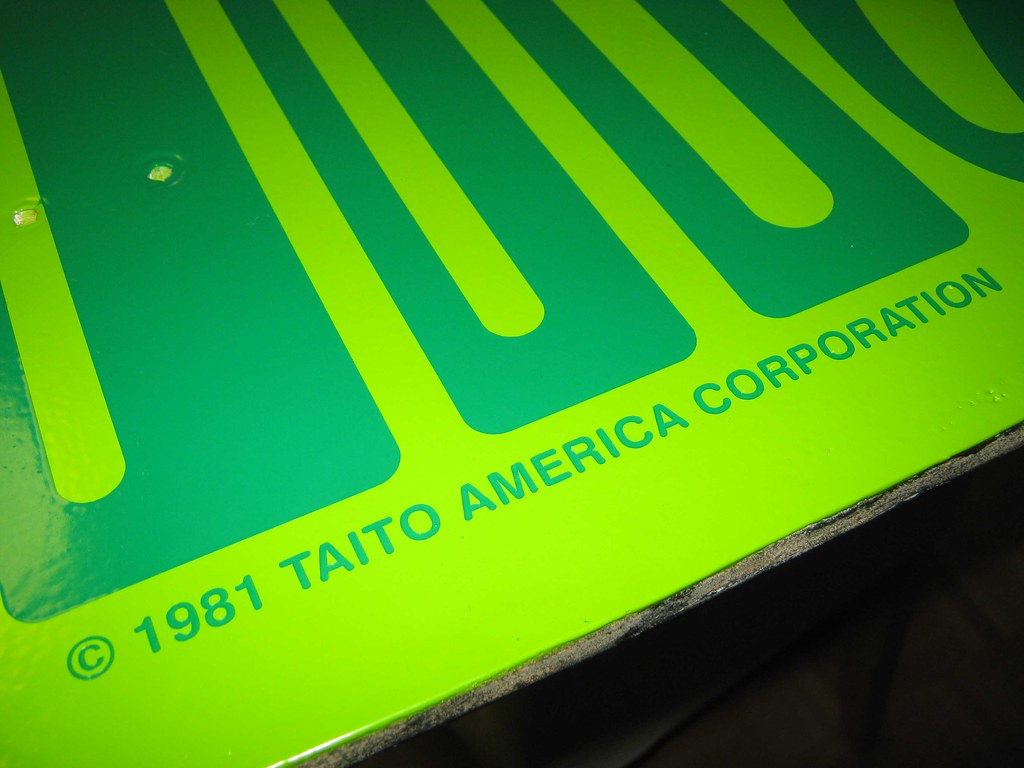
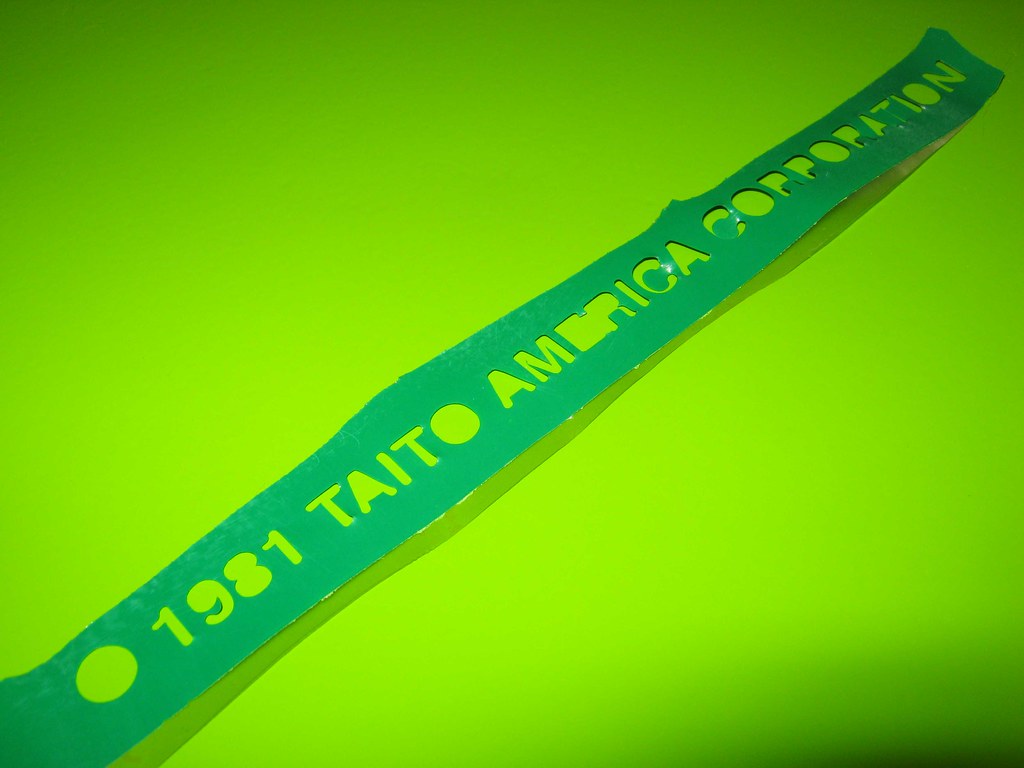
re-usable stencils?

one final thing to be revealed: the large taito logo at the top
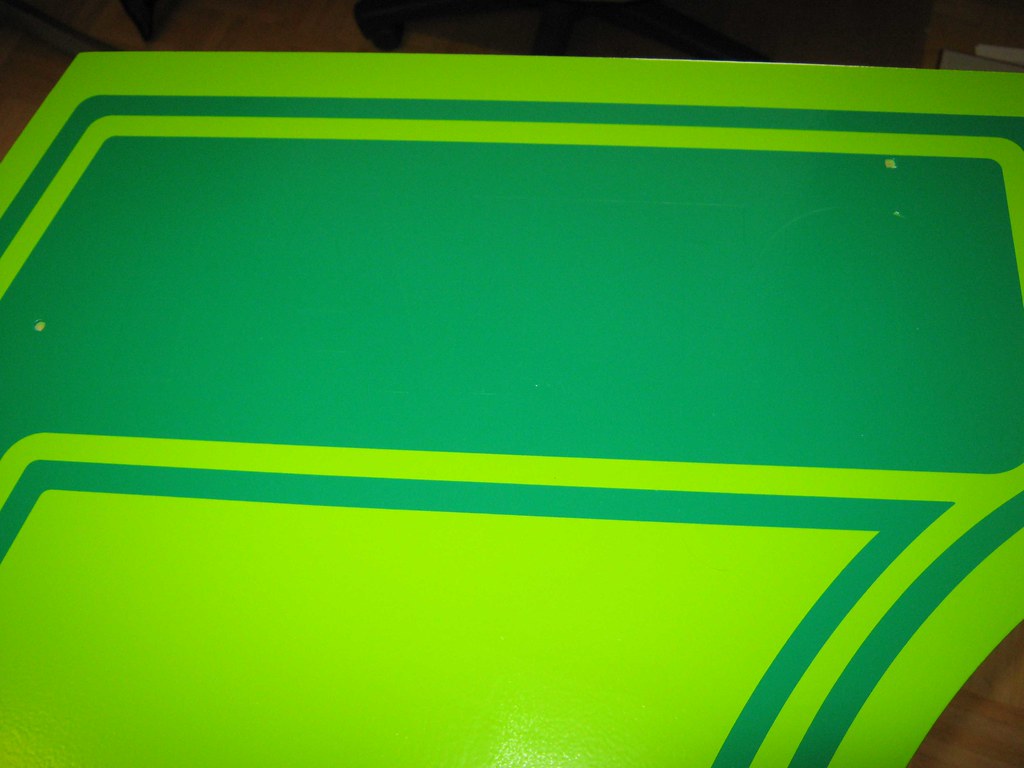
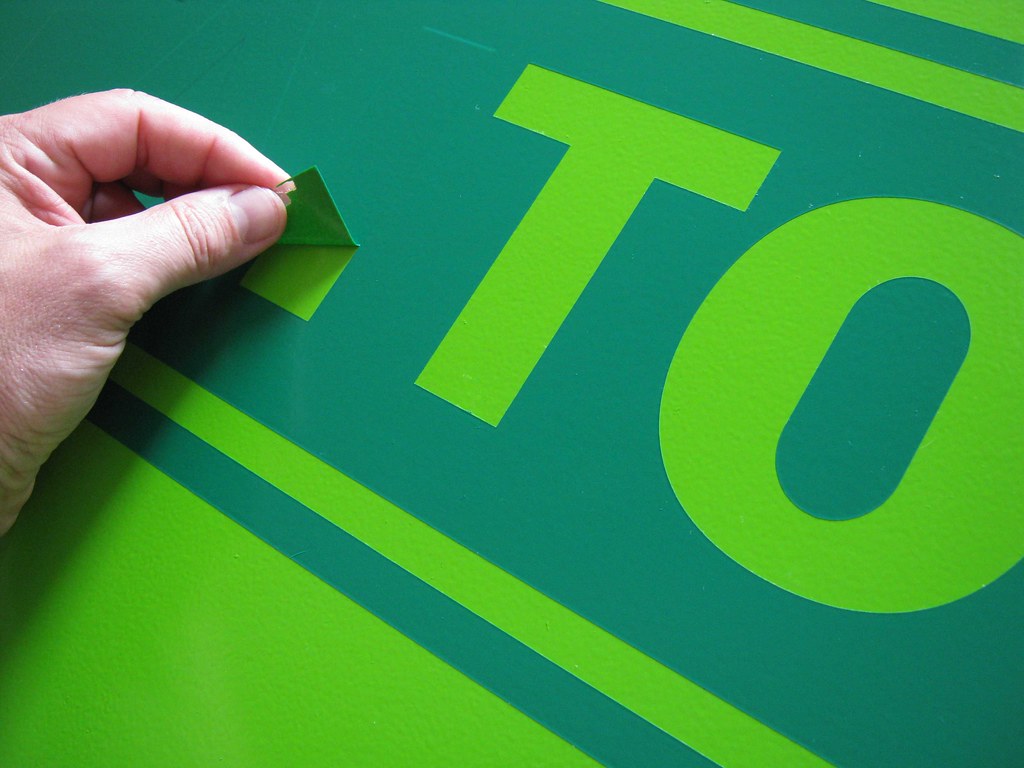
letters being unveiled!
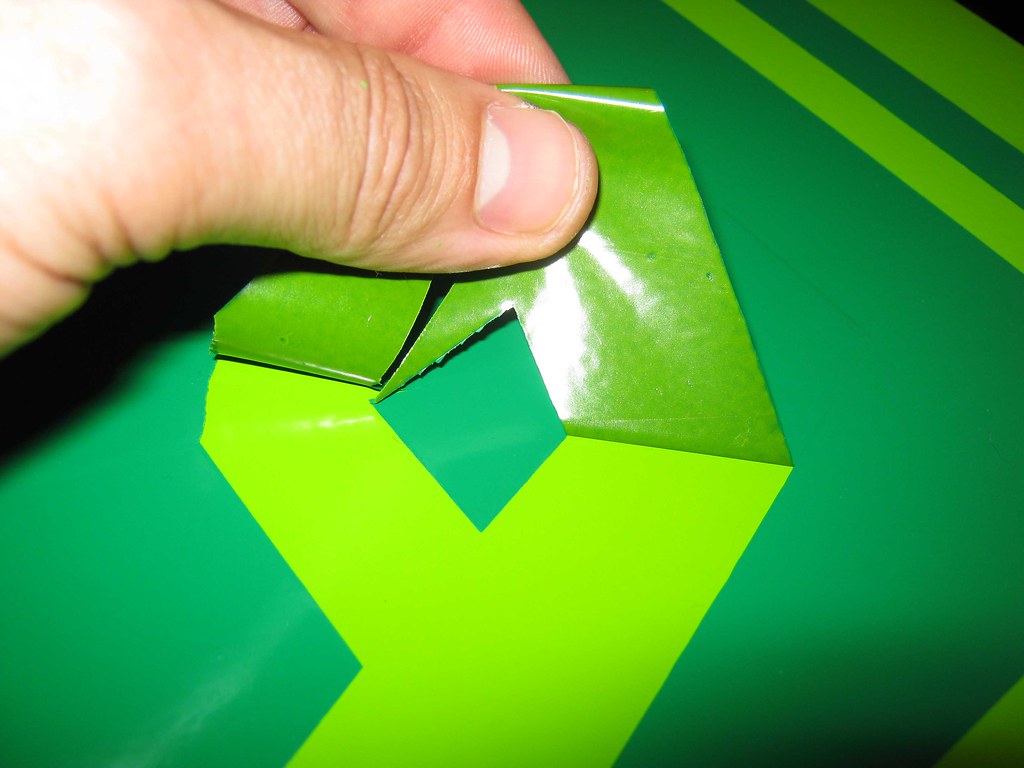
i can see an A

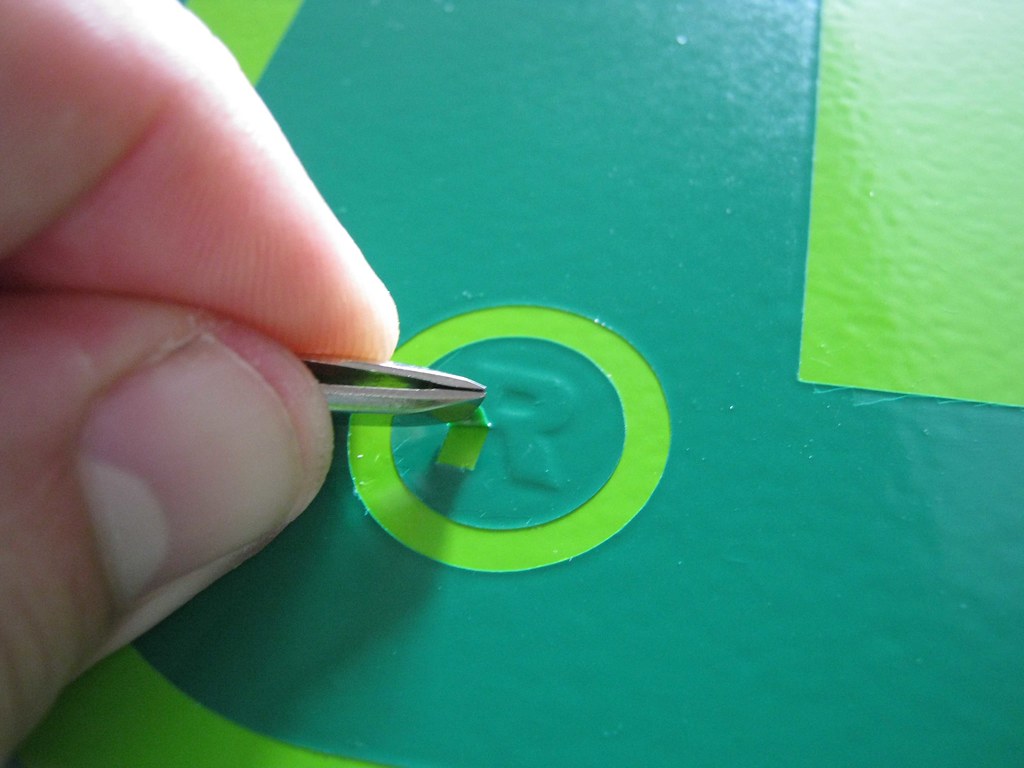
and the copyright symbol
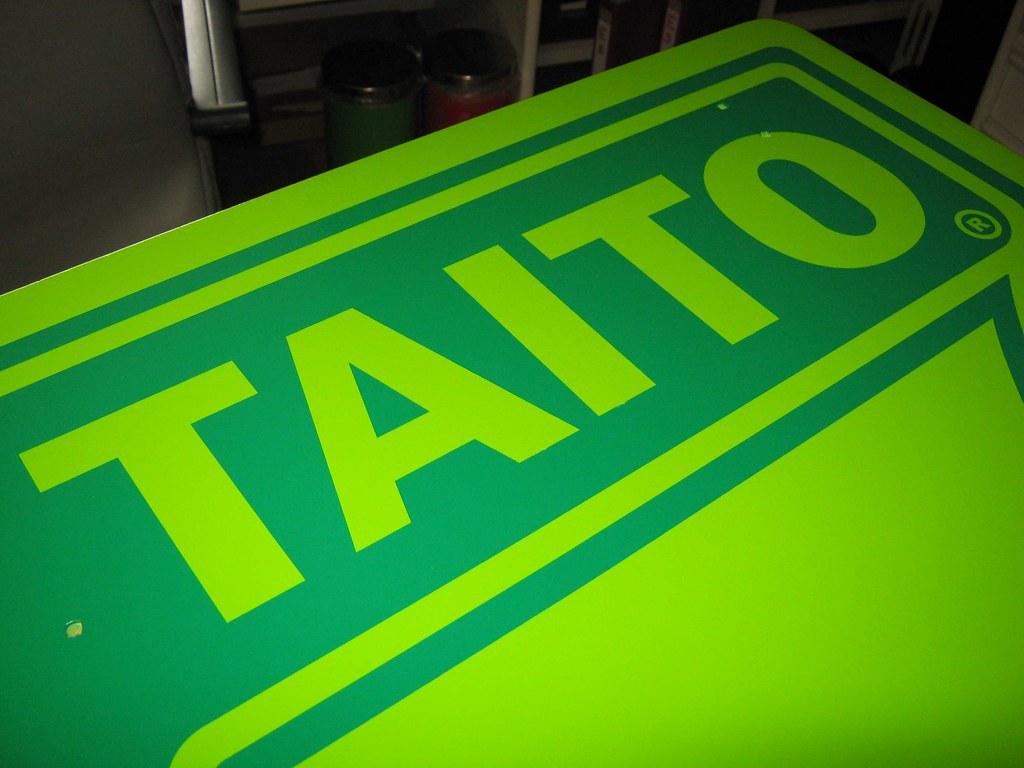
 YES!!!


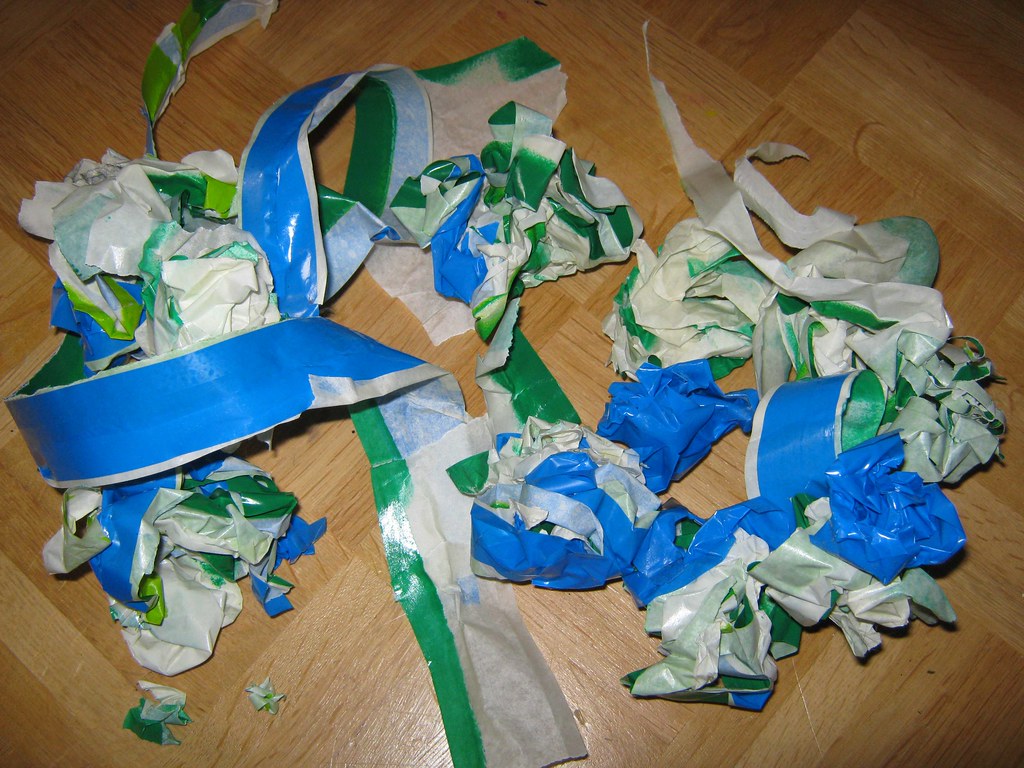
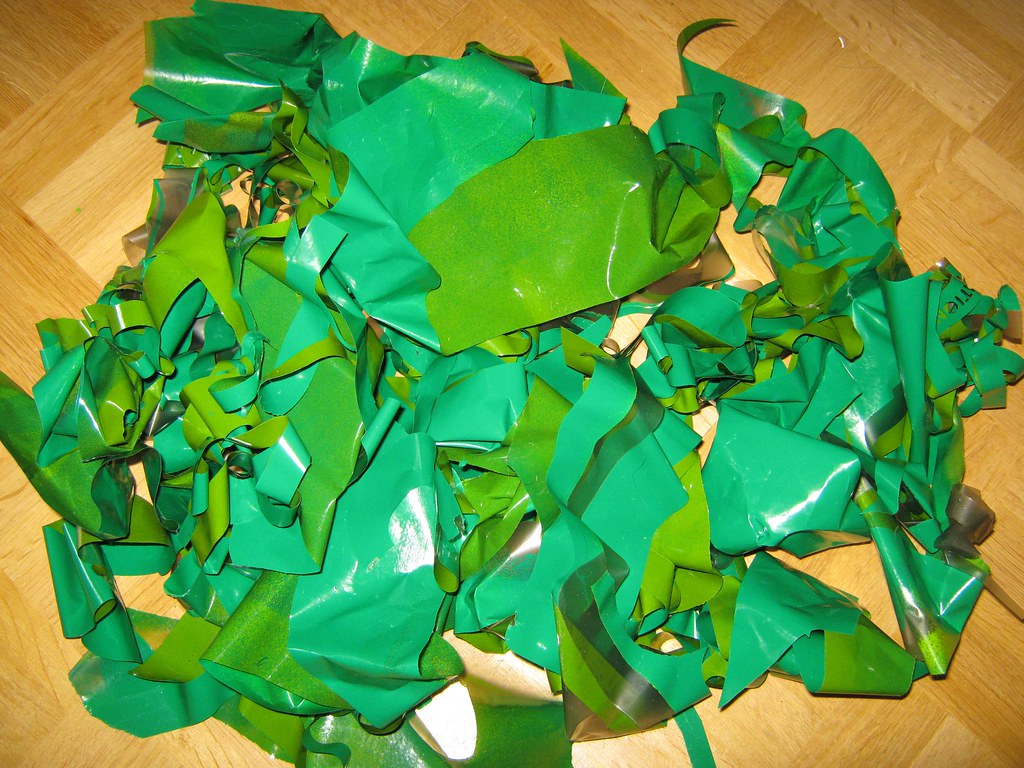
what once was a set of stencils is now a pile of jumble!
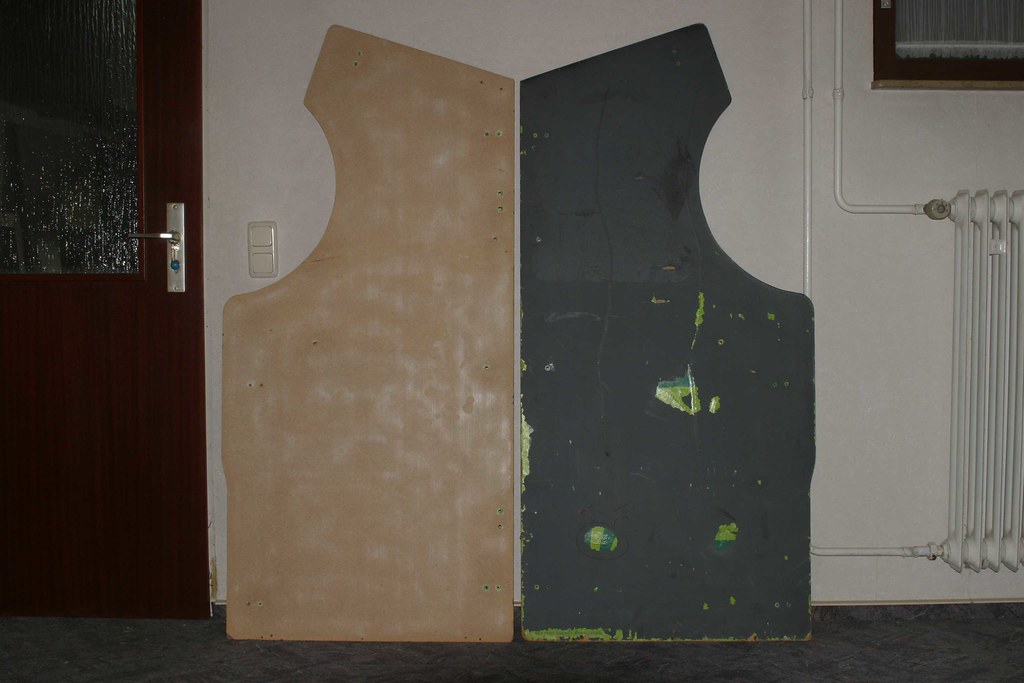
and what once was an overpainted former jungle king cabinet (with one side already sanded down on the following picture) ...
... is now a freshly-painted shiny piece of art!

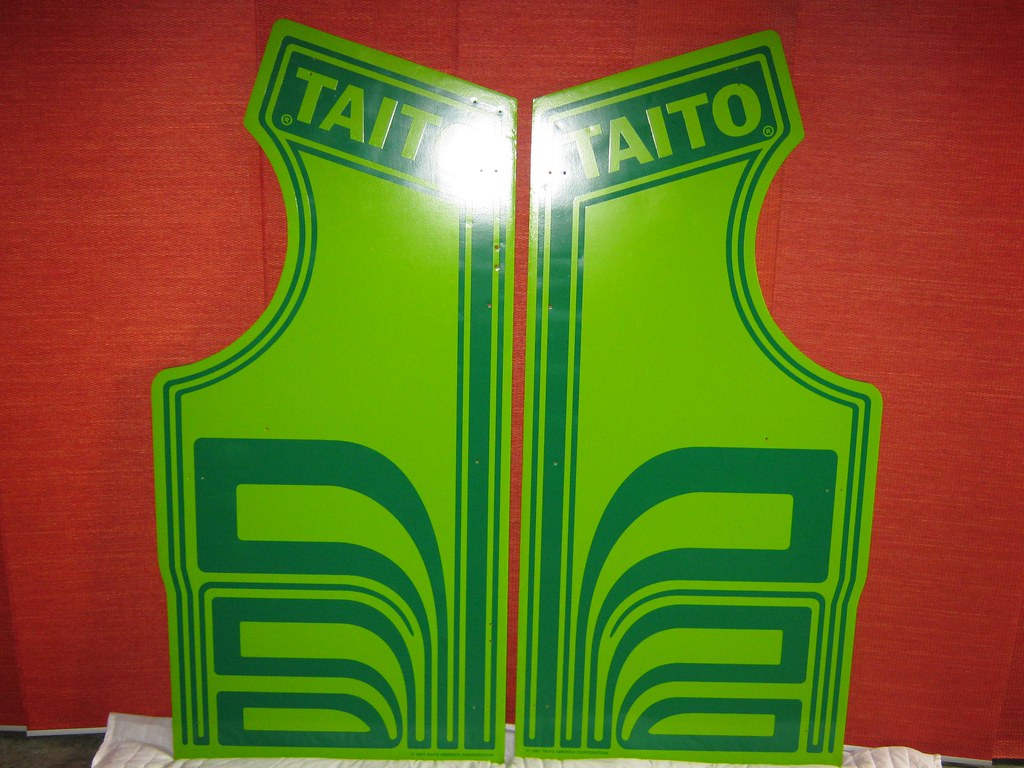
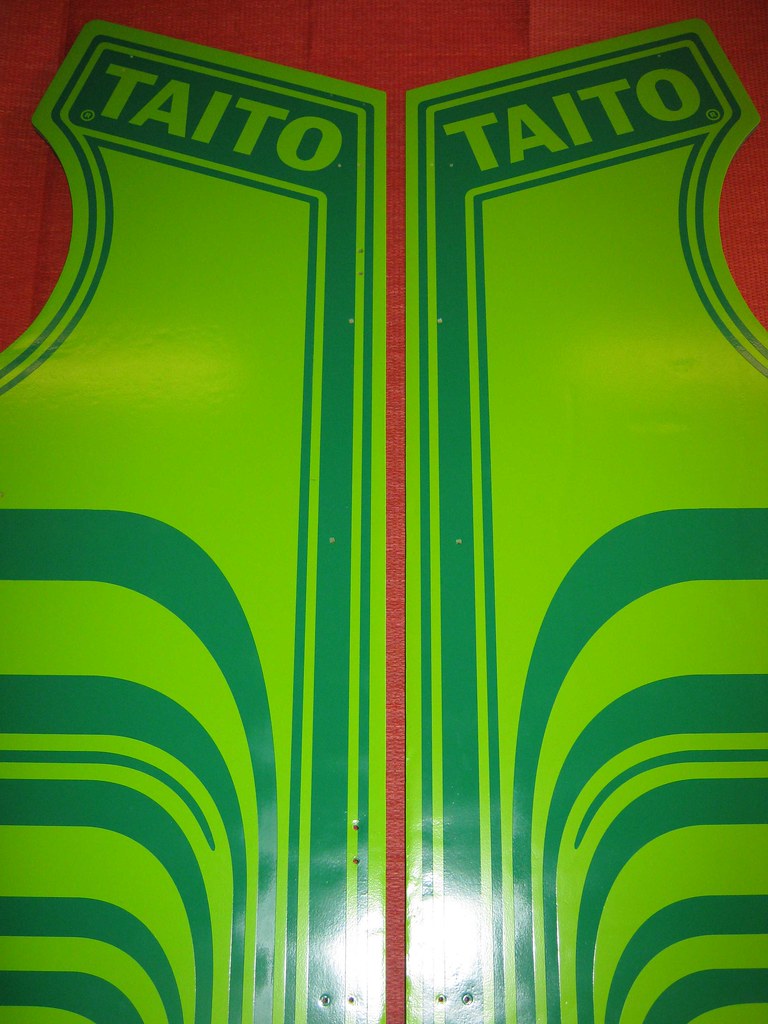
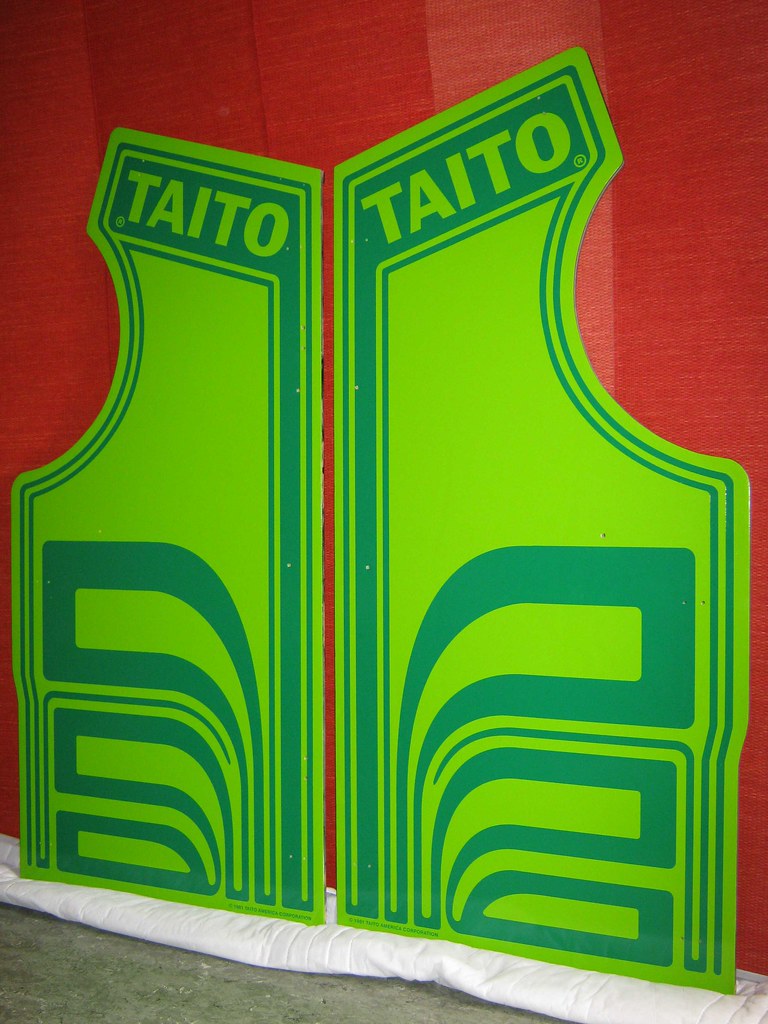
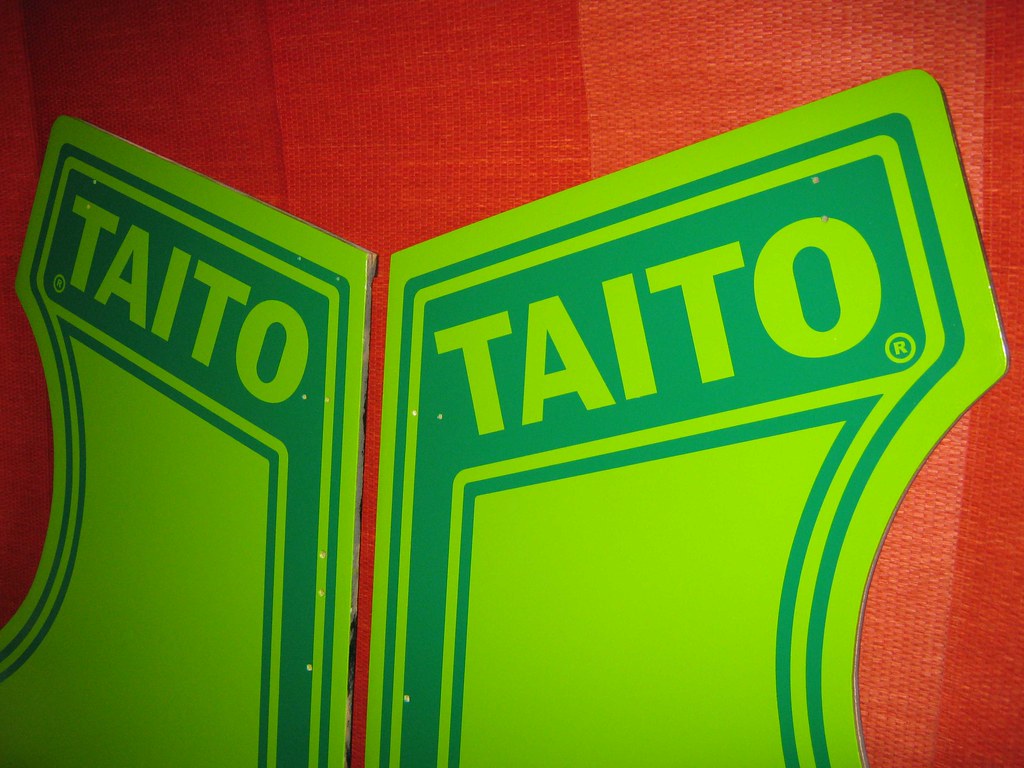
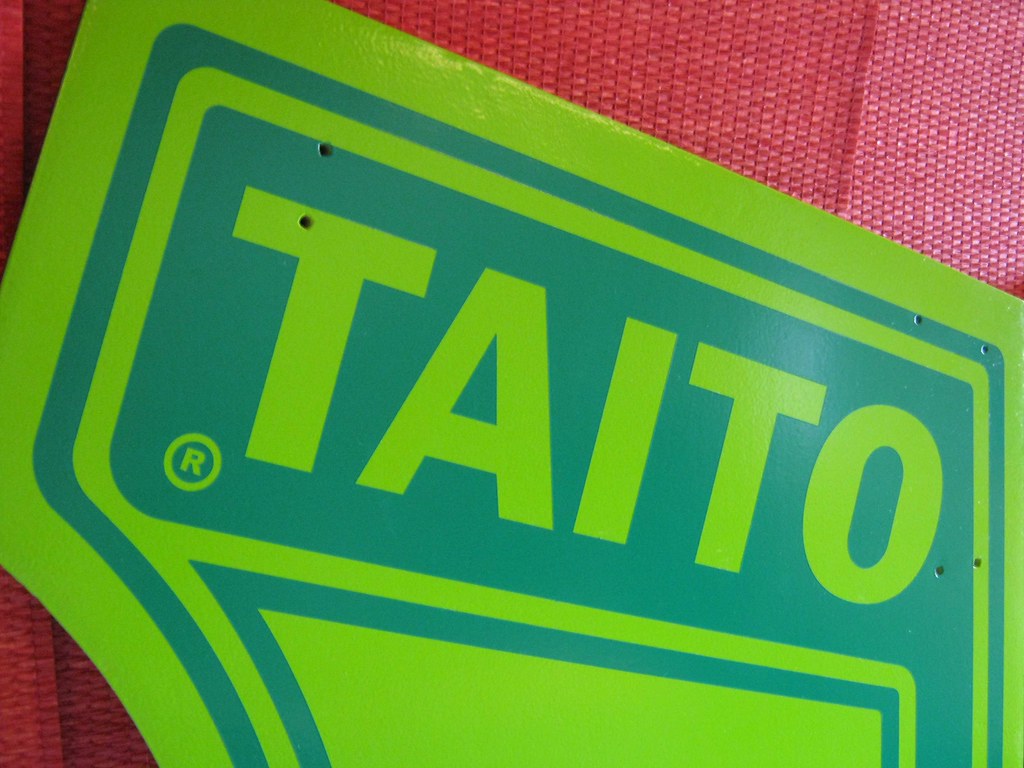
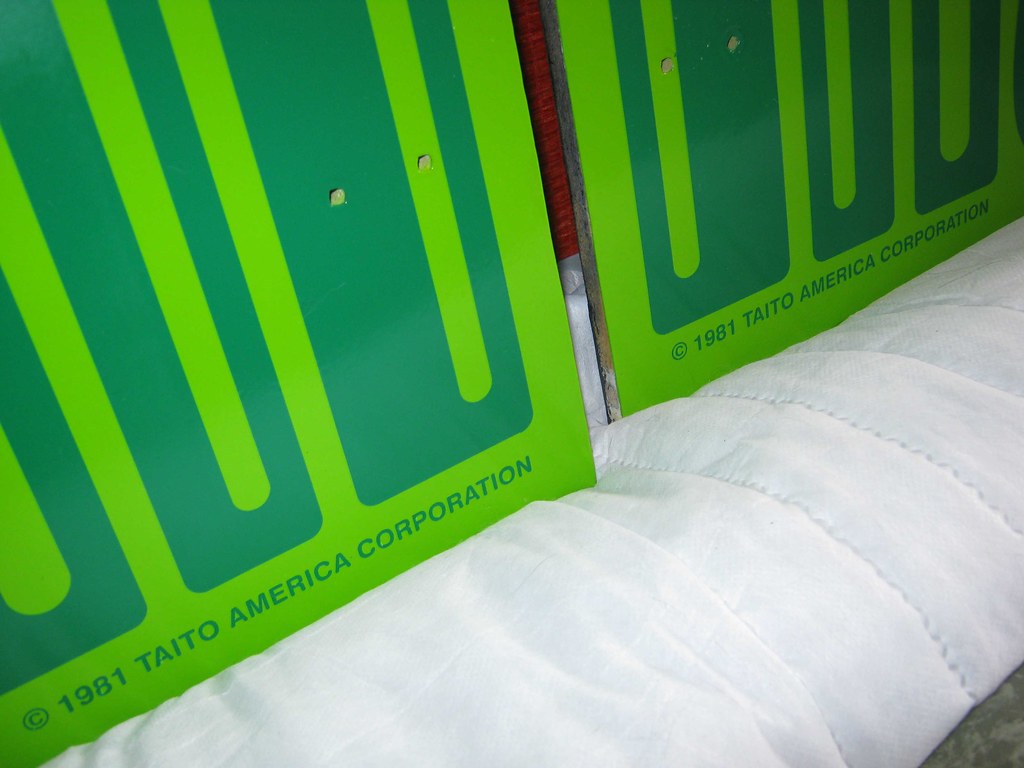
man, this paint job took (almost) forever, but now i can finally start re-assembling the cabinet!!!

btw, I still have some hairs / dust in the paint, but it's much better than on the trials before. i guess lifting the individual pieces further up from the ground, waiting a while after entering the room (for the particles to settle down) and then wiping the sides with a damp piece of cloth did the trick. for future paint jobs (probably distant future) i'm planning on switching to more professional painting equipment
plus i've been thinking about building a small paint booth with a dust extraction system!
 to be continued ...