now that all the pieces have been painted, it's normally time for re-assembly, BUT i'm afraid this will have to wait a while

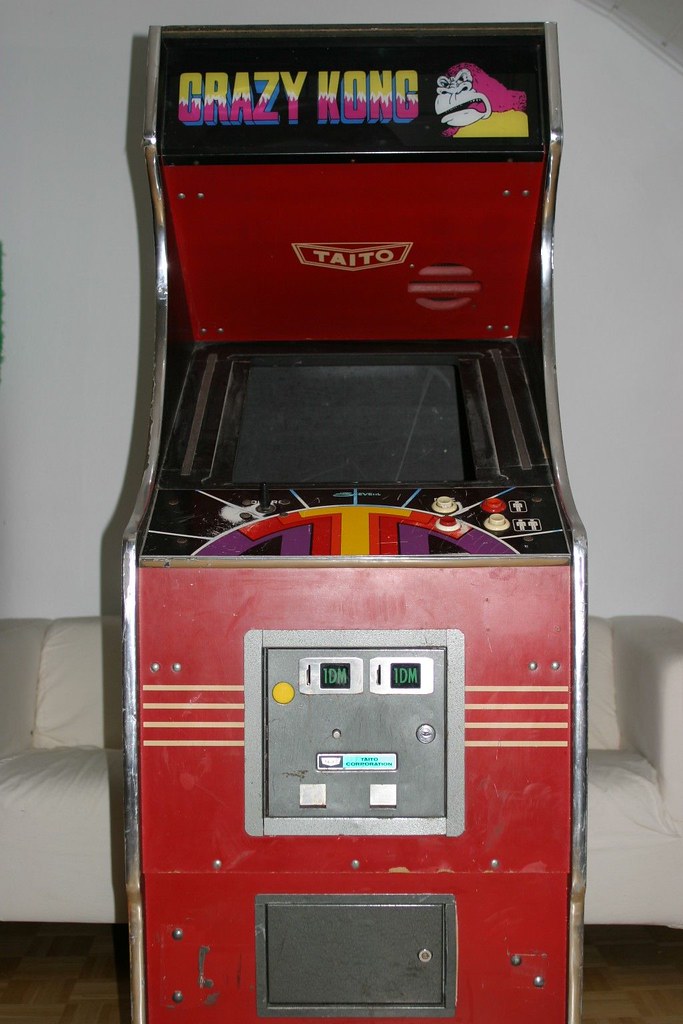
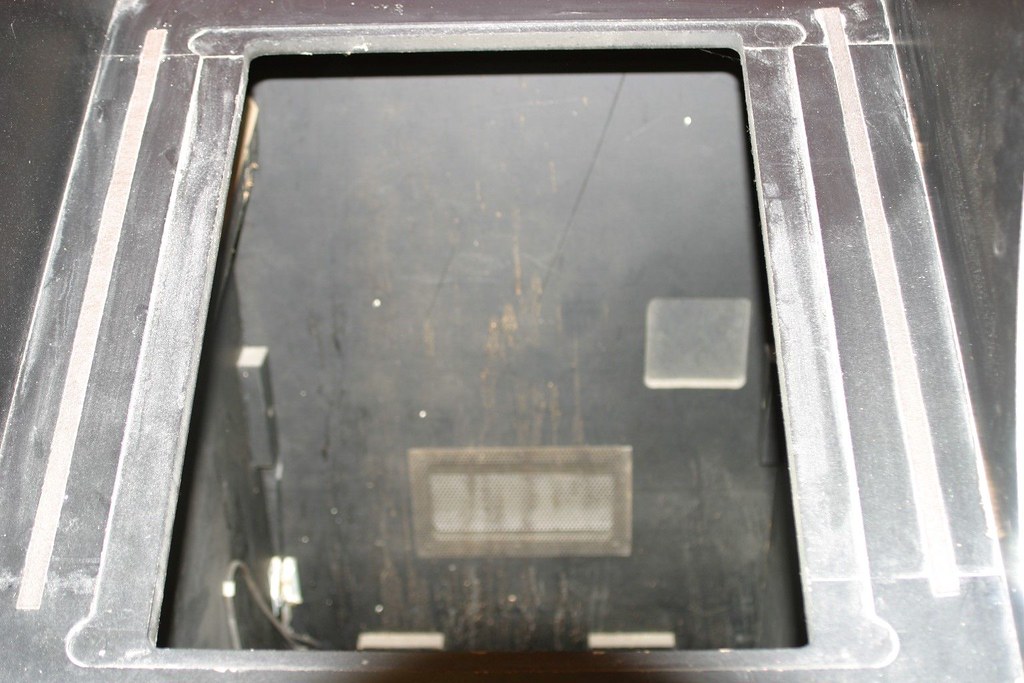
! why, you may ask? well, the thing is that all the taito cabs of that era had a vertical monitor setup - at least that's what my researches showed. therefore, the monitor area always looks like that

in detail (sorry for the bad picture, it was taken a long time ago, but not in a galaxy far far away

). at first i thought i could simply turn the monitor and the wooden bezel that goes around it, but this is not possible for two reasons: (a) the monitor brackets only support a vertical mount and (b) the wooden bezel is specificially cut so that it only works in this direction. i do have an idea however, but this "idea" needs to be transported from the usa to germany first. it might take a couple of weeks for it to arrive, so in the meantime i can't continue working on the cabinet itself. PLUS there is a chance that my idea won't work at all, but if it does it'll kick ass - i can promise that!

but let's assume it'll work as planned and i can mount the monitor in a horizontal position, i still need to put the cabinet back together. originally, the pieces were held in place by four things: check out the following picture
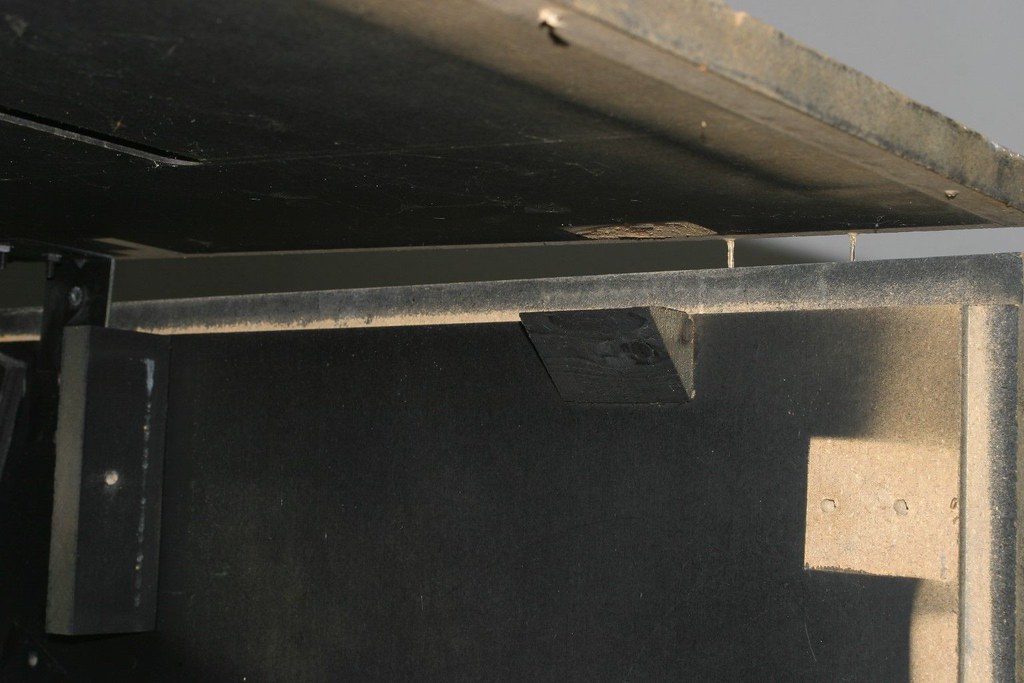
(1) glue
(2) brackets with screws
(3) wooden "triangles"
(4) nails
for reassembly, i can do number 1 to 3, but nails i cannot do, because otherwise i would have to drive nails through the freshly painted sides. however, i'm afraid that without nails the cabinet might be a little bit fragile and that it might come apart when moving it around too often or too hard.
with that being said, i was wondering whether one of you guys has any ideas how i could make the connections somewhat tighter. i though about using dowels, but it might get tricky to align the pieces 100% then. i'm looking for some kind if "hidden connection", something i don't have to hammer in from the outside, but something that's on the inside which somehow holds the pieces together. just like a nail, but without having to nail it in from the outside. hope you know what i'm talking about and have some ideas here. keep 'em coming, guys ...


