Author Topic: Tempest - bring it back to life  (Read 26476 times)

ckong

  • ArcadeLifeStyler'
  • ***
  • Posts: 3177
  • The Netherlands
    • View Profile
Tempest - bring it back to life
« on: June 24, 2015, 09:14:27 PM »
As some of you know I recently got a nice Tempest, which came to me with C7:


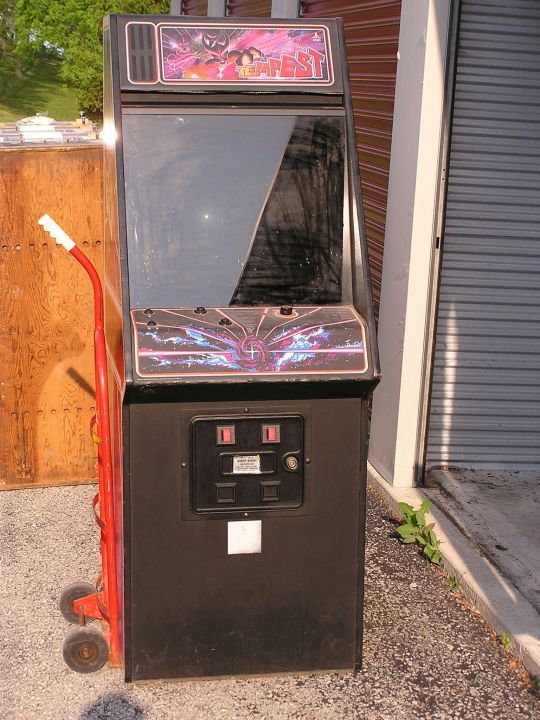
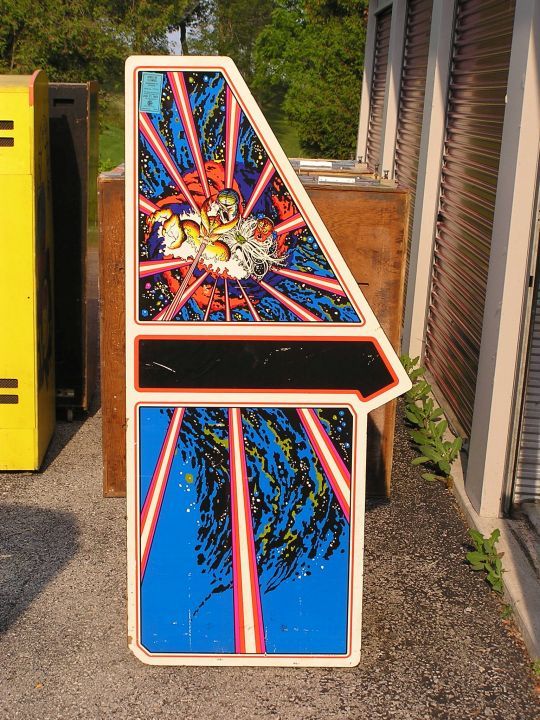
As you can see, the cab is cosmetically still in very nice shape. I need to replace the marquee and the CPO, but that's about it. Oh yes, and the non-original spinner knob of course, I have a donor available (spare one from a Breakout CP, thanks Ully  :-* ).

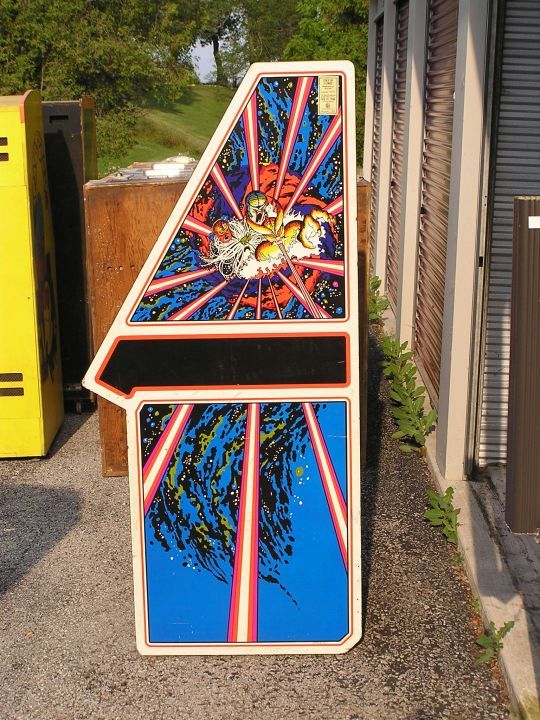
This week I finally had some time to start working on it. First job was of course a good clean of the outside because it got dirty over the years. With the help of some magic sponzes all dirt went away, the sides are almost fresh again. No pictures unfortunately, forgot to take them.  :-\

I do have some pictures of the inside:


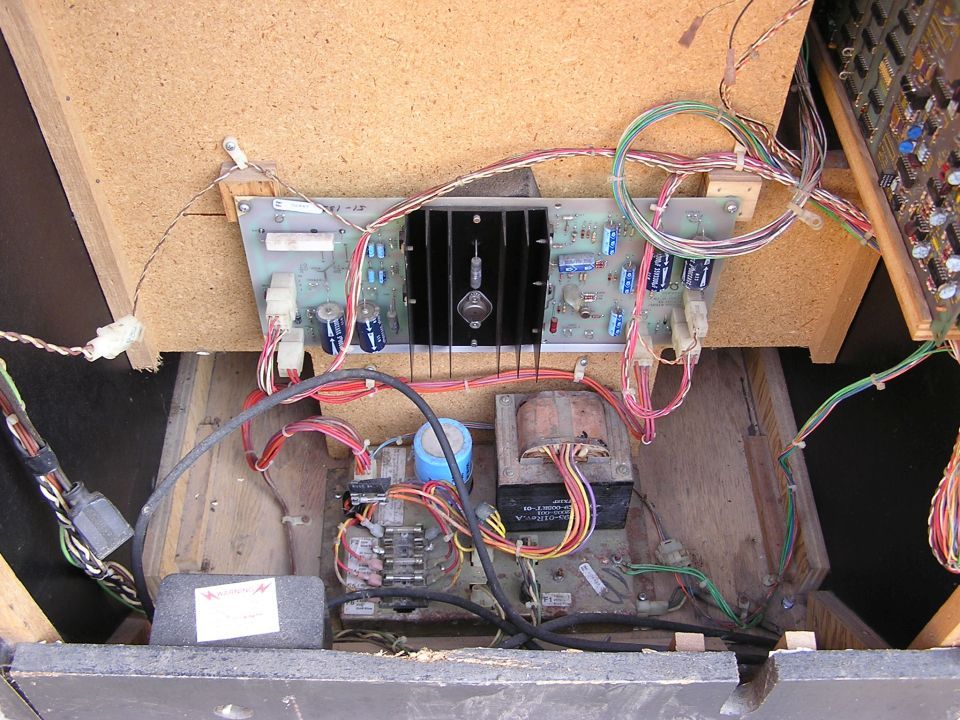
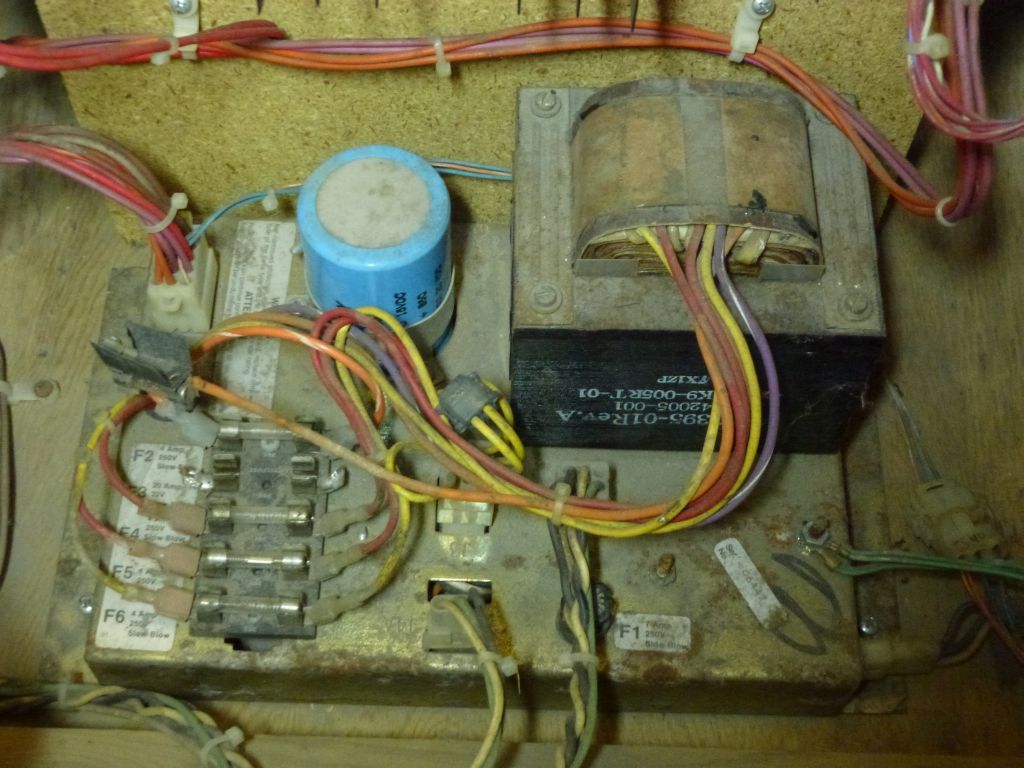
Very dirty power supply unit, yes I know. And someone did a hack on the fuse block, will have to undo that. BTW, does anyone has a spare fuseblock protection cardboard 'thingie"?

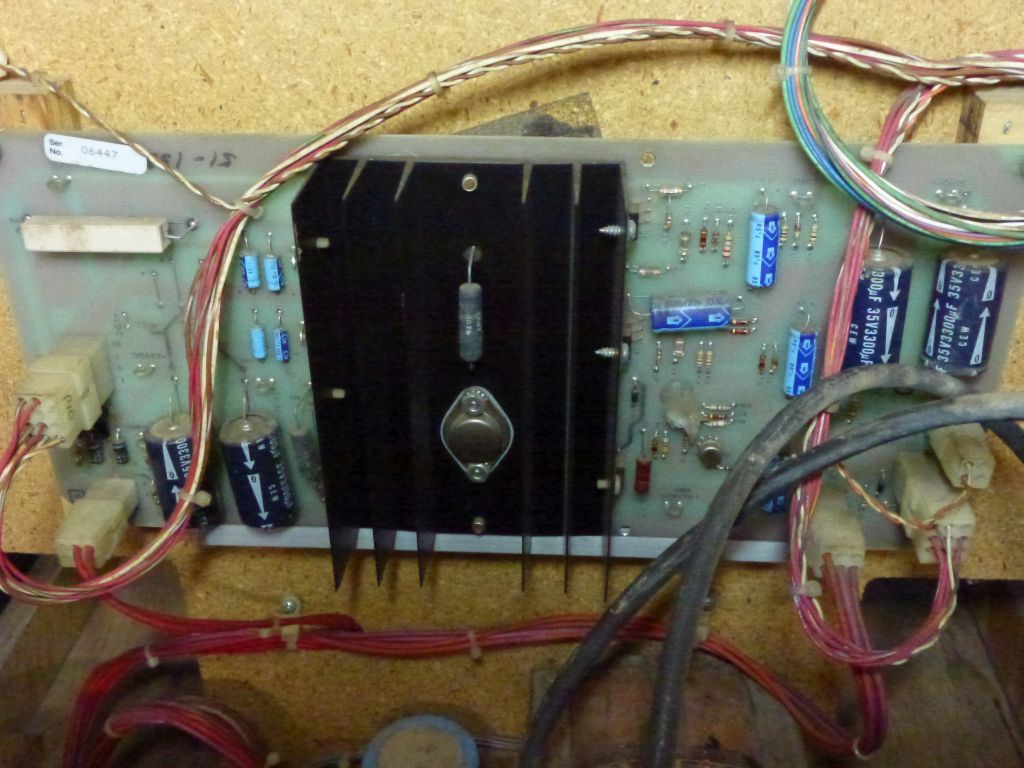
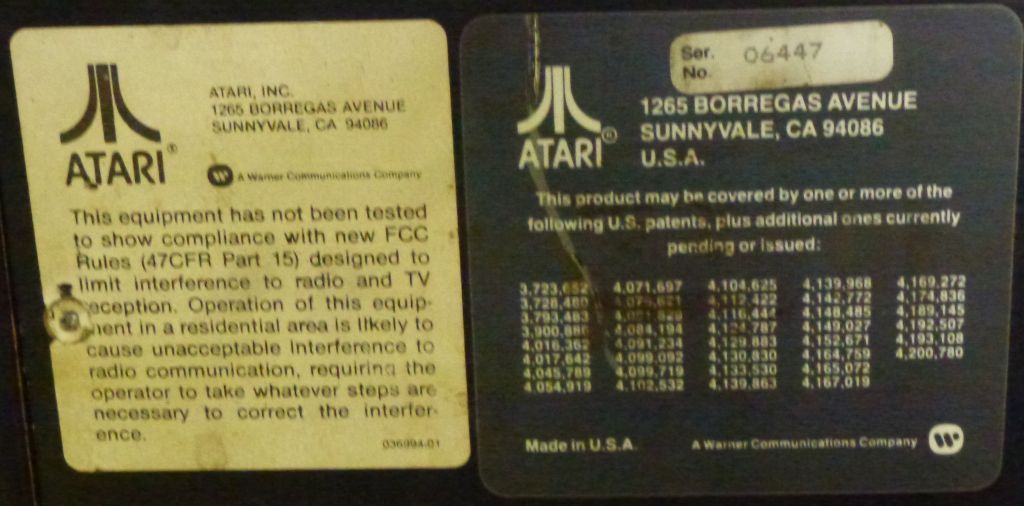
Nice aspect is that the the cab, the AR board, the power supply and the gameboard have a matching serial number, 6447


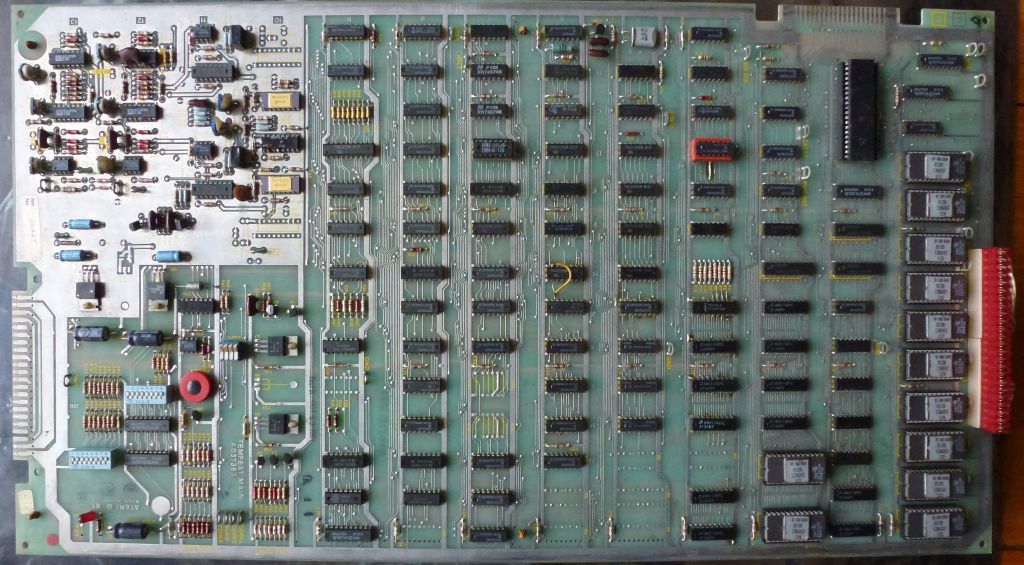
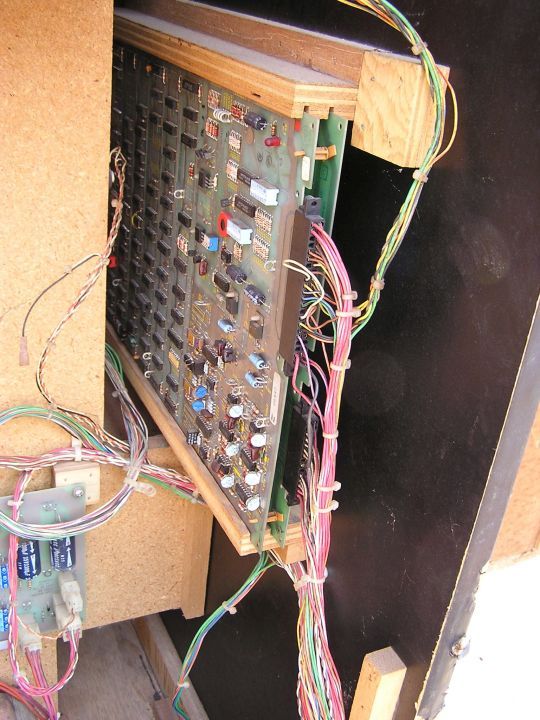
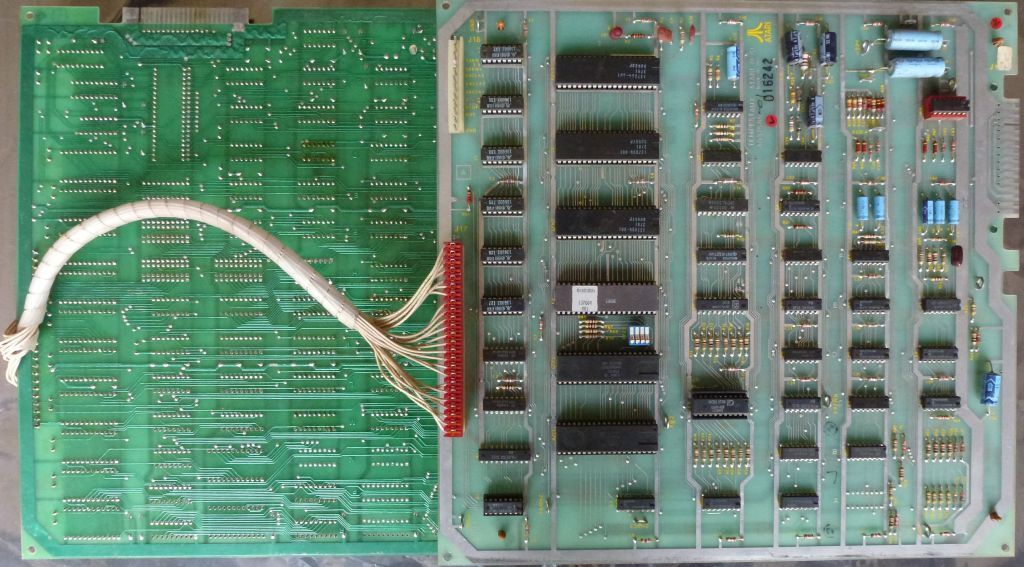
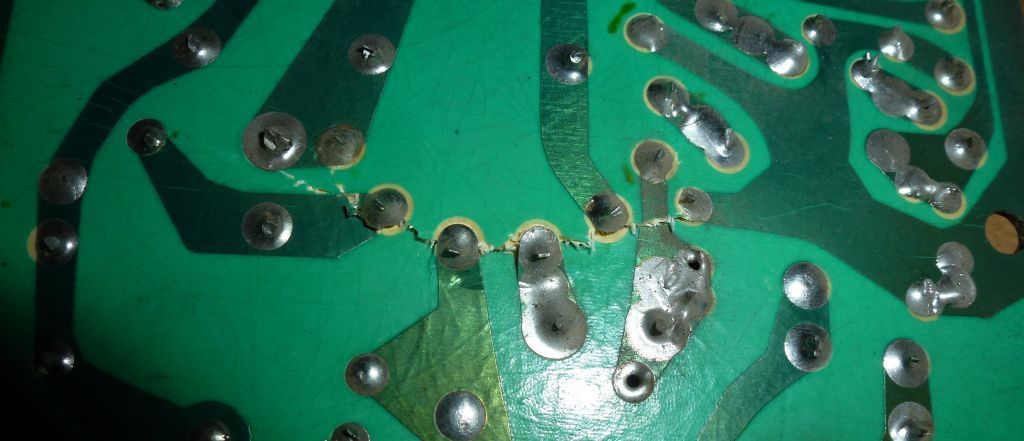
The gameboard is still pretty clean, although I see some repairs. Backside:


Does the game work, you all wonder? Well, to be honest I don't know.  ???  The previous owner didn't know if it was working and he didn't have the means to test it.  :o  However, he sold it for a very good price, certainly worth the risk.

Today, for the first time, I had a look at the internals, and I'm sure that he couldn't have seen a picture on the tube, because of these two suckers on the chassis:


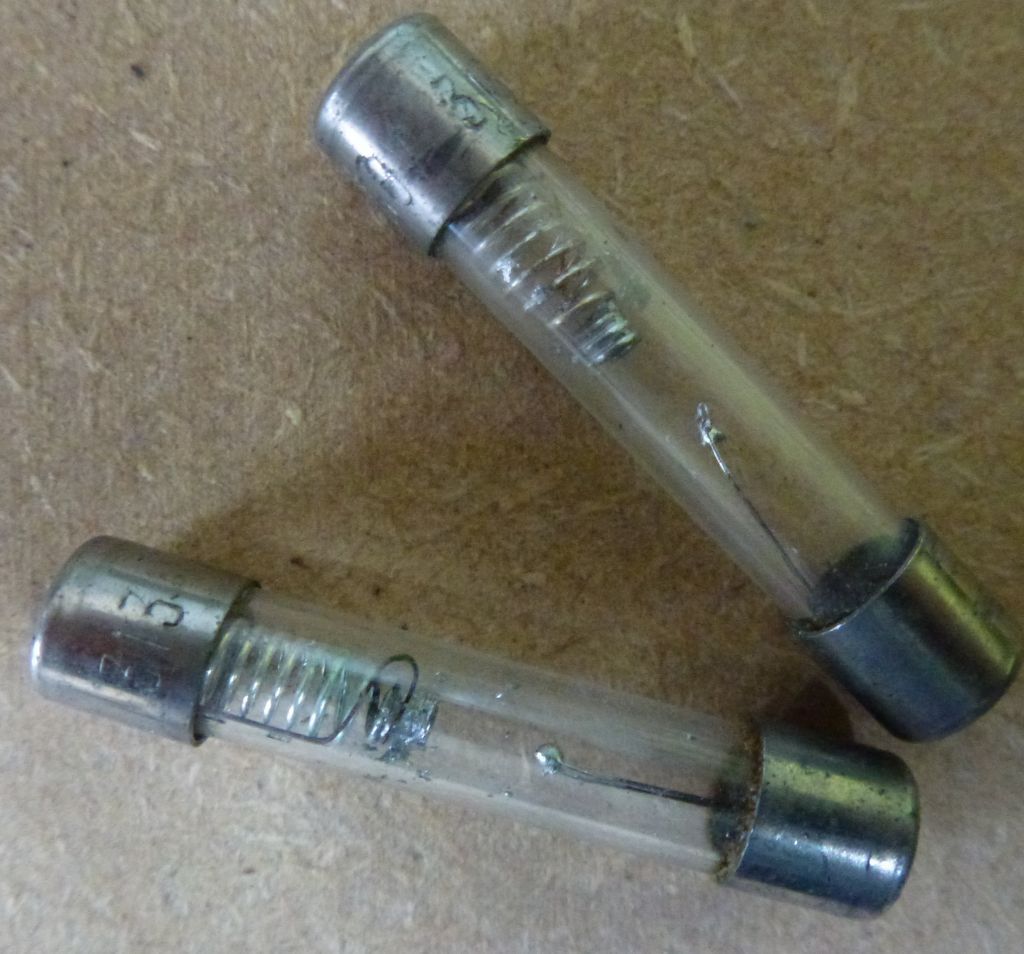
I replaced them of course, but I still can't power the game. Reason: I bought the game without the backpanel, the seller couldn't find it. Stupidly enough he tried to move the game with a trolley situated at the back and one of the handgrips busted the neckboard! The neck of the monitor wasn't damaged, fortunately, I hope!  8)


However, the damage didn't seem too bad, the seller gave a pretty nice discount, I still wanted the game.  :)

The hilarious thing is that after the accident happened, he did find the backdoor! Which had a nice surprise:


What will be the next steps:

1. Check out the damage on the neckboard and repair it
2. Try the game out
3. Get some nice artwork (marquee and CPO)
4. Have a lot of fun with this game for years to come

At least, I hope that I don't encounter other technical issues.  :lol:


ckong

  • ArcadeLifeStyler'
  • ***
  • Posts: 3177
  • The Netherlands
    • View Profile
Re: Tempest - bring it back to life
« Reply #1 on: June 24, 2015, 09:16:23 PM »
OK, about the neckboard. I checked it with a continuity meter and there are only two torn traces, see the red arrows. Two other solder joint are damaged (bent), but they still connect. See the yellow arrows. Finally, two other joints, at the green arrows, are also situated at the San Andreas Break, but they 'trace' away from it.  :)


I will (re)connect the joints at the red and yellow arrows (yellow because I want to be sure that they won't break in the future). What is the best way to do this? Seeing the little damage and the small crack, I would think just using some wire should do the job. If so, which gauge?

I won't use hotglue after the repair, because I will never be able to get at the repaired section again without damaging much more. Besides, if the neckboard is on the neck, then it is on the neck!  ;D It sits there firm and tight.

BTW, I'm so glad that they didn't use a multi-layered pcb.
« Last Edit: June 24, 2015, 09:27:03 PM by ckong »

anunaki

  • ArcadeLifeStyler'
  • ***
  • Posts: 1432
    • View Profile
Re: Tempest - bring it back to life
« Reply #2 on: June 24, 2015, 09:18:53 PM »
great looking cab Erik, goodluck with your work on it :)

blackie63

  • Member
  • **
  • Posts: 159
    • View Profile
Re: Tempest - bring it back to life
« Reply #3 on: June 24, 2015, 09:36:51 PM »
one day i shall have a tempest such a cool game  ;D  :spaceace:

level42

  • ArcadeLifeStyler'
  • ***
  • Posts: 13555
  • Ridderkerk, arcade capital of Europe !
    • View Profile
    • Arcade 42

ckong

  • ArcadeLifeStyler'
  • ***
  • Posts: 3177
  • The Netherlands
    • View Profile
Re: Tempest - bring it back to life
« Reply #5 on: June 24, 2015, 10:14:30 PM »
Thanks. Yes, I've seen that article before, and it's a good way to repair a totally broken board. But mine has far less damage and doesn't need a complicated surgery. In my case, a surgery with local anesthetic should do. But you know what, I will show the board to some experts this weekend and hear their advise.  ;D

Oh wait, you meant of course, use paperclips instead of wire!  :)  Yes, that is the way to go. No glue though.


level42

  • ArcadeLifeStyler'
  • ***
  • Posts: 13555
  • Ridderkerk, arcade capital of Europe !
    • View Profile
    • Arcade 42
Re: Tempest - bring it back to life
« Reply #6 on: June 24, 2015, 10:25:03 PM »
Yup....although I'm not too sure about the conductivity of paperclips.....it's sure no copper ! I would use some solid core wire instead (the stuff we use for home electricity installation, you know, brown, blue, black wires.). The thicker the better. Will also solder better I think.

Might be a good idea to make some mechanical support, not glue but something that will "carry" the forces....if you catch my drift..... ;)

ckong

  • ArcadeLifeStyler'
  • ***
  • Posts: 3177
  • The Netherlands
    • View Profile
Re: Tempest - bring it back to life
« Reply #7 on: June 24, 2015, 10:34:18 PM »
....I would use some solid core wire instead (the stuff we use for home electricity installation, you know, brown, blue, black wires.). The thicker the better. Will also solder better I think.

Good idea, I have lots of this home-electrical wire.  :)

ckong

  • ArcadeLifeStyler'
  • ***
  • Posts: 3177
  • The Netherlands
    • View Profile
Re: Tempest - bring it back to life
« Reply #8 on: June 25, 2015, 09:19:40 PM »
Repaired the crack in the neckboard today:


And while I'm at it, I might just as well pull out the other boards, clean them a bit and do a visual inspection.

WG 61 deflection board, with an input protection circuit pcb mounted:


Wow, look at the heat spot caused by R100!!  :o  Is that normal?


It caused the trace getting loose on the backside:


Have to pay attention to this spot. The AR board was surprisingly clean and seems to be in good condition


The trafo brick however is very dirty, will have to clean that and undo the fuse-mod:


Can it run on 230V input? Will have to investigate that.

ajhippel

  • Member
  • **
  • Posts: 147
    • View Profile
Re: Tempest - bring it back to life
« Reply #9 on: June 25, 2015, 09:33:54 PM »
atari power supplies usually have a "voltage plug"...

with the right plug it will run on 230v... (on your pic is a voltage plug with yellow cables) that means, according to the schematics 120volts source ...

http://arcarc.xmission.com/PDF_Arcade_Atari_Kee/Tempest/Tempest_DP-190-2nd-01B.pdf

in the schematics you can see how to "convert" it if you don't have the right plug anymore...

(upper left part)

the yellow plug has for 120 volts...

* a cable from pin 9 to pint 7
* a cable from pin 8 to pin 4 to pin 1
* a cable from pin 6 to pin 3

to transfer it to 240 volts

* remove the cable of pin 4 from the plug and isolate it - pin 8 to 1 should stay...

* remove the pin 6 from the plug and put it into pin 4.

so there will be only a connection from 8 to 1, from 4 to 3 and 9 to 7.


it's a bit tricky to remove the pins..but worth it...

(normally the european atari cabs has all plugs delivered...only the us not...
so if you have an european atari cab, check if there is a brown or a blue plug... (220 or 240 volts)..
then you can use this one.


there is too much butter on those trays

ckong

  • ArcadeLifeStyler'
  • ***
  • Posts: 3177
  • The Netherlands
    • View Profile
Re: Tempest - bring it back to life
« Reply #10 on: June 25, 2015, 09:39:32 PM »
Thanks. Yes, I have an Euro Centipede and a US Black Widow and Asteroids running on 230V. Tempest will follow.  :)

Remember, Erik, to replace the 'incoming' fuse for half the value.
« Last Edit: June 25, 2015, 09:46:19 PM by ckong »

level42

  • ArcadeLifeStyler'
  • ***
  • Posts: 13555
  • Ridderkerk, arcade capital of Europe !
    • View Profile
    • Arcade 42
Re: Tempest - bring it back to life
« Reply #11 on: June 25, 2015, 09:41:23 PM »
Yup. Another proof that Atari rules. What other factory made it that easy ?

Be sure to mark your adapter plug if you change it though....I've done it once or twice....it's easy enough.

I think those copper wires look better than paperclip :)

Pretty rare to see an input protection board....cool. Looks very professional huh....another "thrown together" piece of proof of Wells Garnder's quality...

Quote
Wow, look at the heat spot caused by R100!!  Shocked  Is that normal?

It's a 6100, of course it's normal !

:D

In fact, it's more normal to see it than not....

No problem, you're going to install a LV2000 anyway.....right ? :D

ckong

  • ArcadeLifeStyler'
  • ***
  • Posts: 3177
  • The Netherlands
    • View Profile
Re: Tempest - bring it back to life
« Reply #12 on: June 25, 2015, 09:43:44 PM »
Quote
Wow, look at the heat spot caused by R100!!  Shocked  Is that normal?

It's a 6100, of course it's normal !

:D

In fact, it's more normal to see it than not....

No problem, you're going to install a LV2000 anyway.....right ? :D


Yep, the Light version. Will order it soon.

vernimark

  • ArcadeLifeStyler'
  • ***
  • Posts: 1561
    • View Profile
Re: Tempest - bring it back to life
« Reply #13 on: June 26, 2015, 10:40:41 AM »
Wow you're doing a great work  :spaceace:

ckong

  • ArcadeLifeStyler'
  • ***
  • Posts: 3177
  • The Netherlands
    • View Profile
Re: Tempest - bring it back to life
« Reply #14 on: June 27, 2015, 06:18:11 PM »
I cleaned and polished the power brick. It has lots of rust spots though which can't be polished away unfortunately. But it is clean and it is ready to take 230V! The fuse-mod that was present has also been undone and a homemade fuse-protection shield added. And the power coard now has an European wallplug.  :)


Next step will be checking all the voltages. Step by step.