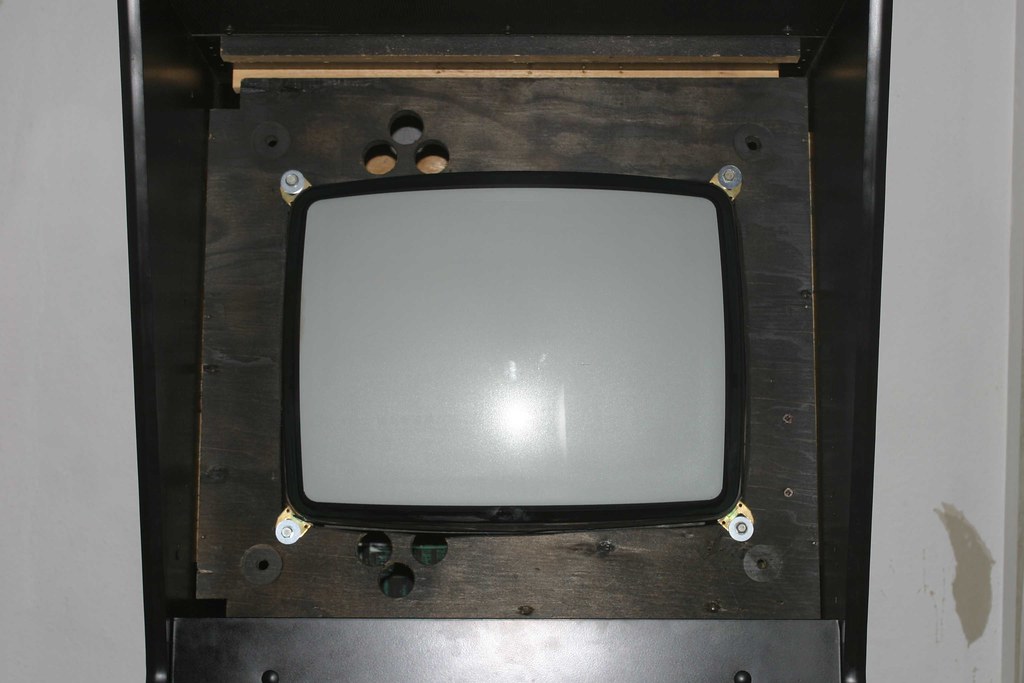
the restoration continues ...some "minor" stuff first: reconstructed the monitor frame and gave it a light layer of black
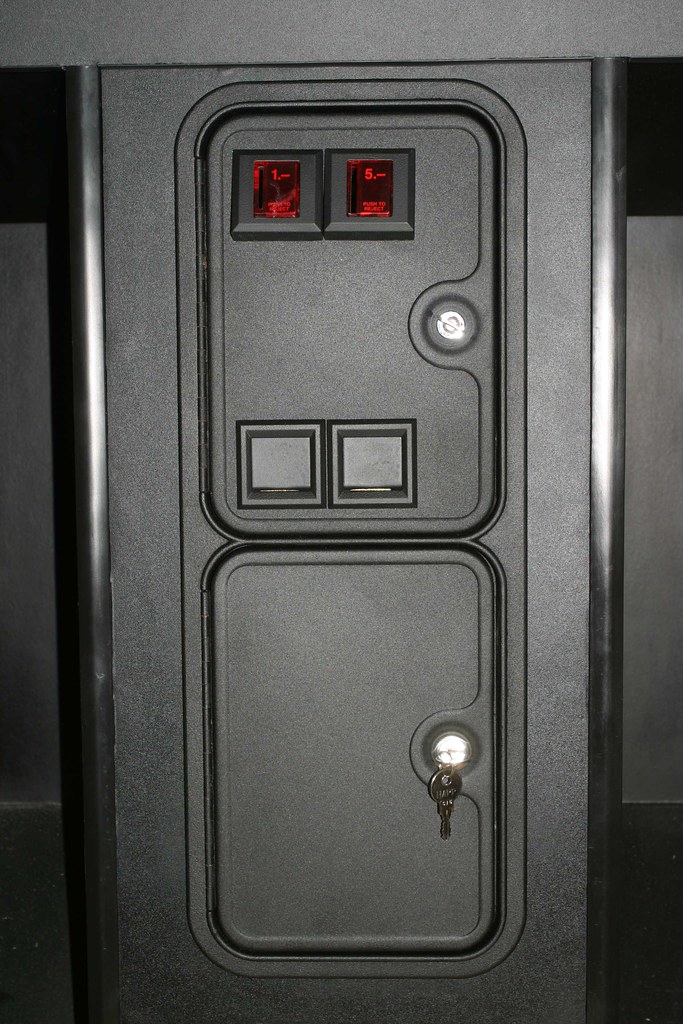
coin door back from the powder coater, new locks installed

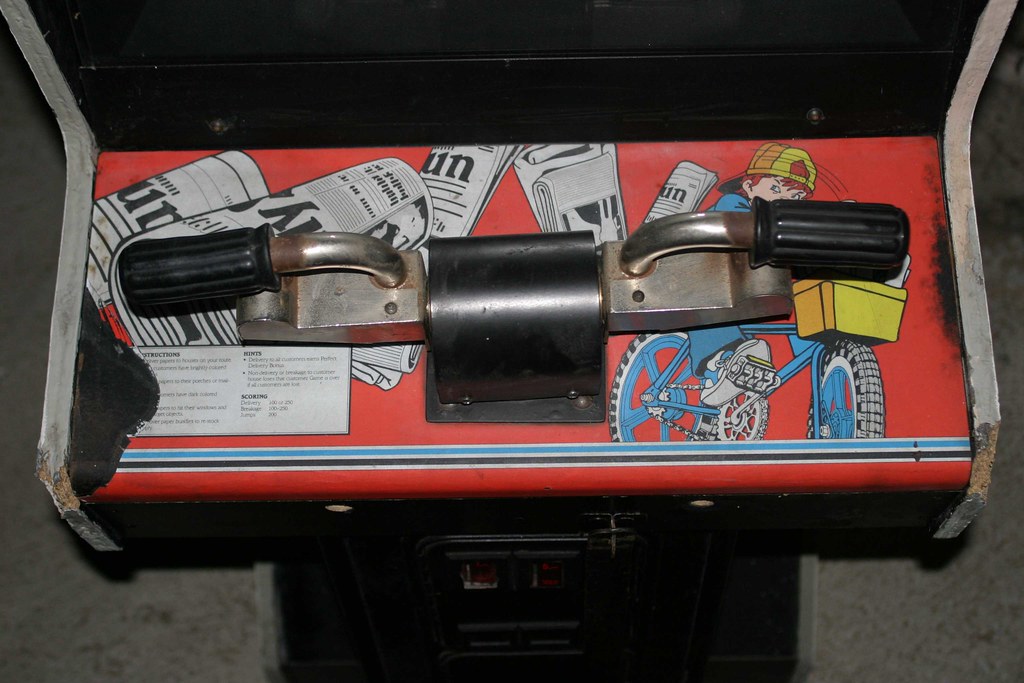
now on to the serious stuff: the control panel and the player controls. in case you don't remember, here's how that section of the cabinet looked when i got the machine

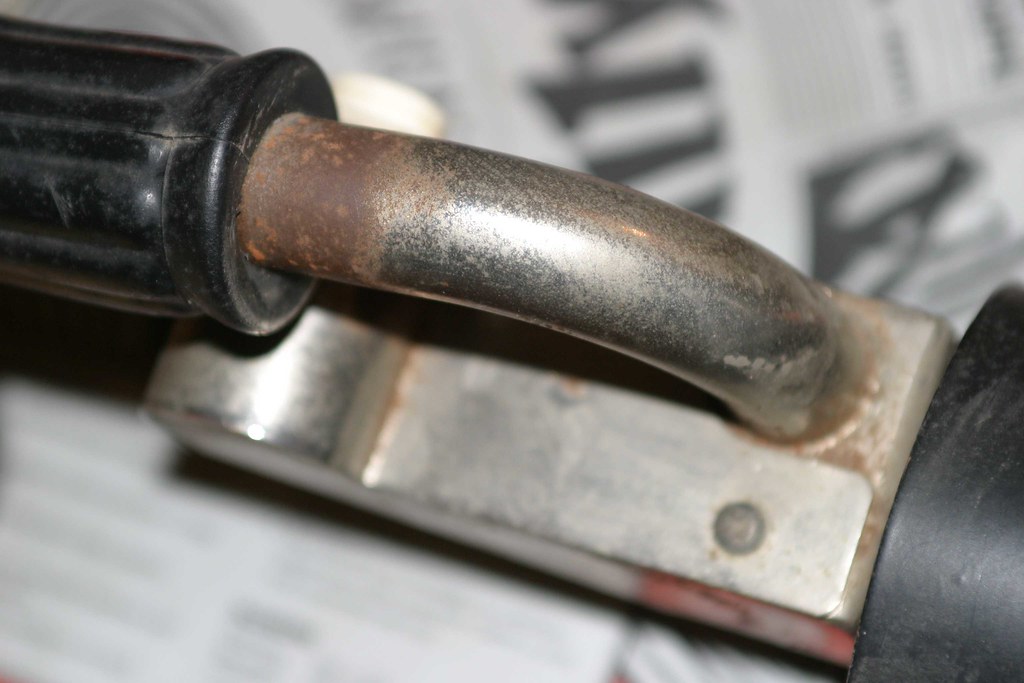
rust, rust, rust
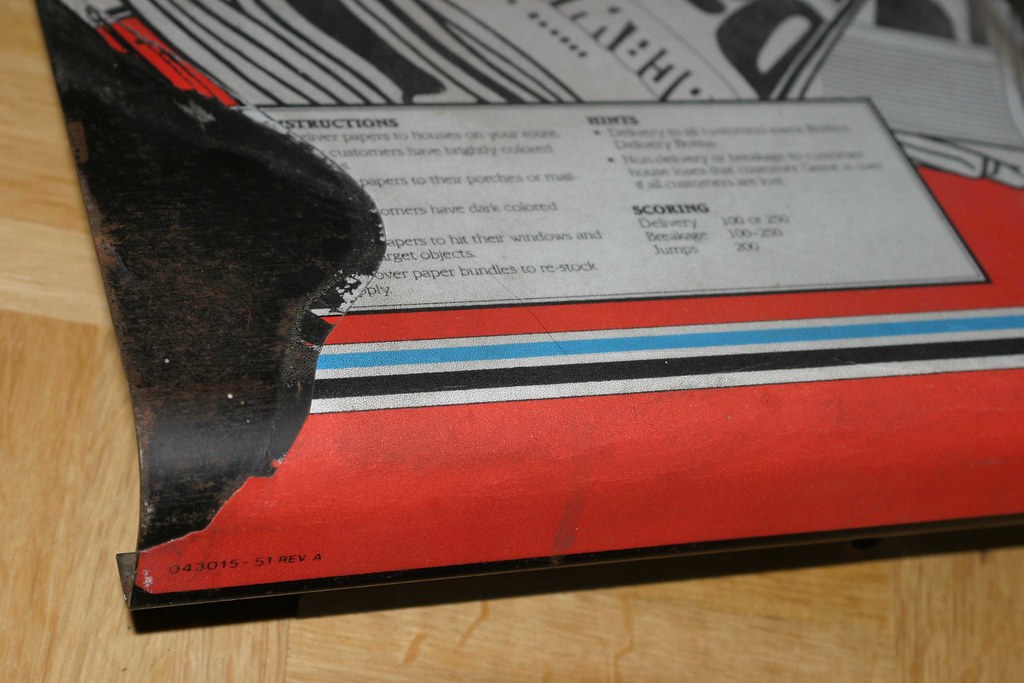
unusable - the overlay!
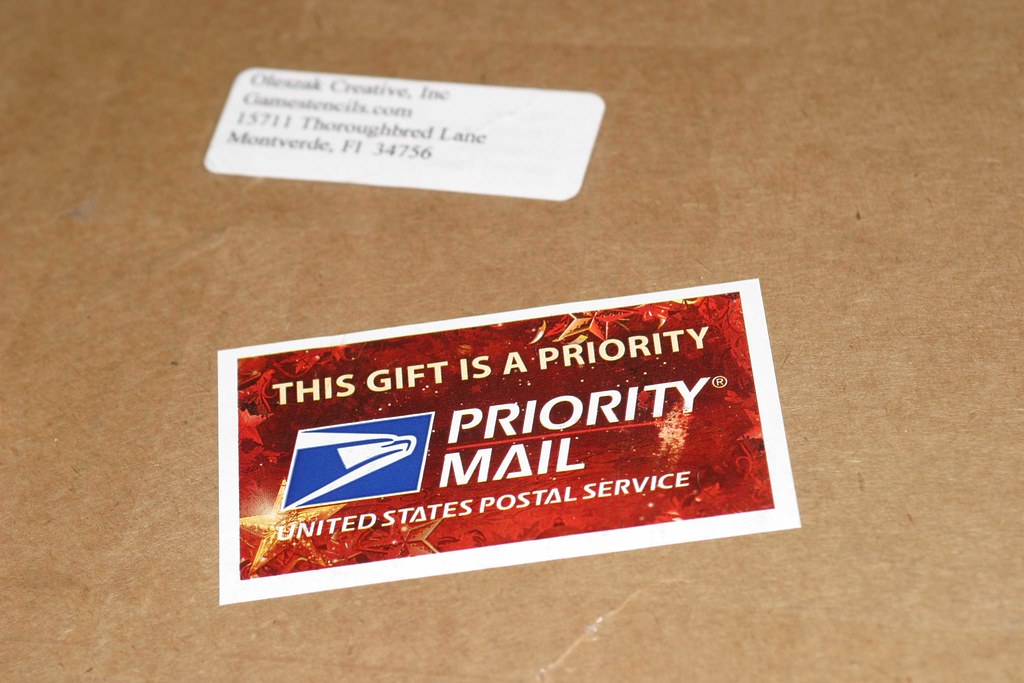
i've received a gift from the united states
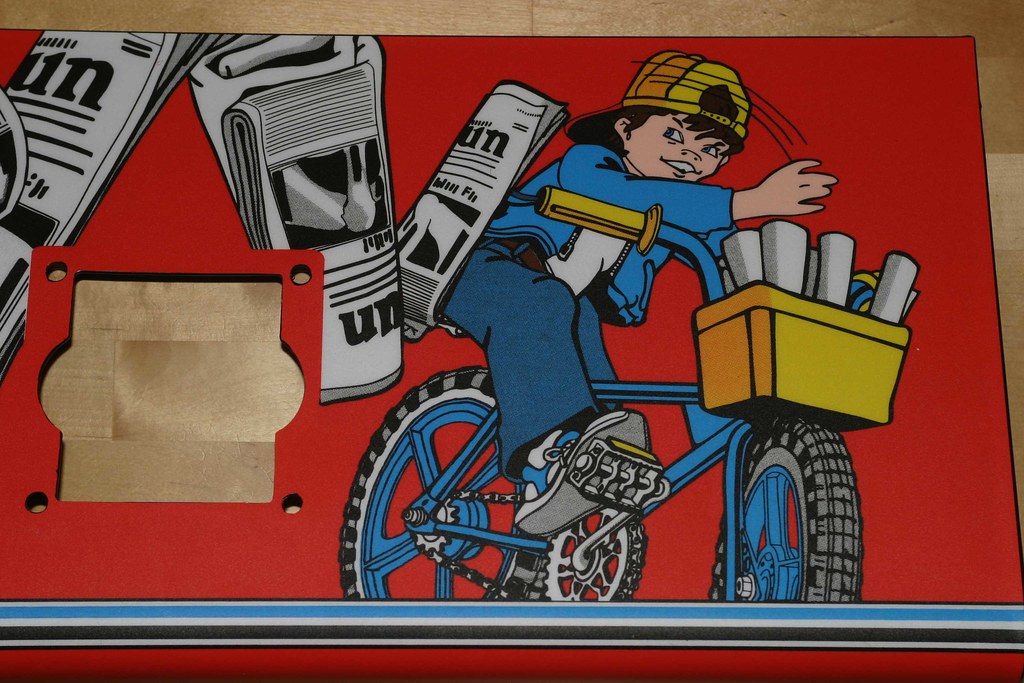
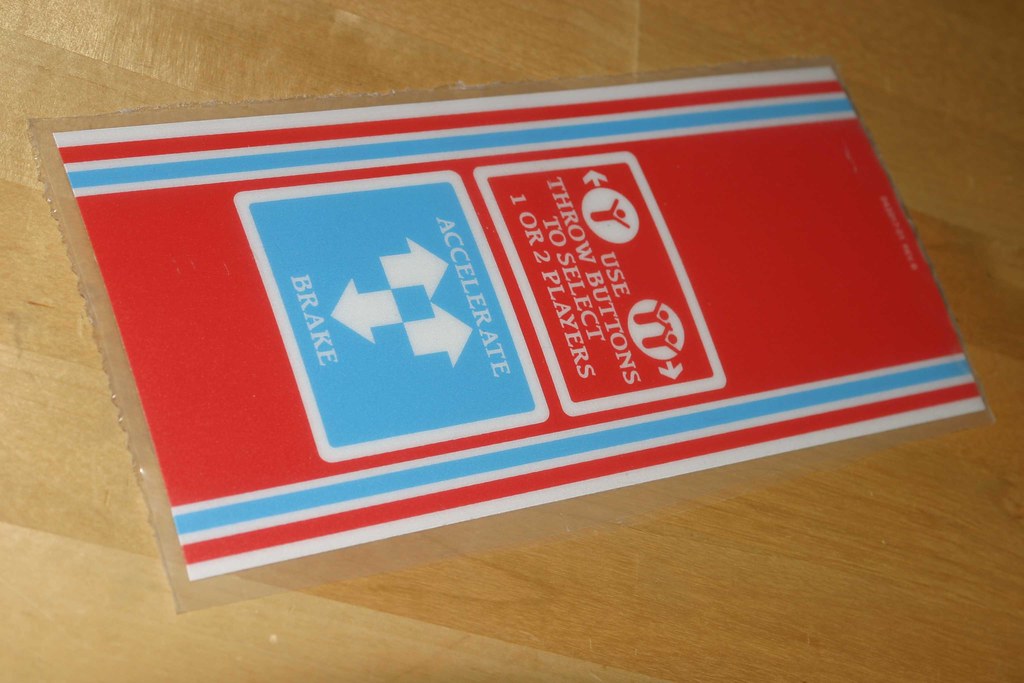
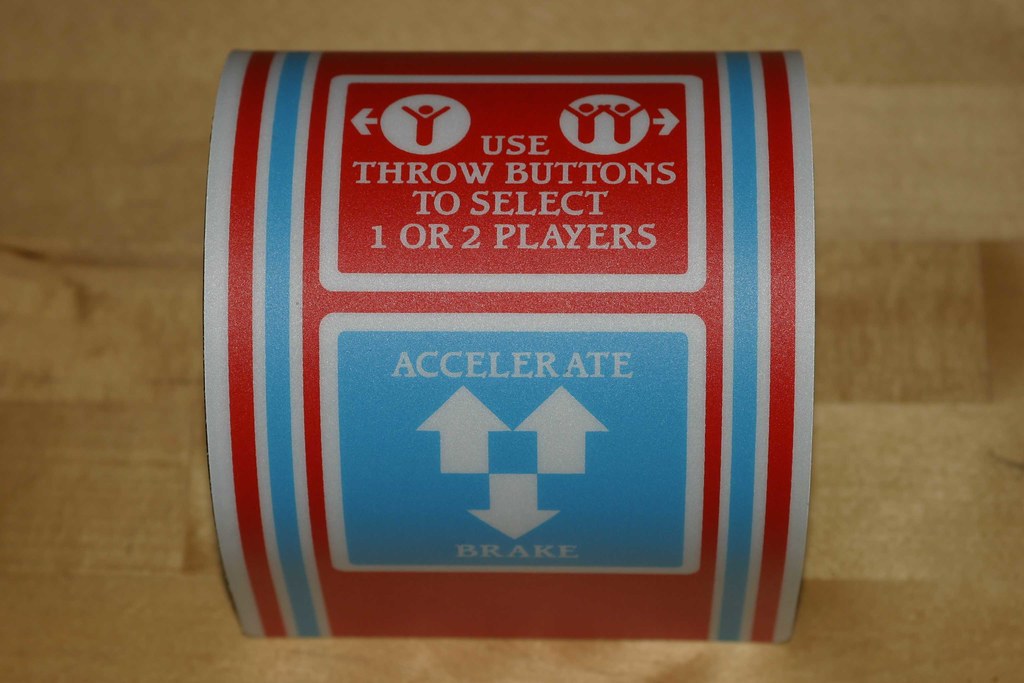
inside, a new overlay
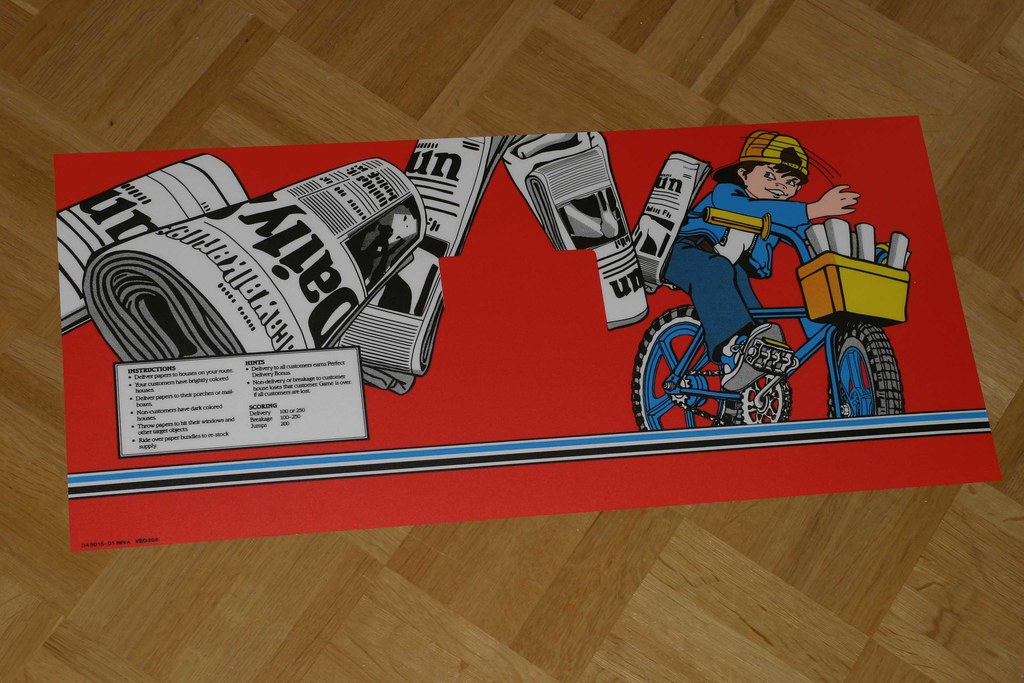
can't wait, this has to be applied immediately!
outstanding reproduction quality
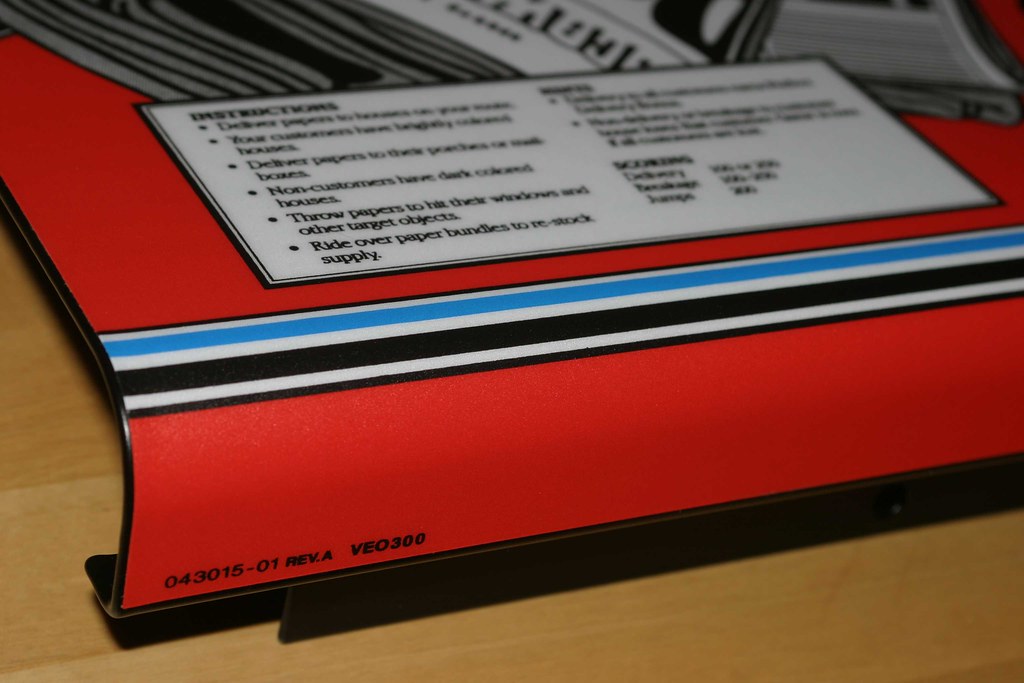
of course, the results have to be checked "on location"

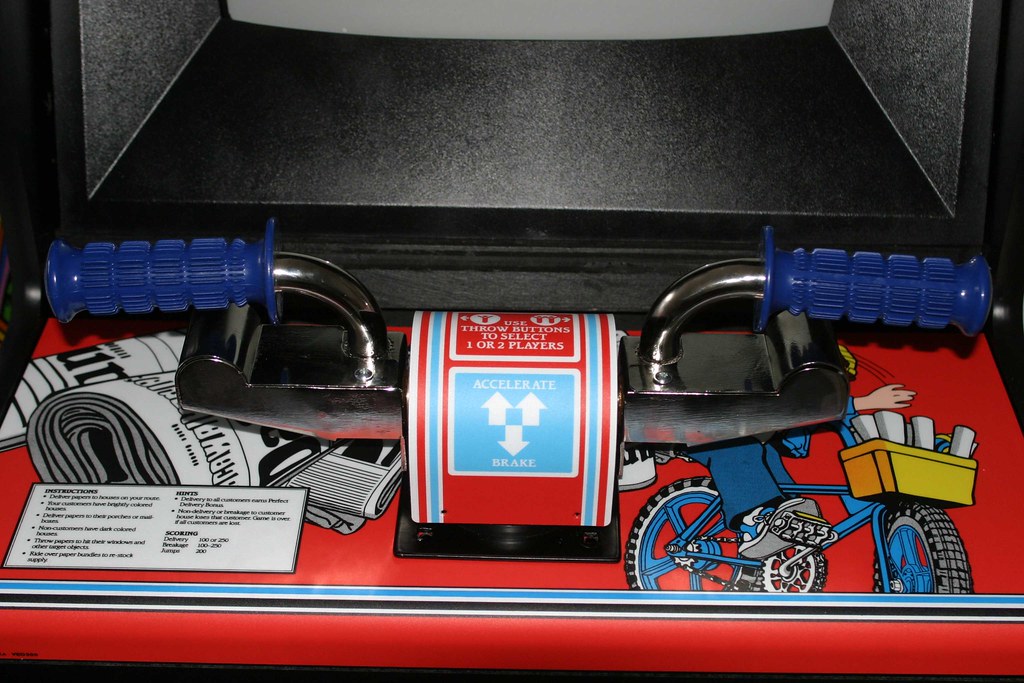
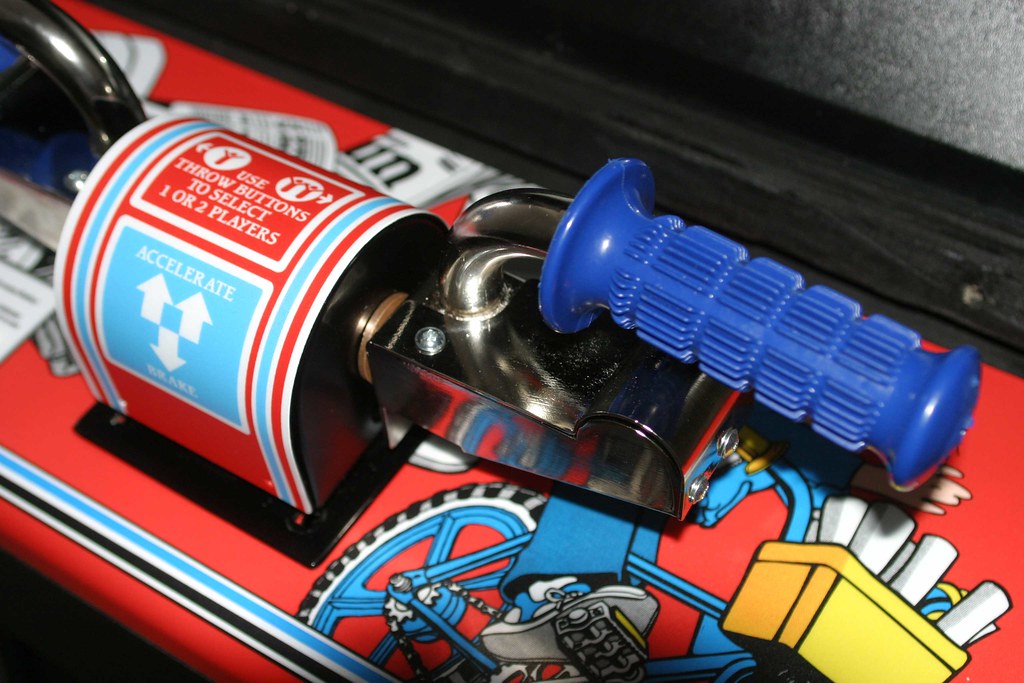
on to the player controls: one of the main element of the controller are the handlebars, so i tackled that problem first. after disassembly
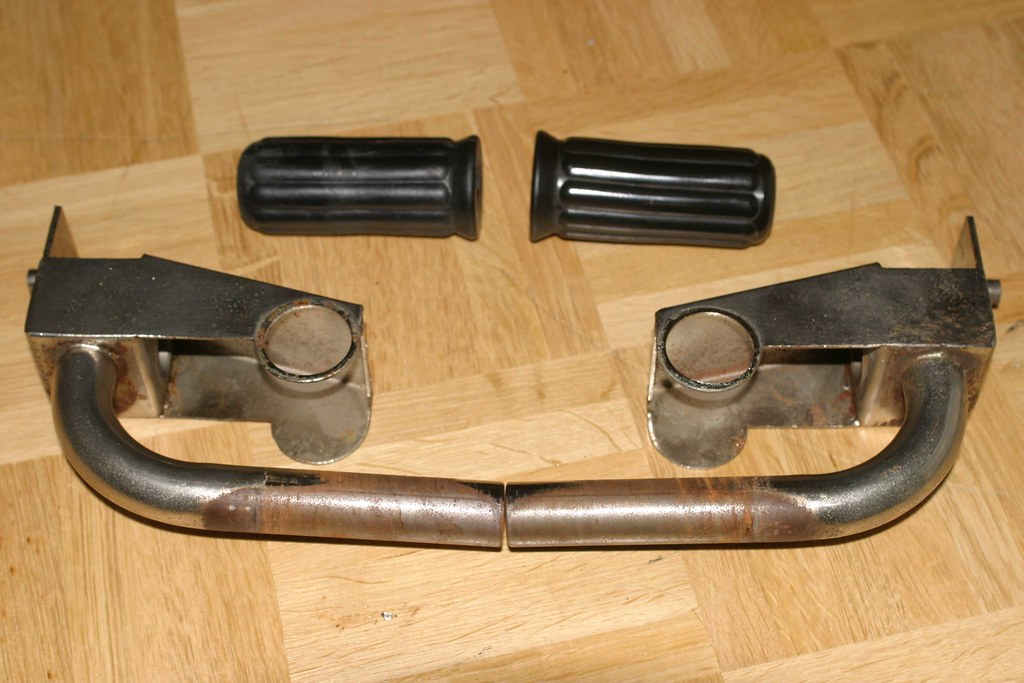
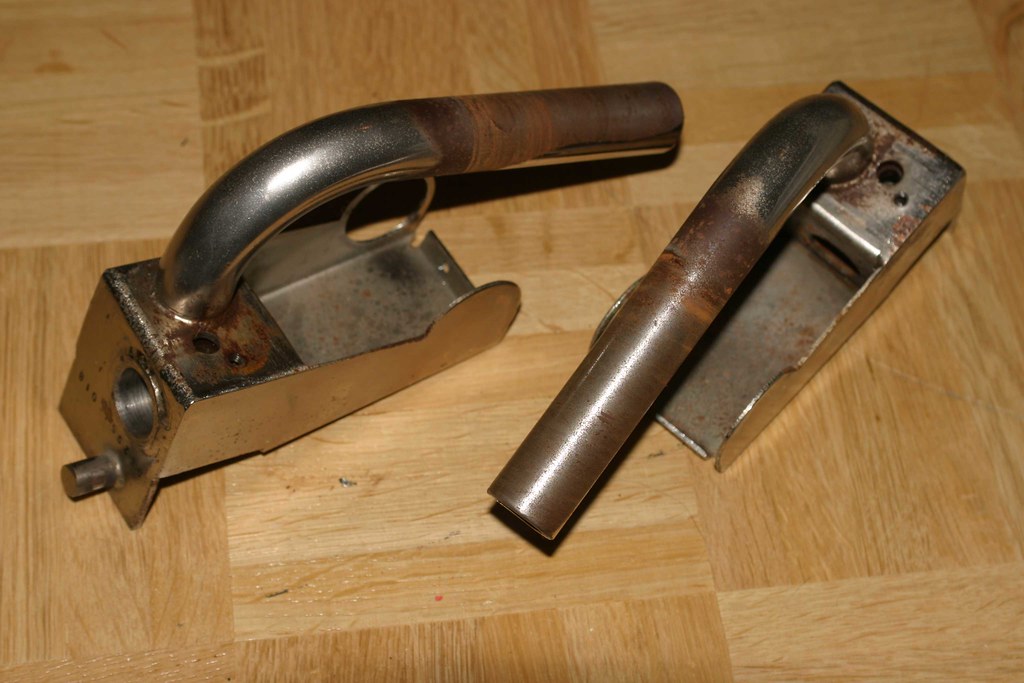
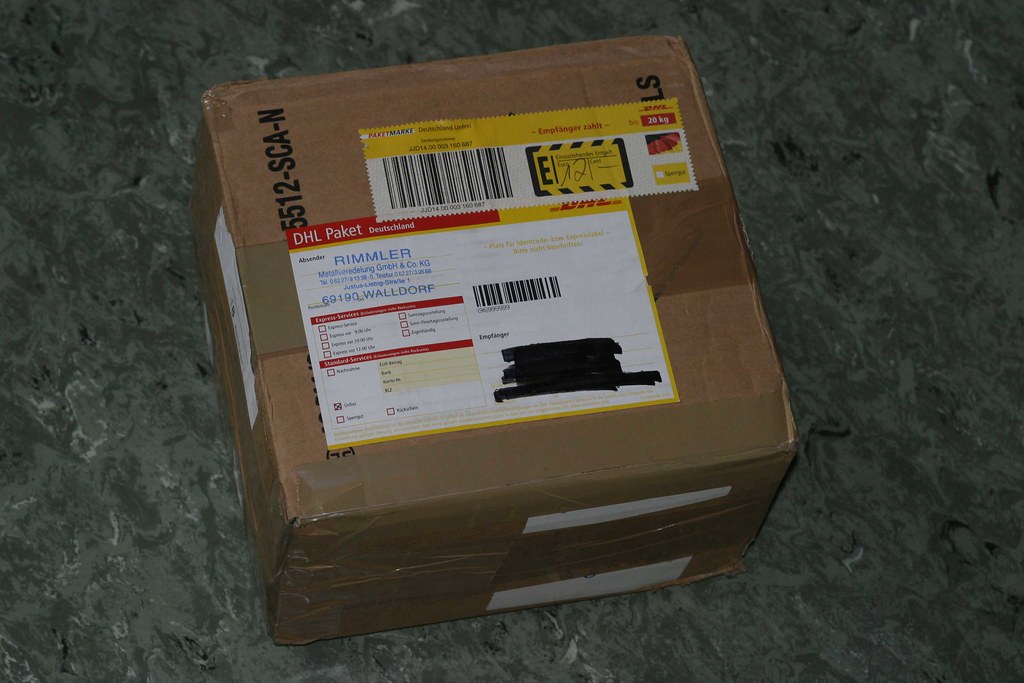
i wanted to have those pieces as shiny and new as possible. the original parts had been nickle-plated, that's why i didn't want to go with a cheap solution like spraying them, because it wouldn't have taken long and the sprayed color would have come off. i did some researching, made a couple of phone calls and finally found a shop who said "yes, we can do that, no problem, just send us the parts". it took quite a while (and cost me some money), but after a couple of weeks a found a package on my doorstep
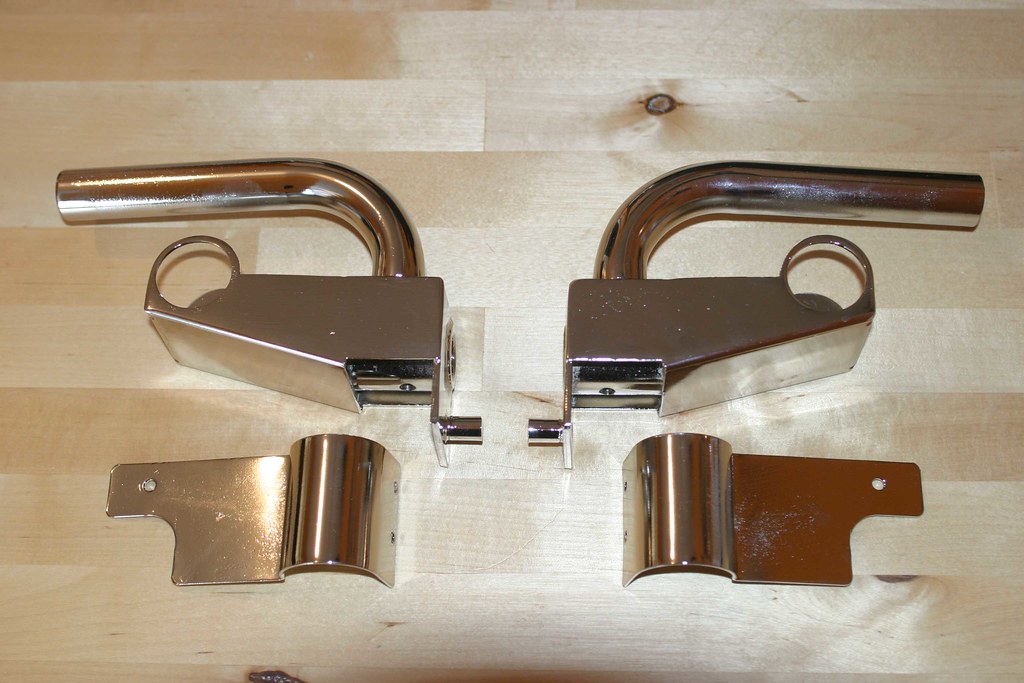
close-up: "metal finishing" - sounds good


after opening the package, this is what i found inside. take out your sunglasses

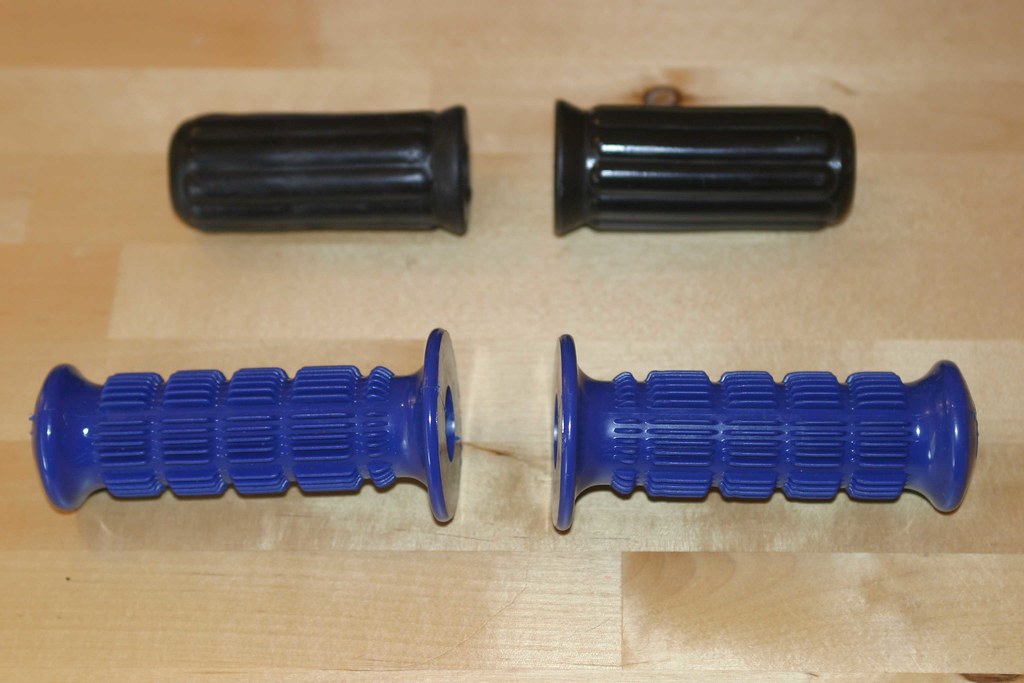
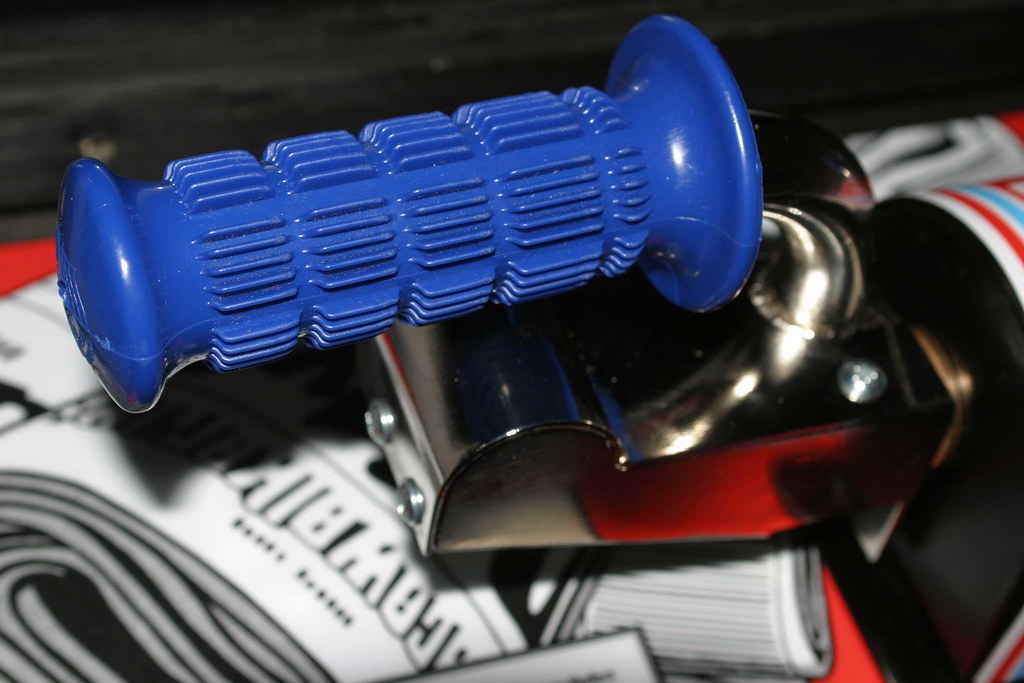
i also found a NOS set of handlebar grips: the original game was manufactured with three different grip colors: black, red and blue. i would have
LOVED 
to find a set of red grips, but wasn't successful, so i settled with the blue version. still looking terrific though!

old vs. new
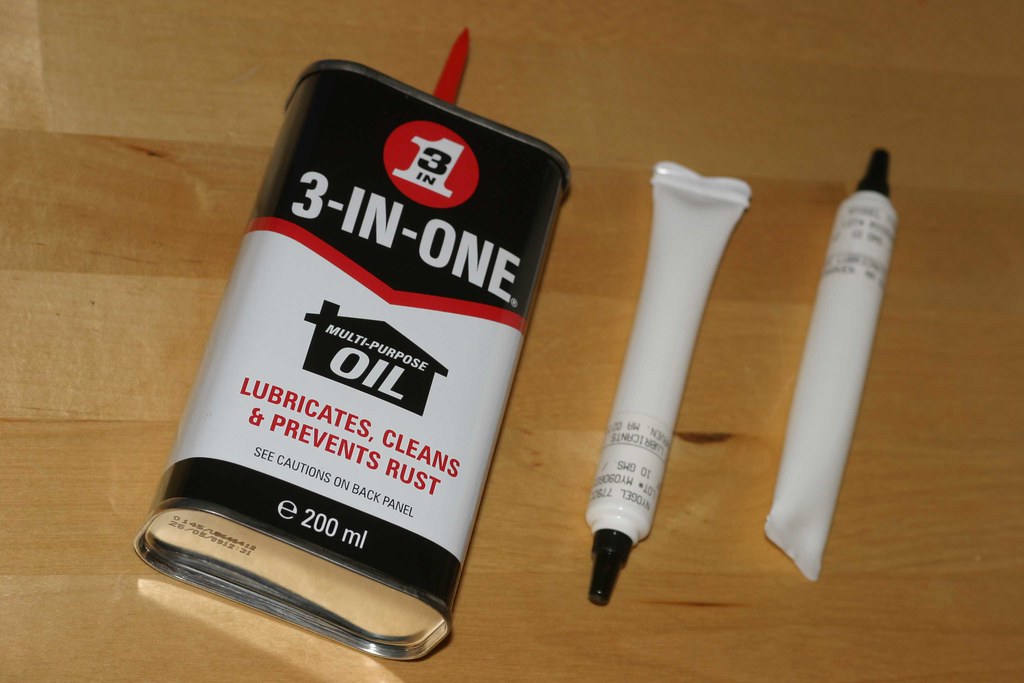
i also got a can of 3-in-1 oil (recommended for those controllers) and two tubes of nyogel lube - these will come in handy!
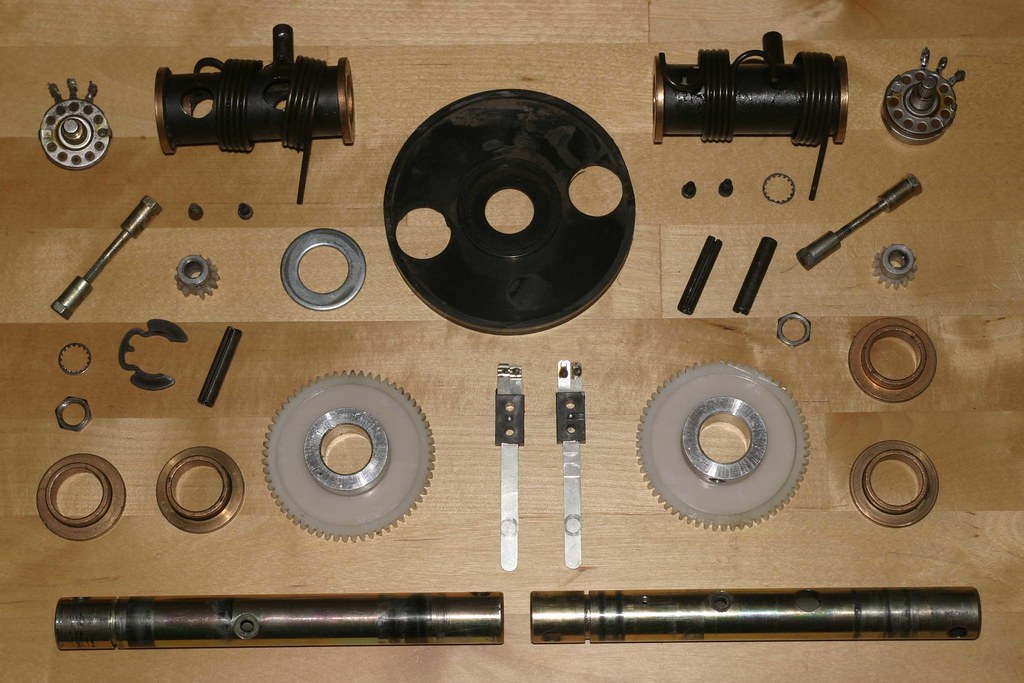
here are
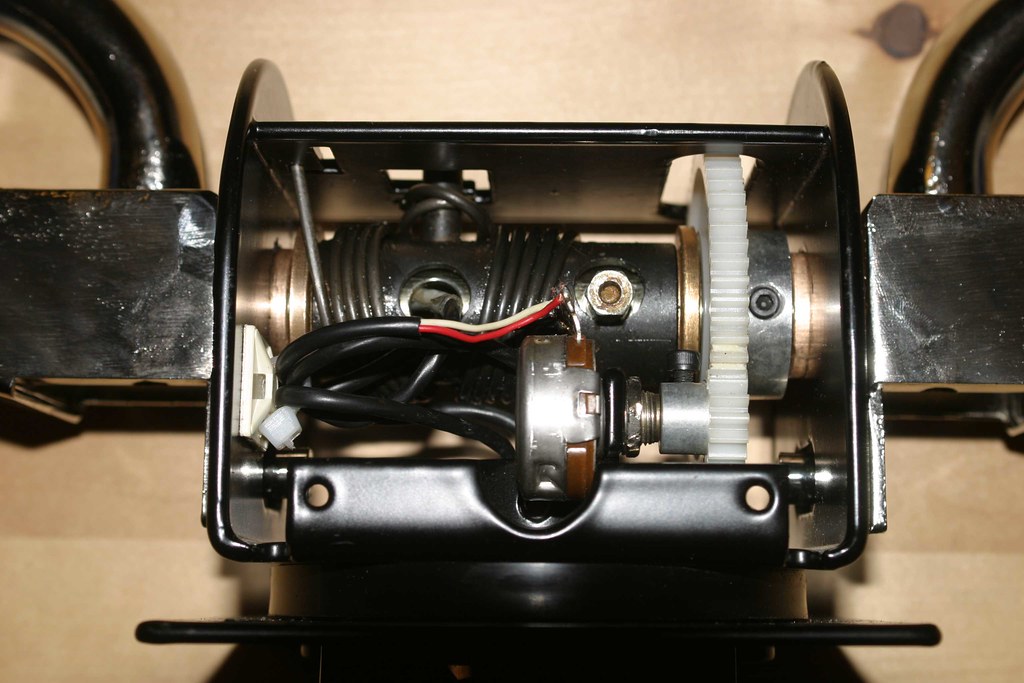
some of the parts needed for the player controls, some (like the housing with the tension springs and the bearings) have not yet been disassembled. i just wanted to give you an idea how many parts make up that controller.
more parts - greetings from the powdercoater

so let's get this baby on the road ...
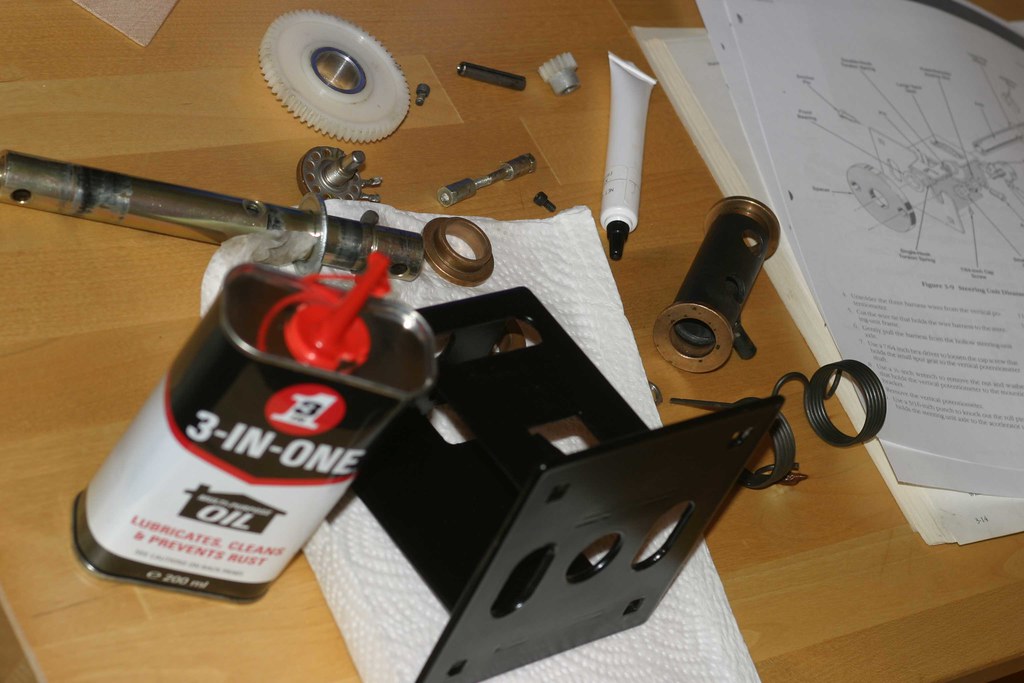
the manual says "put a heavy coat of lube on the housing where the tension springs will go" - this is what i'm doing

slowly but surely i'm getting there!

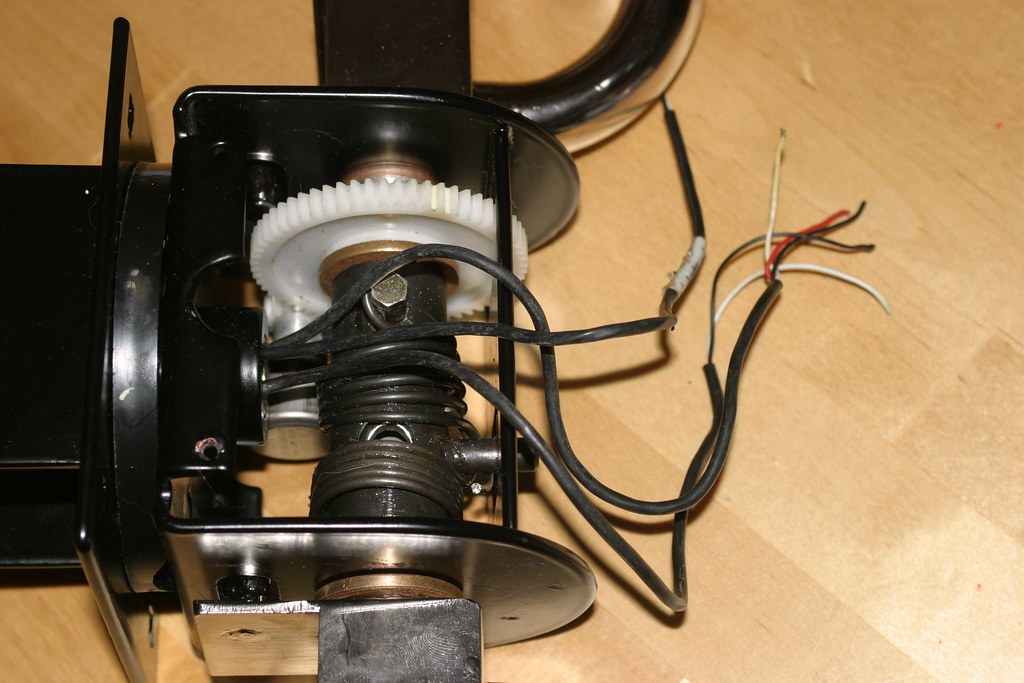
once you're done with re-assembly, you have to thread the wiring through the bearings and axles. this job is damn frustrating and time-consuming. i'm using a croched hook and thicker wires to which i attach the original wires to pull them through. not a lot of space to work with and screws in the axles blocking the path!

but in the end i prevail

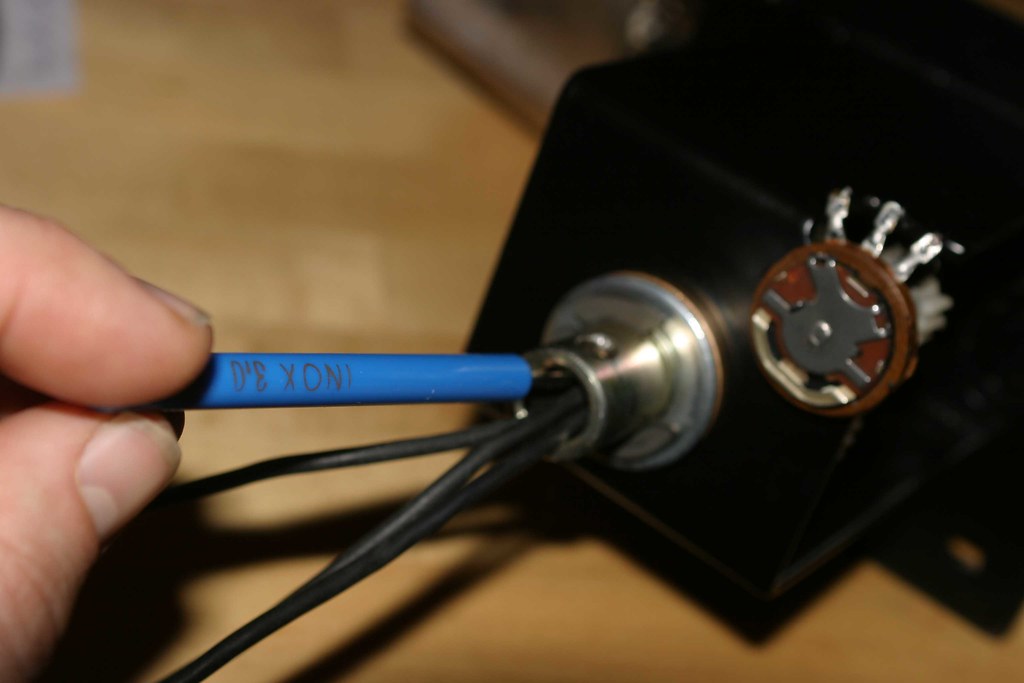
after that, the wiring has to be soldered to the leaf switches ...
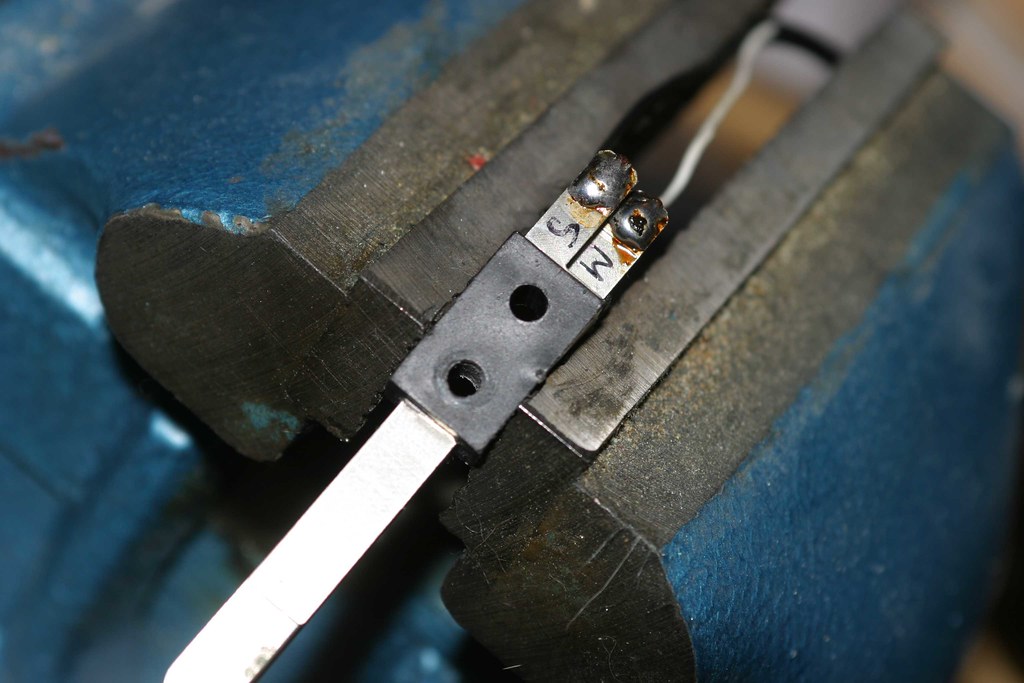
... and to the potentiometers
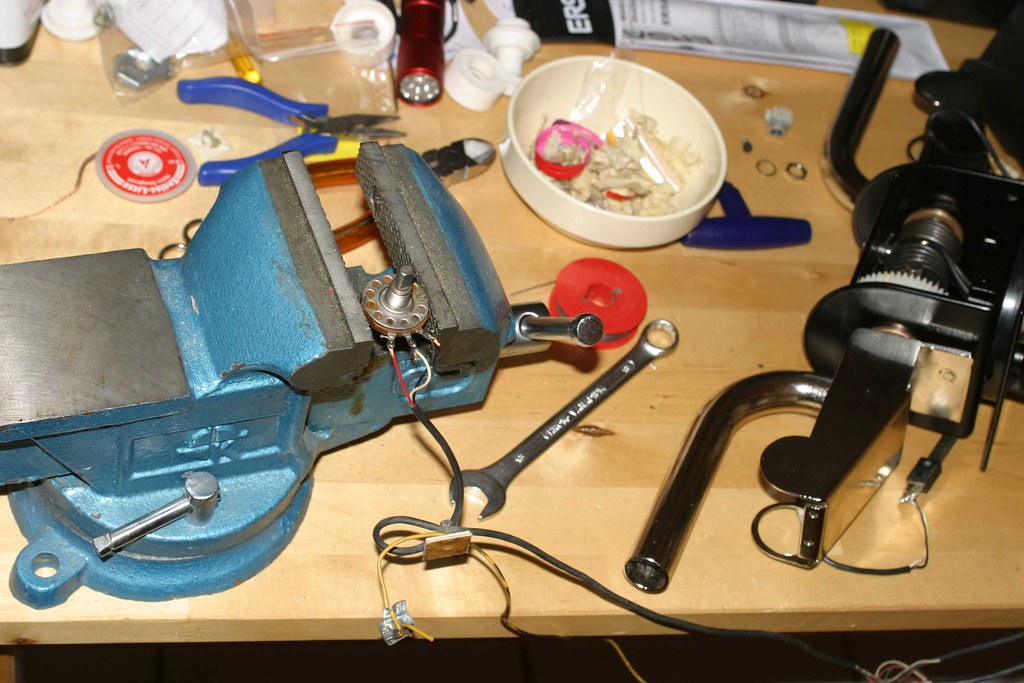
rewired and soldered - TICK!!!
 CHECK THIS OUT
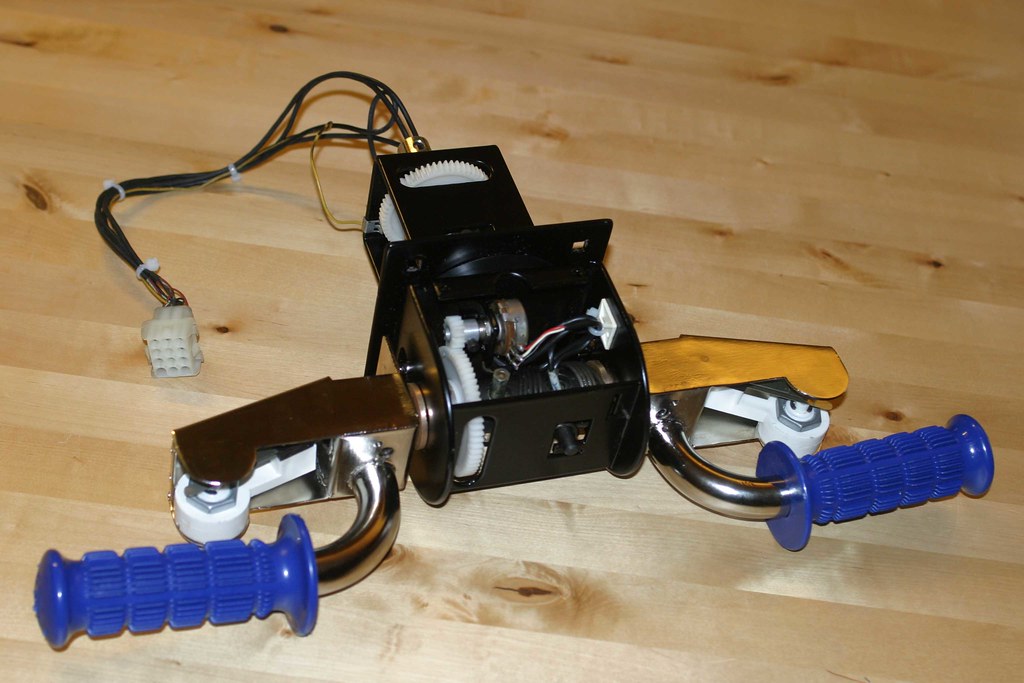
the handlebar also need a new overlay - courtesy of thisoldgame.com
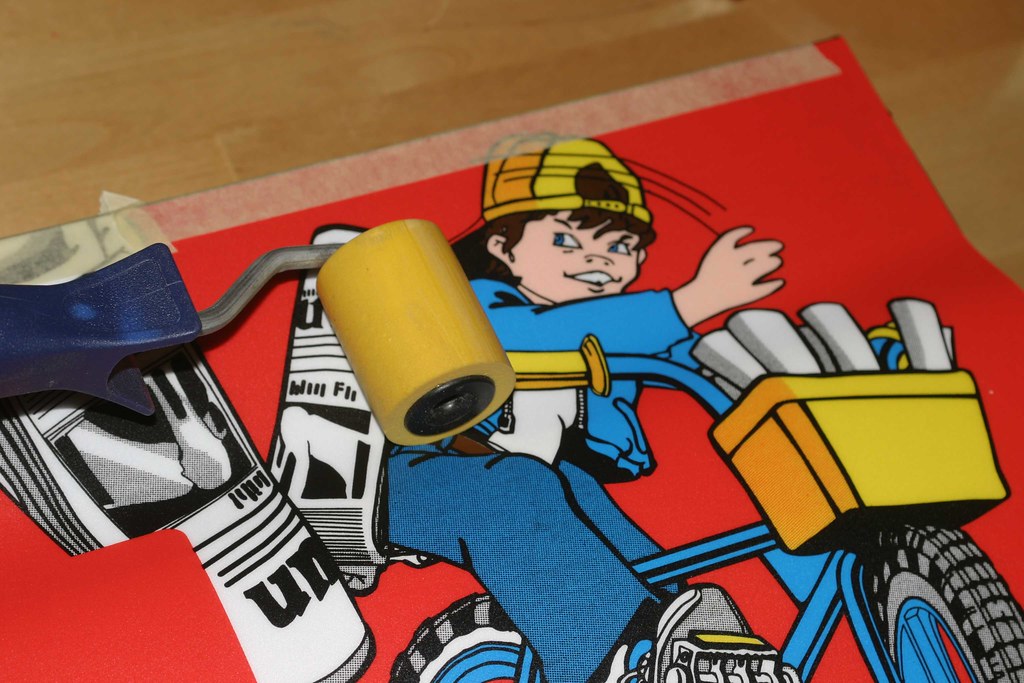
as usual, fix it with tape for a precise positioning
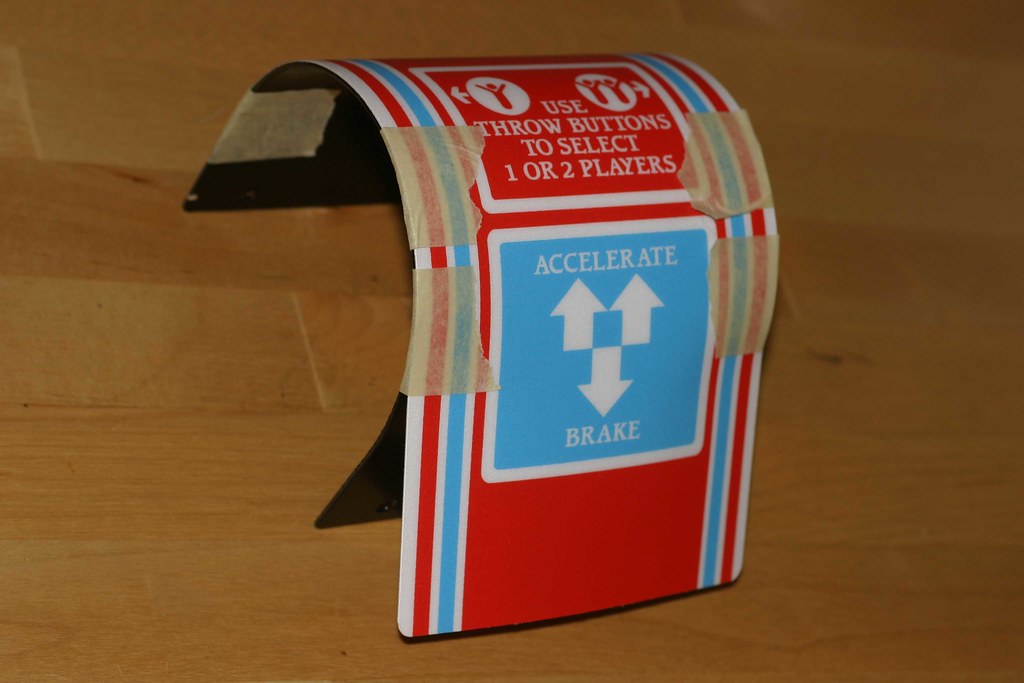
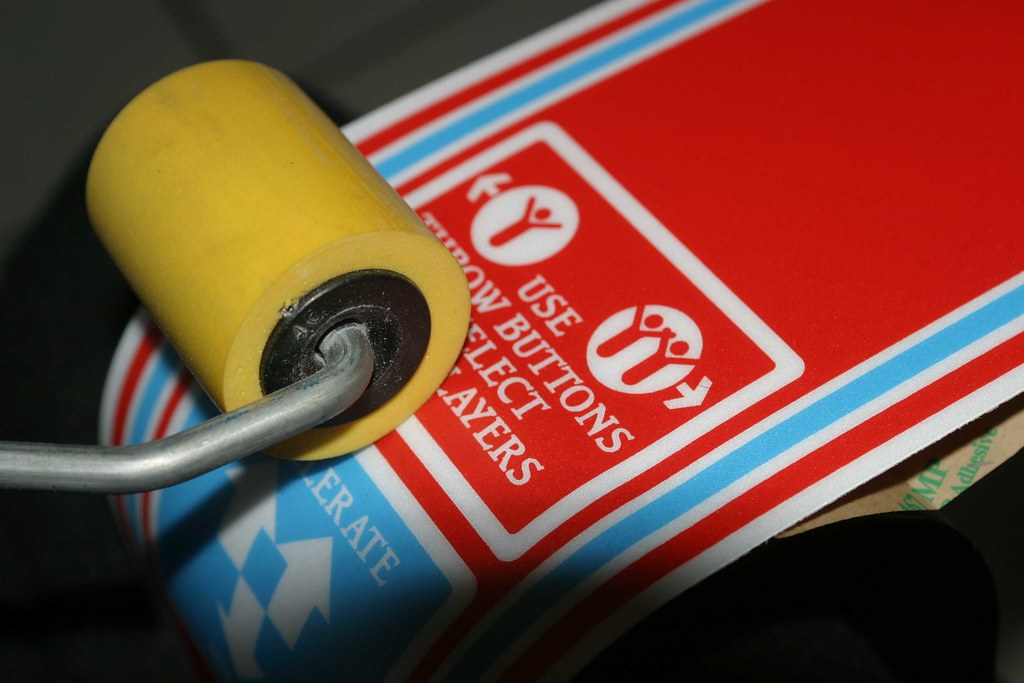
then pull back the protective layer and roll it on
done!
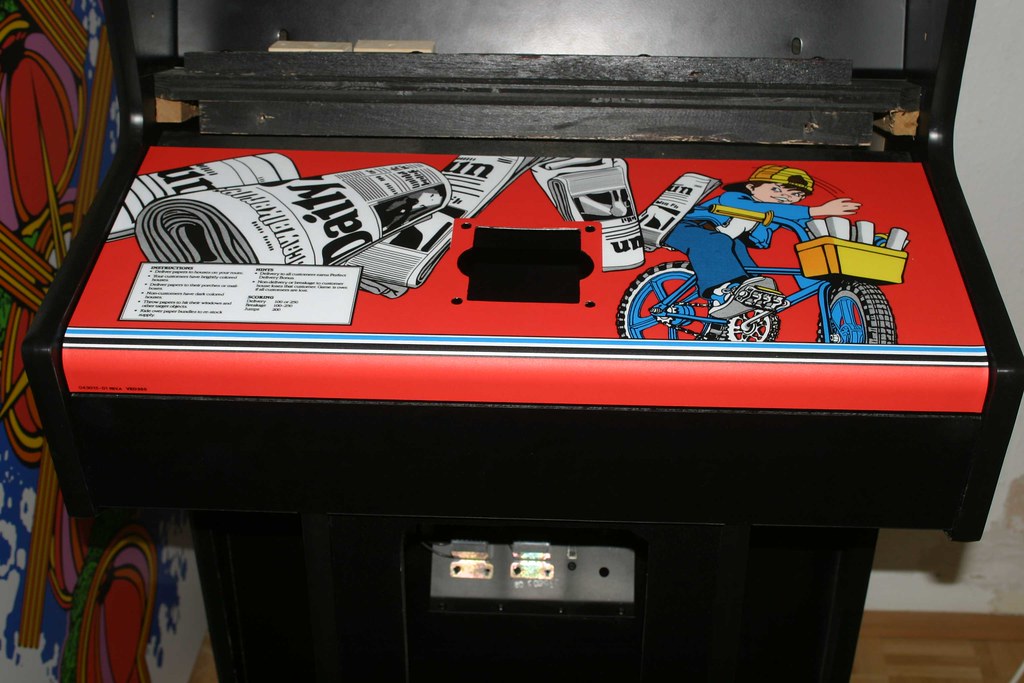
i haven't screwed the pieces together yet, because i have to make an alignment test of the potentiometers first once the pcbs are working, but i'm placing the control panel and the player controls on the cabinet to see whether all the efforts (and the money) have paid off!
haven't said this in a long time:
I'M THRILLED to be continued ...


