Let's continue where i left off.
After looking around for sideart, i could only find some crappy pictures online, so again i contacted Muerto if he could do me another favour.
Again top notch work from Muerto with detailed measurements, Thanks buddy !
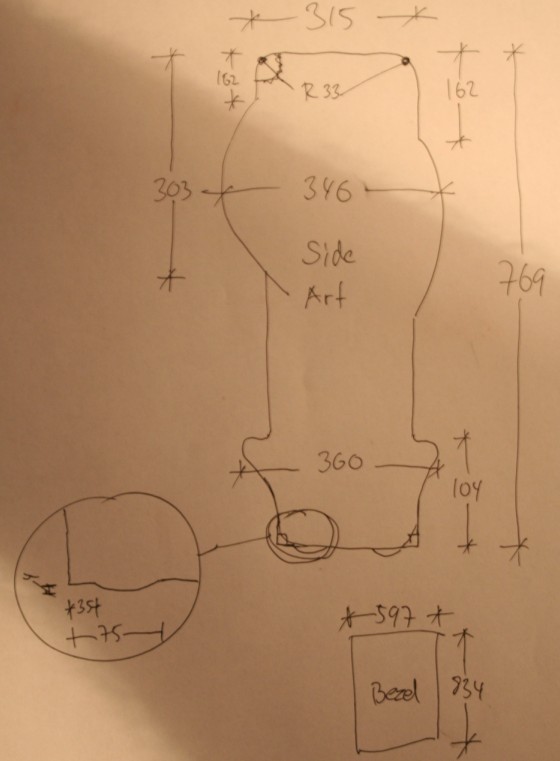
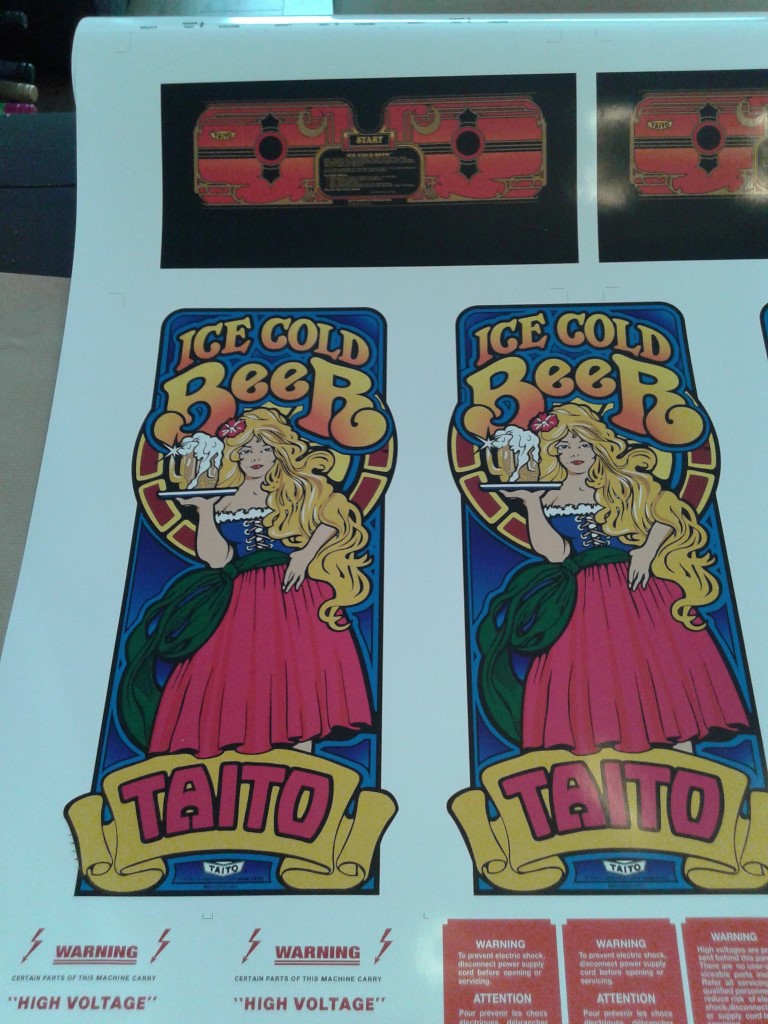
As the sources online where not sufficient, i asked Muerto to take some pictures of his Sideart, and vectored / constructed the files myself.
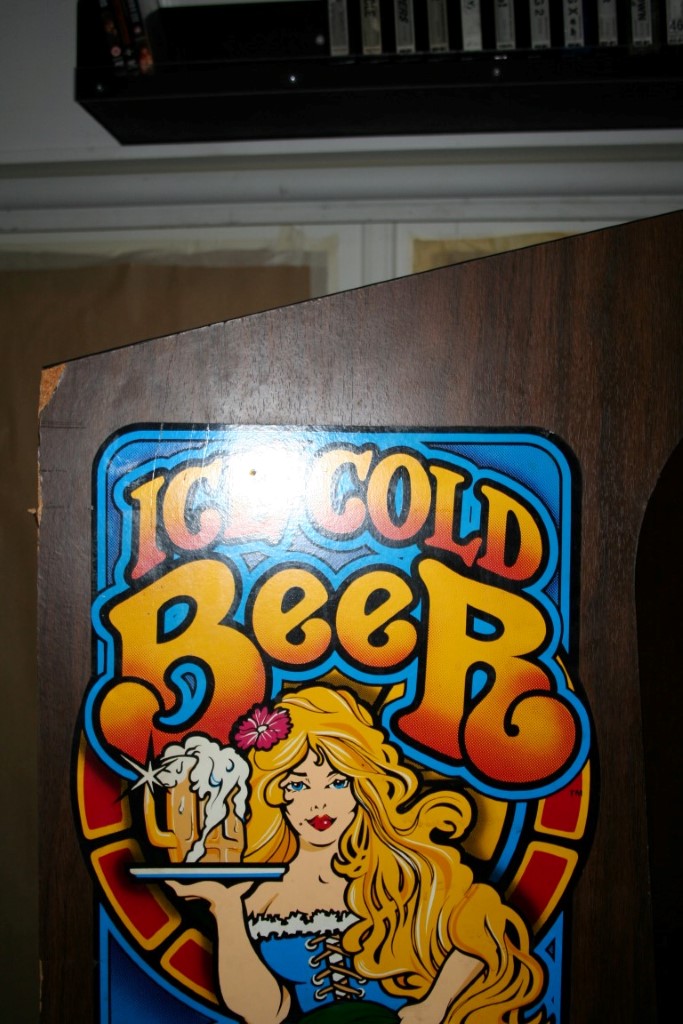
These are the pictures i used to recreate the sideart.
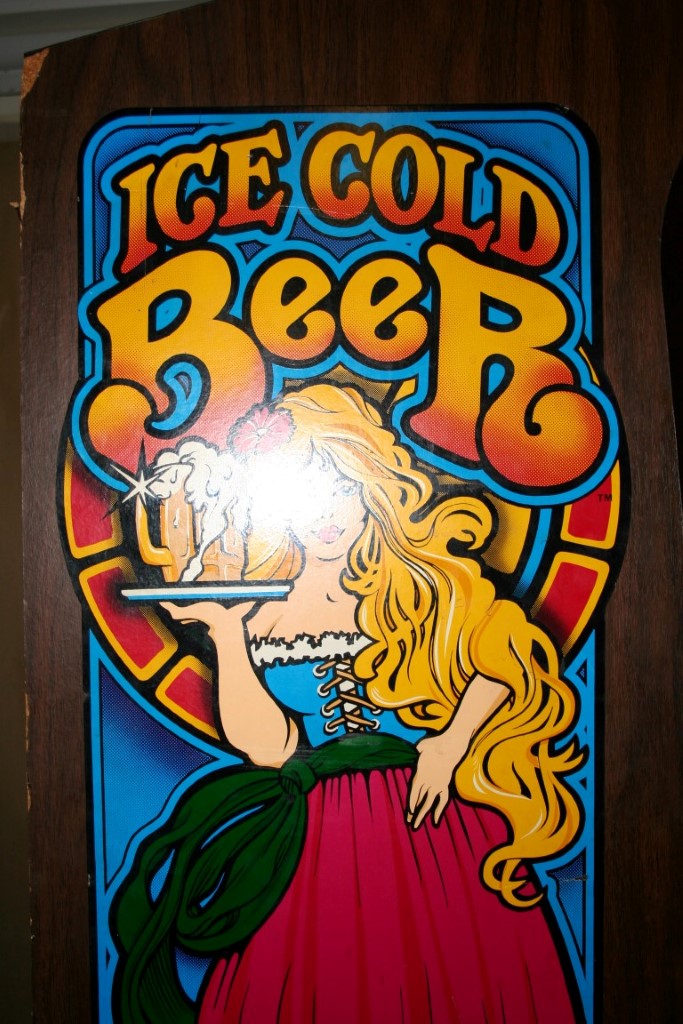
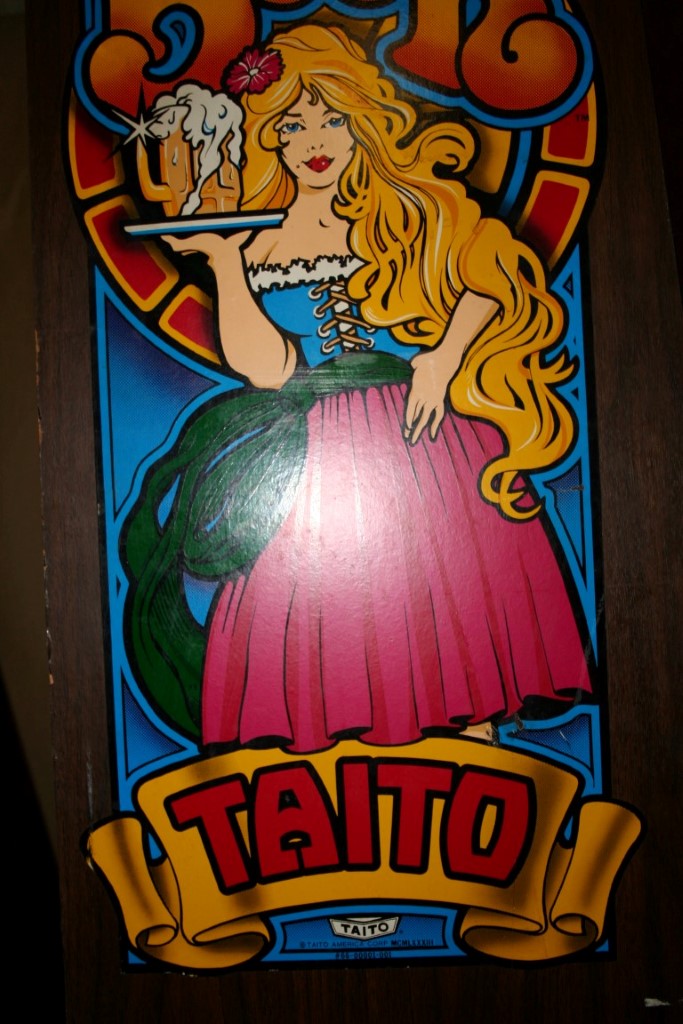
I put the art together by using the "non flash" parts.

Then, after vectoring the art, i scaled it down and took it in the last reprosticker run at my professional printer.
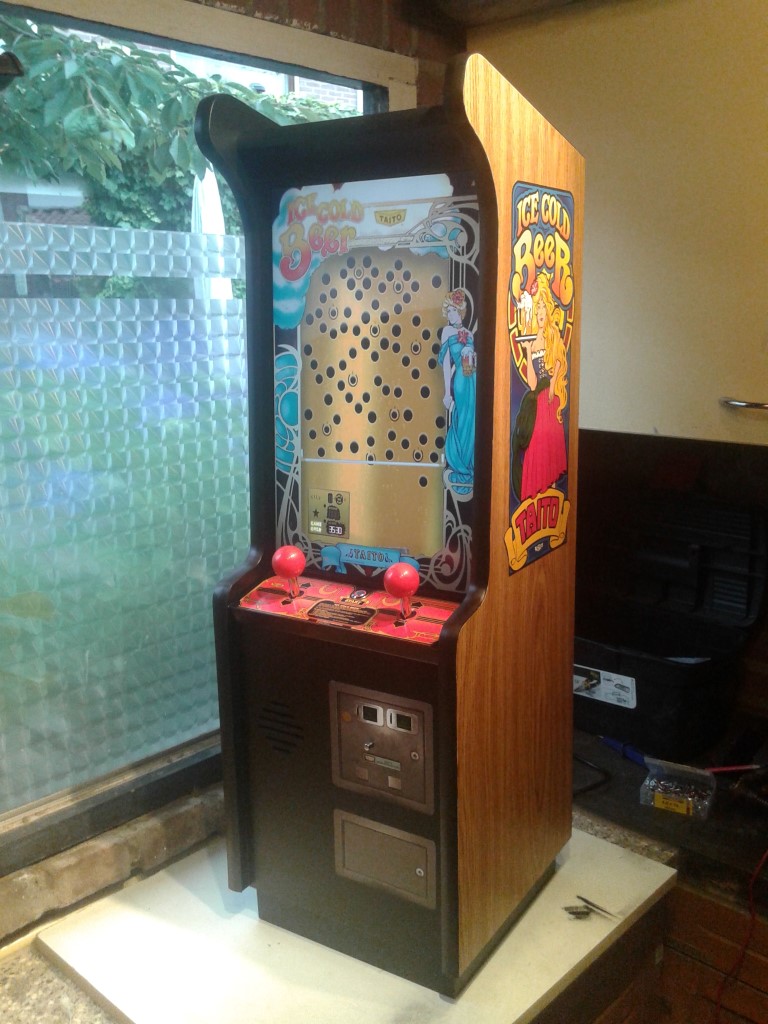
Applying the sideart..
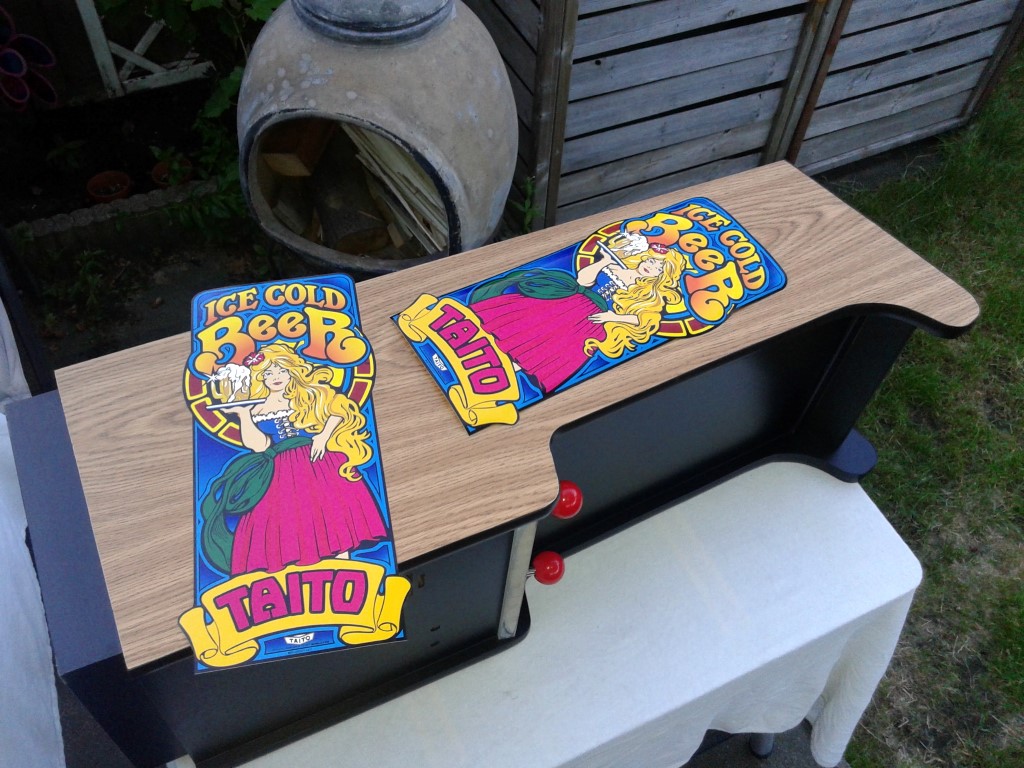
Installed right sideart..
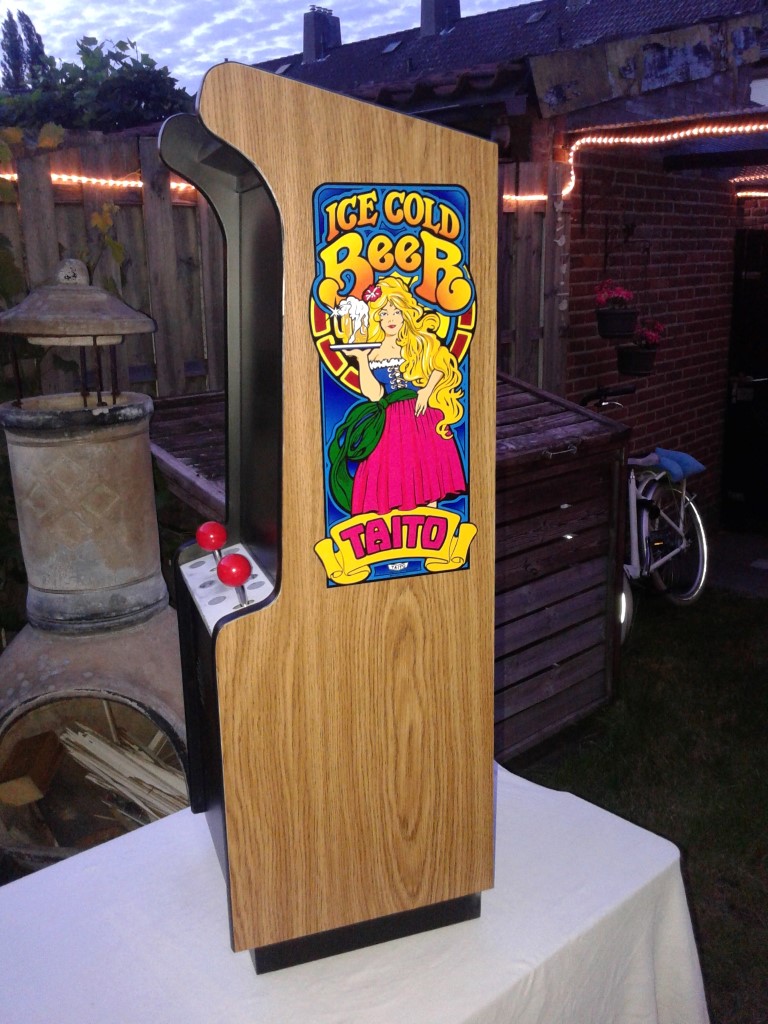
Installed left sideart..
There was a highres scan of the CPO on
www.coinopart.com.
I have a account there, so i took the file, scaled it down, and have it also printed.
CPO installed.
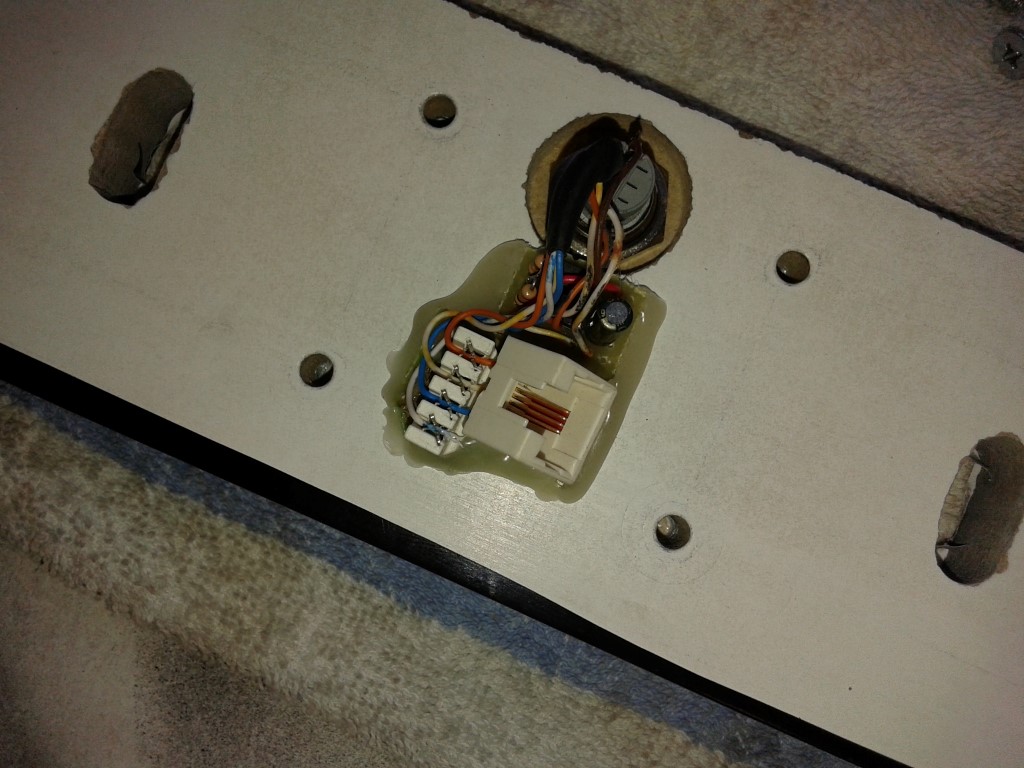
As the blinking button has two functions (blink and switch) i have 4 wires.
Let's make a easy disconnect for that..
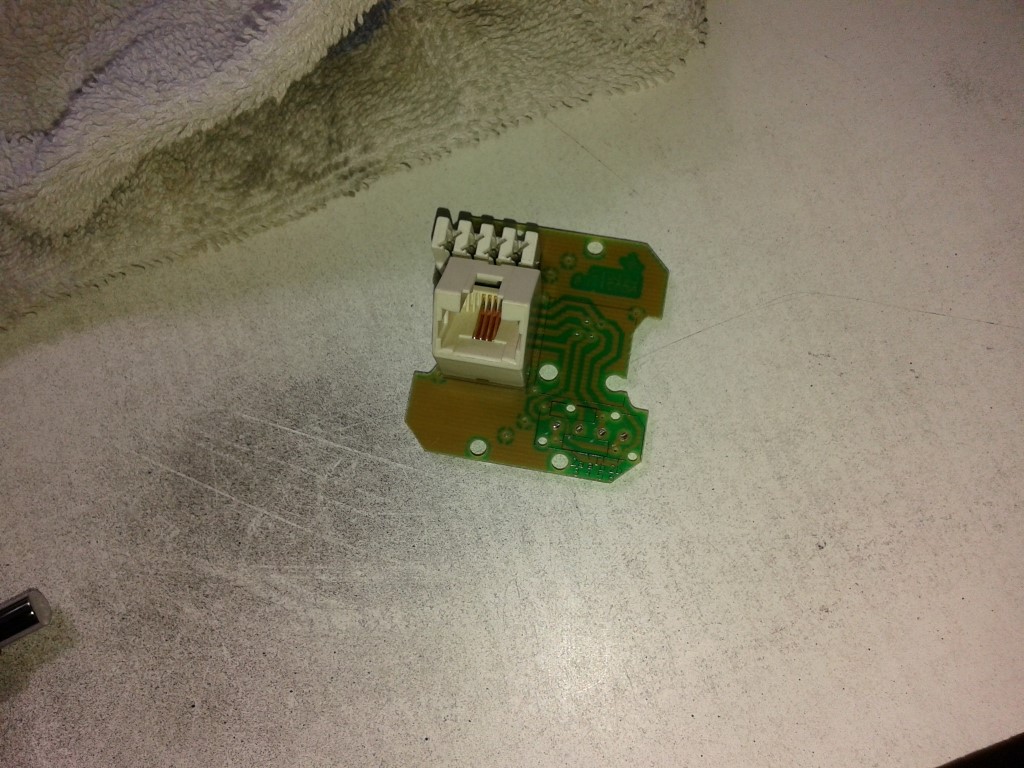
Took a old ISDN jack and hacked it up to the bare minimum.
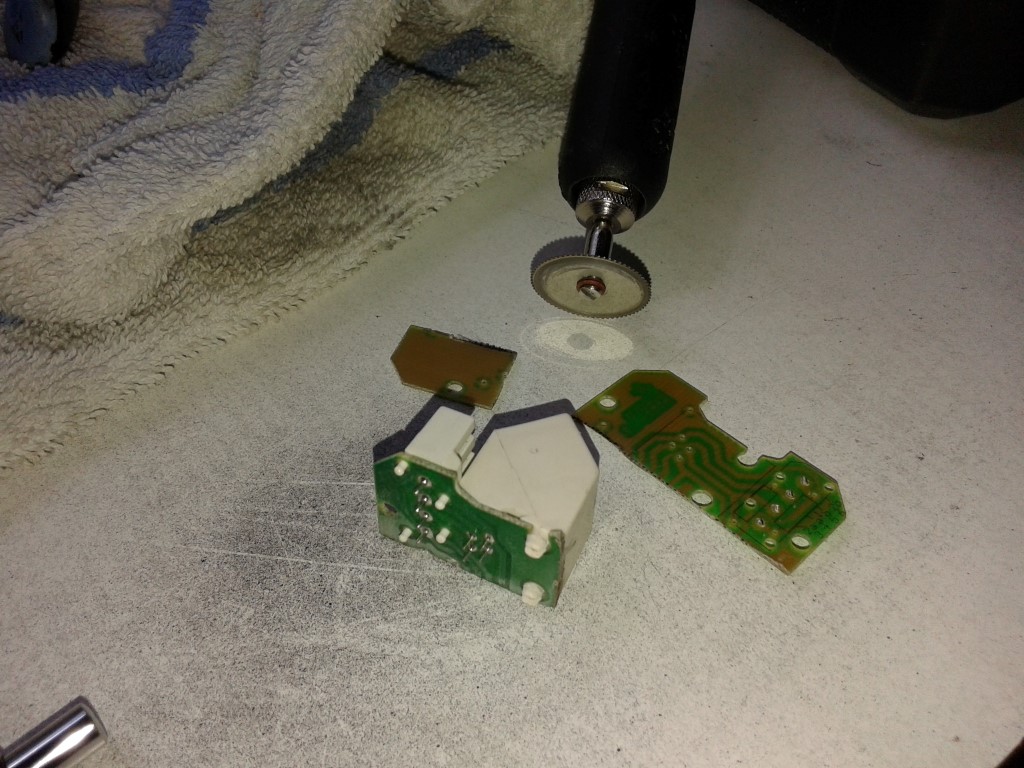
glued the connector PCB and 555 blinker cicuit to the bottom of the control panel with some hot snot.
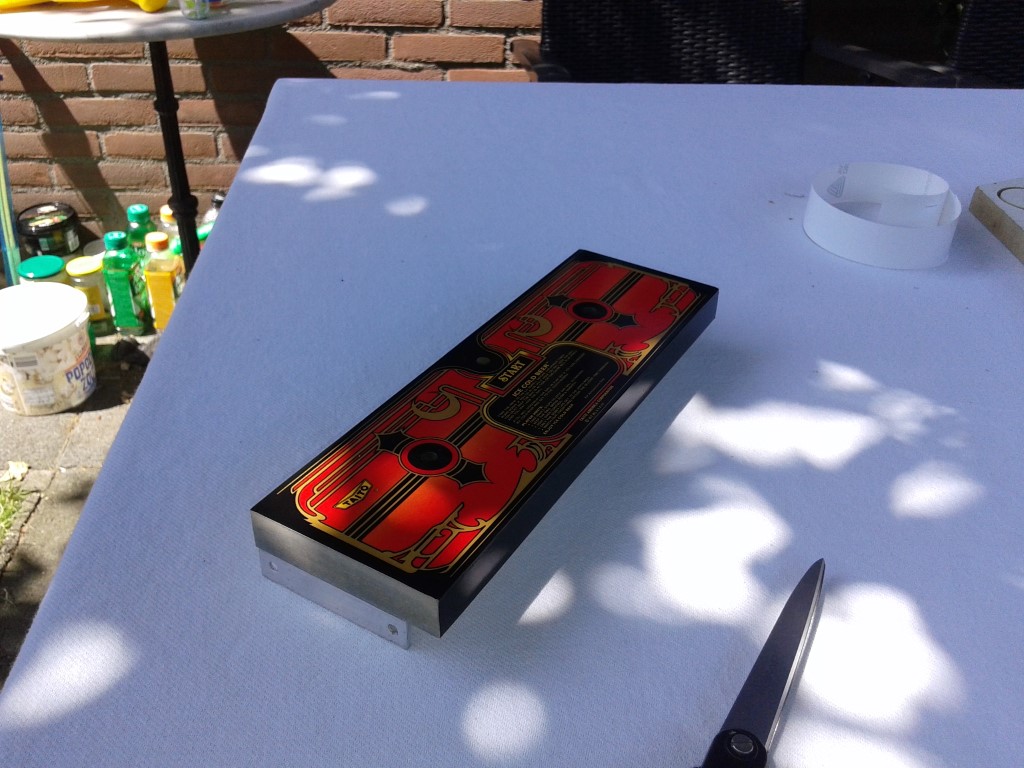
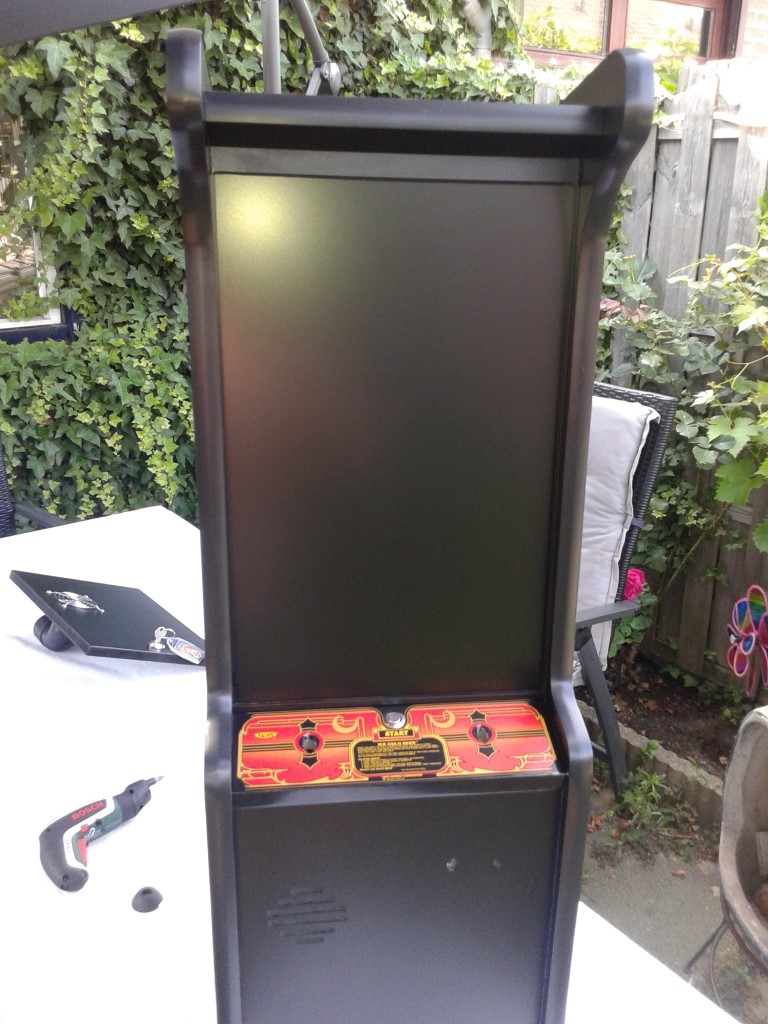
Control panel in place..
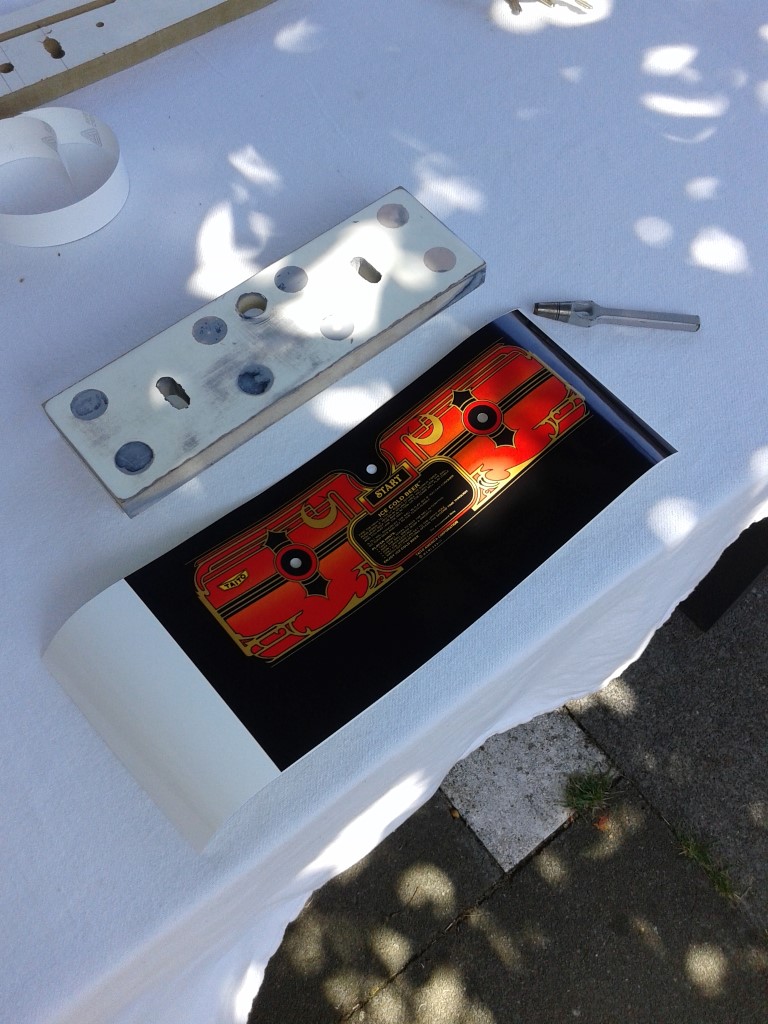
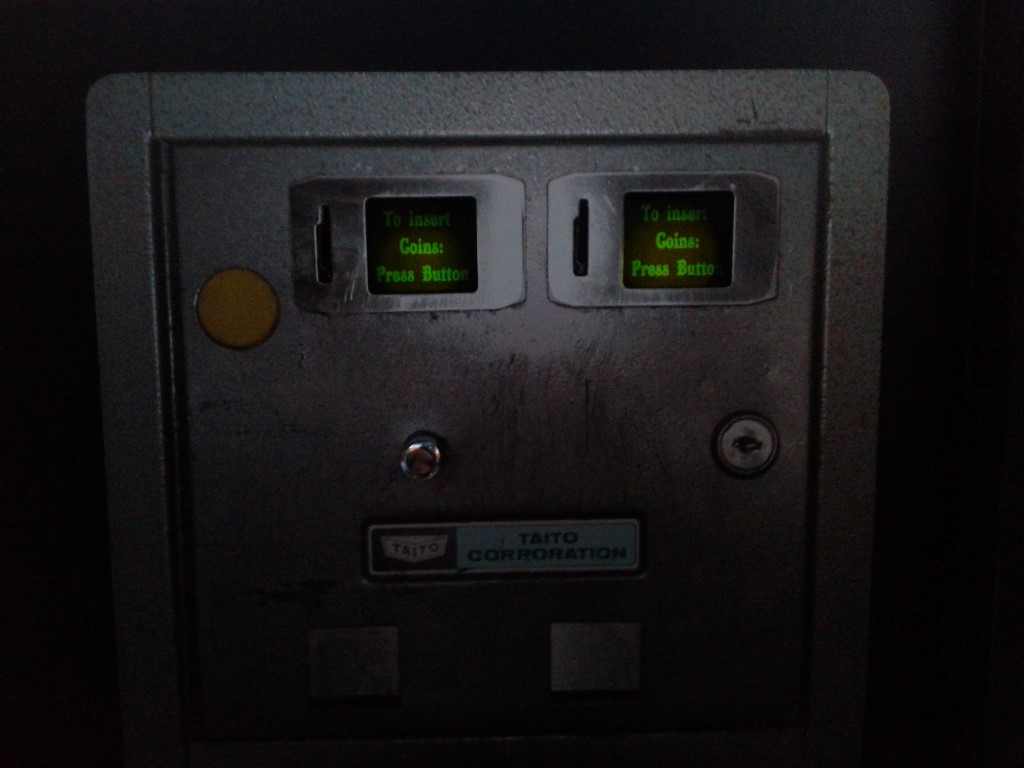
Time to create a coindoor, i have printed this graphic on Alufoil as a coindoor.
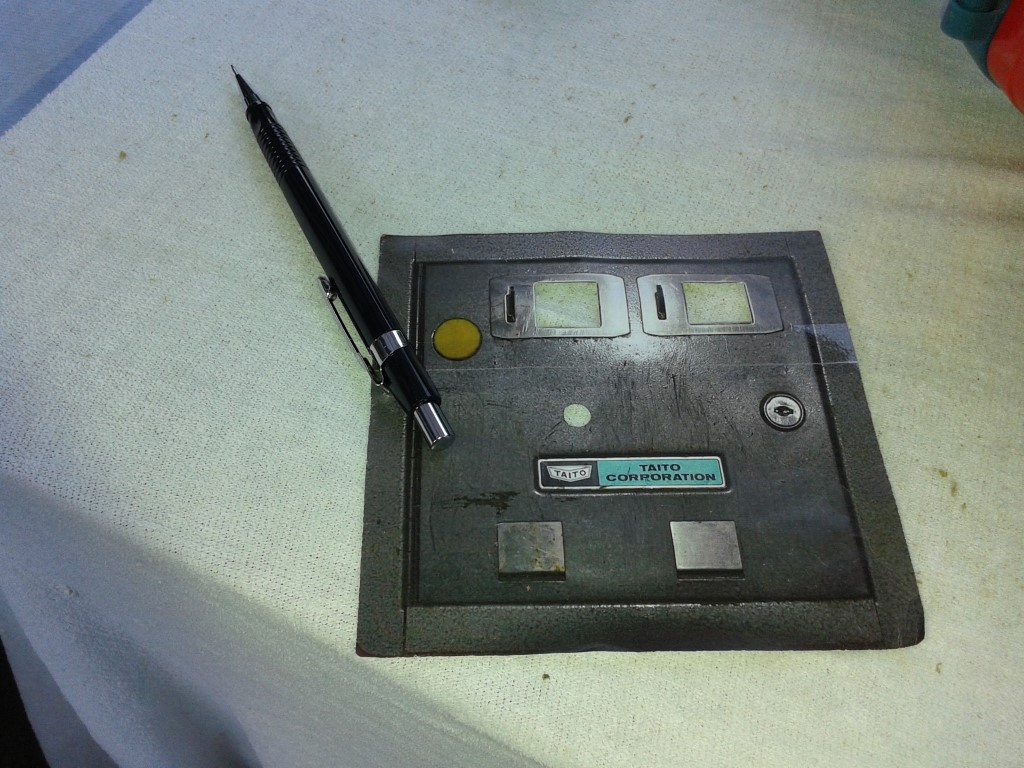
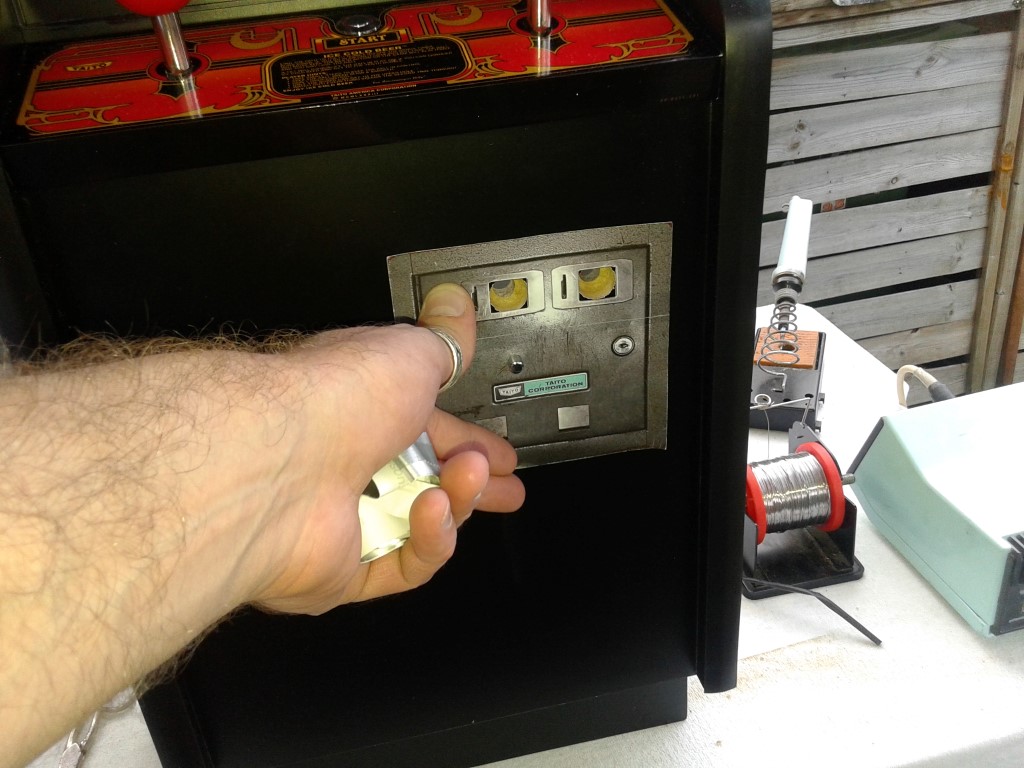
The bottom of the pencil will act very nice as a coin return button.
And after putting that on top of a regular push switch, it is a perfect credit button..
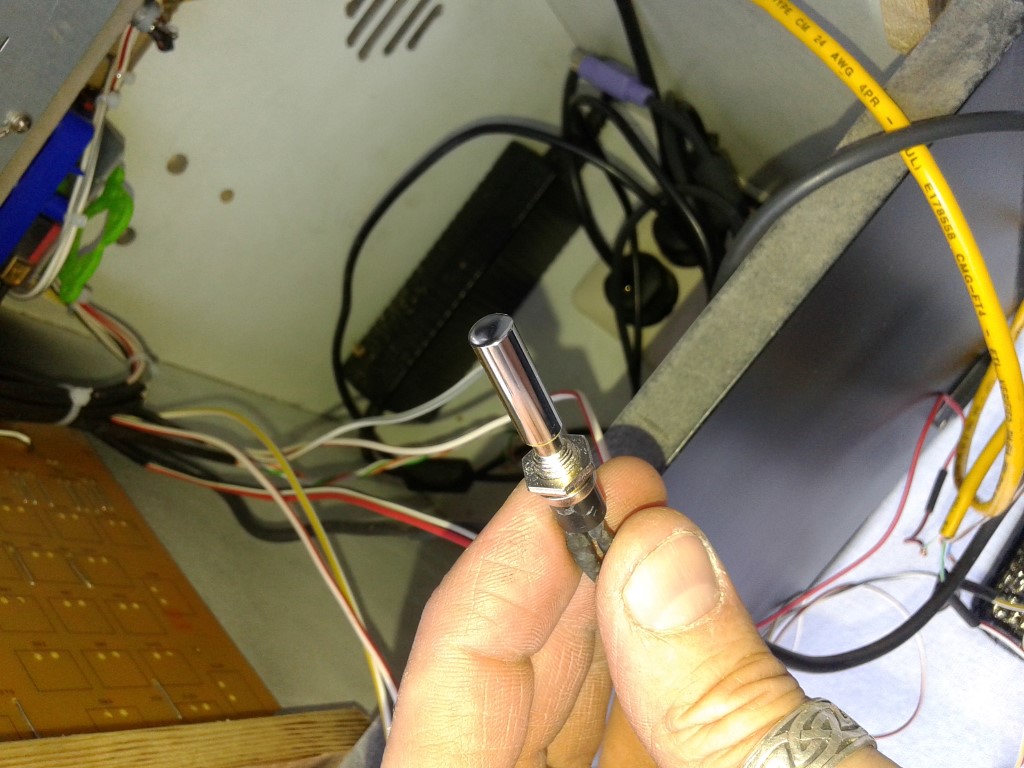
Fits nice and tidy..
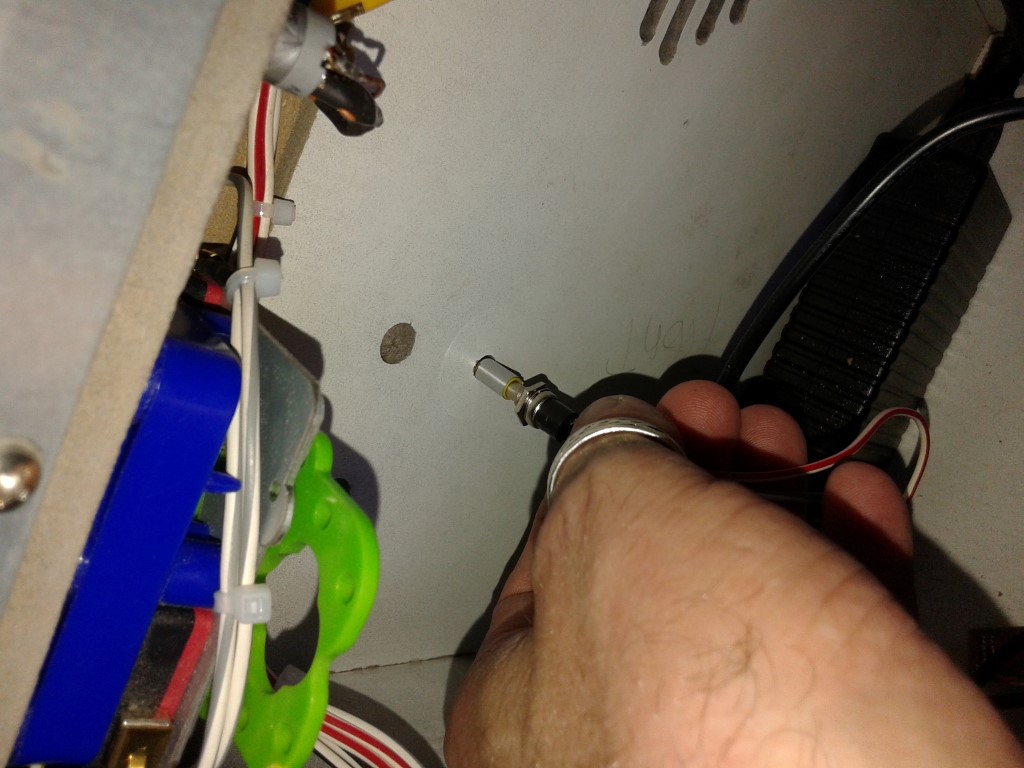
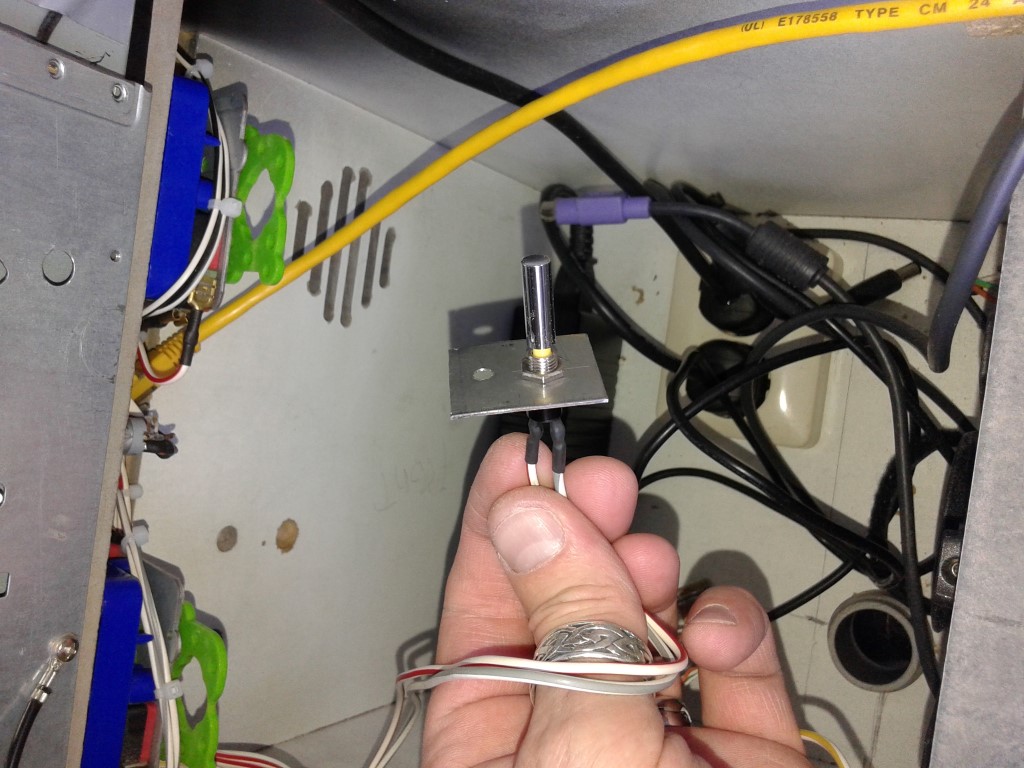
Created a bracket from a old piece of metal..
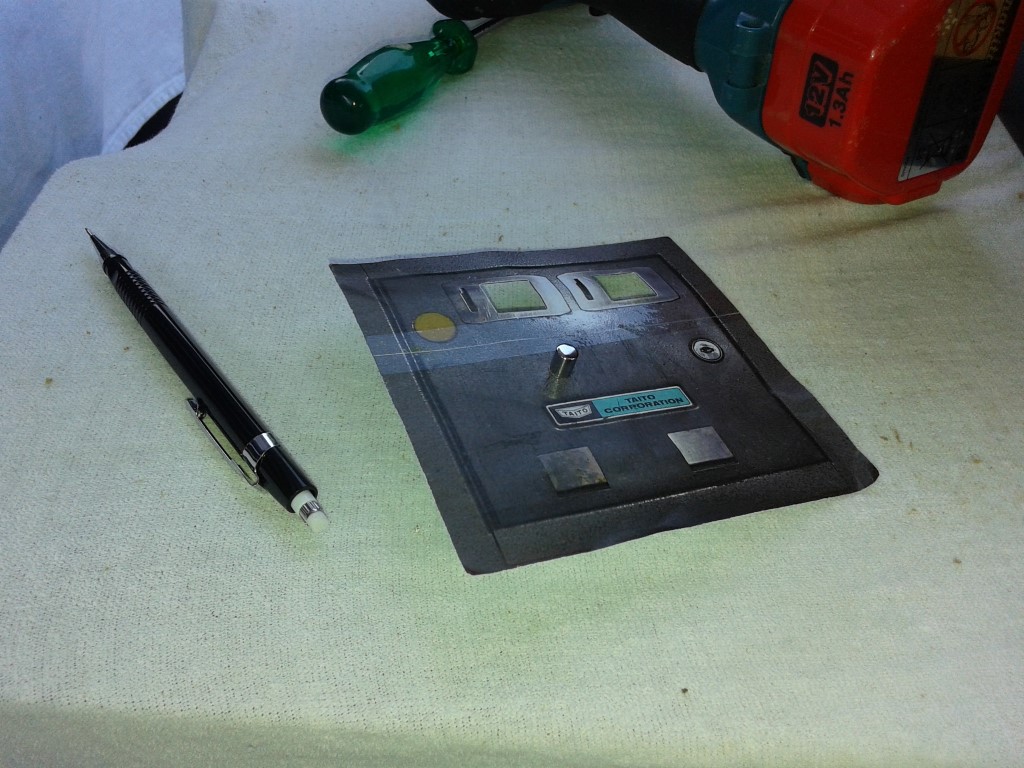
And time to apply the Alu coindoor decal..
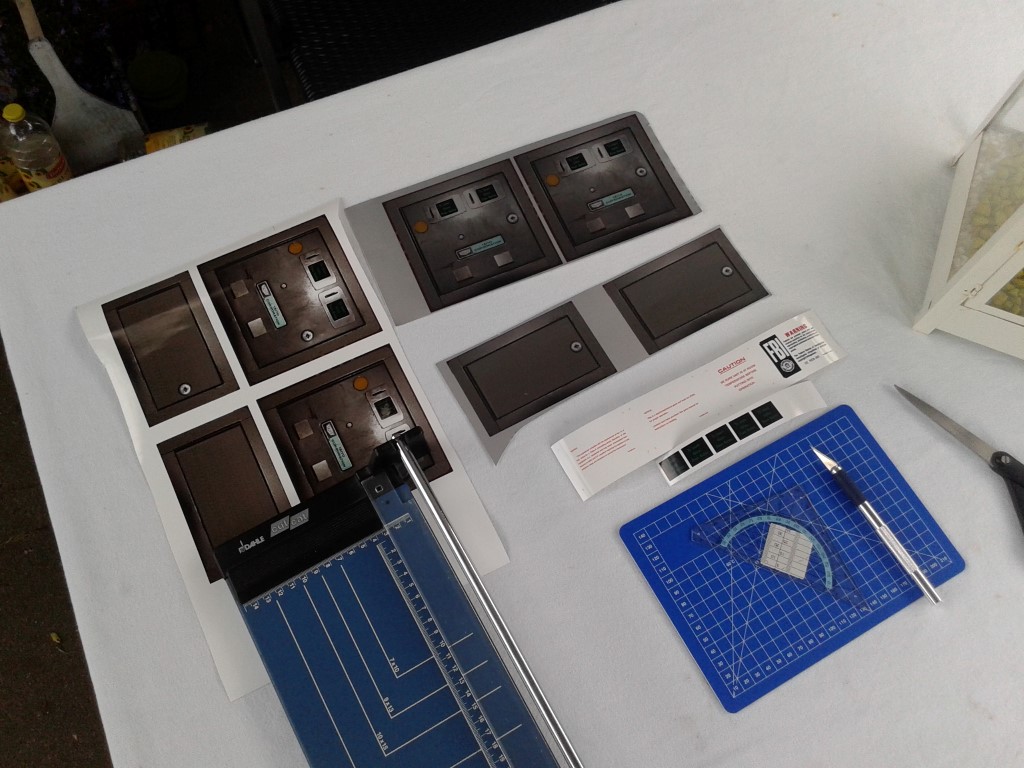
I have printed them on both vinyl as Alu, but the Alu looks the best, so thats the one that will be installed.
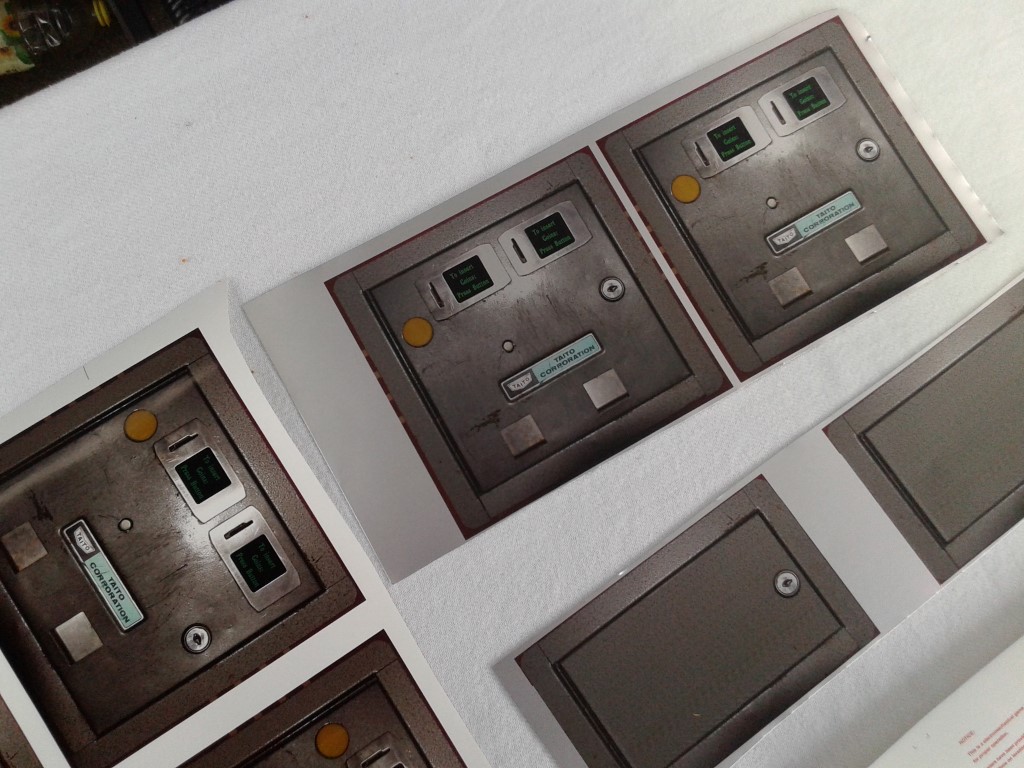
I cut out a piece to let the light for the coinslots come through.
Sticker in place..
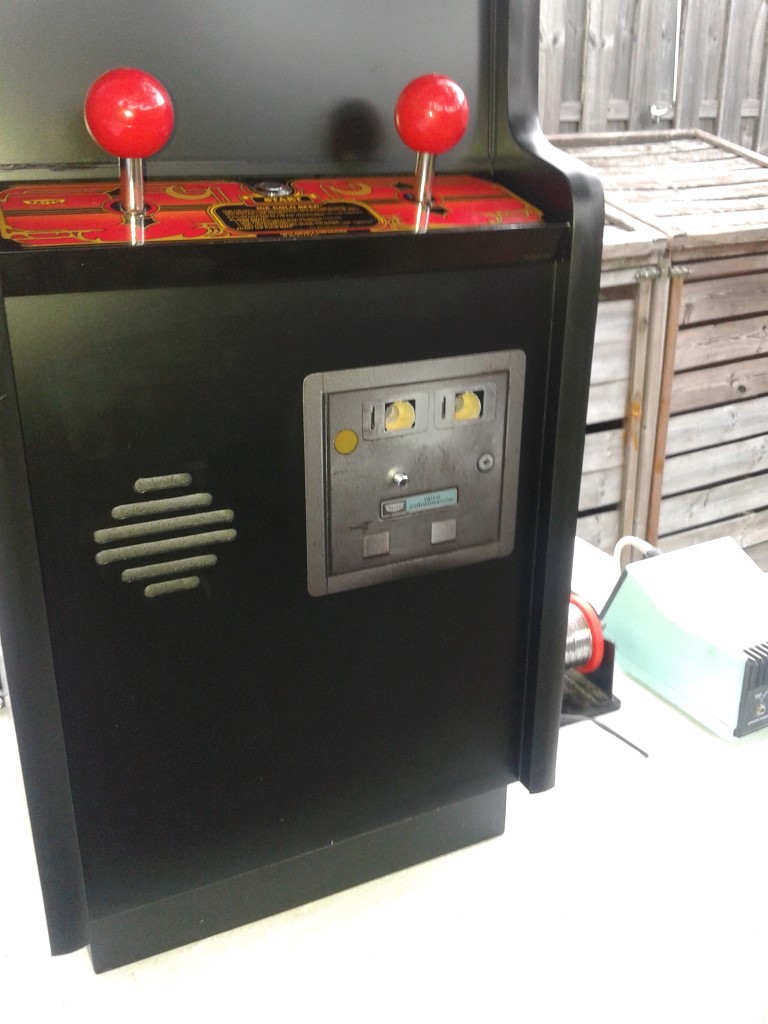
Then i took the vinyl one and cut out the coindoor lights part and pasted that over the alu.
The vinyl is translucent, as the alu is not, so now the light shines thrue.
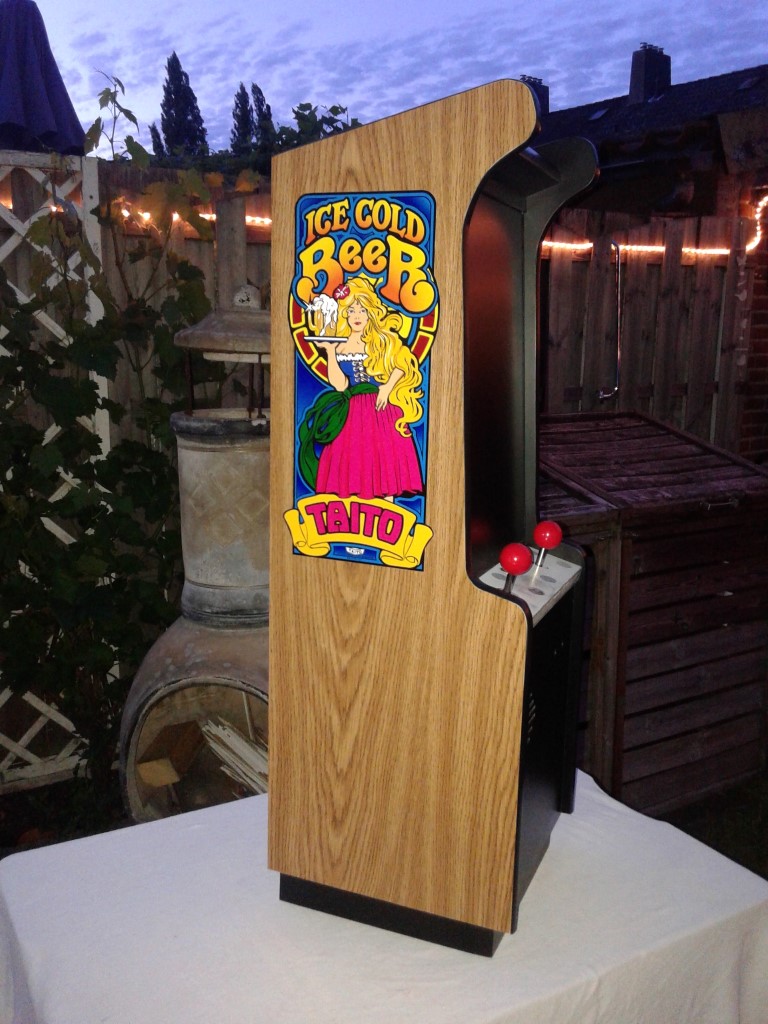
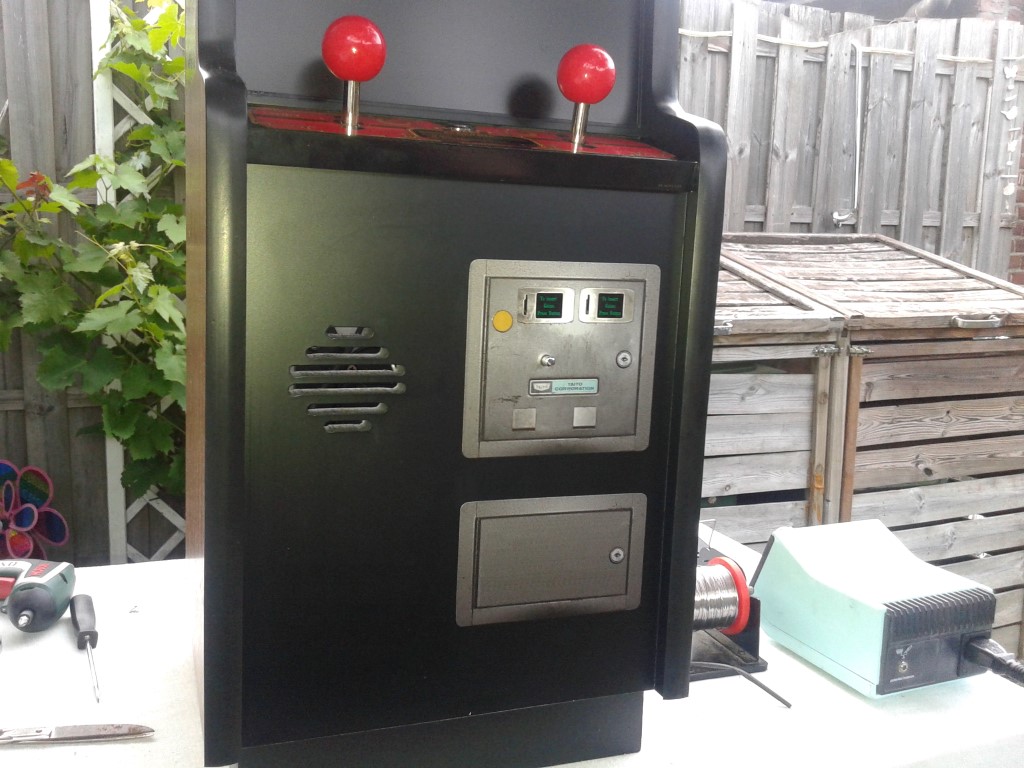
Outside of the cabinet is done..
Except for the airintake grill that is, but i have sourced one last week.
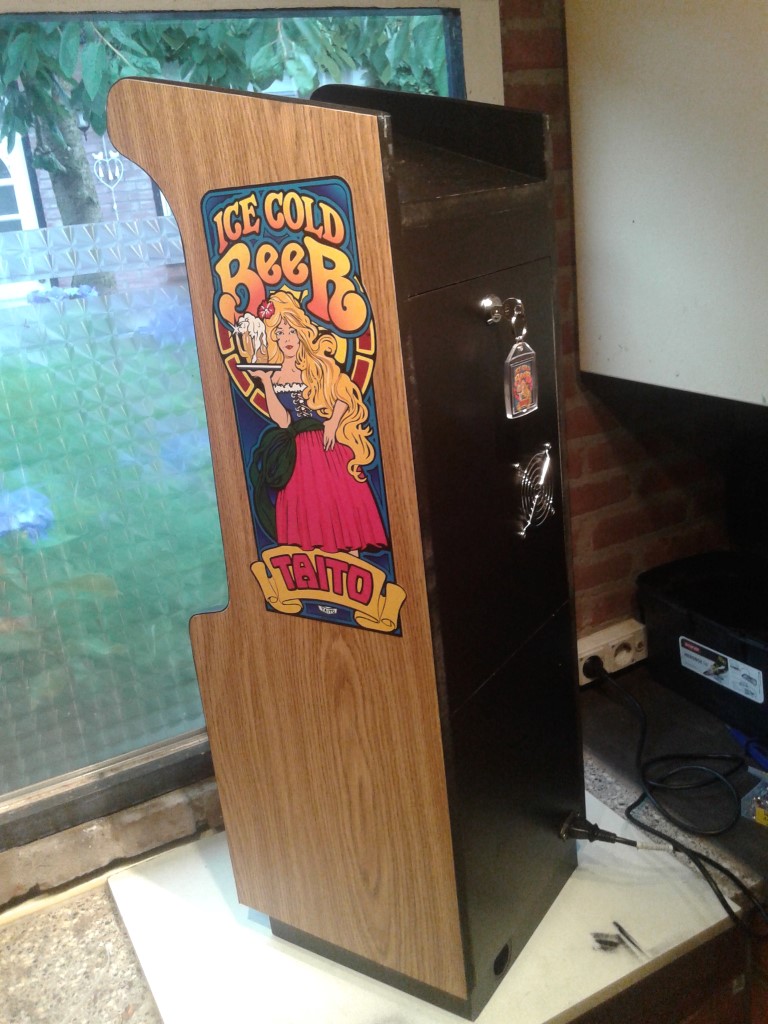
Will install that soon, and then its totally done cosmeticly on the outside.
Next up, a speaker and amplifier..


