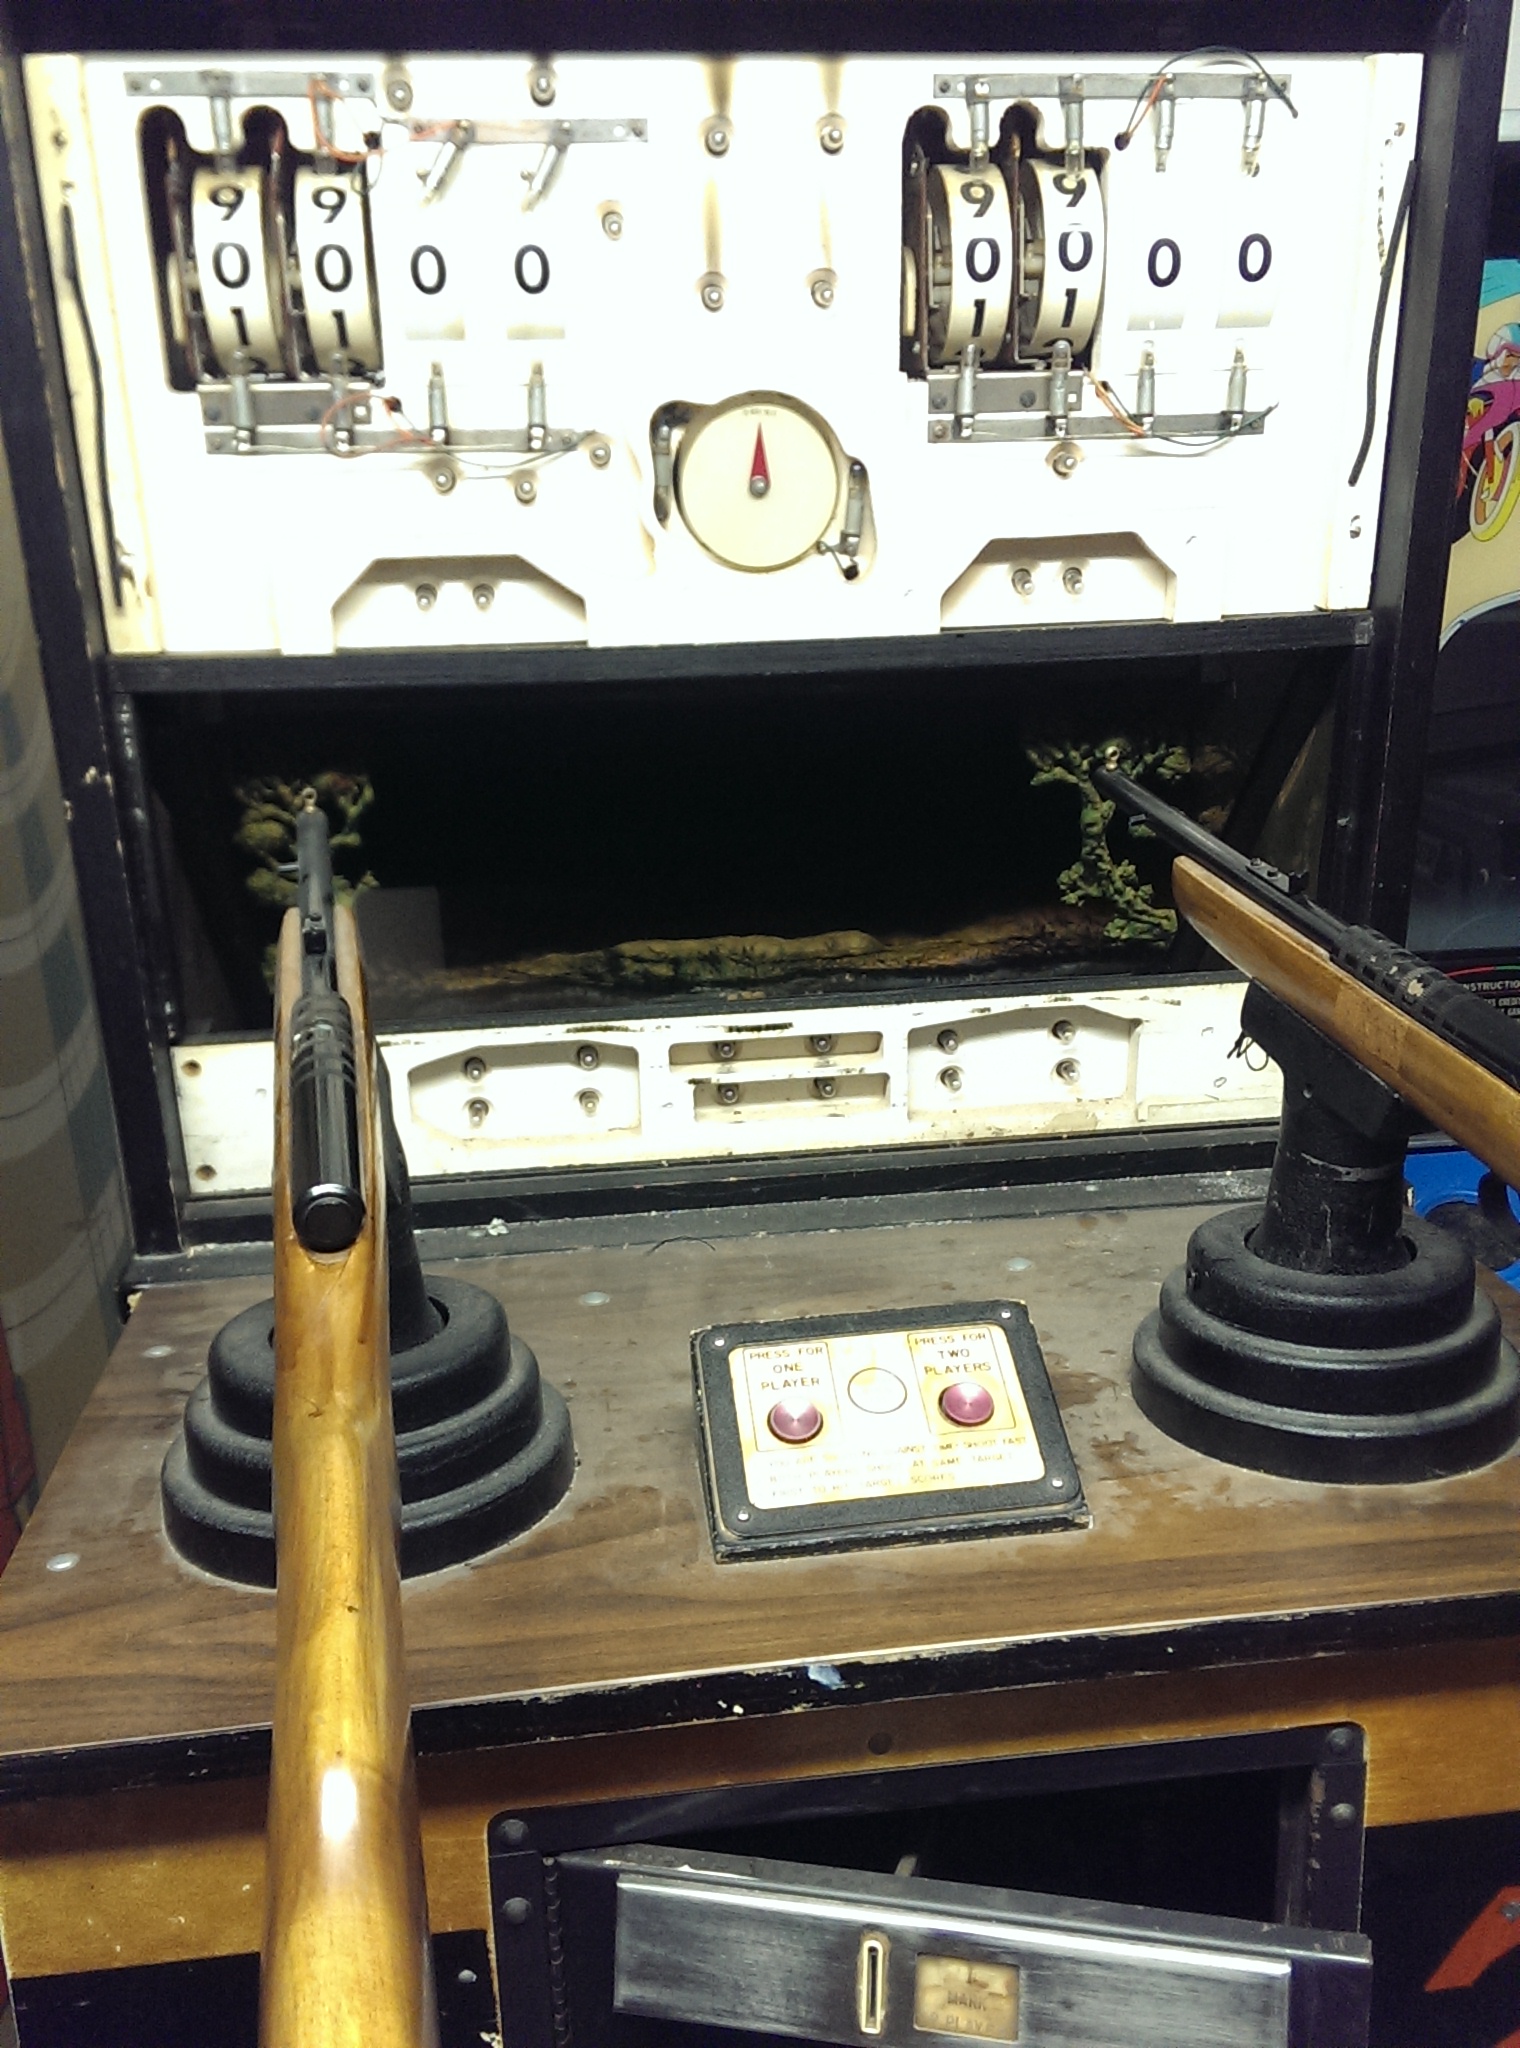
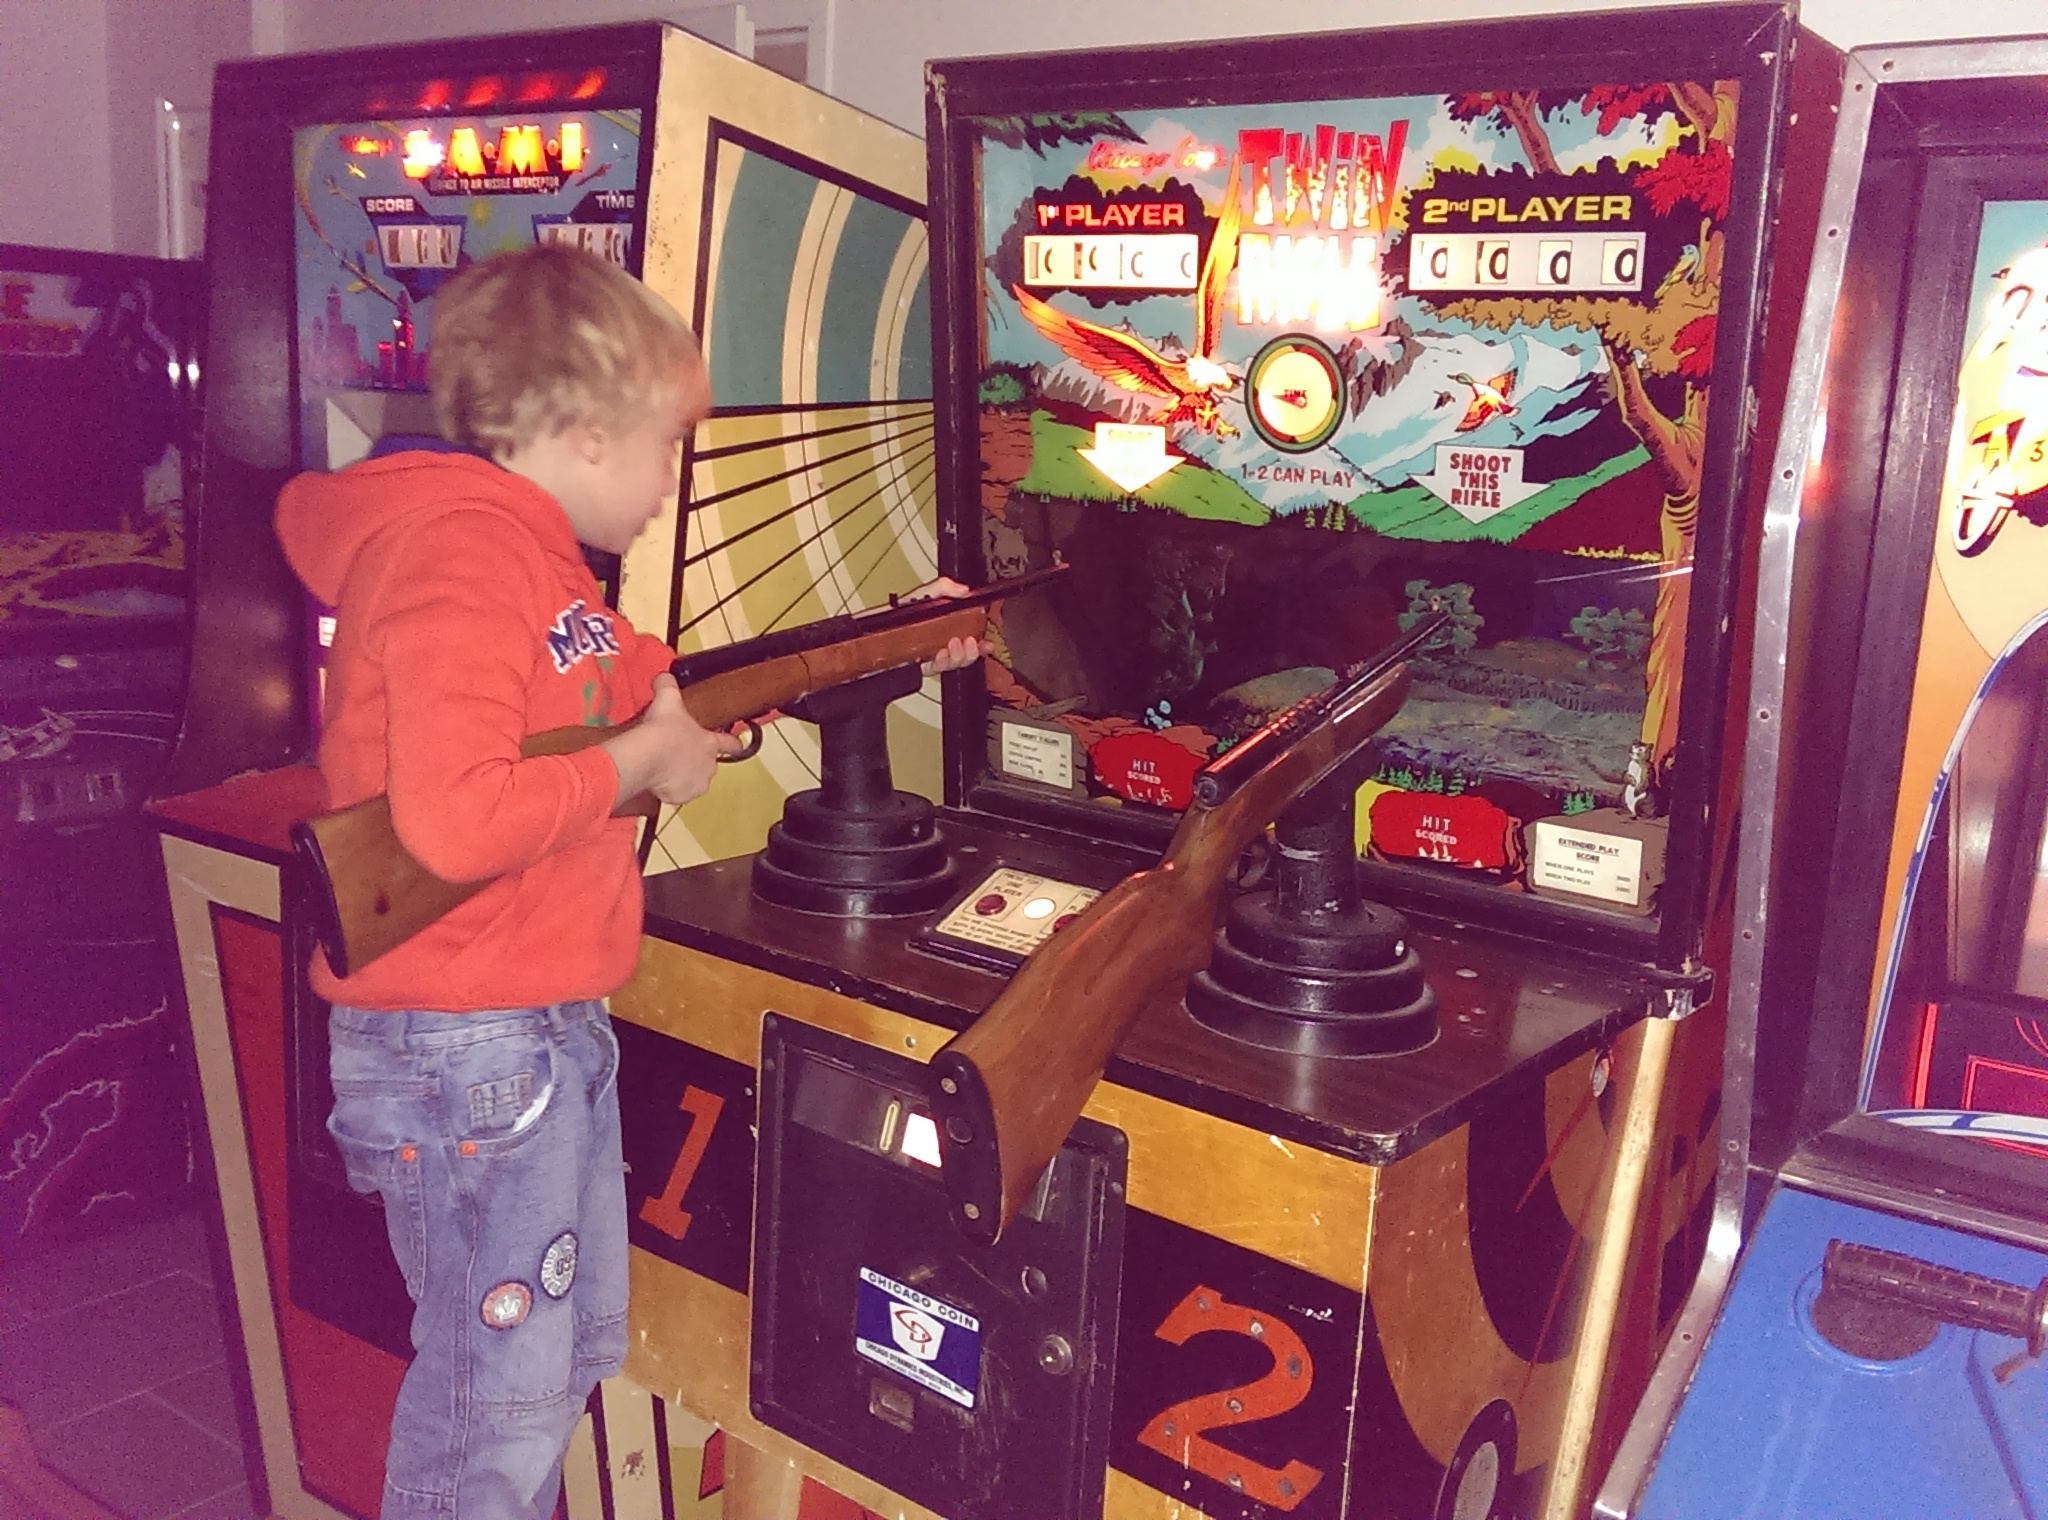
I've finally found the time to get another EM machine in my basement going. This time, it's Chicago Coins 1971 gun gallery "TWIN RIFLE" - a rather fast and competitive game, I must say.
Unfortunately, having been stored in a shed for decades, the process started off with TWIN RIFLE in a rather rough shape:
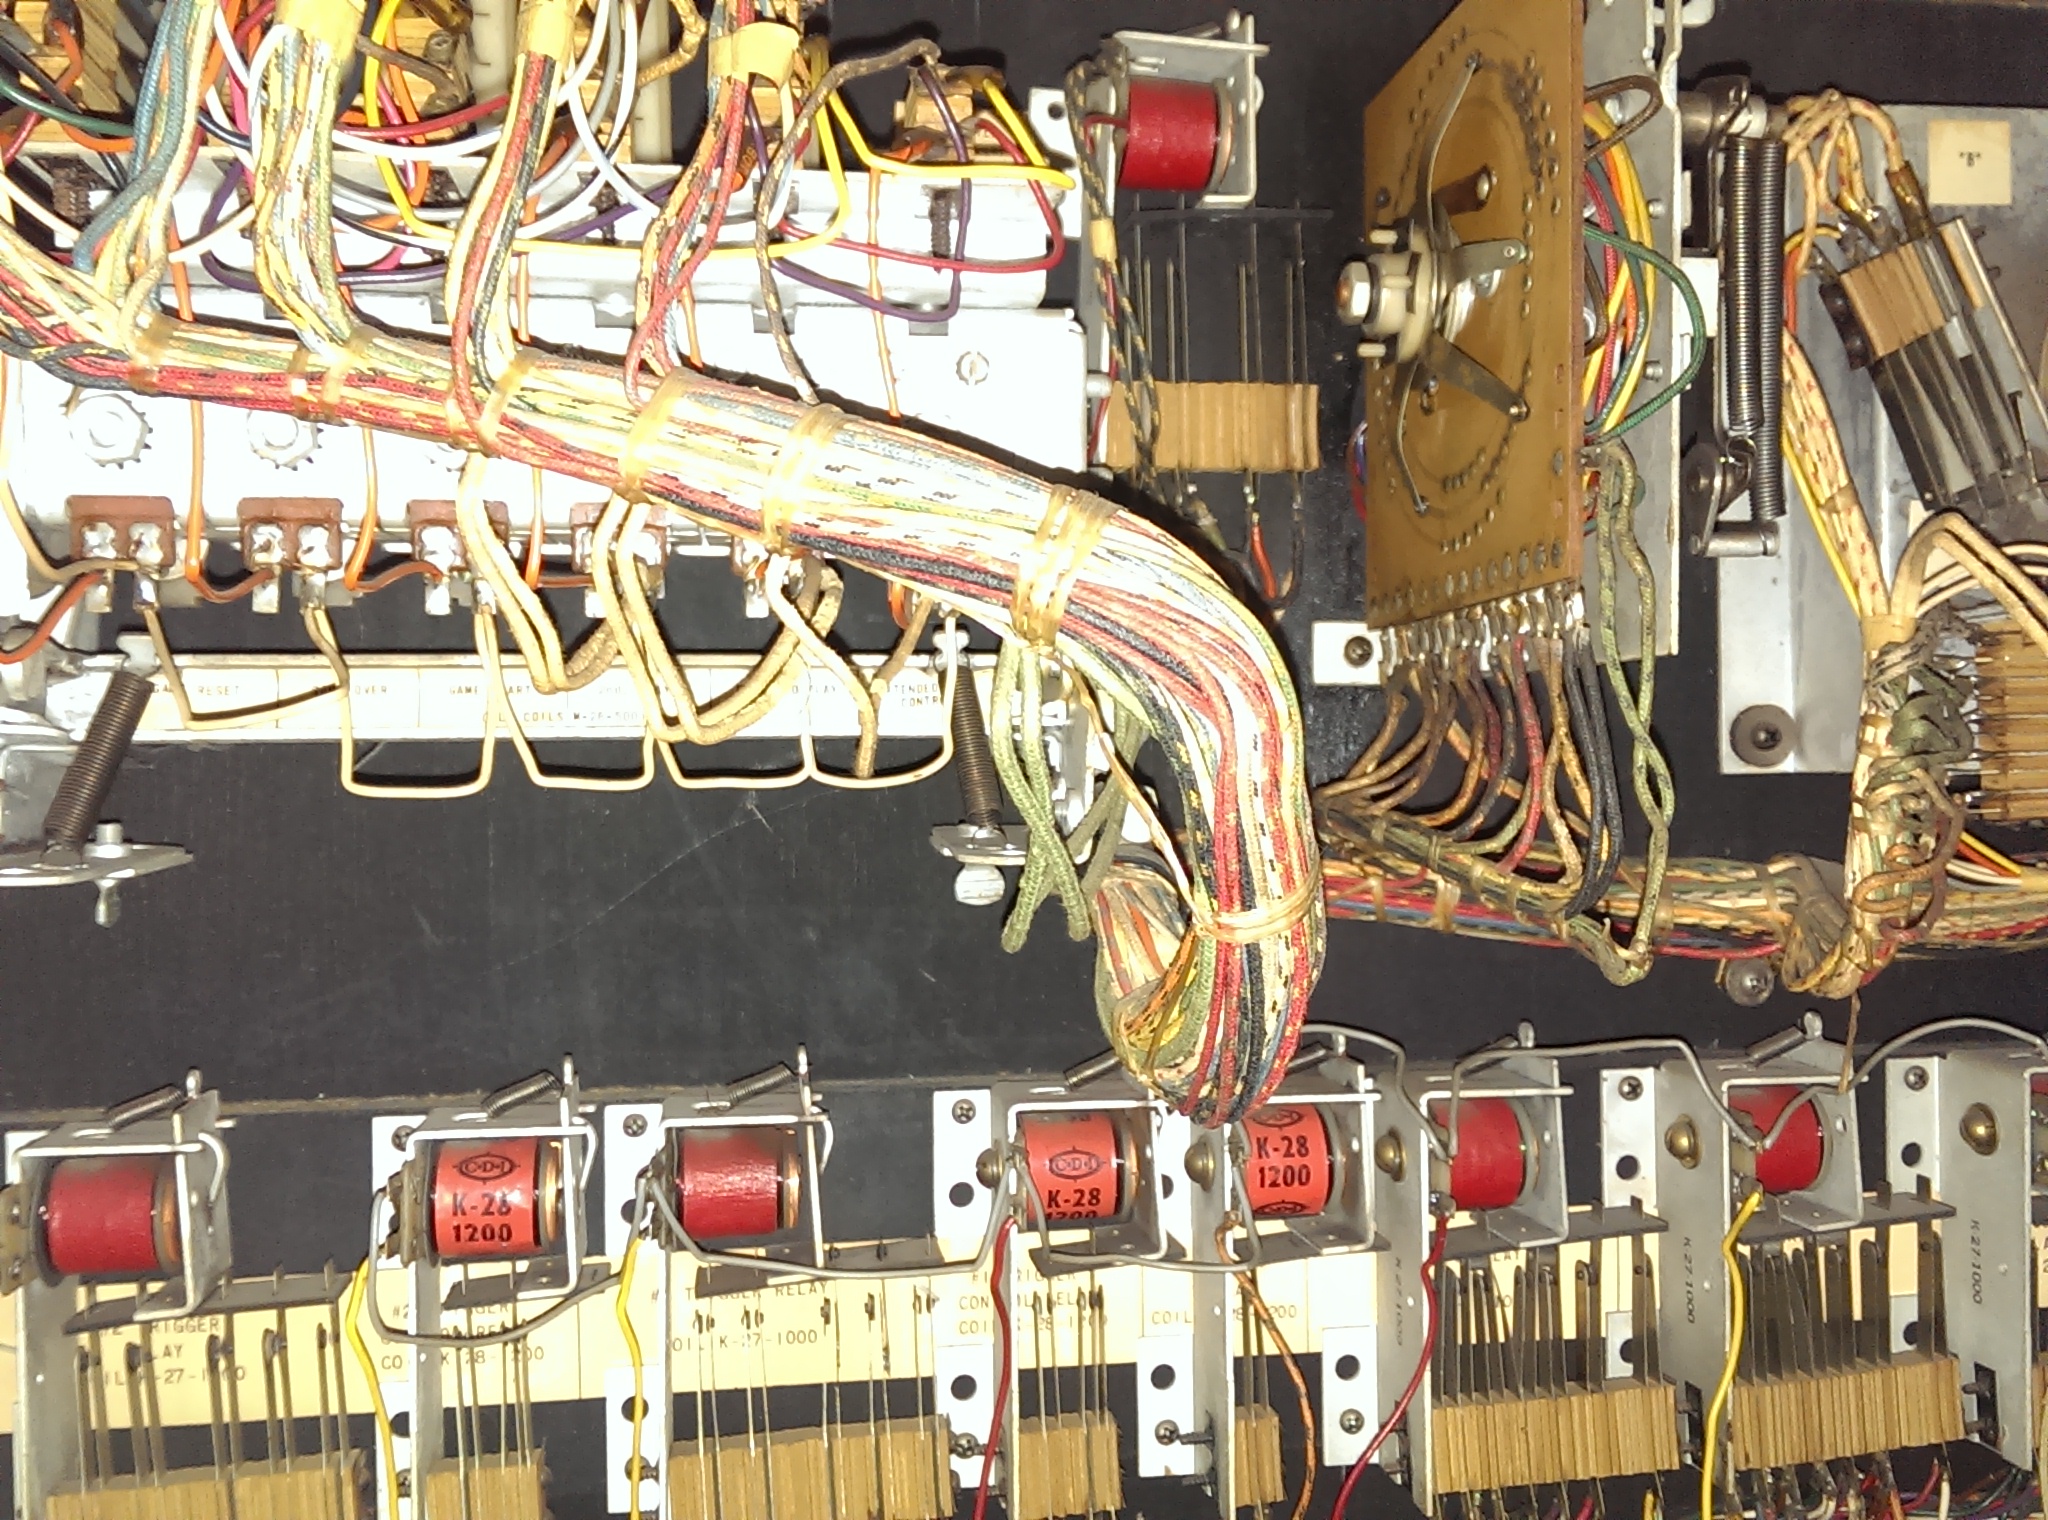
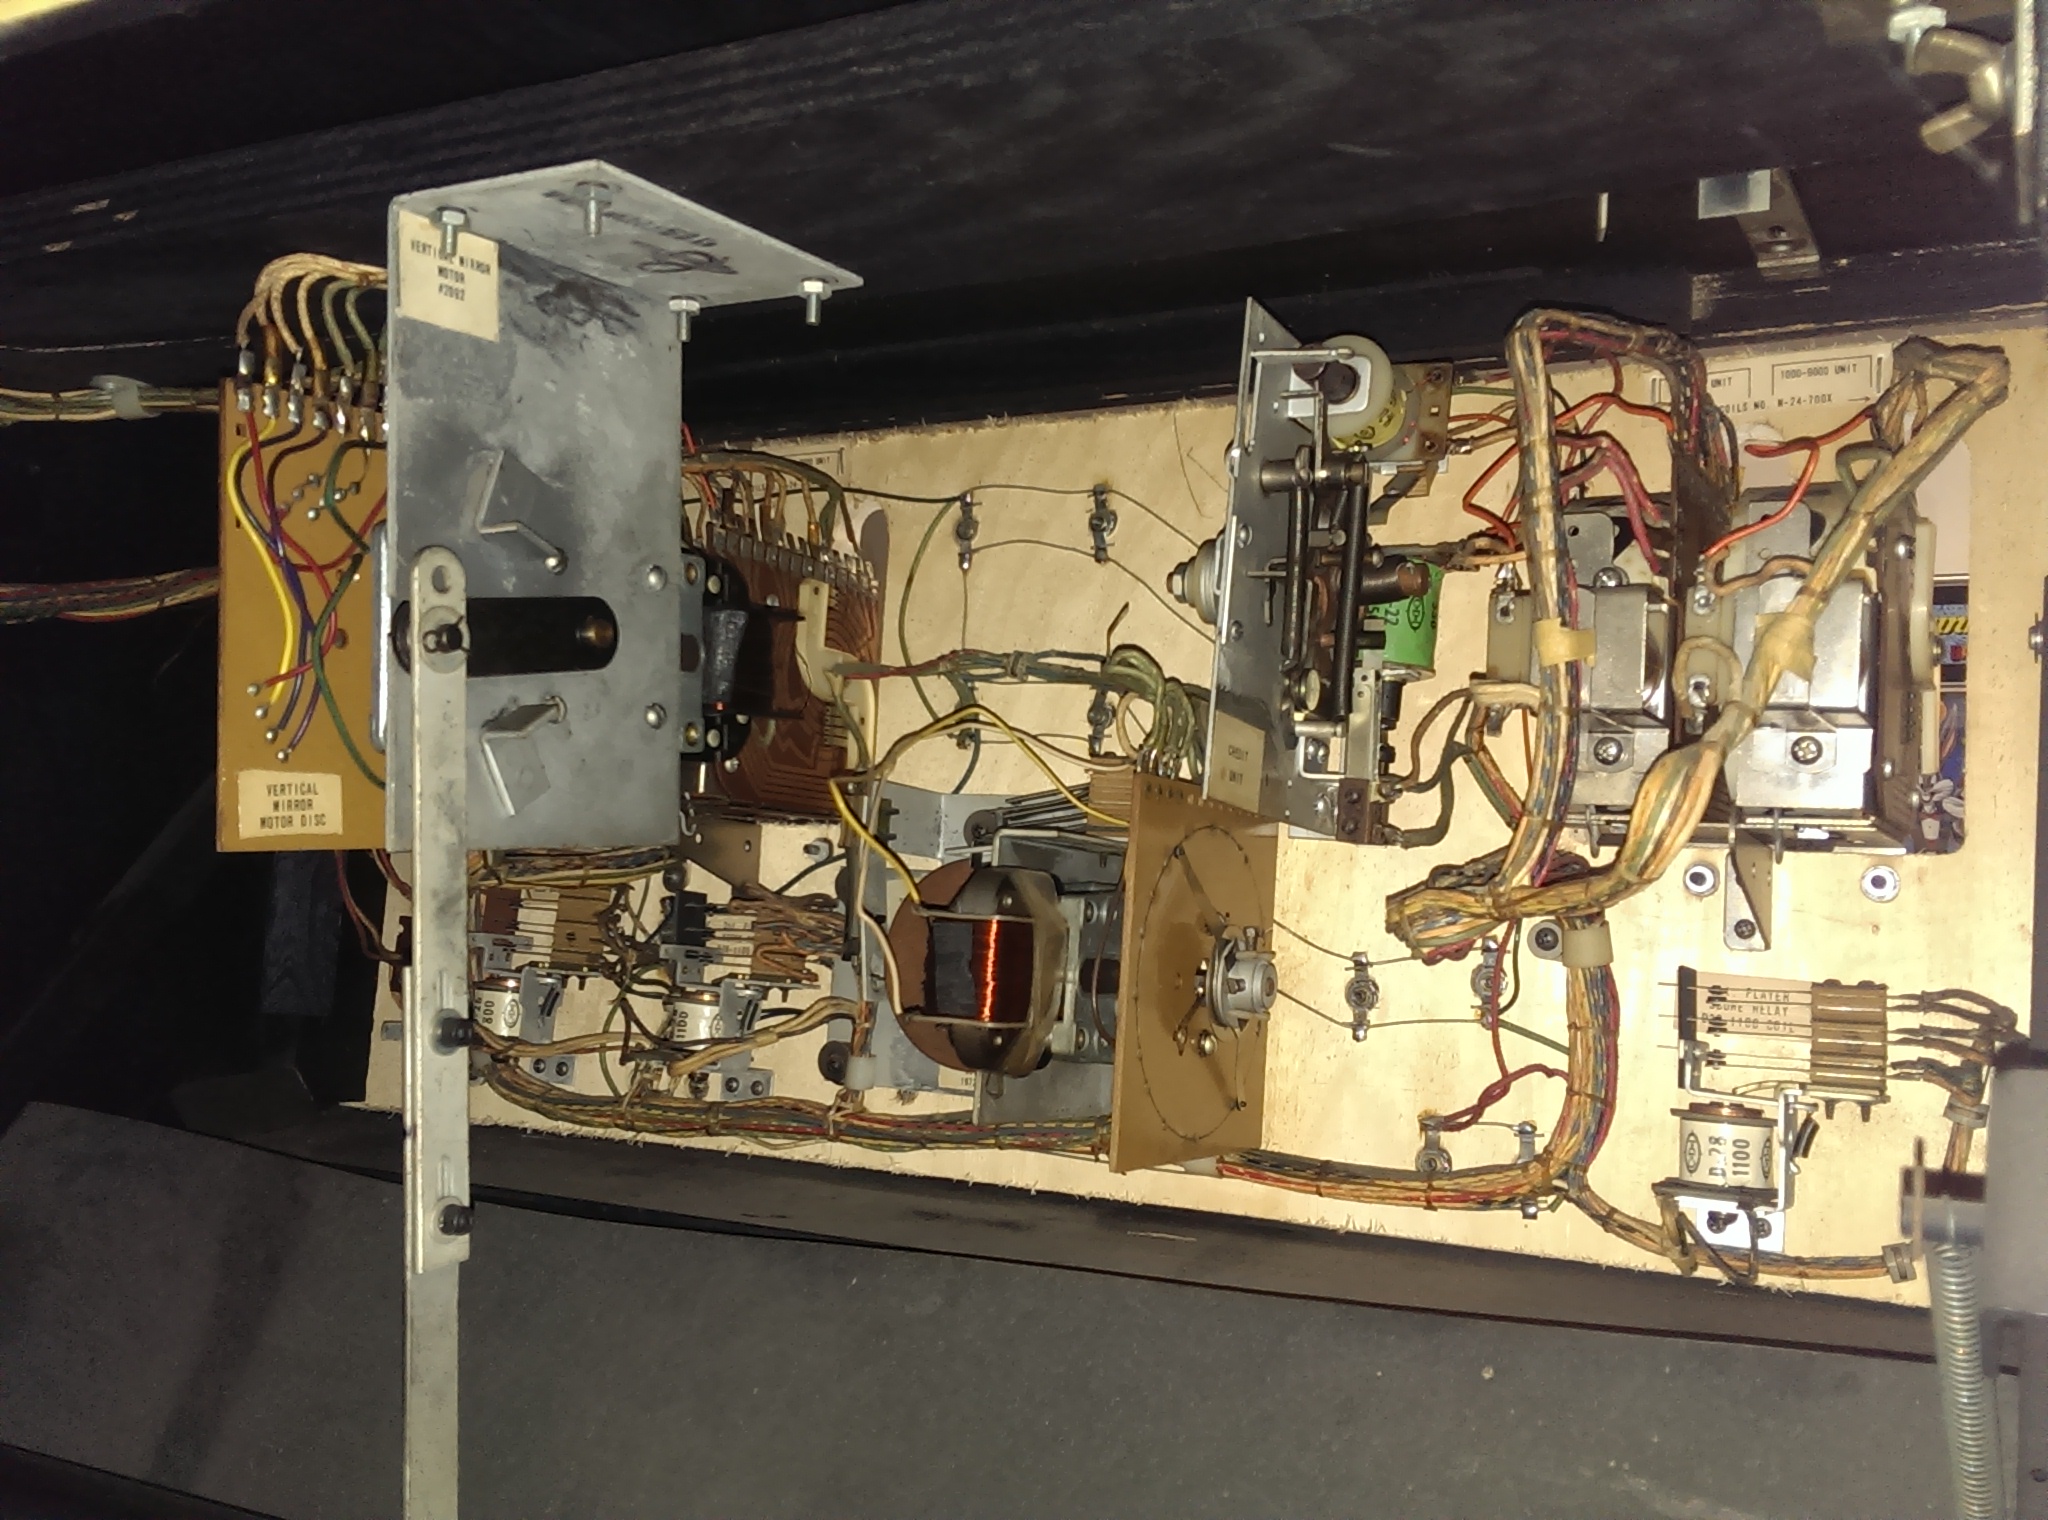
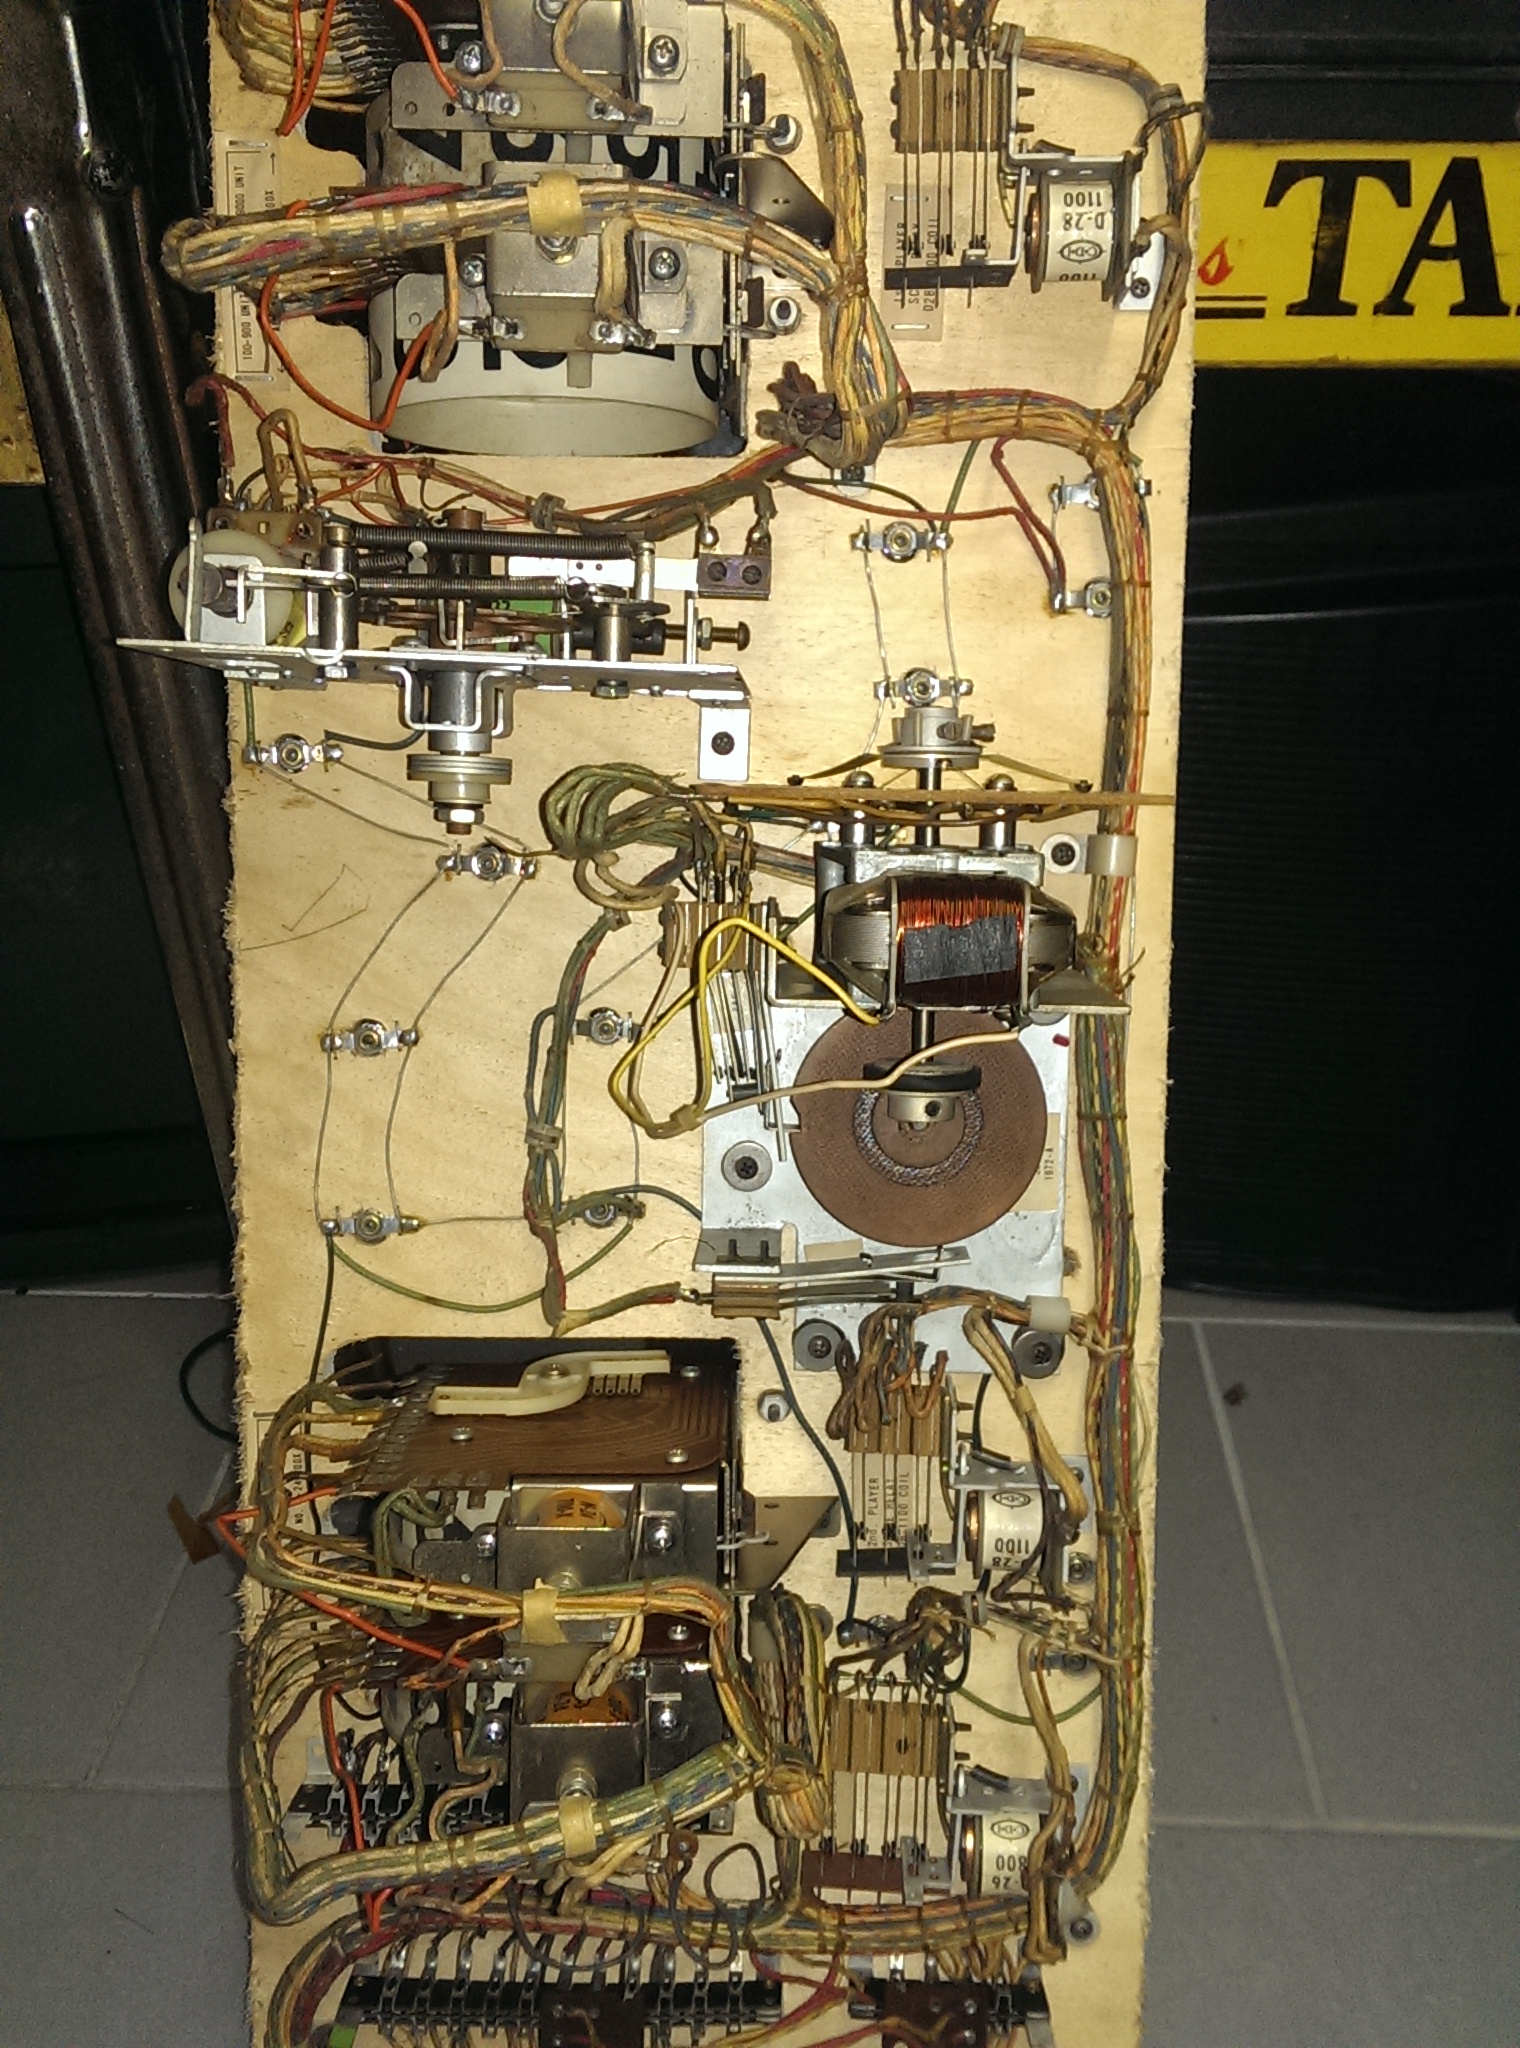
Dirty on the outside, and with a lot of gum and grease on all the relays and motors on the inside:
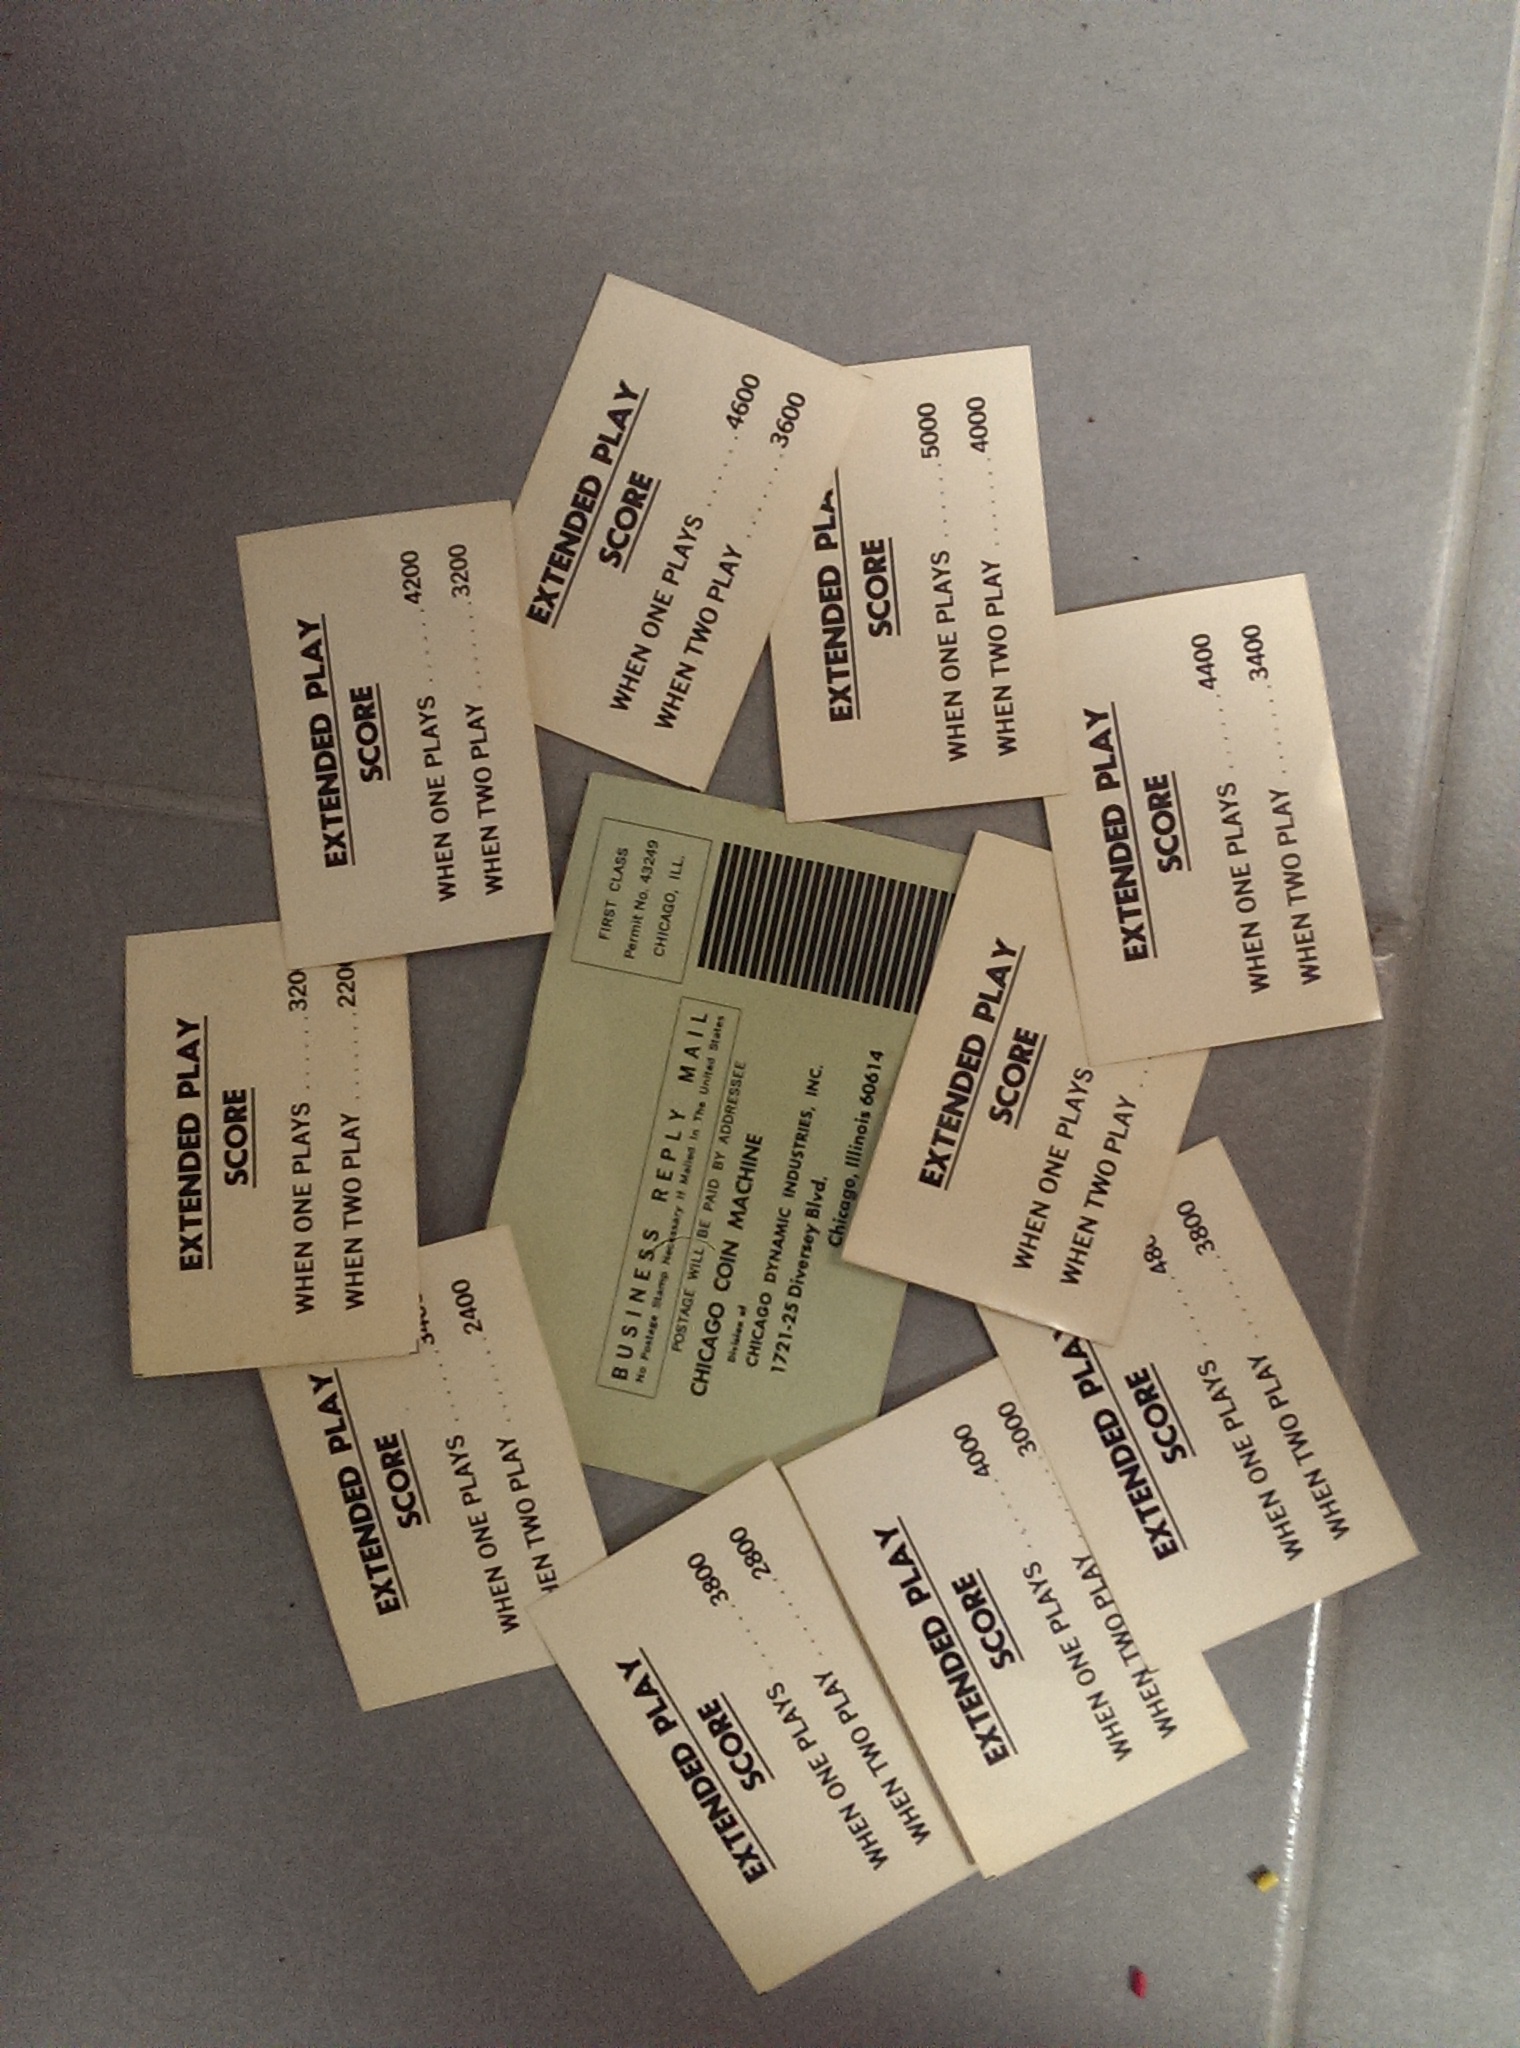
However, as an unexpected surprise, both the original schematics as well as tons of pricing and instruction cards where still tucked away in the backbox

Anyways, time to start working

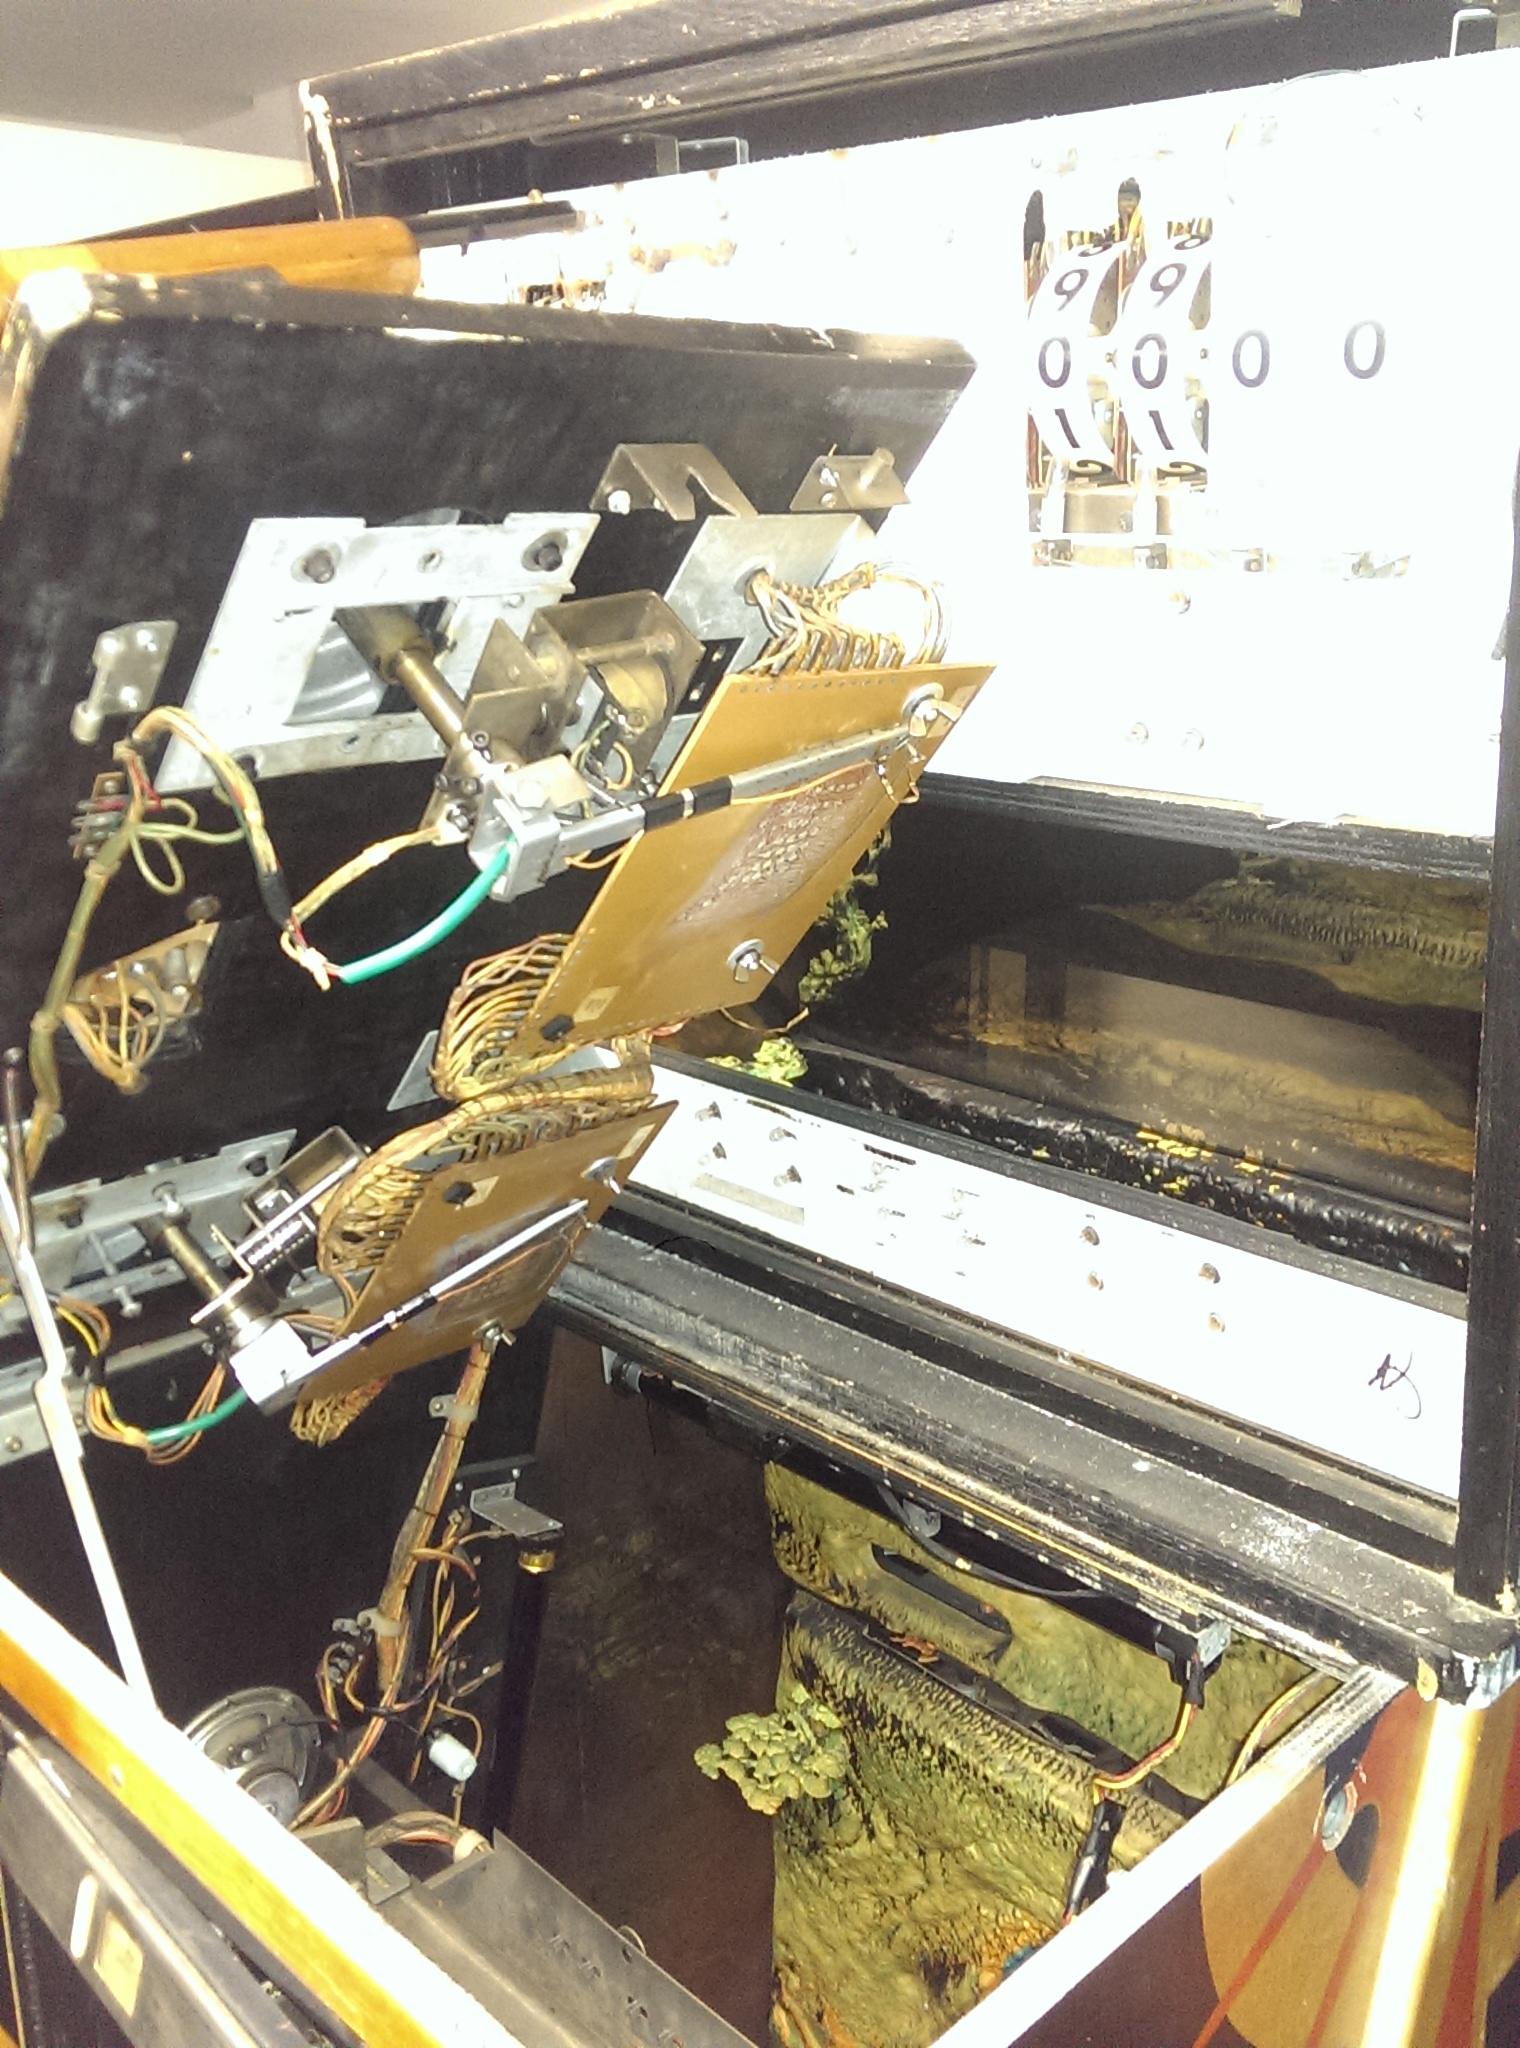
. As almost always with EMs, let's start off with two crucial components: the score wheels and the score motor.
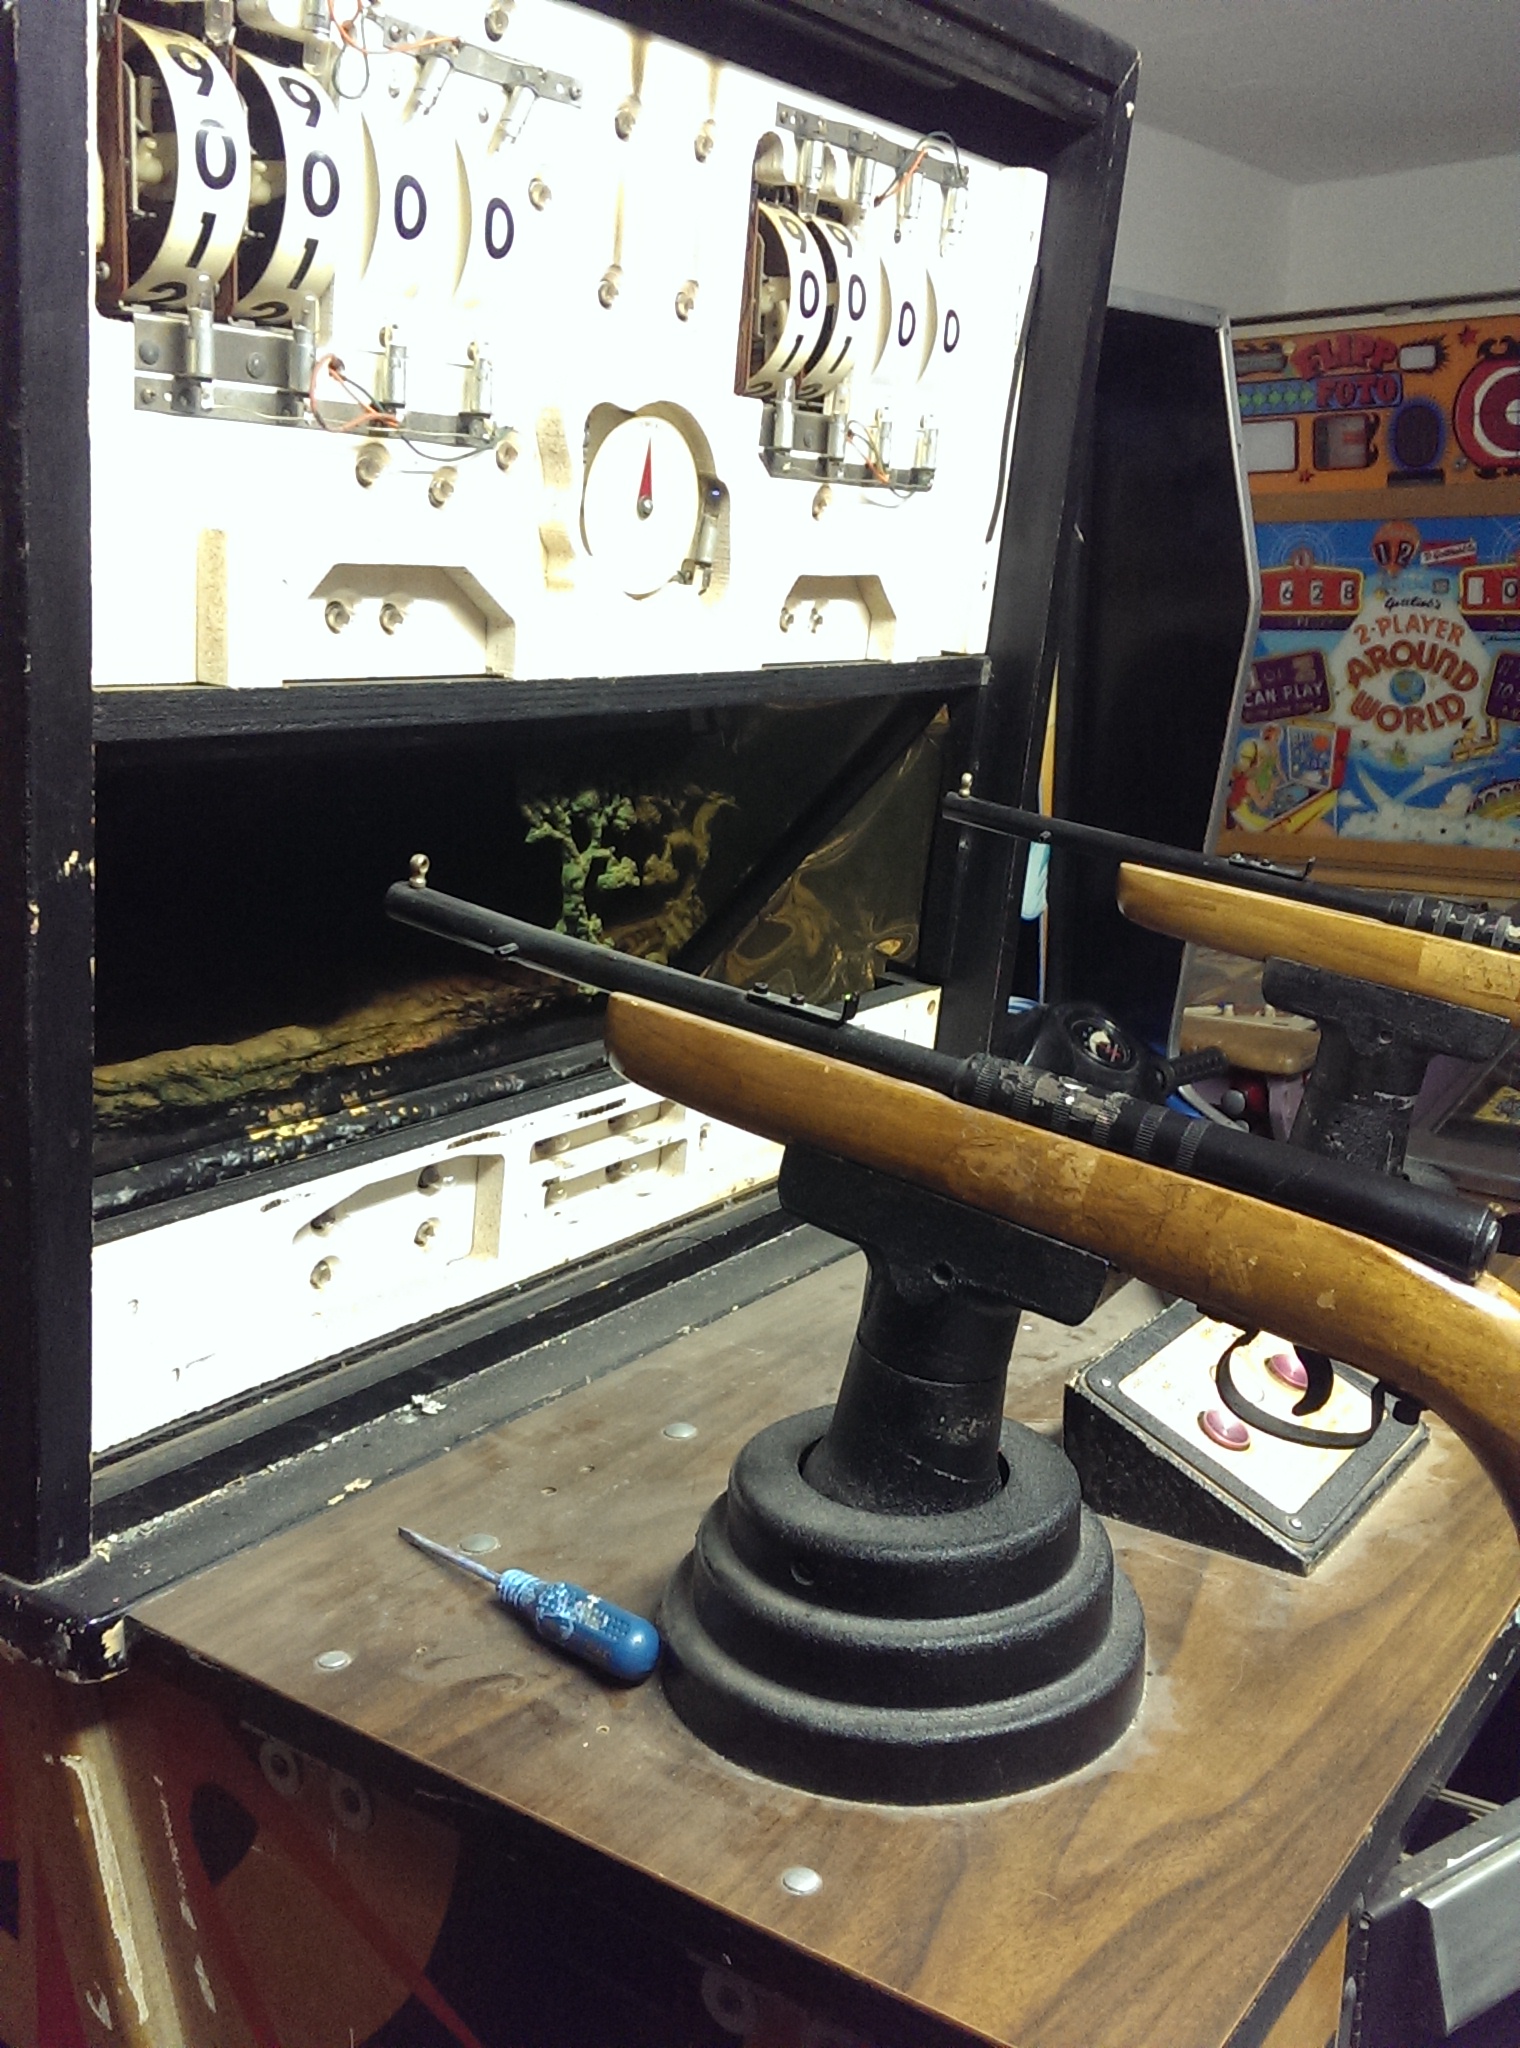
The score wheels are located in the header, together with the game timer motor and the score relay, so let's remove the head so that we can access them easily.
As expected, gummed up and not turning freely.

Fortunately, the score units used by CC during this time are easy to dis-, and (probably even more important) reassemble
.
Rebuiling them took about 2 hours, and they look and work almost like new now.
What's bothered me more, though, was the fact that the left gun was not working. First of all, taking the gun appart, I noticed a broken trigger switch contact on the inside. As this is a game specific part, I solved this by using lots of solder to fix the contact blade again. I am not sure if this will last for a very long time, but for now it's working.
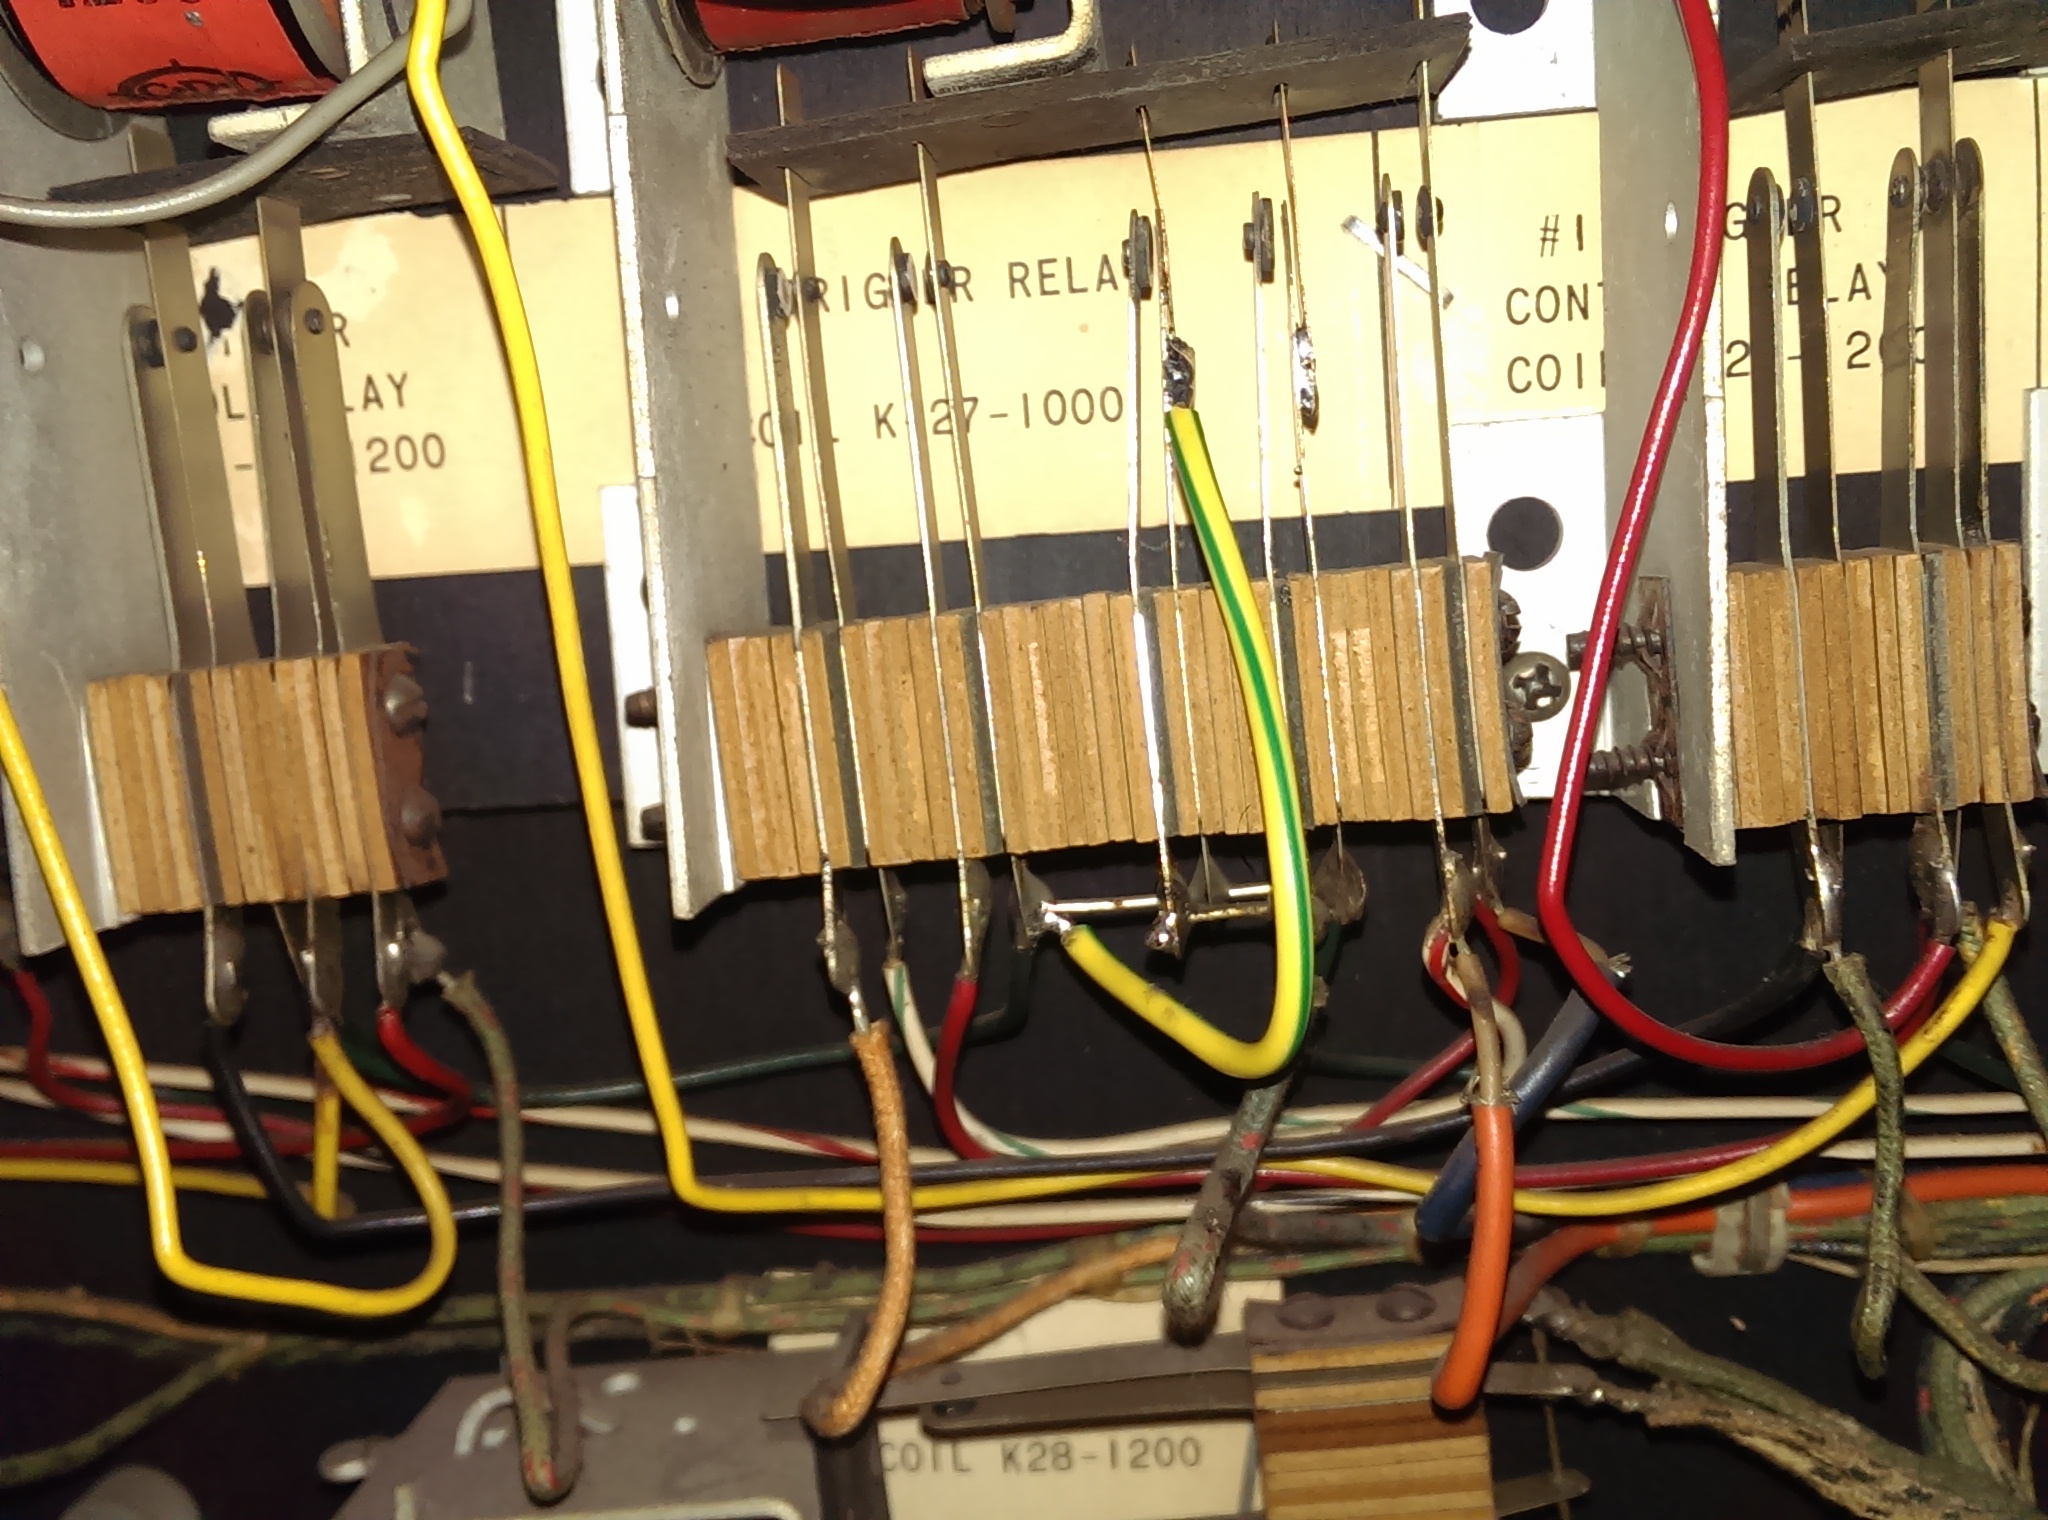
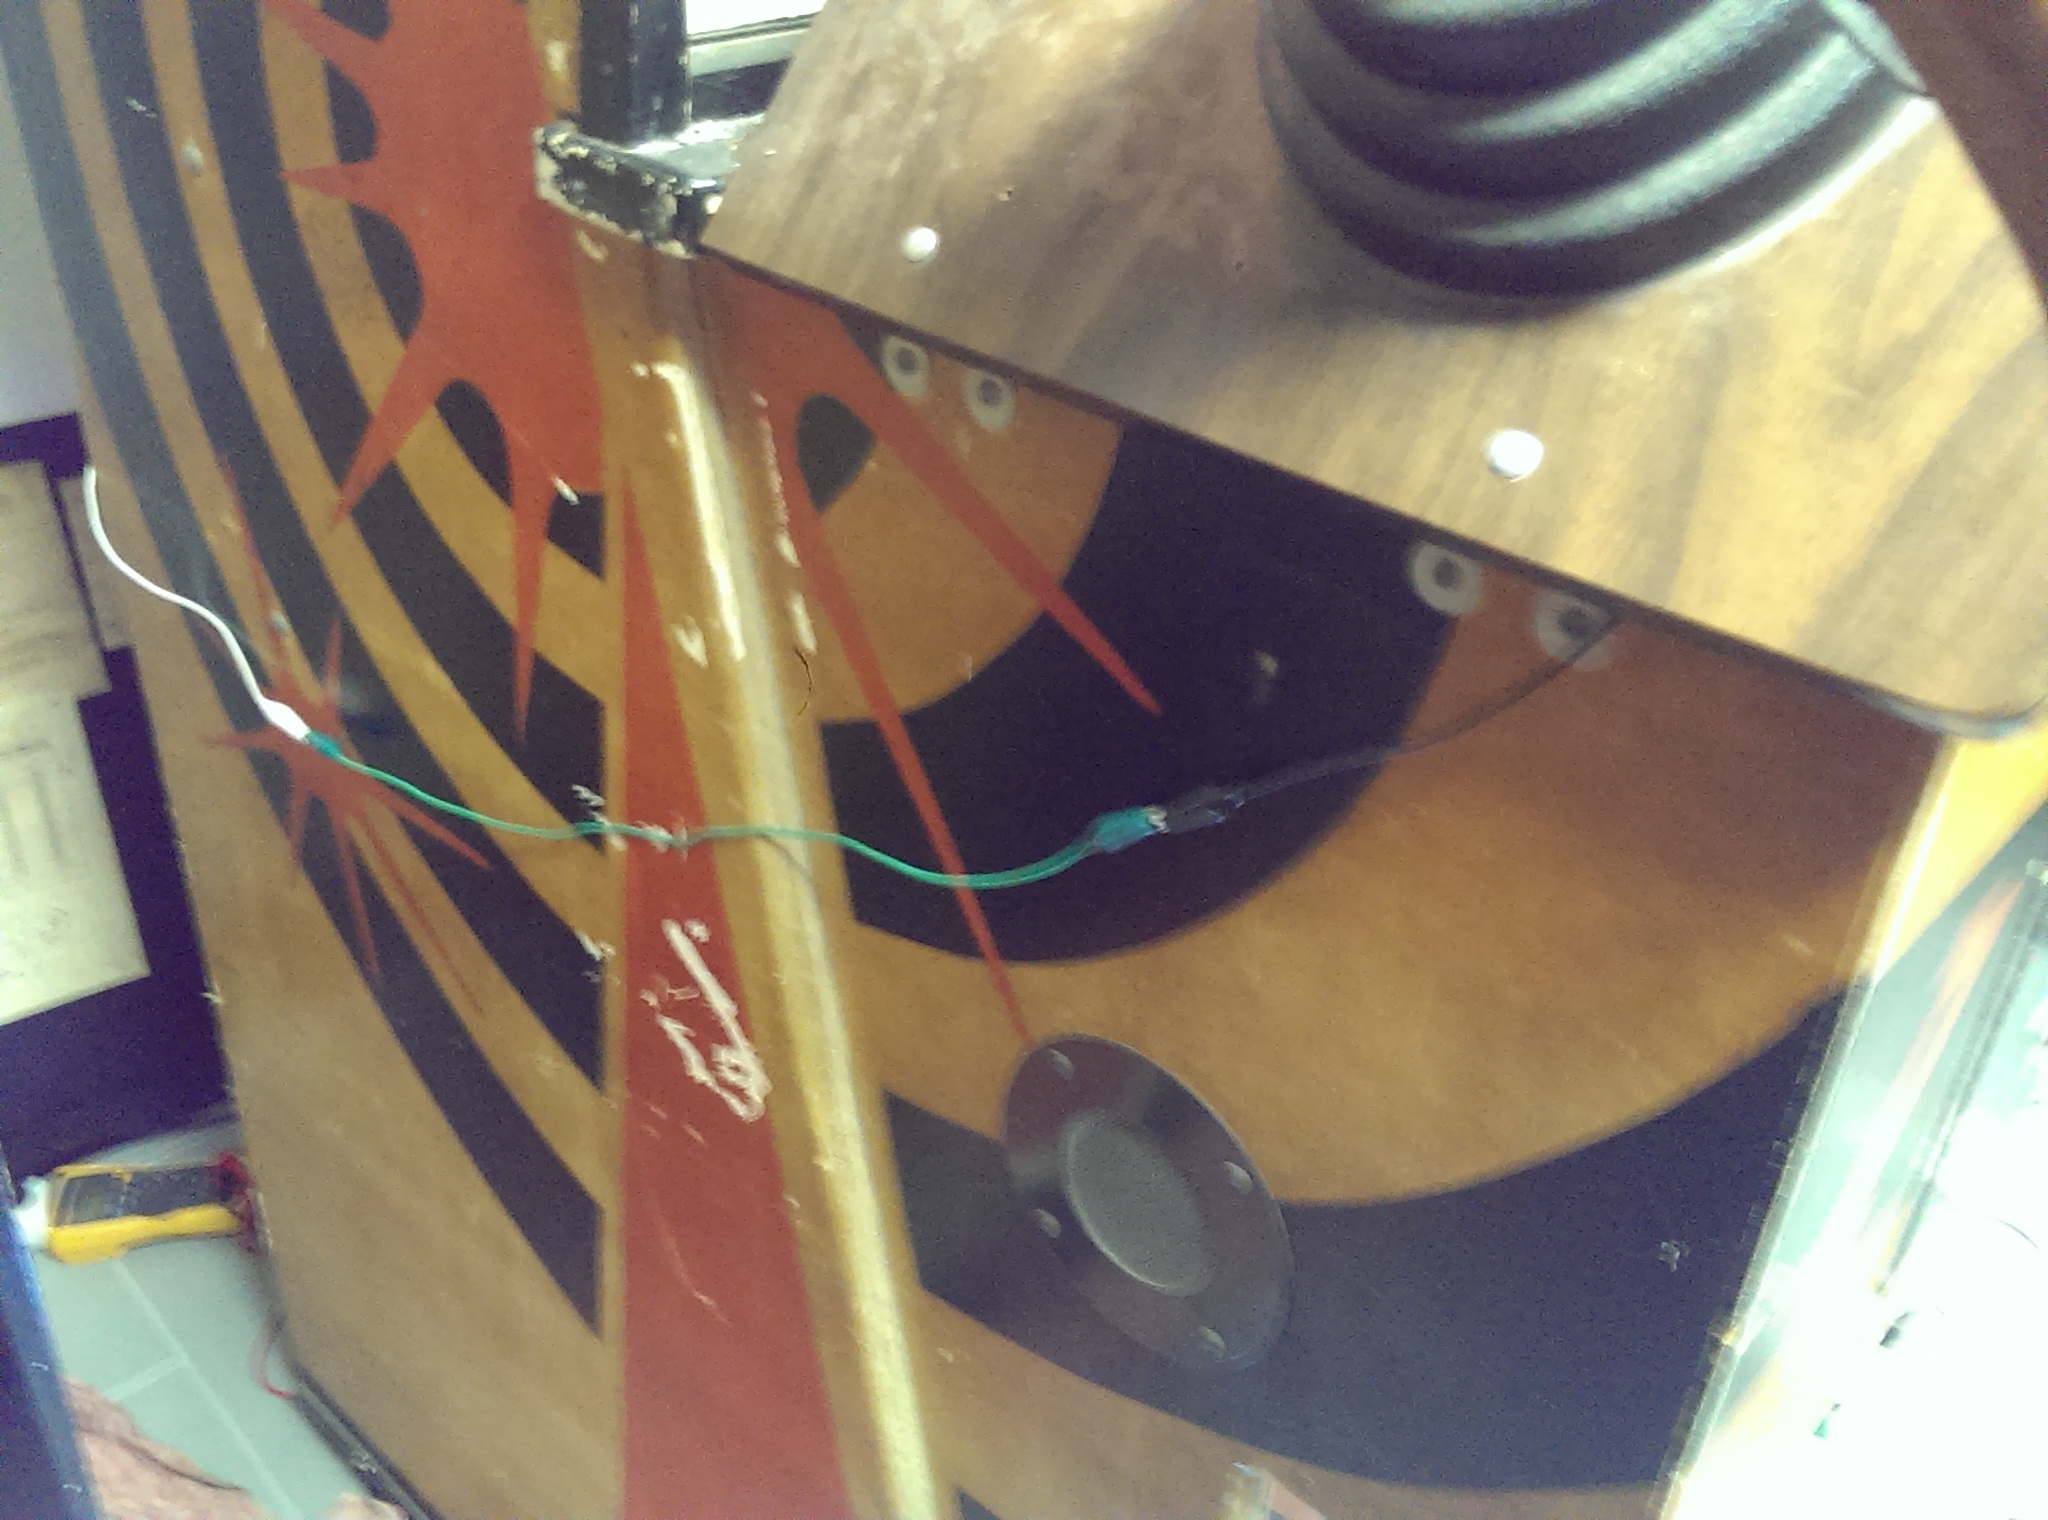
Also, even with a working trigger, the gun recoil was not working for the left player's gun. Again, a broken switch blade was the cause, this time on the trigger control relay in the backbox. I again temporarily fixed this by soldering the blade in place again, but later on replaced the whole switch, as I found a suitable replacement in my parts box. The picture still shows the temporary fix.
Now that both guns were working, I ran into another problem: every now and then, the player 1 and 2 start buttons stopped working. As this was occuring randomly, and affected both buttons, I suspected a contact problem or broken cable somewhere between the gun panel and the backbox. Time to start hunting
.
.... starting from the game's front ...
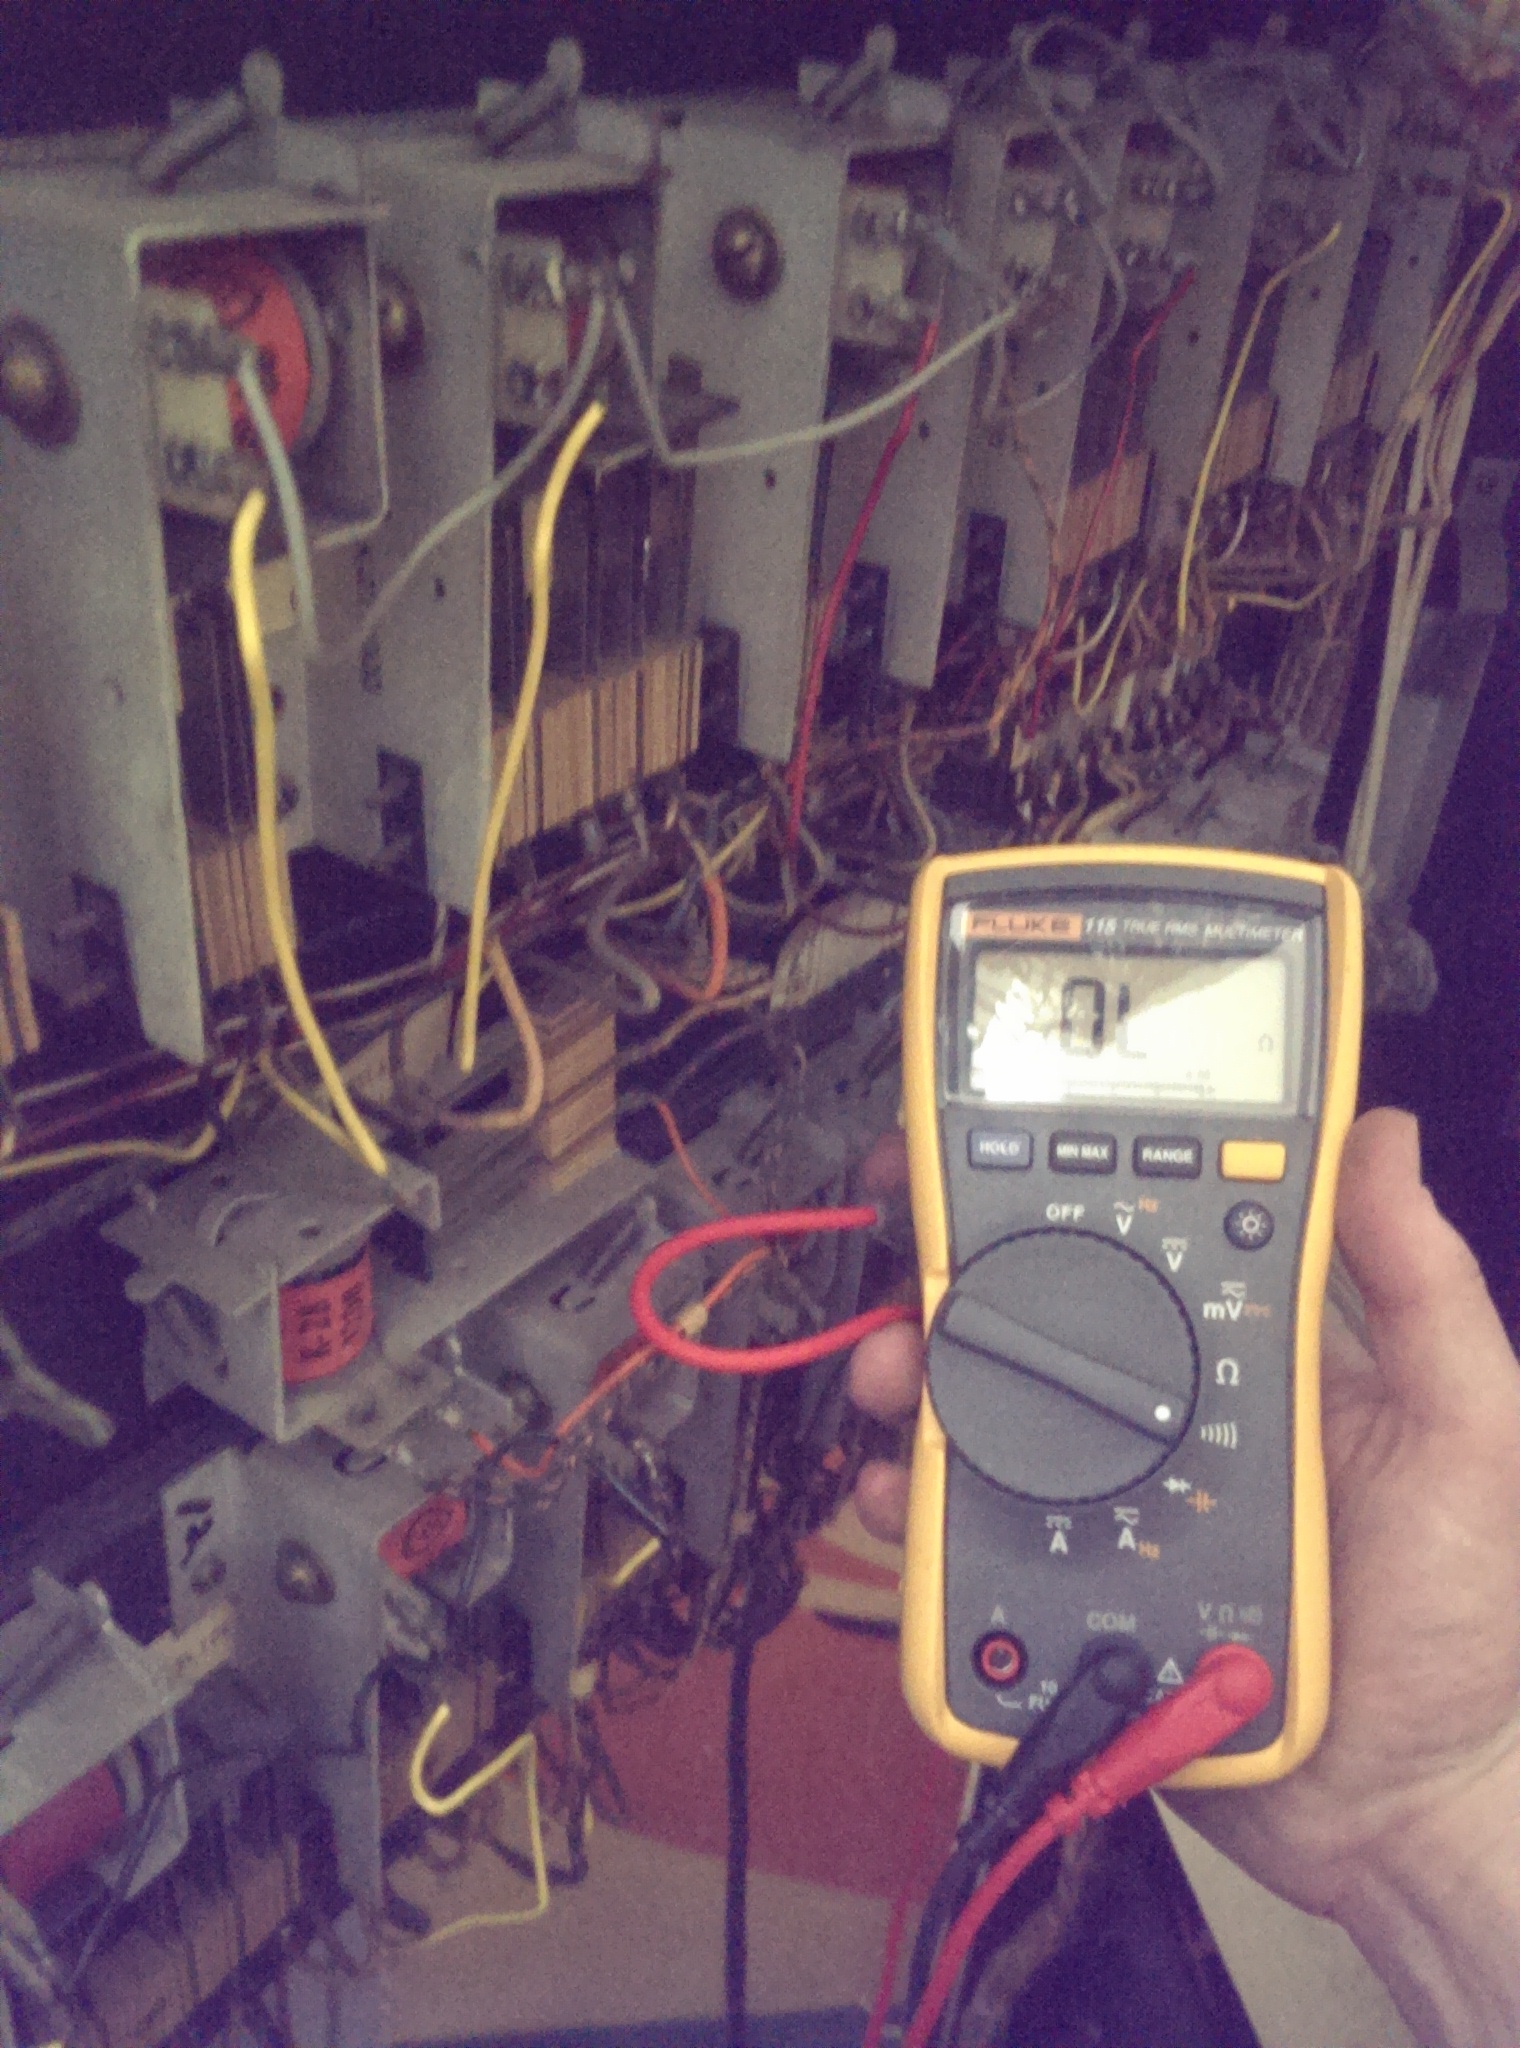
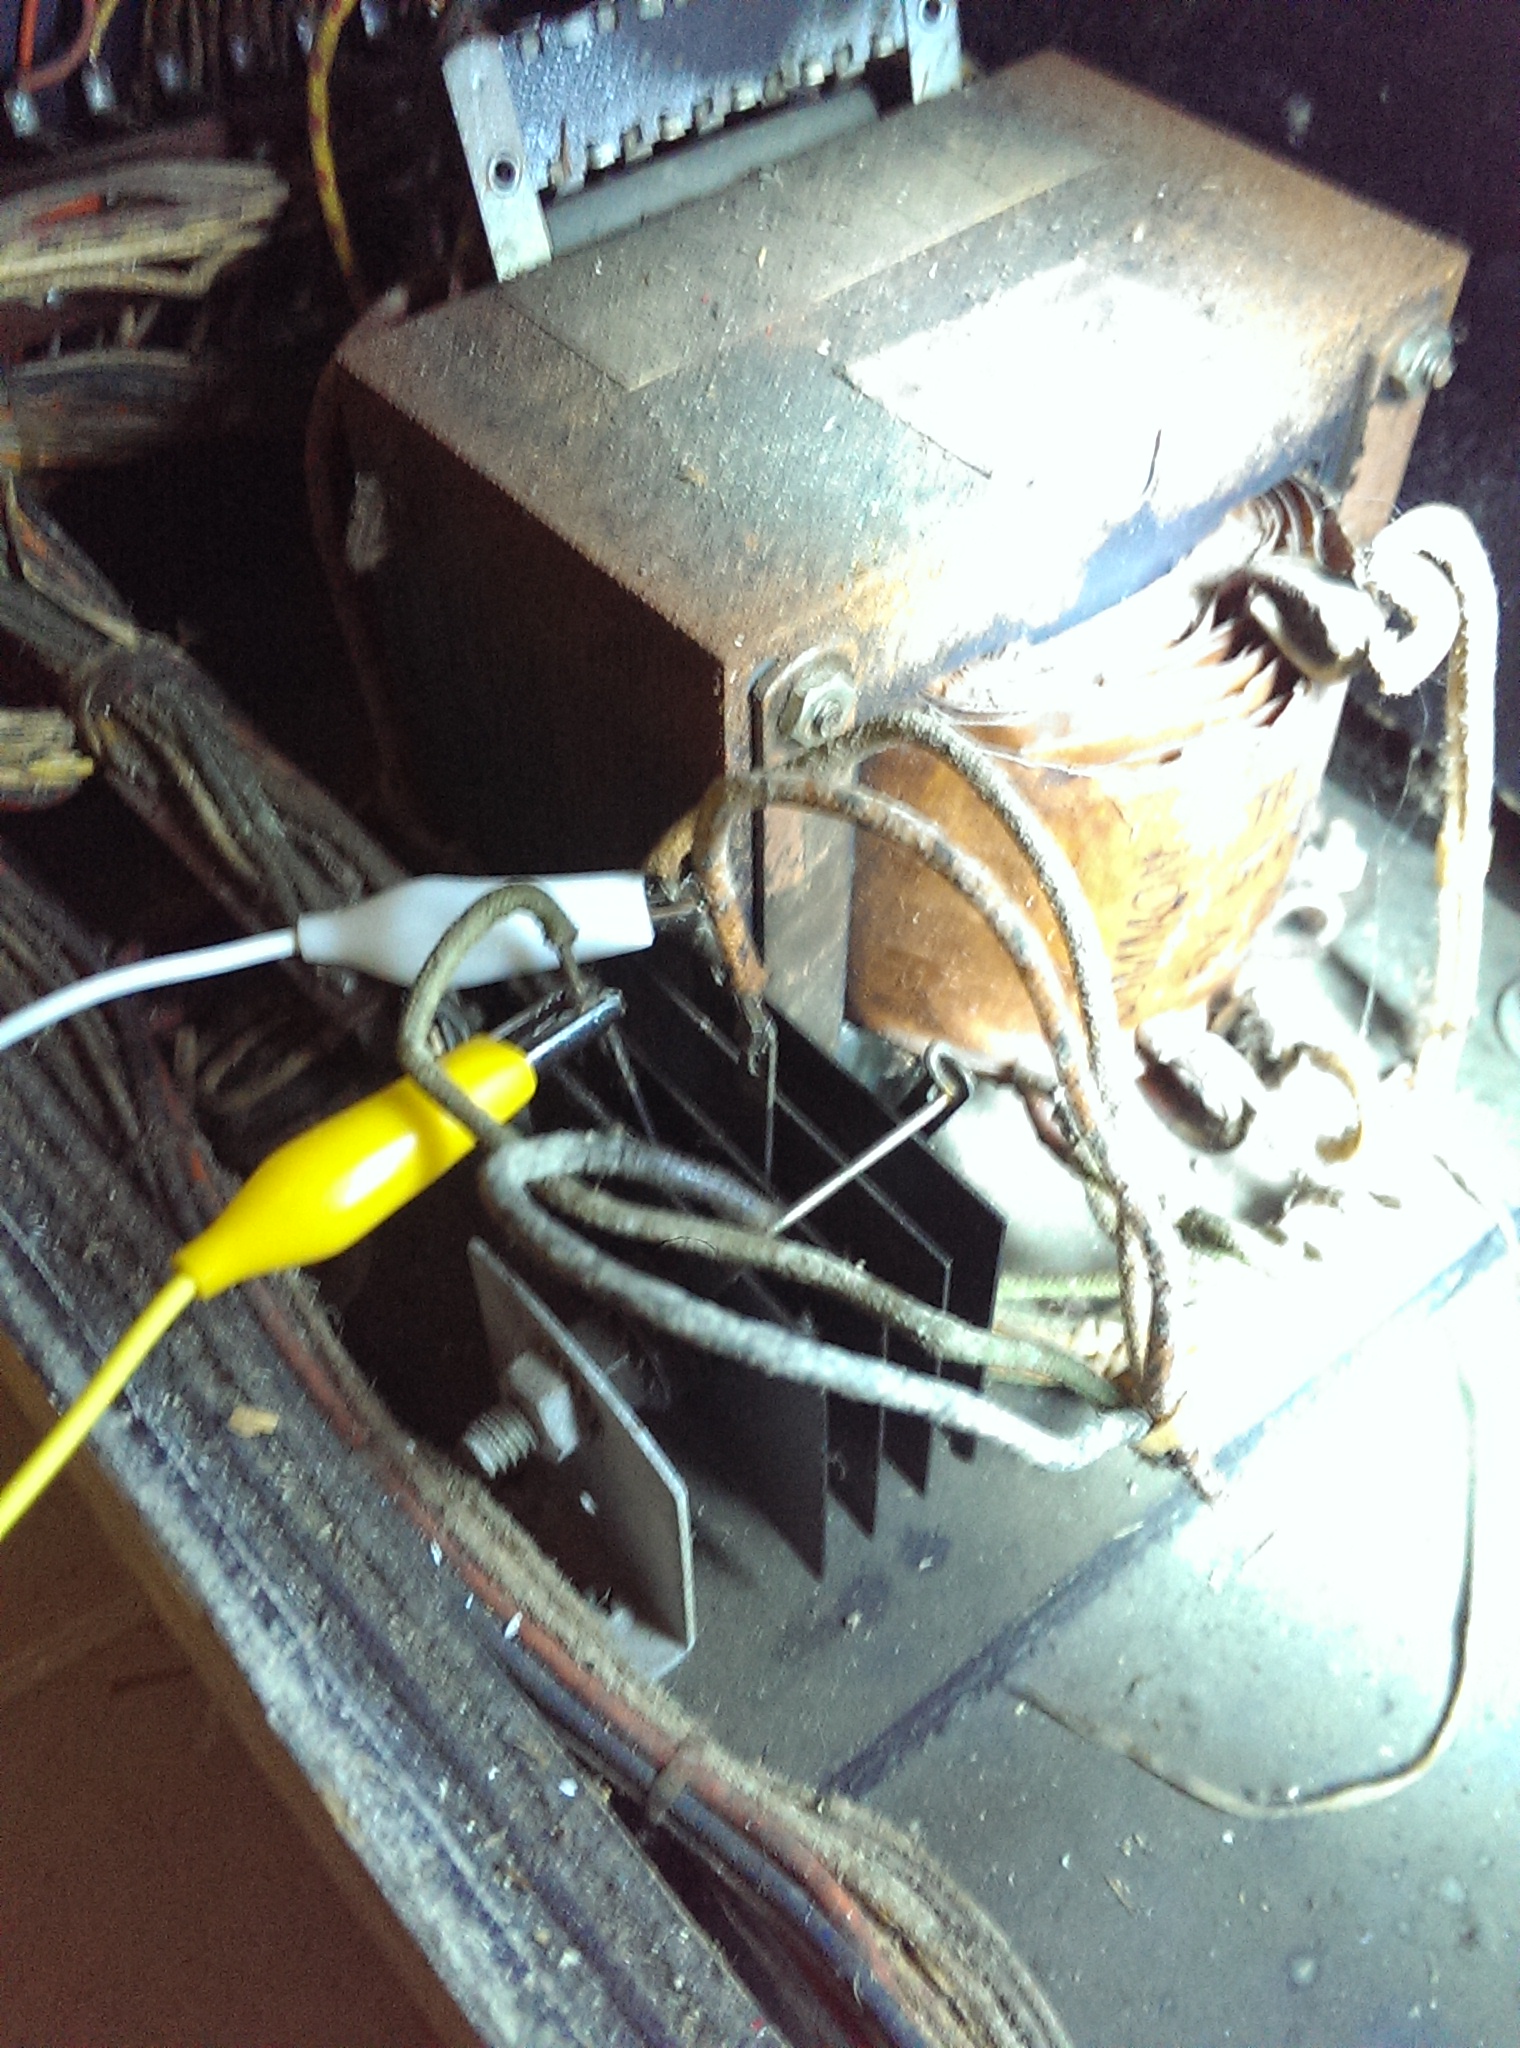
.... and using loads of alligator clips to bridge and trace each and every contact involved in the game initialisation process. The included schematics came in quite handy now.
Finally, I was able to locate a broken wire between a plug at the bottom of the cab (near the transformer) and the score motor. As I was too lazy to separate 30+ cables that were running up from there to the backbox in one big string, I simply patched in a wire in parallel and ... voilá, start buttons are working again as expected every time.
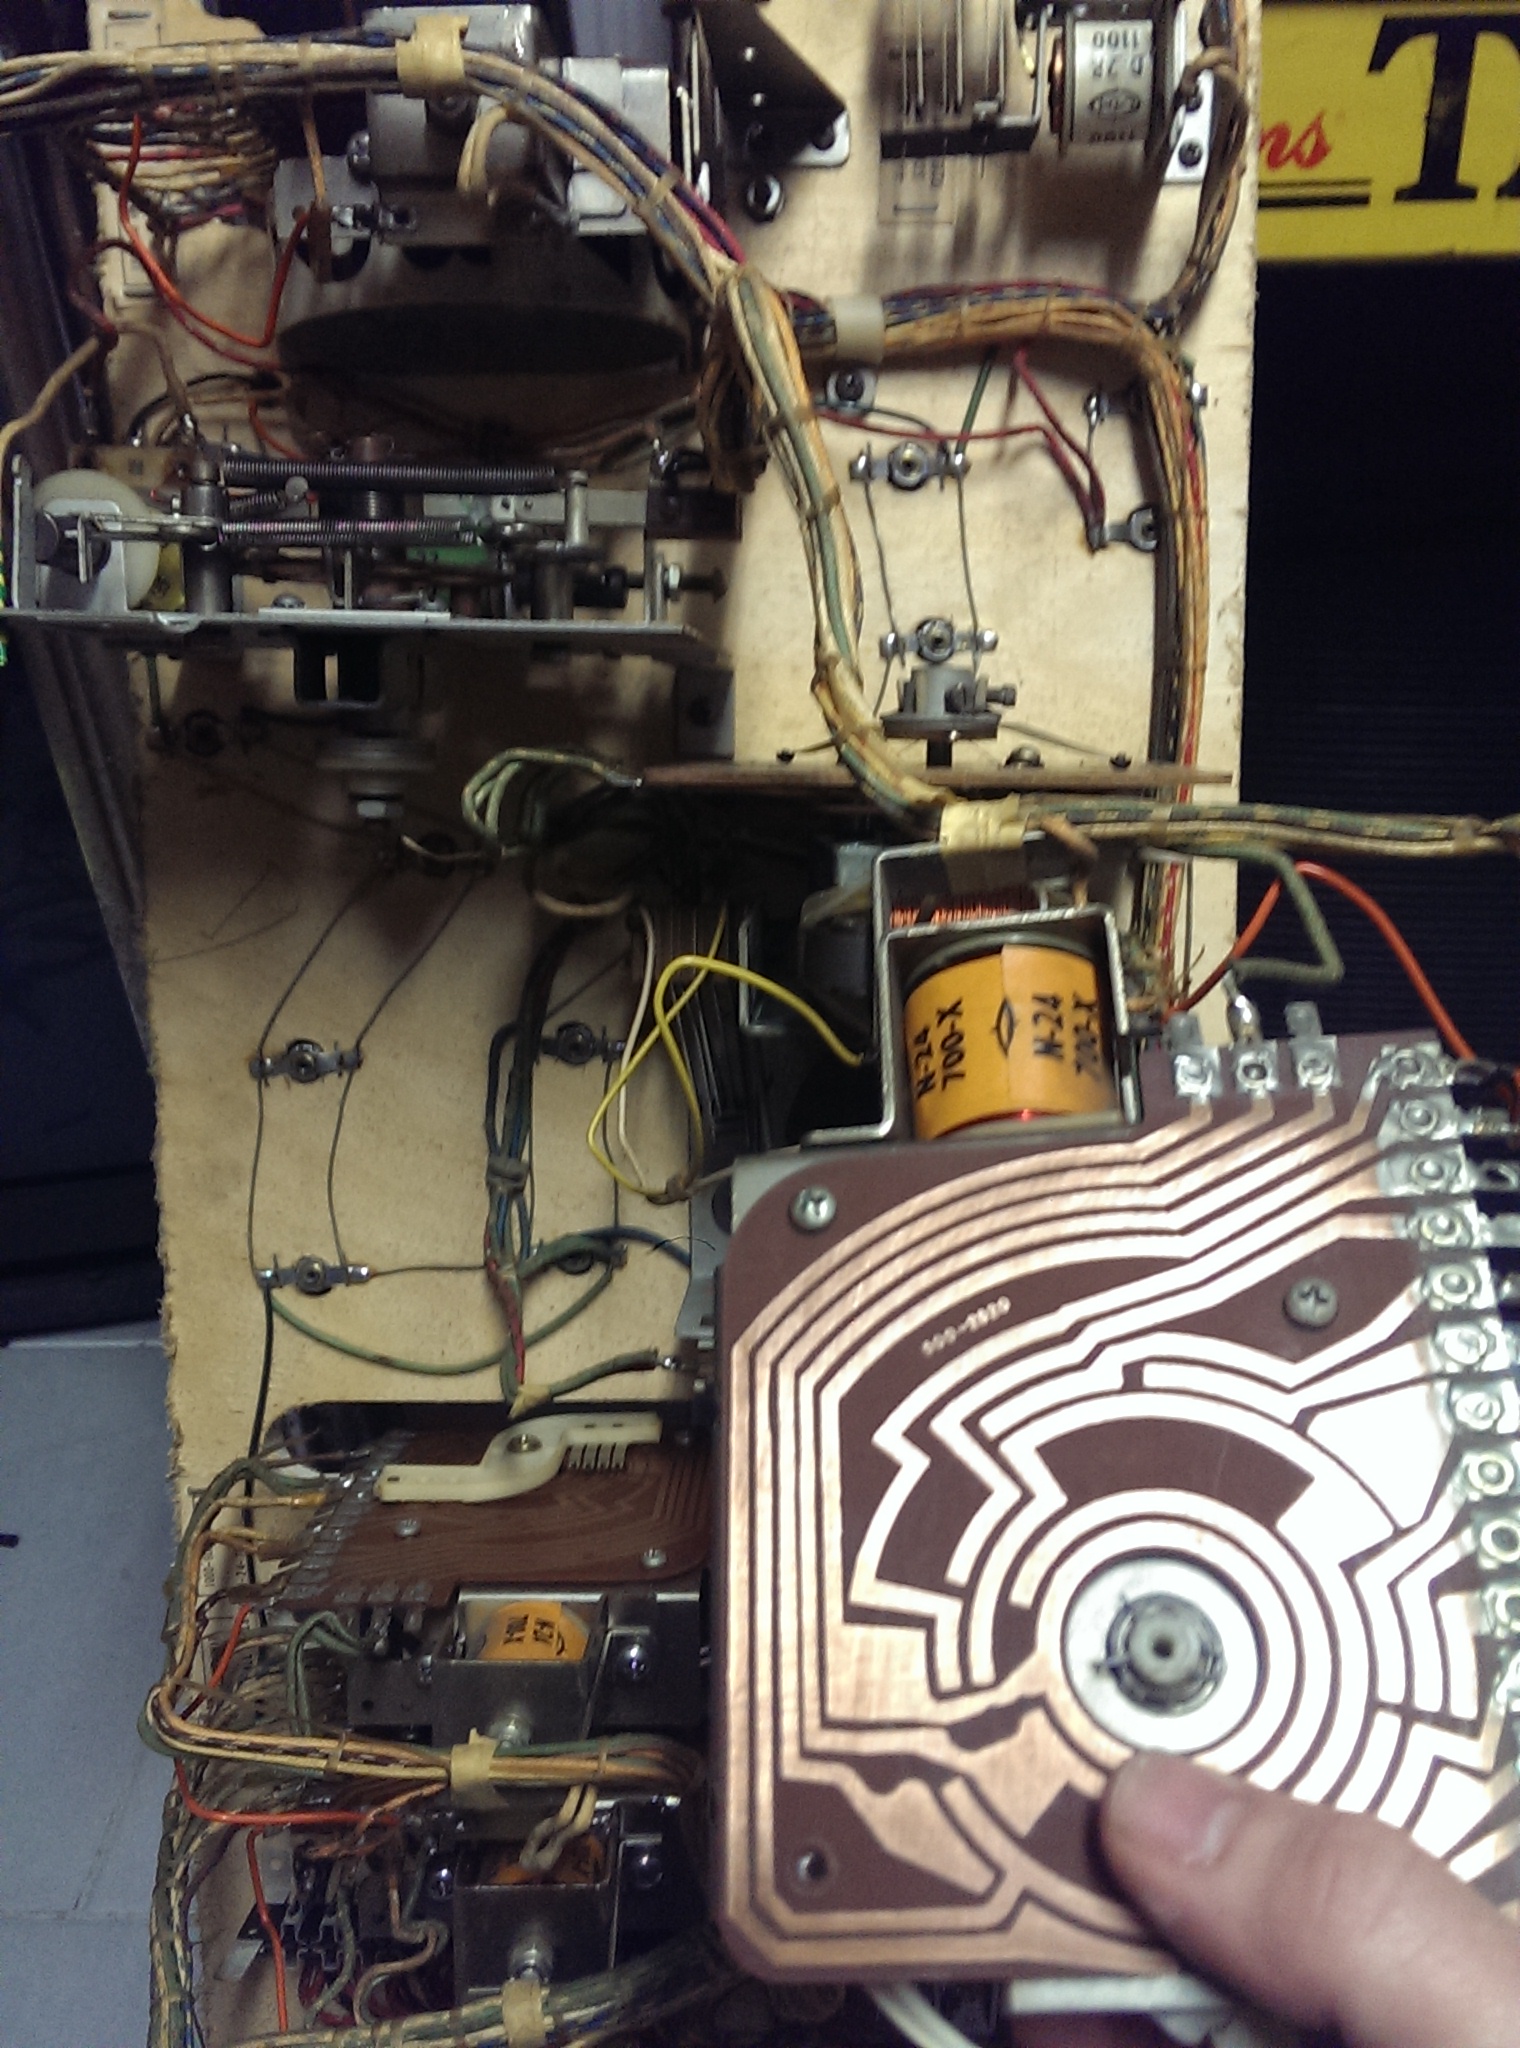
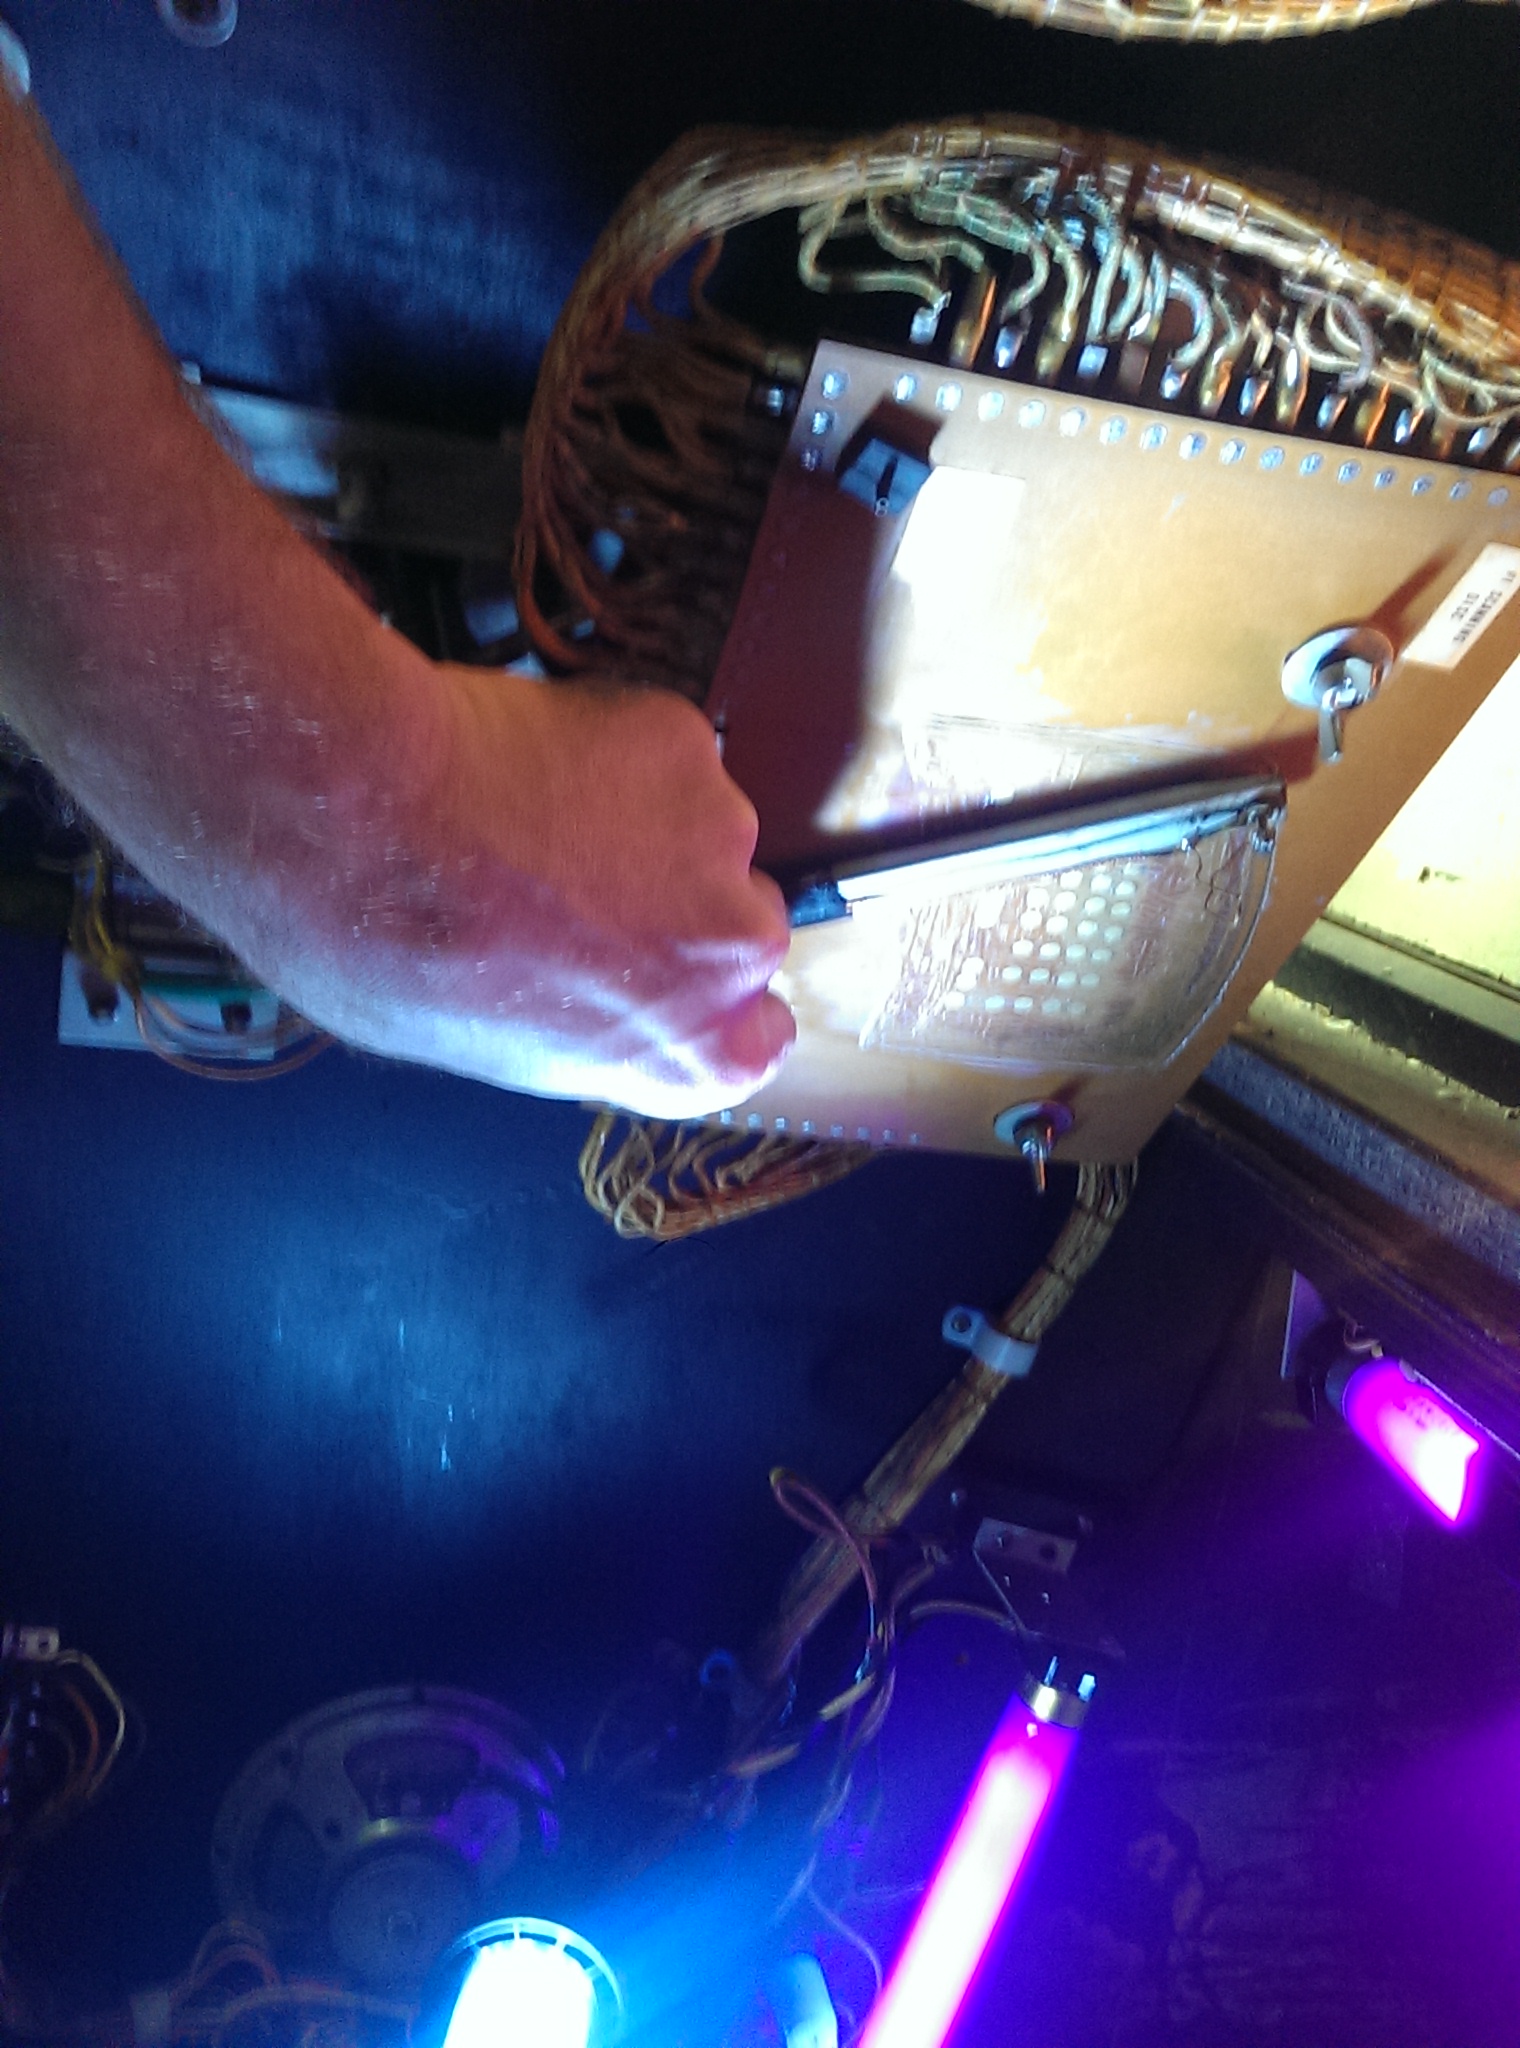
Now that I got working start buttons and guns, I noticed that sometimes the same target appeared again and again, eternally. This was caused by the program unit being gummed up as well (a simple one-directional stepper unit cycling through the "target program" endlessly).
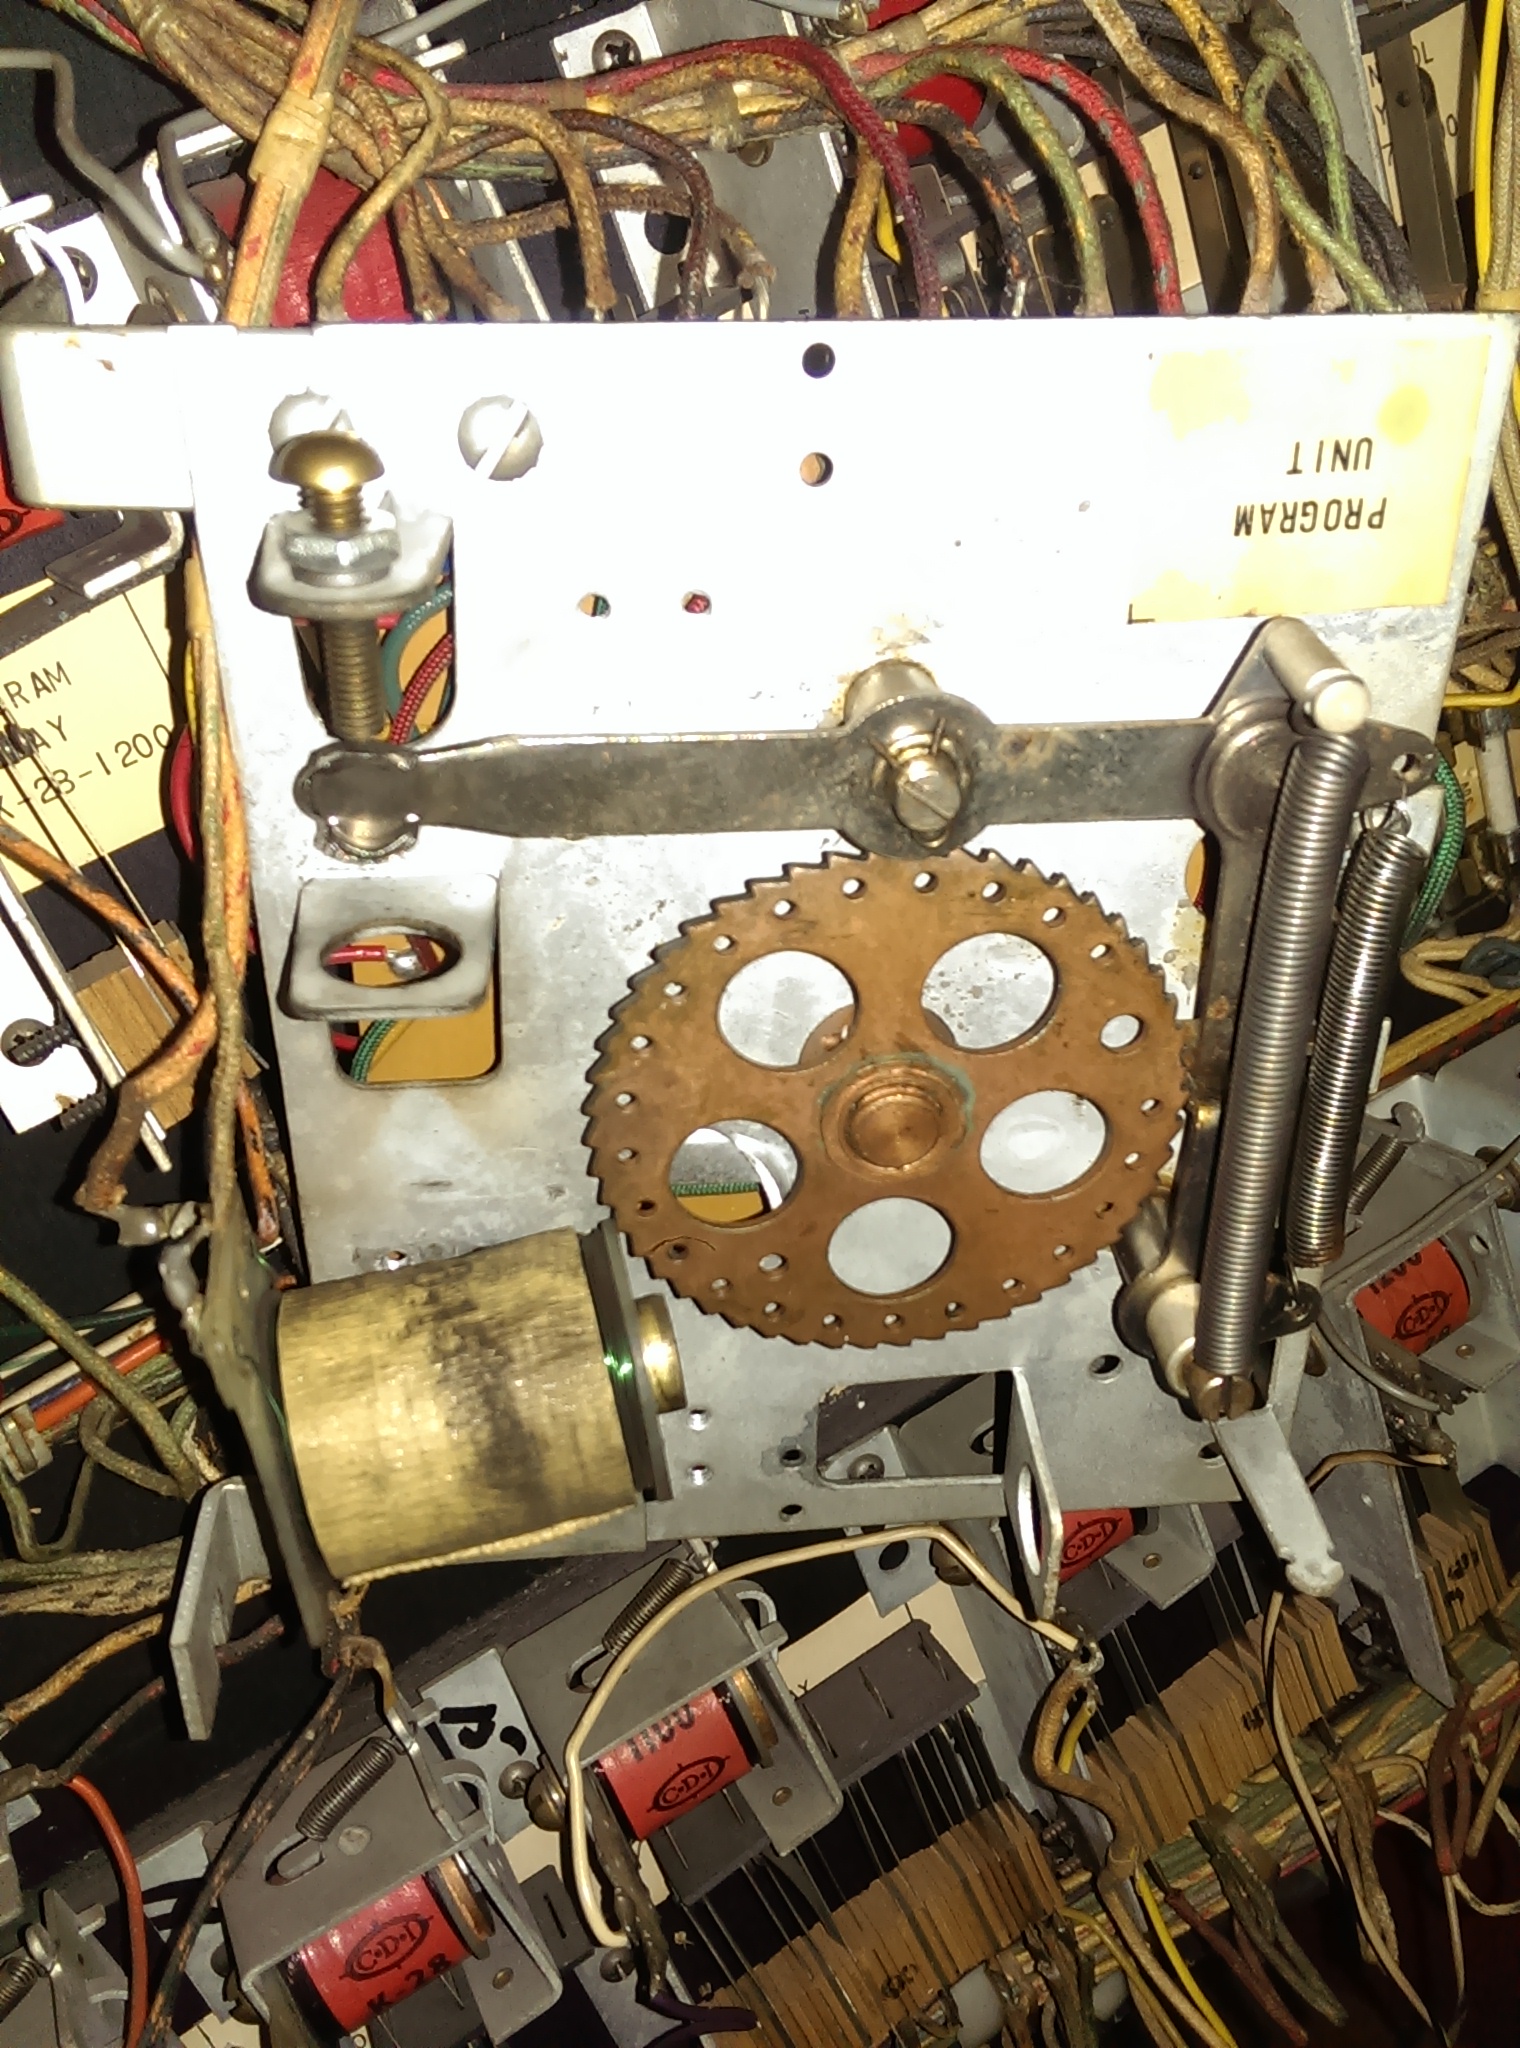
So it was time for a rebuild once again. I usually sand down the contacts with fine sandpaper, then remove all the dust and dirt with cleaning alcohol, and finish off by applying a small layer of teflon grease, to reduce the friction between the contact blades and the pcbs. The picture makes it look as if I used tons of grease, while in fact I try to use as little as possible/needed. Also, as already stated in my small report on my SAMI resto, I never grease or lube anything where plastic and metal touch each other. In fact, I try to avoid greasing/lubing wherever possible.

This cured the target problems as well.
As still some target hits weren't registering properly, I also calibrated the guns (a painful procedure if you're, like me, missing the fixation brackets for the guns that originally came with the game - took me hours for both guns ...). You have to exactly allign the finger below each gun to the corresponding target contacts:
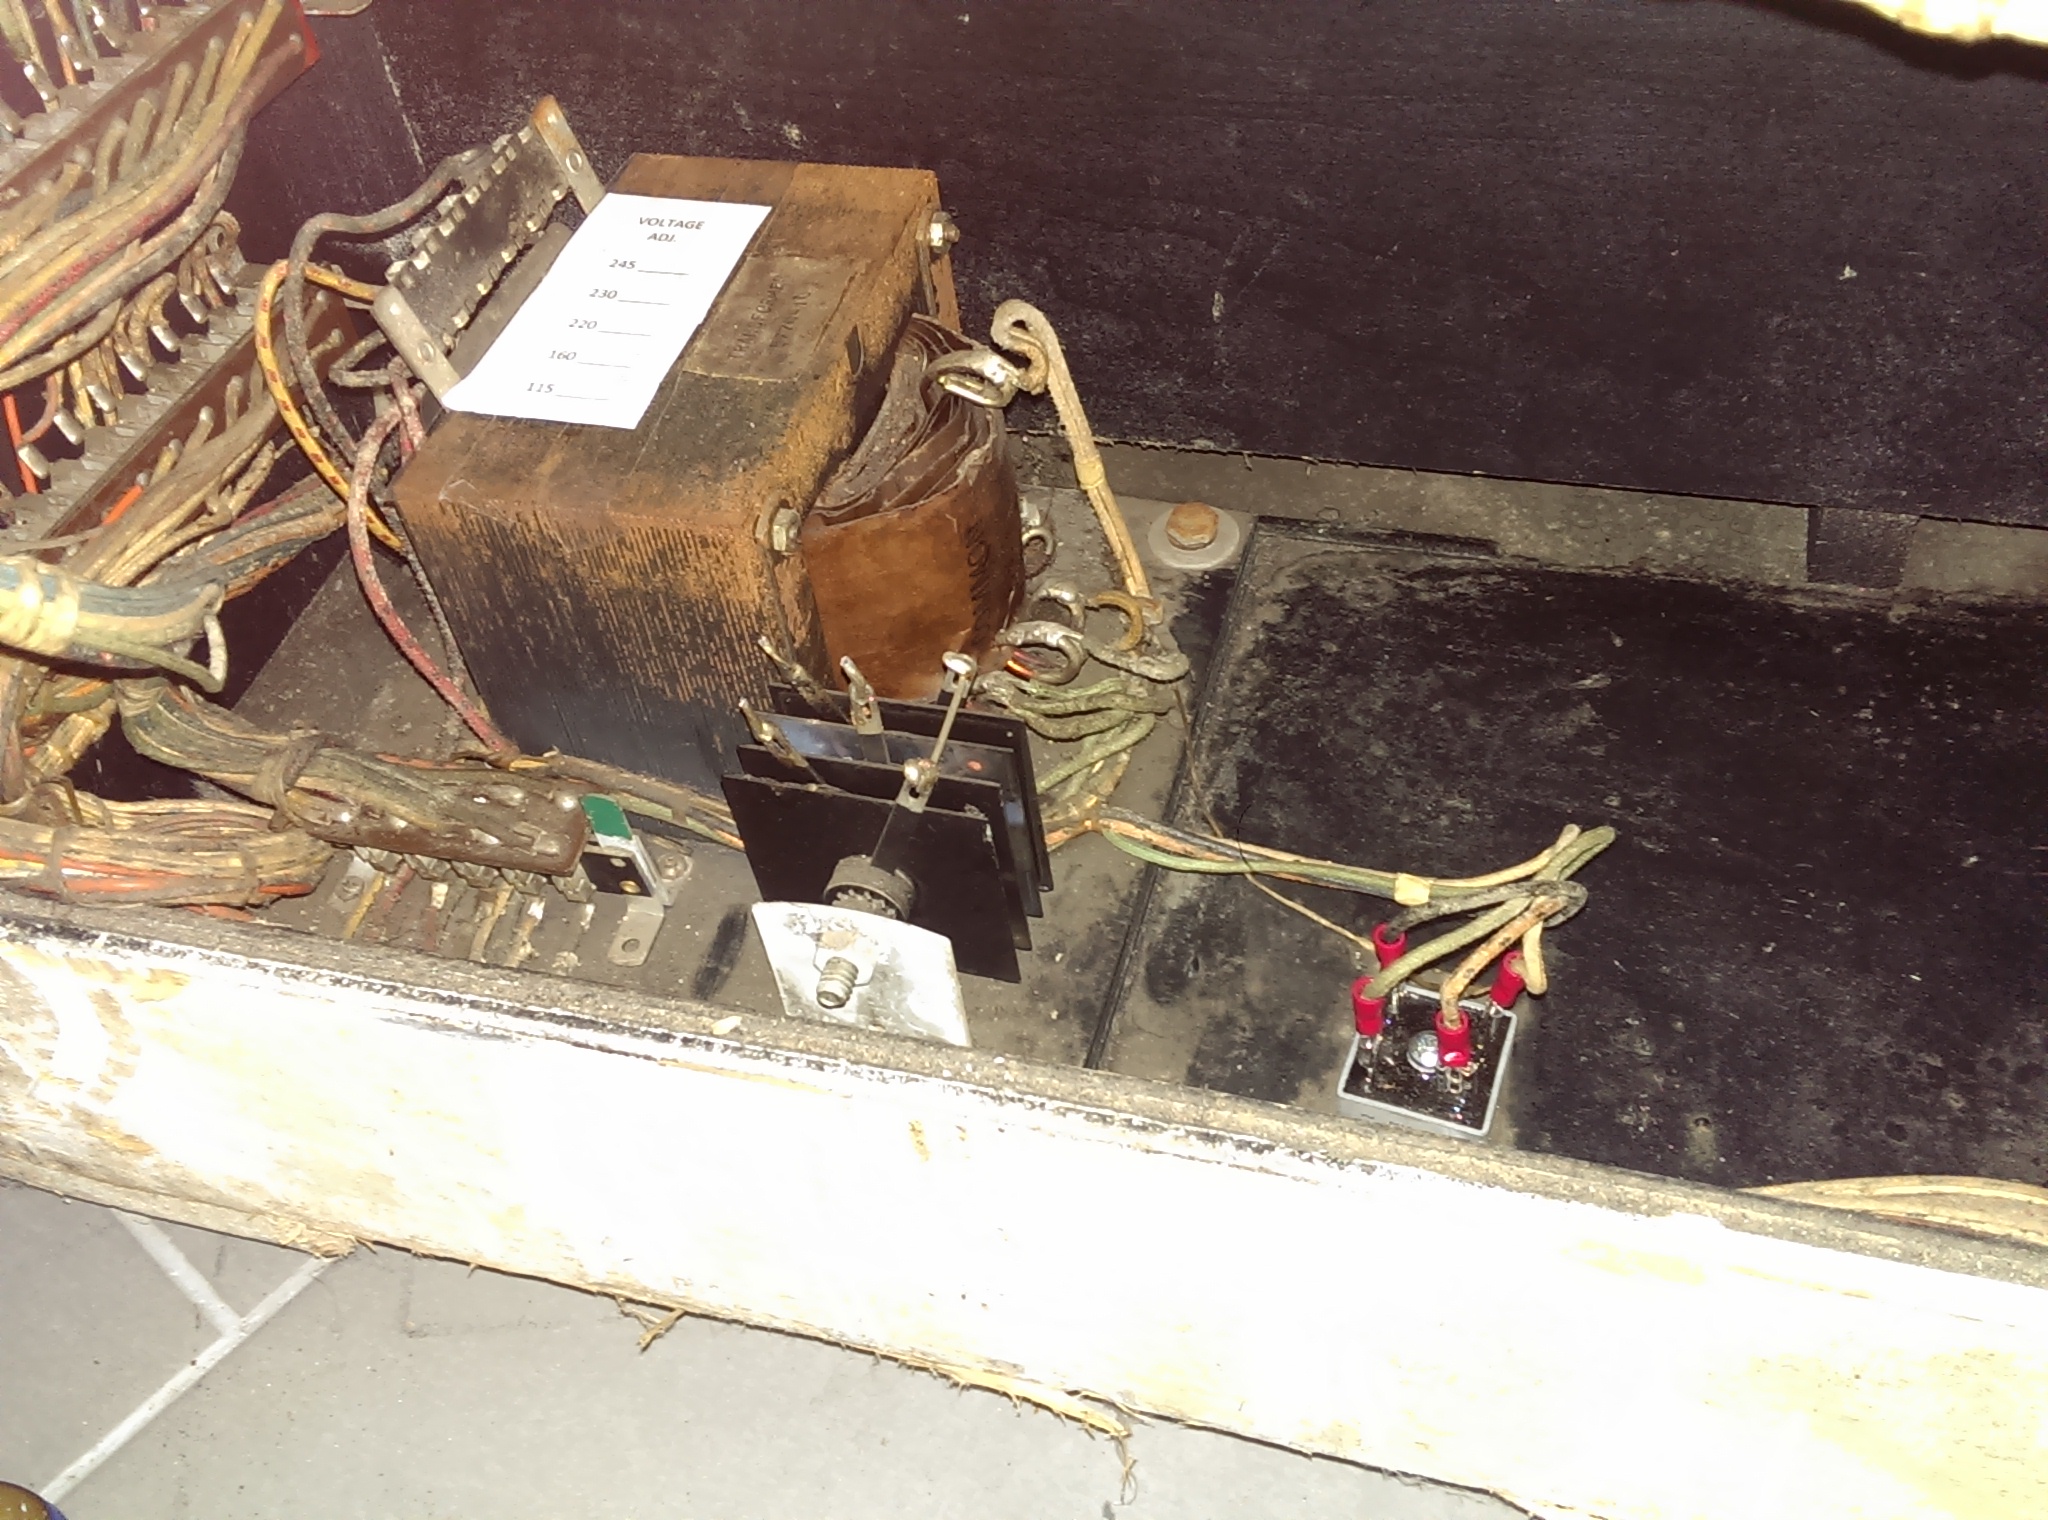
Finally, I also replaced the old selenium rectifier used to generate DC for the motors
and the sound board ....
Erratum: the sound board has it's own crude rectifying circuit using a bunch of regular diodes, and a 18v zener diode for voltage regulation. It is supplied 10 and 30 VAC via the connector. Also, the second board next to the sound board is not connected to it in any way; it's merely a cheap power supply circuit for the optional 8-track player (it only consists of 4 diodes and a smoothing cap).
The sound board power setup is visible from the schematics in the game manual, though not the main schematics I was using as a reference. As it seems, "RTFM" does not only apply to modern day technology 
.... with a modern one. I usually leave the old ones in place, just for the looks.
With tons of pictures posted now already, be assured that, additionally to the stuff described above, I ran into tons of smaller problems, ranging from misalligned contacts, to me breaking two of the deer's heads (the plastic used for them seems to have suffered from aging and is VERY fragile now

- but nothing that can't be fixed again by proper gluing
), and having to remove the whole transformer unit because of one f**** screw falling down and right below it. But at least I now know my way around this game, as I have probably touched each and any contact/component at least once

.
Also, I still have to fix the soundboard, and get around to take care of some cosmetic stuff.
What counts though is that the usual crowd (kids) is happy with the newly resurrected game, as you can see in the last picture
Cheers,
Martin


