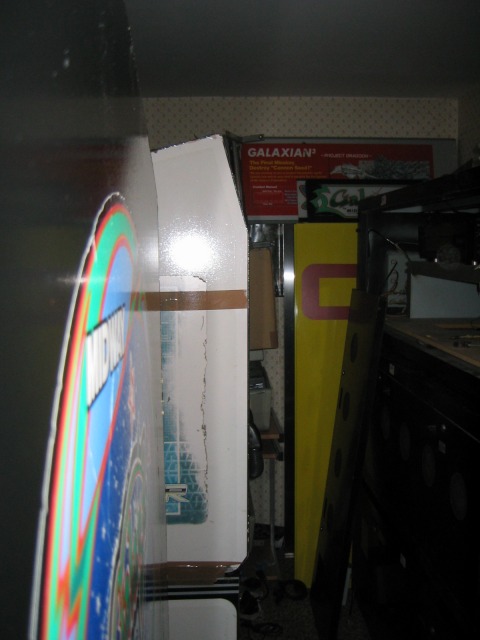
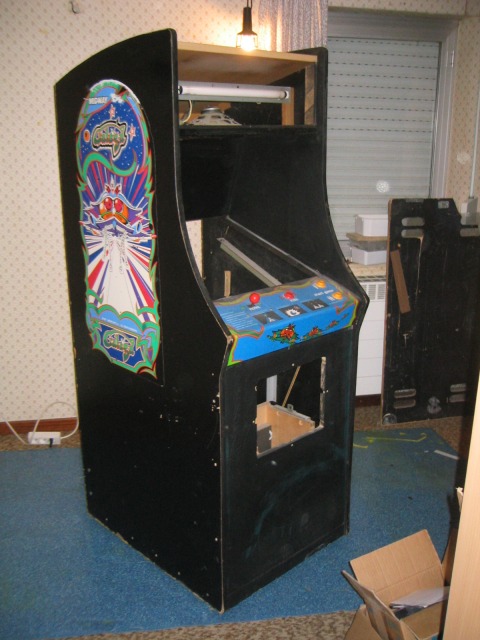
OK, now I've to look a little bit closer on this cab... to see what is the amount of work to restore it.
Soap & water will be perfect for this -pass1- examination

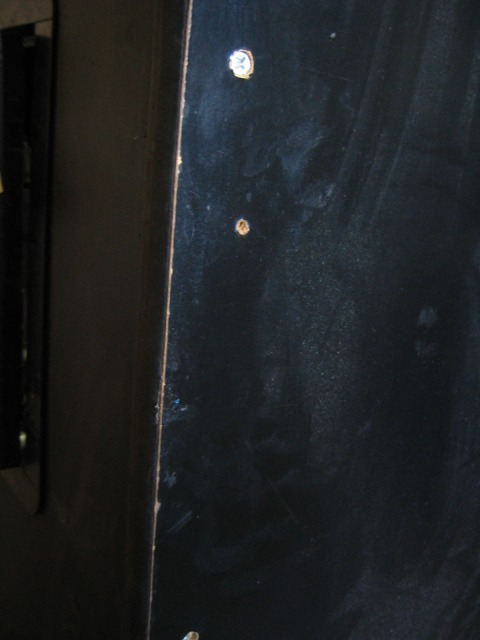
On the folowing picture, you can see the skrews who maintain the new kickplate :
... and you can see other holes

:
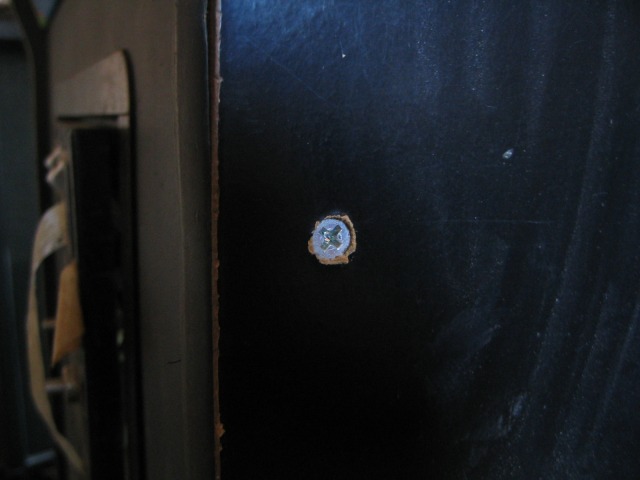
Arghhh

Too bad to see these skrews... they should be hidden

:
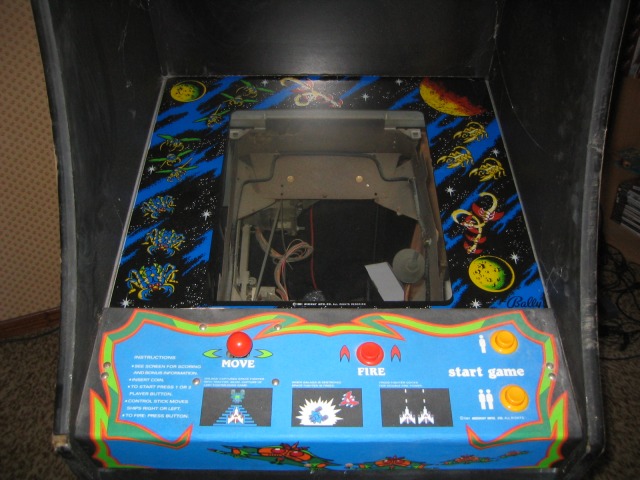
The panel is in good condition, but all the mechanical parts are broken... only the red ball is there

THe good thing : it's a NOS bezel... very nice

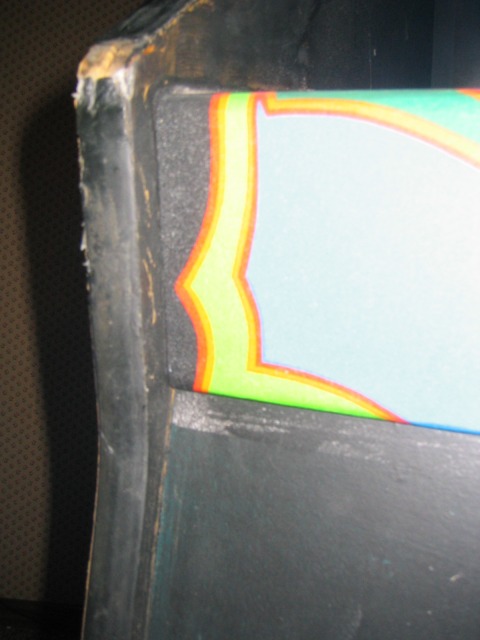
T-molding is destroyed...
...and you can also see the replacement plank for the front kickplate... And I even thought it was a Ms Pac Man front kickplate, because of the blue color under the black color
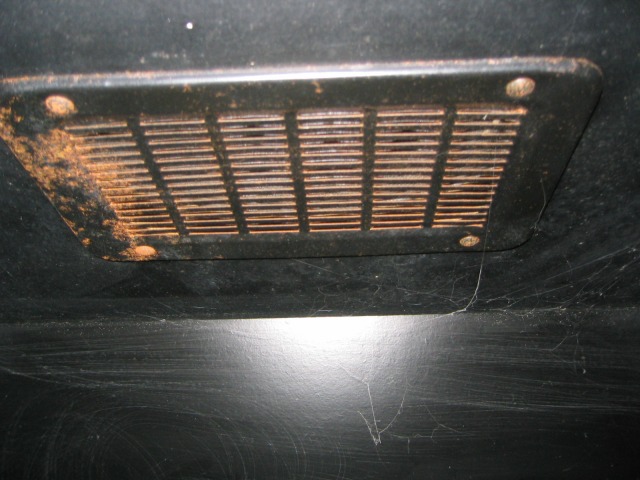
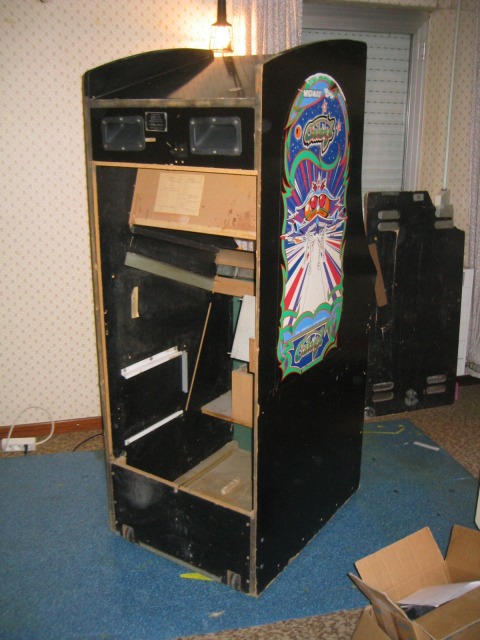
Here the black speaker grille, full of rust... and some scratch on the back, just on the top of the monitor area
Ok, let's remove everything

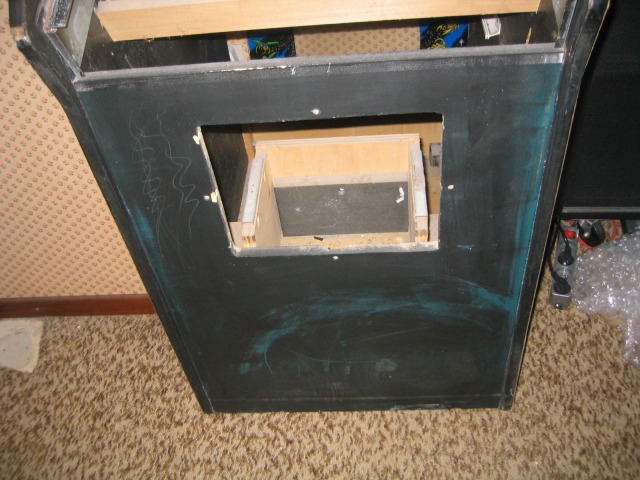
Done. Now you can see the new plank used to replace the original kickplate...
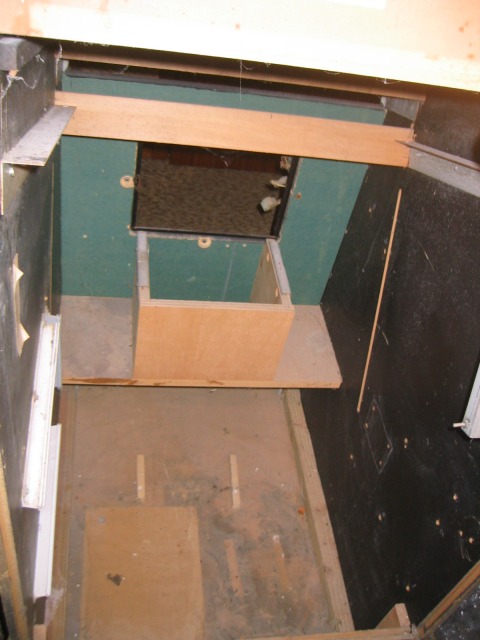
I start to understand what happens on this cab

The original kickplate has been damaged (destroyed by some hits or water damages ?), and this part has been replaced. This explain some skrews... but why there are also skrews to maintain all the base of the cabinet

Easy : When the operator removed the original kickplate, he had to move apart the sides. So the junction between the base and the two sides became to fragile. So he put more skrews
Hey... a 20 years old bubblegum


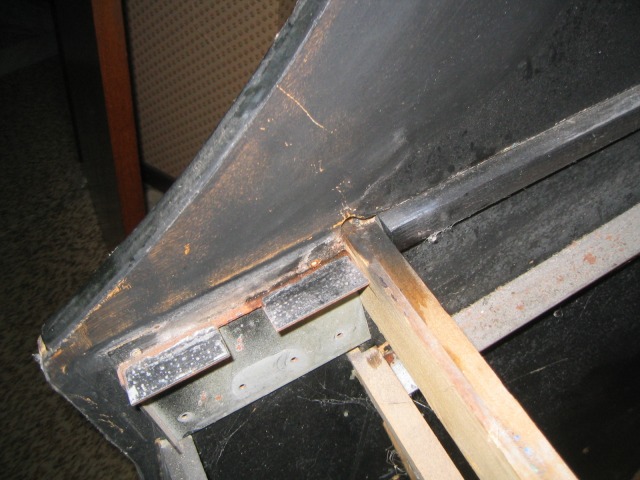
Opsss... each tilme I try to clean this area with a simple towel, the black paint comes off

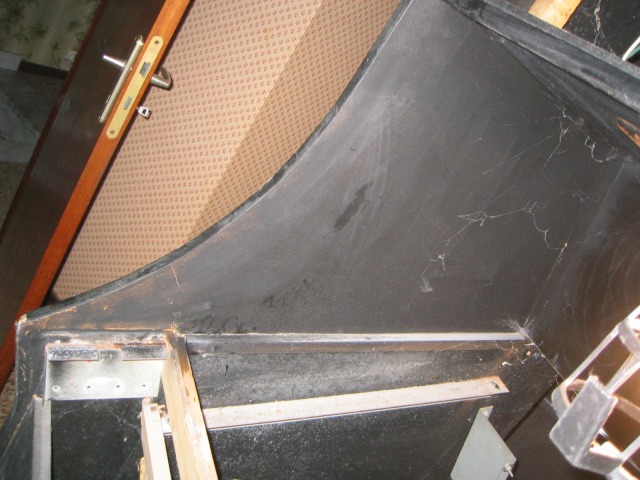
It's clear that's not the original paint. This area has been very badly painted is the past

I know that area is a common problem on all Galaga/Ms PacMan cabinets... I even found a picture of me, taken in an arcade in Los Angeles in 2001, where you can see the problem :

It's because the hands of the players & spectators... see

The black paint used for these Midway cabs doesn't resist to the hands perspiration.
OK, but why the operator painted it again so bad
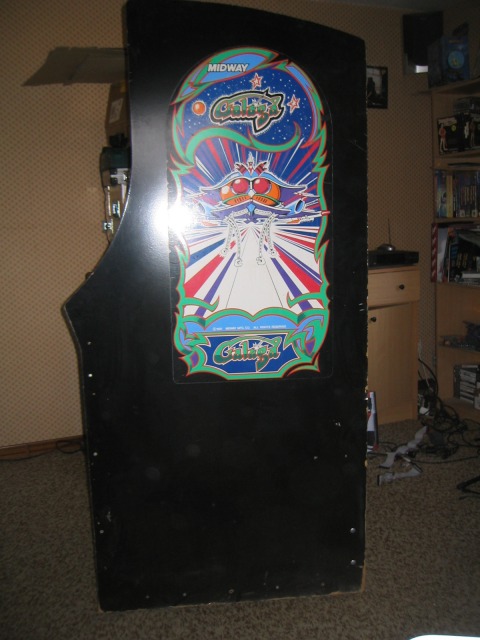
Now the side arts. They looks good to me... it's written "Ricky's game" on it

Who's Ricky

?

Back on the kickplate... same story regarding the 'BAD' back paint...
Well, for sure... it won't be a quick restoration. So it's time to move that cab in the Nuno's Workshop ... remember... the place where I worked on this
Pac Man or this
Space Ace 

Well... in fact... the workshop is just a room at the first floor in my house

Ok, so... on location now :

I didn't show it yet, but there are a lot of water damages on the bottom of the two sides
As you can see, other games are waiting here to have a second life