Author Topic: The planning and built of My Gameroom  (Read 204527 times)

ckong

  • ArcadeLifeStyler'
  • ***
  • Posts: 3177
  • The Netherlands
    • View Profile
Re: The planning and built of My Gameroom
« Reply #225 on: February 23, 2012, 08:47:04 PM »
Preparations are done for this Saturday, when the walls and ceiling will be coated.


The room will look completely different after the weekend.  ;D

Blanka

  • ArcadeLifeStyler'
  • ***
  • Posts: 729
    • View Profile
Re: The planning and built of My Gameroom
« Reply #226 on: February 24, 2012, 07:40:51 AM »
Don't go for laminaat. It will make the room sound too hard, and you will need someone to swipe dust every day. Your nagalmtijd will be way to high, not comfortable with all the game producing nice sound effects. Carpet is probably the only option, as I don't expect curtains very much in there!
Just grab antracite naaldvilt. Cheap (50m2 is brought and laid for you for 500€), rugged, easy to clean and good on the acoustics. And a dark colour keeps the focus on the games. The floor should not pull attention!

gyruss

  • ArcadeLifeStyler'
  • ***
  • Posts: 2332
  • The Netherlands
    • View Profile
Re: The planning and built of My Gameroom
« Reply #227 on: February 24, 2012, 11:09:01 AM »
I would go with Andre's solution for the floor, looks pretty nice imo.

level42

  • ArcadeLifeStyler'
  • ***
  • Posts: 13555
  • Ridderkerk, arcade capital of Europe !
    • View Profile
    • Arcade 42
Re: The planning and built of My Gameroom
« Reply #228 on: February 24, 2012, 12:48:24 PM »
i would NEVER go with carpet. Since your gameroom is a separate building like mine, you will "walk in" a LOT of dirt and stuff. or if you wheel in a game on a hand cart the tires will run it in....

Just MHO.

I am very happy I went with the black tiles, a bit of brooming and some mopping now and then and its clean and tight. I should have gone for tiles with a flat surface though. Mine are a bit rough which makes it somehat hard to slide cabs for a small distance.

Also....in an ideal world all my cabs should have teflon leg levellers...

The sound is no problem at my gameroom because I have the walls covered with glassfiber wallpaper.
There is no echo or whatever. Your walls will have a harder surface and thus more reflection.

ckong

  • ArcadeLifeStyler'
  • ***
  • Posts: 3177
  • The Netherlands
    • View Profile
Re: The planning and built of My Gameroom
« Reply #229 on: February 25, 2012, 08:57:15 PM »
In order to get some inspiration for my gameroom interior, I visited this site: http://gameroomjunkies.com/index.php/category/gameroom-showcase/

Most of you will have seen it before, but there are some great gameroom photo gallery's.

ckong

  • ArcadeLifeStyler'
  • ***
  • Posts: 3177
  • The Netherlands
    • View Profile
Re: The planning and built of My Gameroom
« Reply #230 on: February 25, 2012, 09:45:30 PM »
Another day gone by, another progress report.

Today I had a professional 'spackspuiter' (what is the English name for it?) at my place who did the finishing of the walls and ceiling.

It's a process with 4 steps:

1. Covering all area's that don't need to be sprayed. This gave me a bit of a headache yesterday evening, because I only painted the woodden skirting along the ceiling and the window frames yesterday afternoon. The label on the paintcan mentioned 'dust dry after 3 hours'. Yeah, my ass, at 11 PM yesterday evening, 6 hours after I finished painting, it was still very, very sticky. So I pulled in an air heater that I recently bought, and fortunately this morning the paint was dry. Poeh!!  8)

Picture:


2. Spray the first layer, in phases, and smooth out every bump or hole that still exists (afmessen). This is a very time consuming job, because it has to be done very precisely. And it has to be done in phases, because if you first spray the entire room, you will find that the first part has dried out too much too be egalized.

Pictures:


Almost done:


3. After the first layer has dried out a bit, which only takes half an hour or so, the second layer is beeing sprayed, which will give a nice structure on the ceiling and walls. The thickness of the sprayed structure can be adjusted by using different nozzles on the spray gun. I choose a very fine structure, which makes the walls and ceiling look very smooth. The spraying of the entire room only took about 15 minutes:


4. Removing the protection tape on the skirting:


Done and finished:  ;D


I don't have to paint the walls if I want them to be white, there is no shine through from the plasterboard. But I will paint some (parts of) walls in a colour, don't know how and which colors yet.

Until so far ....

DarthNuno

  • Administrator
  • ArcadeLifeStyler'
  • *****
  • Posts: 11709
  • Singe's castle
    • View Profile
    • Dragon's Lair Fans / Arcade LifeStyle
Re: The planning and built of My Gameroom
« Reply #231 on: February 26, 2012, 10:30:32 AM »
Wow, very fast with that painting method!  :o Well done!  :)

polaris

  • Member
  • **
  • Posts: 263
  • veni vidi congai
    • View Profile
Re: The planning and built of My Gameroom
« Reply #232 on: February 27, 2012, 12:20:28 AM »
spacksputter- i'm guessing 'plasterer' . not seen that method before with the spray, we would call the process 'skimming'  you skim a thin layer of plaster onto the plasterboard as a finished layer.  :)
just keeping an eye on things

Sonic 1992

  • ArcadeLifeStyler'
  • ***
  • Posts: 884
  • I Wanna Go Back !
    • View Profile
Re: The planning and built of My Gameroom
« Reply #233 on: February 27, 2012, 06:09:48 AM »
Looking great!  ;D ;D ;D

I would prefer carpet, Just put in an entry floor foot wiping mat.

Muerto

  • ArcadeLifeStyler'
  • ***
  • Posts: 3855
  • Denmark
    • View Profile
Re: The planning and built of My Gameroom
« Reply #234 on: February 27, 2012, 09:12:43 AM »
Carpet is nice, though i choose to have tiles in the Shed, because when you have parties, not everyone respects the mat.... ::) ;D
Also, tiles can withstand a great deal more...

Belike

  • ArcadeLifeStyler'
  • ***
  • Posts: 4769
  • Budapest, Hungary
    • View Profile
Re: The planning and built of My Gameroom
« Reply #235 on: February 27, 2012, 10:35:16 AM »
Looking great Erik, can't wait for your "color plans". ;)

ckong

  • ArcadeLifeStyler'
  • ***
  • Posts: 3177
  • The Netherlands
    • View Profile
Re: The planning and built of My Gameroom
« Reply #236 on: March 27, 2012, 04:03:19 PM »
Another update  :)

The last few weeks nothing has been done on the construction of the gameroom, because ….. that part is finished.  ;D ;D

But that doesn’t mean nothing else has been done. In fact, I’ve been doing, and still am doing, what I hate a lot: painting woodwork and walls.  :evil:

But I first has to select some colors, and I got my inspiration from these great arcades
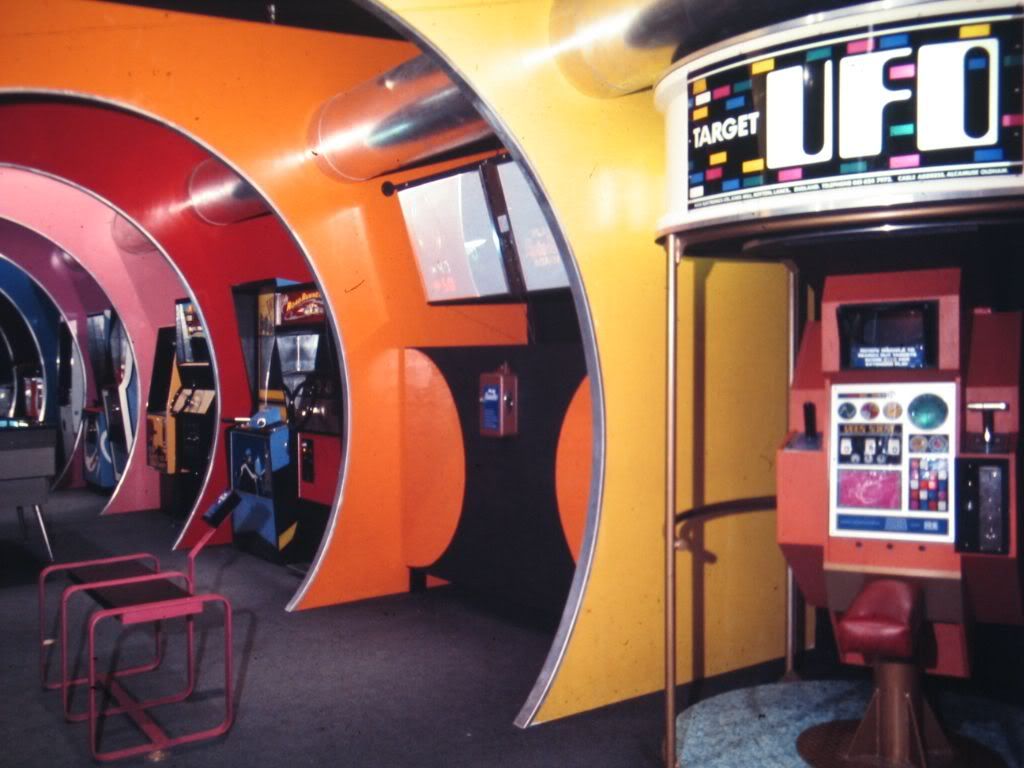
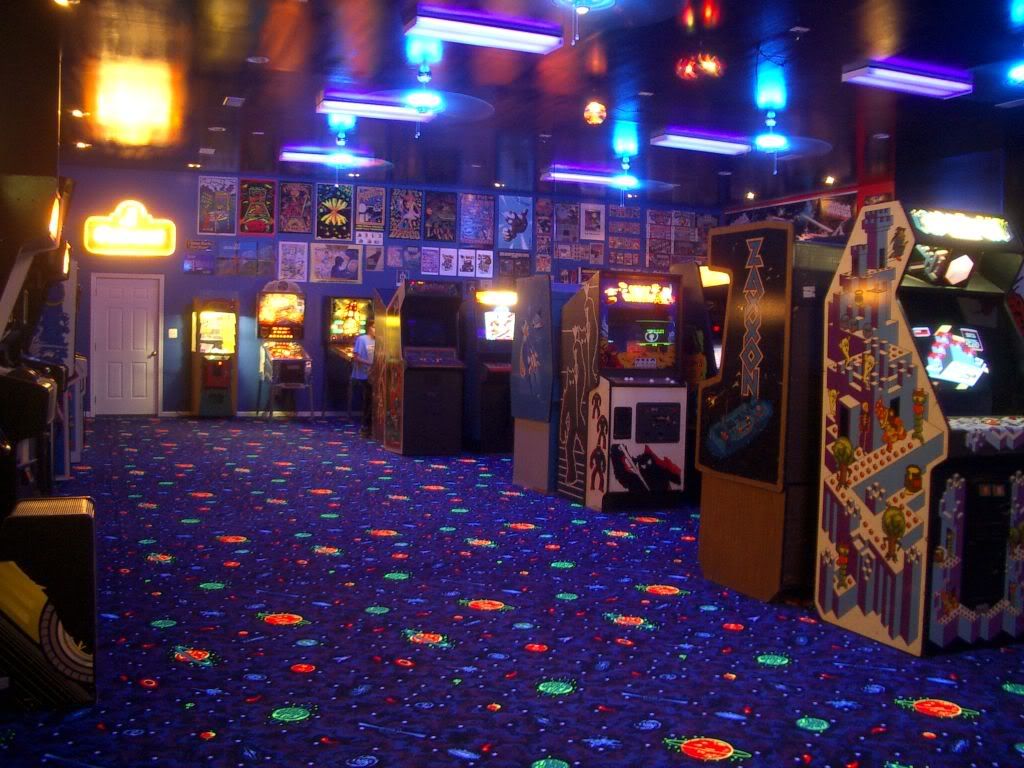
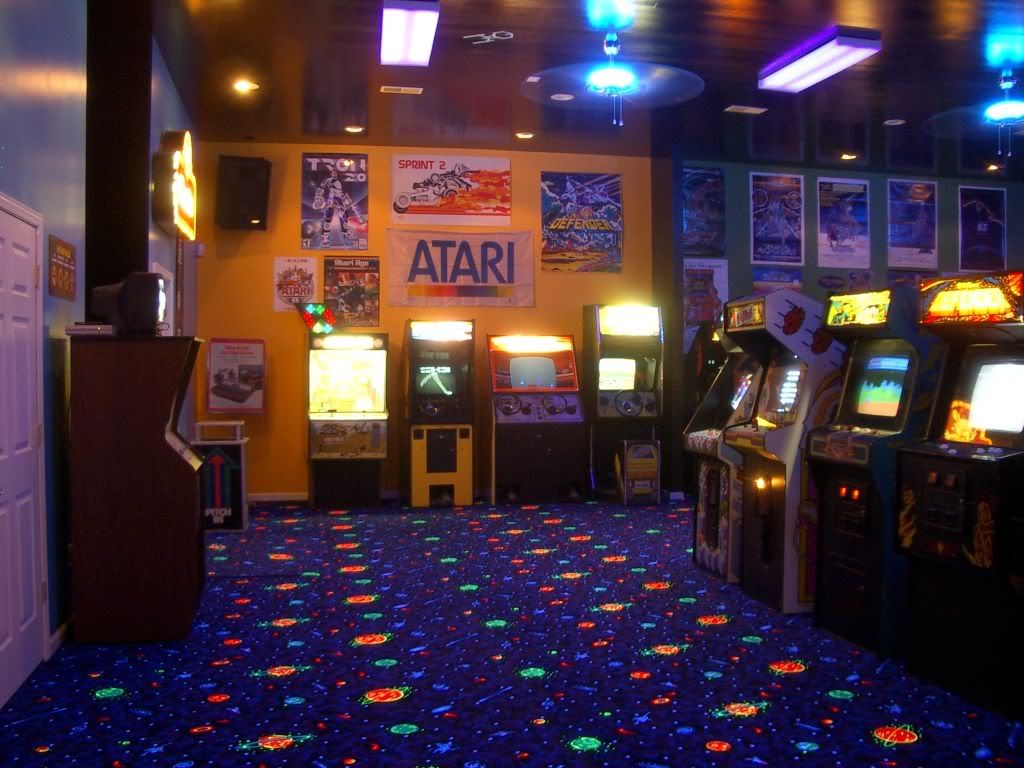


R.I.P.

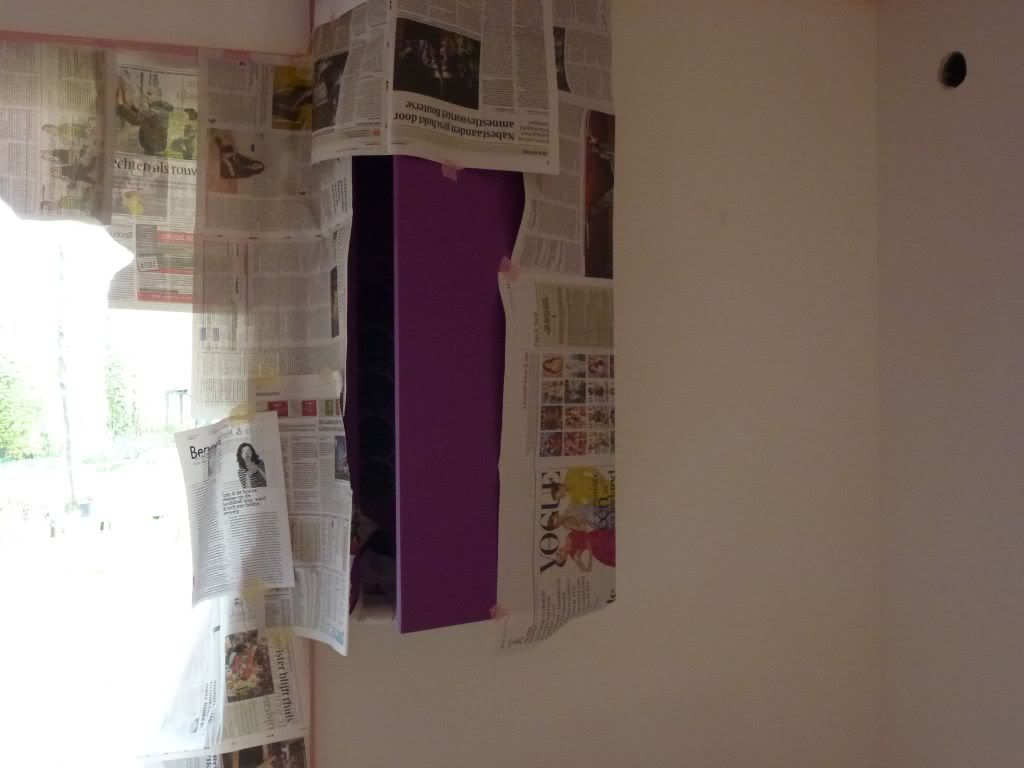
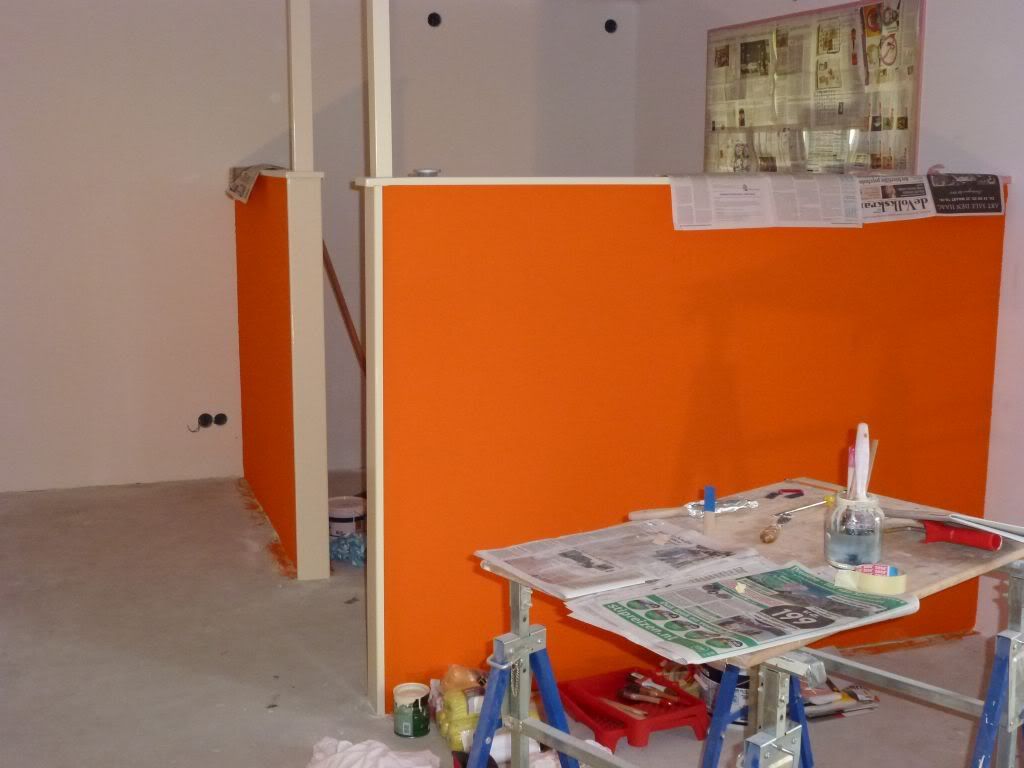
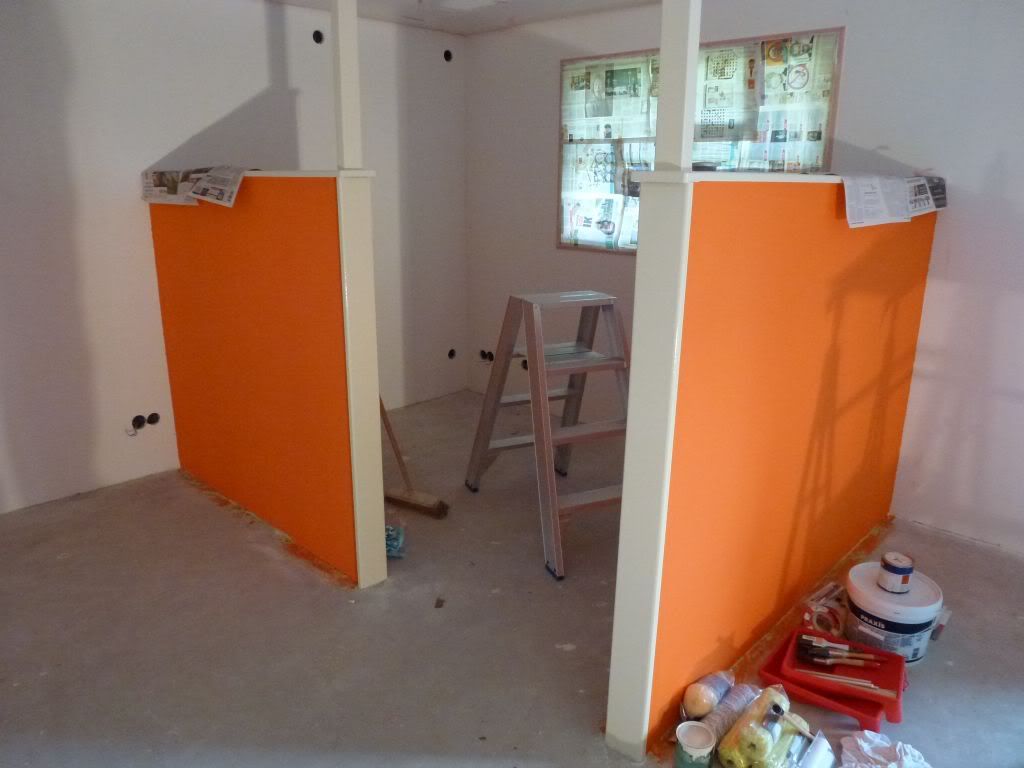
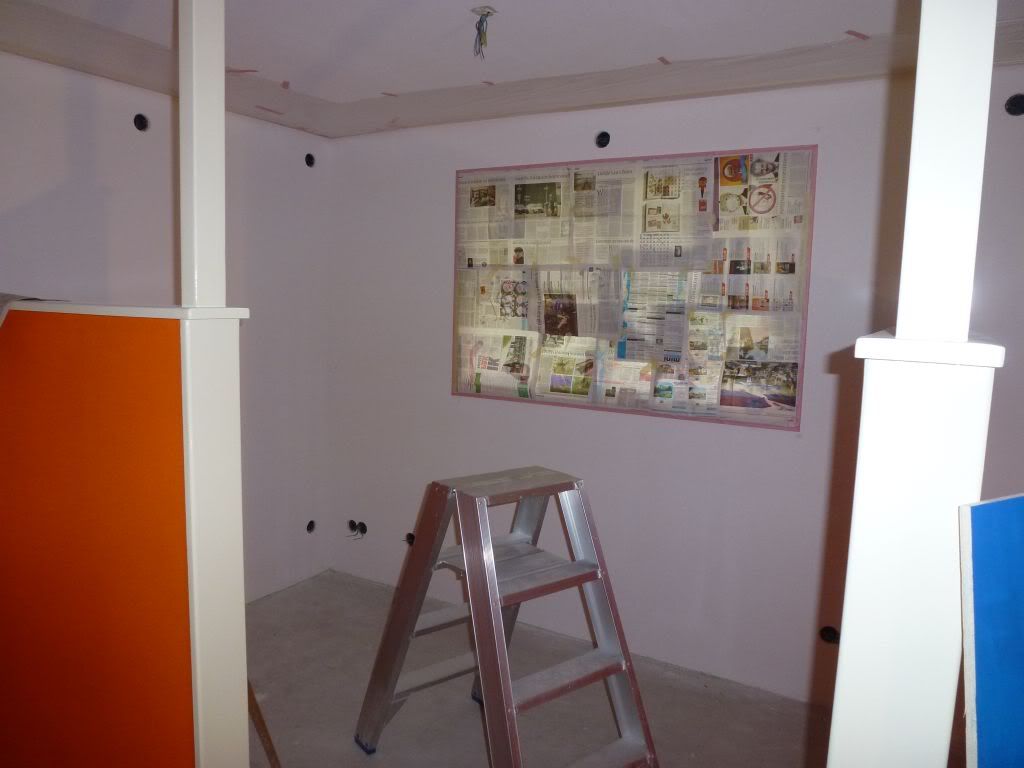
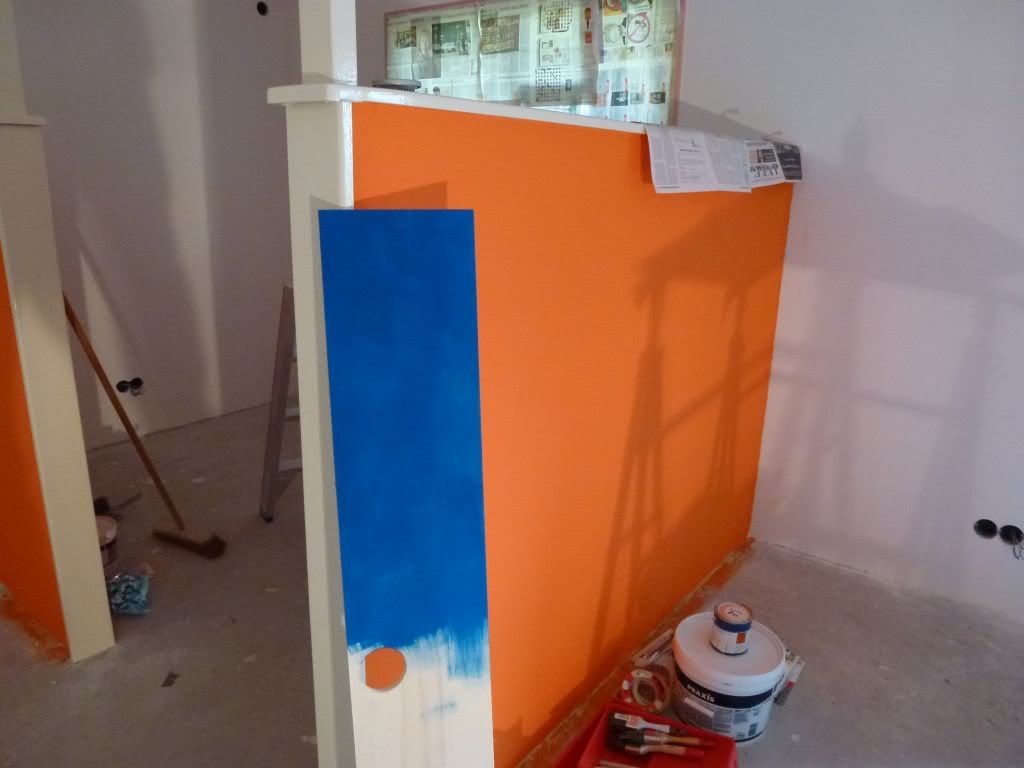
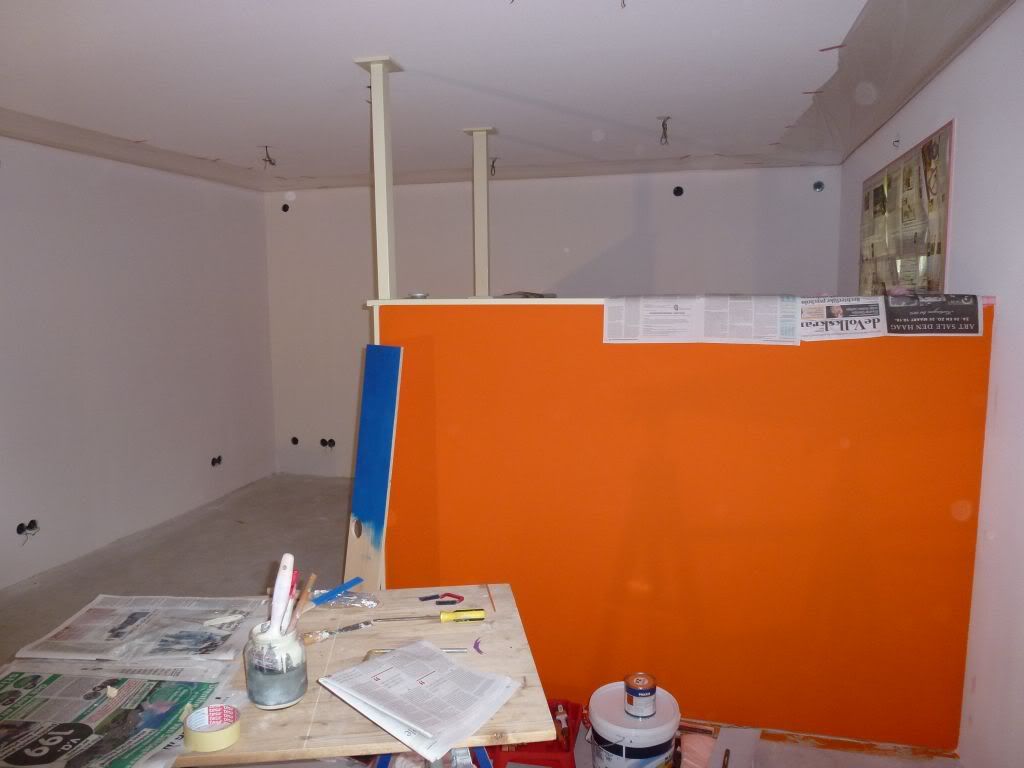
So I choose the colors purple for the switch cabinet, orange for both sides of the two smaller dividing walls and night-blue for the other walls. I painted the window- and door frames with ‘Rambo Pantserbeits’ boerenwit. I like the color and I still had two pints of it. And because paint is very expensive nowadays, I just as well use it.

Did I already say that I hate paintjobs? I mean, everything takes so long. First you have to clean the woodwork, then you have to cover the walls because you don’t want to have paint on the walls, do you? Then you have to put a layer of primer on it, then sand it, then the first coat of paint, sand it again, then the second coat of paint. And then …..  remove the bugs and other insects which got stuck in the wet paint ….  And start over again with the second layer, after sanding of course.

I hate it, I hate it, I hate it.  :evil:

And about wall paint, never believe what shop assistants tell you. I bought my wall paint at the Praxis, and this girl told me that the orange paint would cover in one layer, one. I looked in here beautiful eyses and I believed here. Stupid me, of course it took 3 layers!!

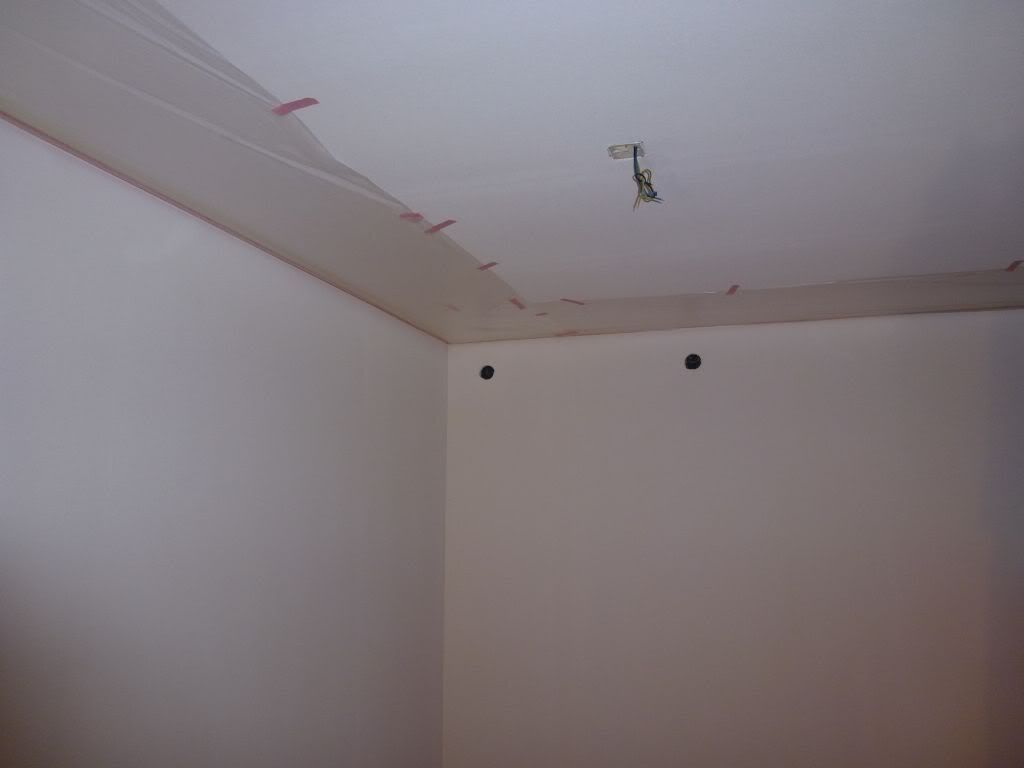
But finally I got about halfway now, all the woodwork is done, as are the dividing walls (yeah I know, orange …. ) and the switch cabinet. So today I covered everything, including a stroke of the ceiling, and now I’m ready for the final paintjob: the four walls. This means about 60 m2.  Times 3!!! Fortunately I have a week holiday this week, and who wants to enjoy the spring sun if he can enjoy some painting?  :'(

Anyway, enough complaining, here are some fresh photo’s, taken today.


Etienne MacGyver

  • ArcadeLifeStyler'
  • ***
  • Posts: 7611
  • The Netherlands
    • View Profile
Re: The planning and built of My Gameroom
« Reply #237 on: March 27, 2012, 04:23:17 PM »
Good progress erik !

McVenco

  • Member
  • **
  • Posts: 151
    • View Profile
    • www.amigascene.nl
Re: The planning and built of My Gameroom
« Reply #238 on: March 27, 2012, 04:28:37 PM »
Looking good so far... Purple, orange and blue, I can't wait to see the final outcome!  :)
No arcade cab(s) yet, but happy owner of 2 Colecovisions, 2 Amigas and a pc running Mame.

level42

  • ArcadeLifeStyler'
  • ***
  • Posts: 13555
  • Ridderkerk, arcade capital of Europe !
    • View Profile
    • Arcade 42
Re: The planning and built of My Gameroom
« Reply #239 on: March 27, 2012, 07:36:01 PM »
I agree. I actually quite like it when you are finally painting but ALL the preparations needed suck big time.

I guess the story for your orange is the same as my red....it takes lots of layers.

I buy my paint only at De Verfkoning now. Next time you are here we should really visit the place just for fun, it is unbelievable, but so are their prices compared to Praxis etc. It is really close to your former Rotterdam storage.

Keep at it, the results look very rewarding !!!