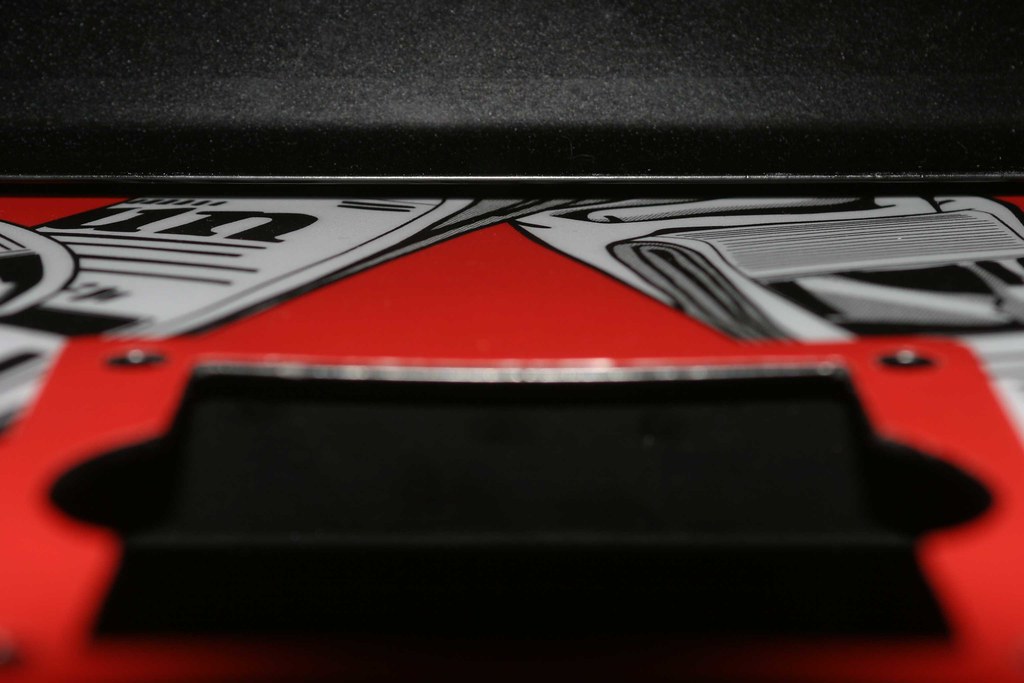
the restoration continues ...because of the weight of the player controls there is a lot of tension / pressure on the control panel itself. add to that the intensity during gameplay and you have what a lot of paperboy (and championship sprint) control panels suffer from: they are bent in the middle. my panel is almost flat, but once the player controls are installed and the control panels hinges are "closed", there is a bigger gap between the monitor frame and the panel right in the middle.
it's difficult to see in the following picture, but it is clearly there!
because i don't want this to get worse (and eventually destroy my panel), i've decided to add additional support for the control panel in form of a metal bar. but first of all, i have to do something else. the wood on the inner right side of the control panel area which "carries" the panel wasn't screwed properly to the cabinet during assembly (and i didn't realize that until now), that's why - when installed - the position of the control panel on the right side is a few millimeters lower than on the left side, making it uneven and intolerable

for that, i've "designed" a small piece of wood to compensate for that inaccuracy

i'm glueing this on top of the control panel support
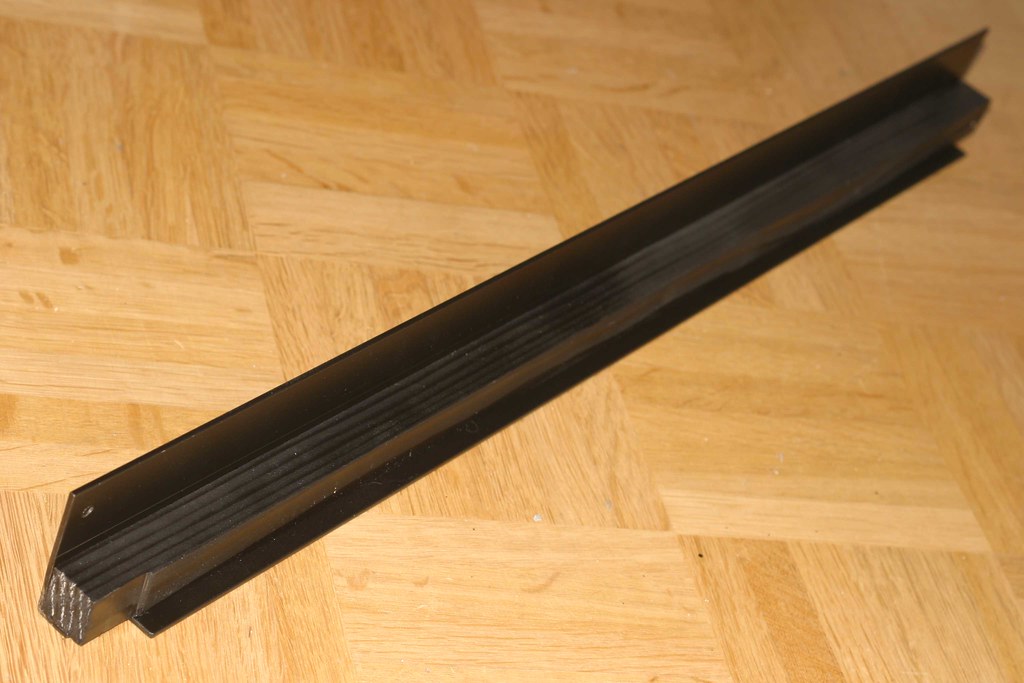
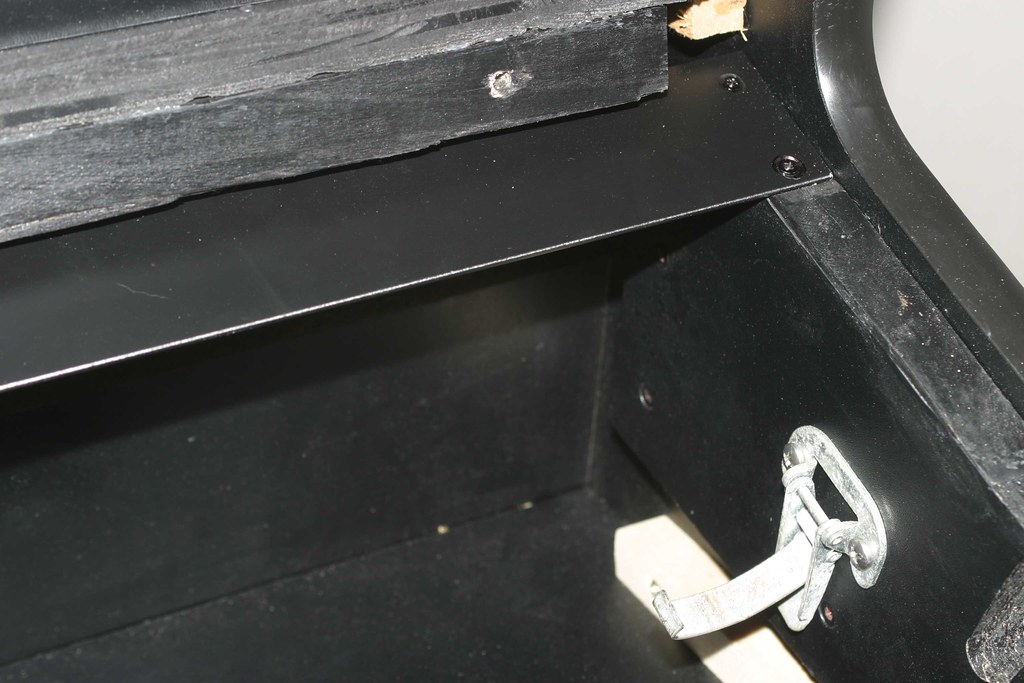
on the left side of the control panel, i'm creating a small ditch so that the supporting metal bar i'm adding will fit in nicely with the wood - as if it were created in one piece!

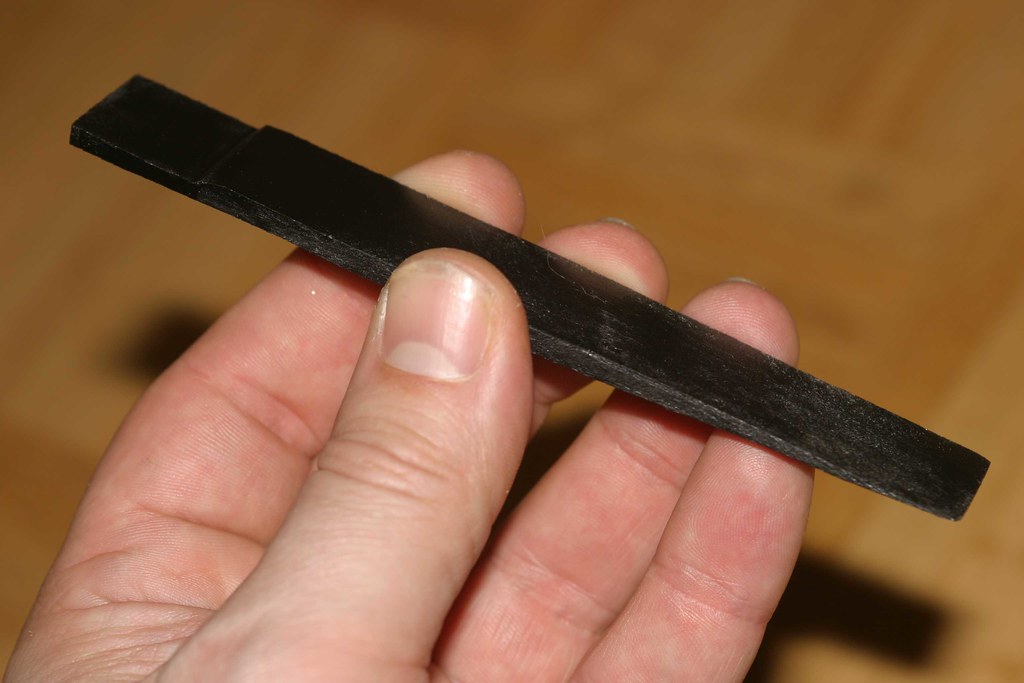
here's the metal bar which is going to give more support to the control panel. i've screwed it to a piece of wood, which in return will be screwed to the wooden control panel supports i have just prepared.
here's the metal bar in detail, note that i've also drilled differently sized holes to countersink the screws


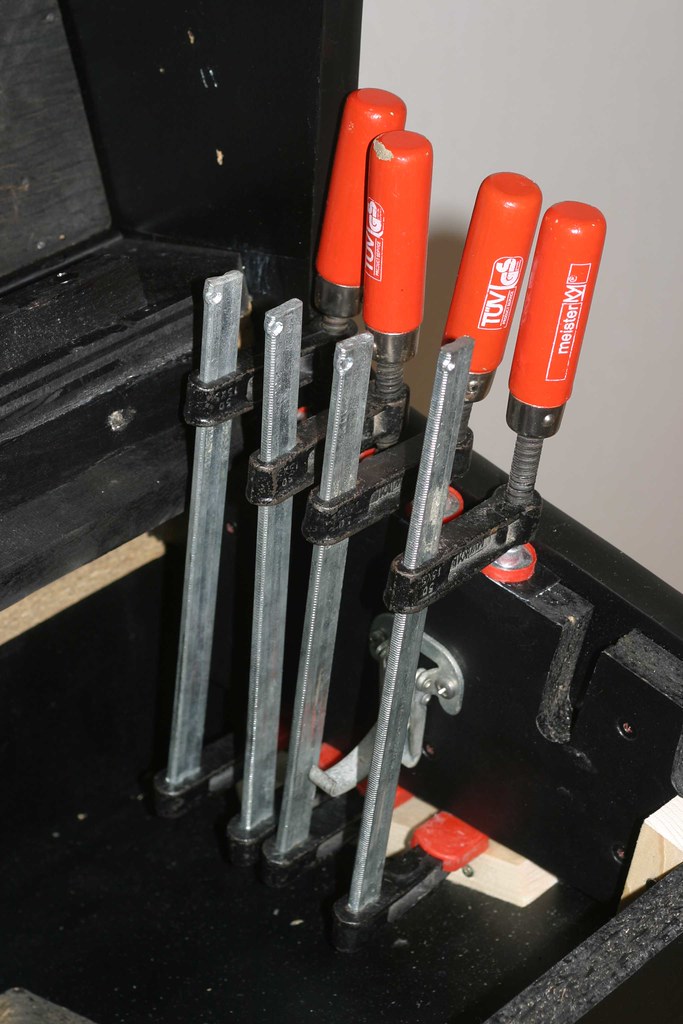
and here we have it on location. impossible to see on that picture (because the control panel is missing), but it works like a charm and does exactly what it is supposed to do - give support to the control panel. it took me a while to come up with that idea and to construct something which can be easily installed and does its job, but in the end i fulfilled the requirements

 note to myself: add the same "construction" to the championship sprint cabinet
on to the next problem: remember that the monitor orientation wasn't correct, that is: the picture was upside down.
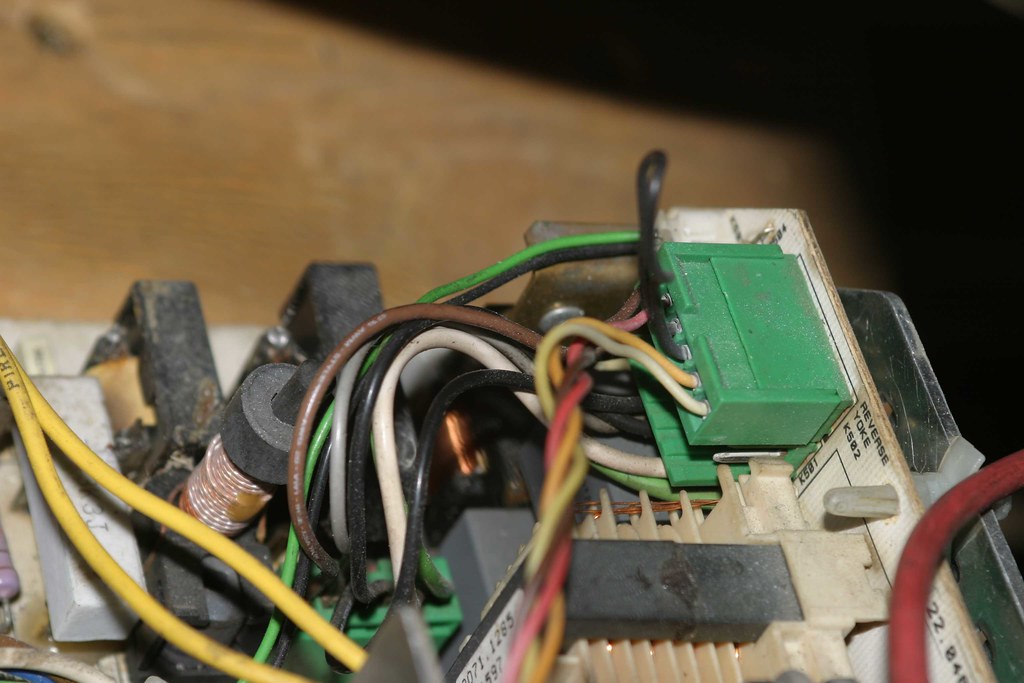
i've asked for help on the american klov forum and after some input i knew what i had to do. here's a closeup picture of the monitor chassis. difficult to access, because it's in the far back corner. do you see the description next to that upper green connector: REVERSE YOKE. this is what i'm here for ...
unplugged!
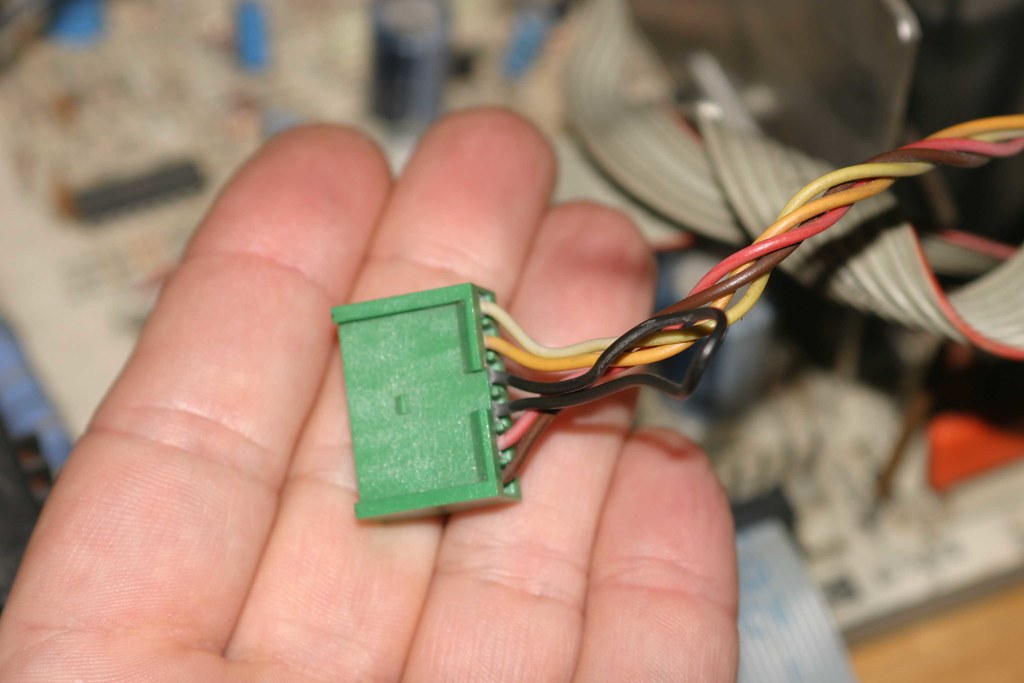
obviously the monitor really
was installed the wrong way around when i got the game, because now it has the correct orientation, only that the picture doesn't. so let's find out whether plugging in the connector below its initial position (there are two possibilies to plug this in) will do the trick. btw, i never removed that connector, didn't even know it existed! but who cares, testing time ...
... drum roll ...
PLUG... drum roll ...
 YEAH BABY
 the only thing that's still not ok with the picture is the alignment, but this should only be a matter of turning some knobs!
it was a good day for paperboy, let's have a look at the checklist:
- solve the screen orientation problem- add an additional metal bar to the inside of the control panel area to give more support to the heavy control panel (those things tend to bend in the middle)- fix the pcb (or get a working one)
- drill supporting holes for the control panel on the front of the cabinet (i though i could go without, but they were originally there and i was told that you need them)
- fix the player controls to the control panel
- remove the protective layer from the sidearts
- move it next to the other machines
as you can see, not a lot left to do, i guess i'll have to deal with that pcb now. andré, have you checked your emails?
to be continued ...


