Ok, let's thing about the game itself...
The best way to reproduce a complete & accurate Galaga experience without a working Galaga board is to use AdvanceMame pure DOS and a true RGB 15Khz signal.
Ok, here 's my configuration :
- AdvanceMame for DOS
- 1 ghz processor
- Soundblaster pci128
- Gforce II Graphic card
First, I prepare that computer, and test the result on my 'benchmark' setup, with a Commodore 1084S monitor, able to display a 15 Khz CGA signal (more information about how to use your Commodre monitor right
here) :
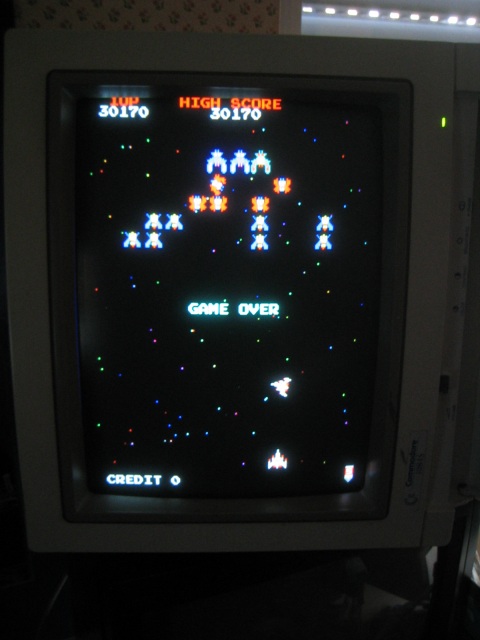
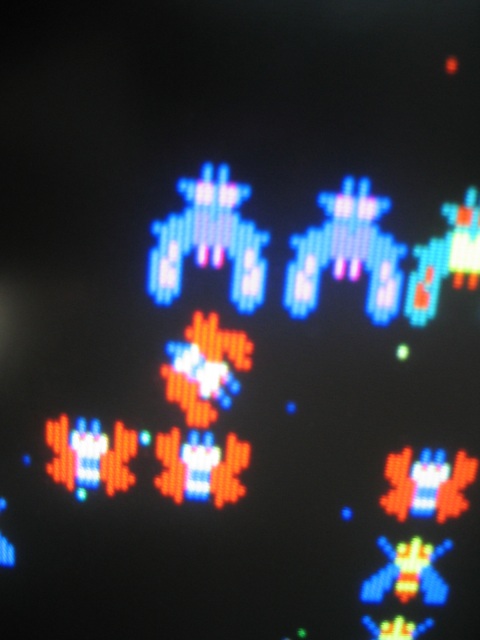
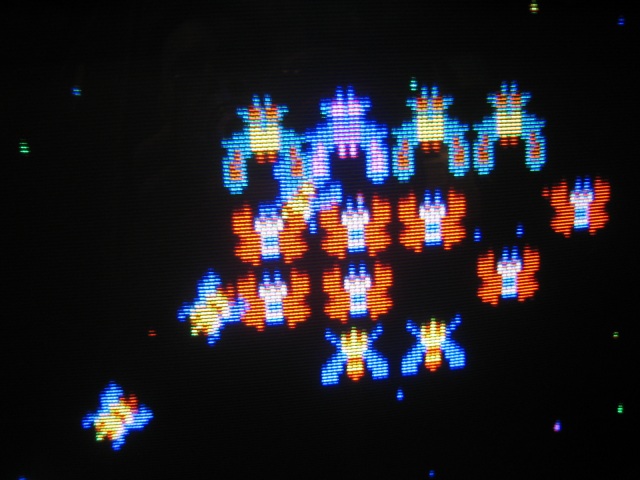
100% arcade perfect

See the natural scanline from that monitor

Of course, I won't use that monitor in that cab' LOL
So let's prepare the custom made cable : "VGA to SCART". Here's the tools of the day :
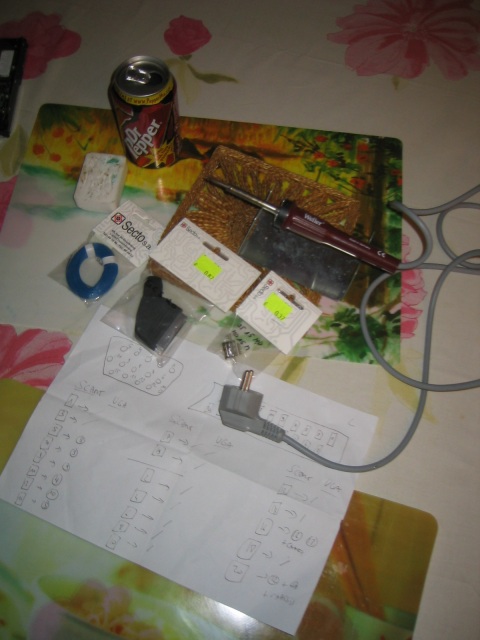
Here's how I build this custom cable :

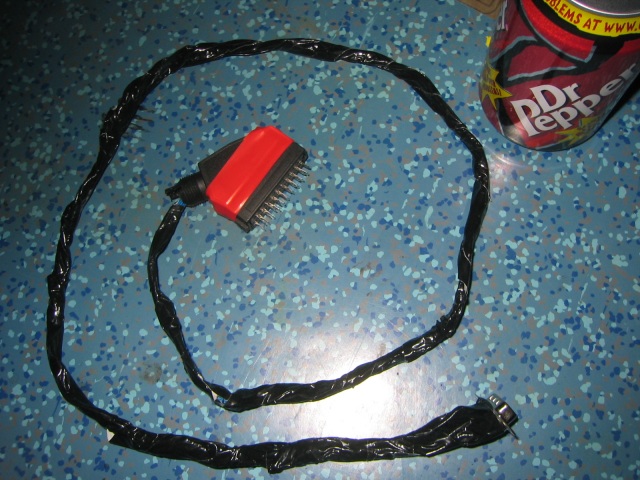
I already done this cable more than 12 times, and it works all the time

The only operation it won't do automatically is the automatic swith to 'external' mode. So I have to do it manually with a remote control each time I power on the TV. Not a problem for me
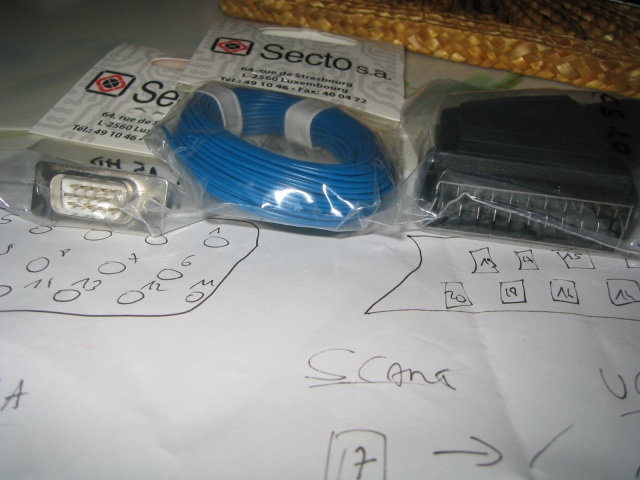
So, if you follow my diagram, you can see the pin 5 from the SCART going to pin 8 from the VGA :
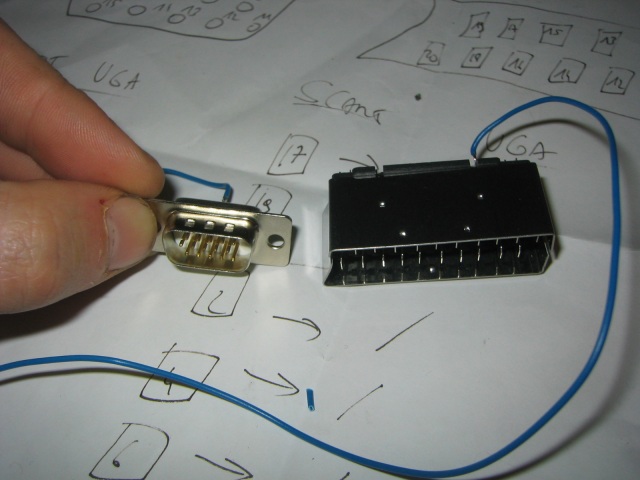
An other view :
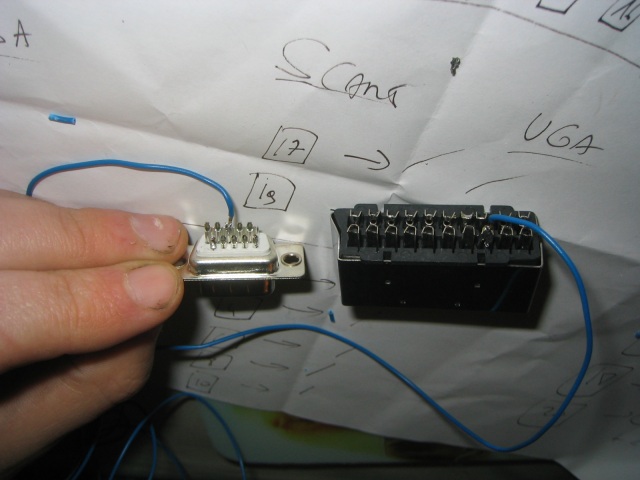
Do the same operation for all the pin in that diagram and this is it

Ok, so the cable is ready now :
Now I'll test it on a TV. It's not the one I'll put inside the cab'... but just for testing
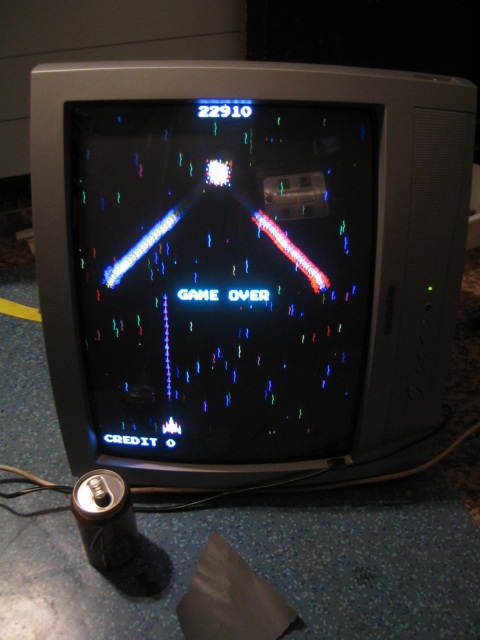
GREAT !!! 100% arcade accurate
Of course, I've to correct brightness, contrast, geometry, etc...

I'll do these correction on the TV I'll put inside the cab'


