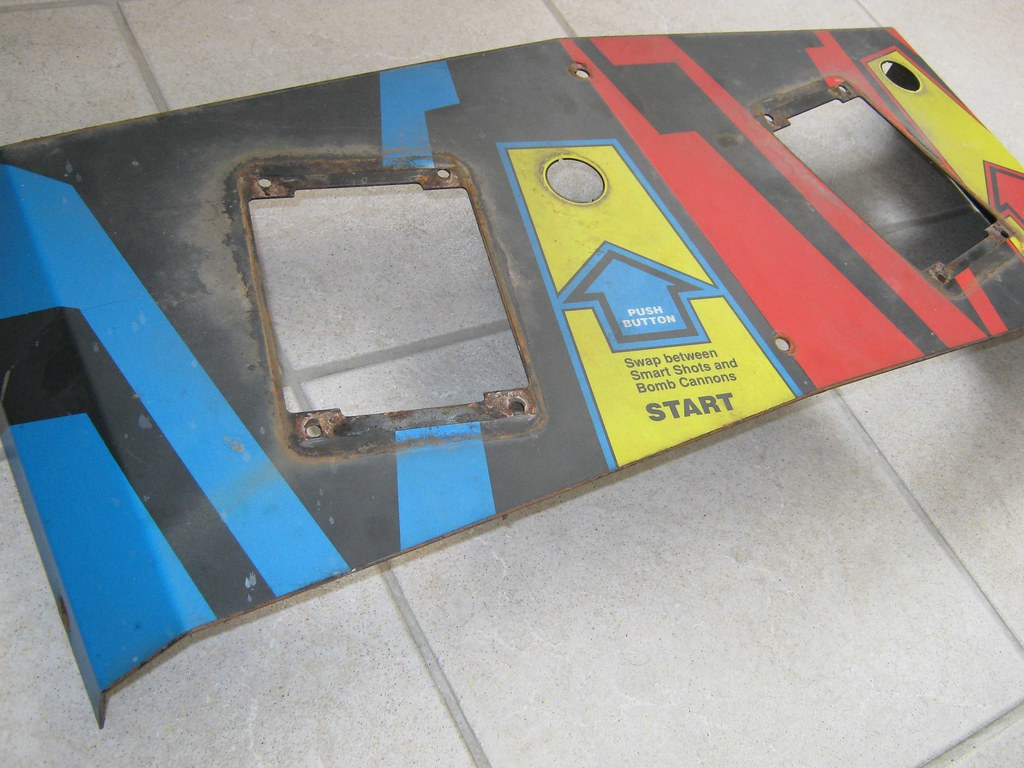
the restoration continues ... with some cosmetic stuffas you might remember, i have not one, but
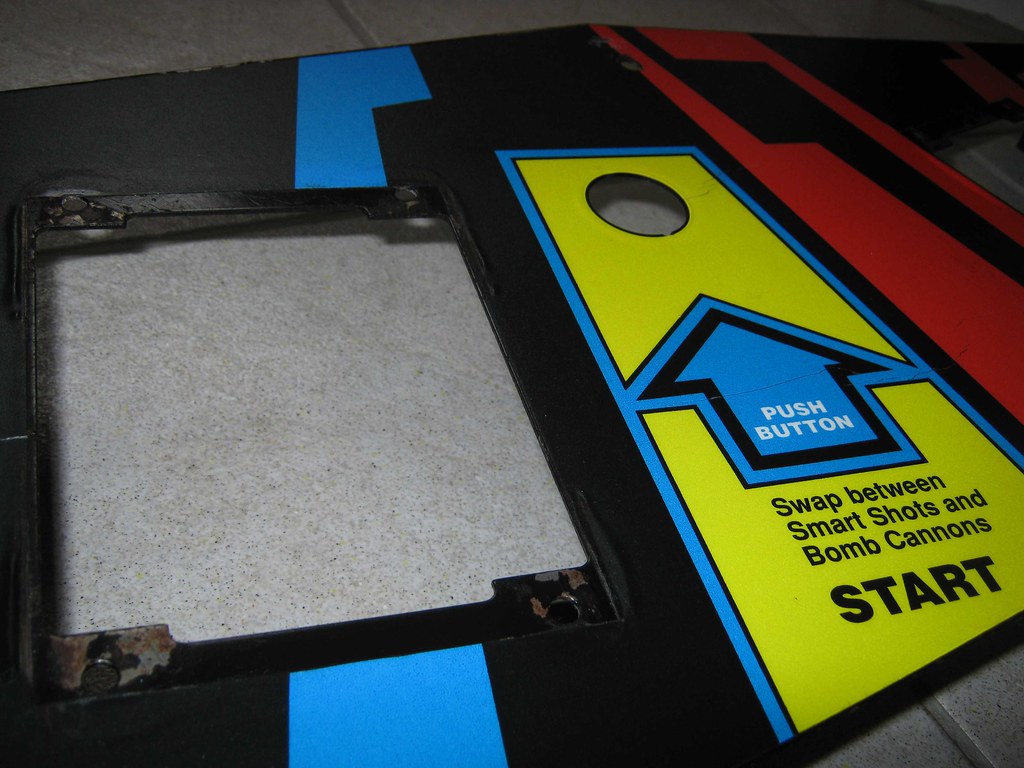
three controls panels, but their condition differs a lot. one of them is unusable, because there's already a lot of rust underneath the overlay, the others have some dings and cracks, but apart from that and a lot of dirt they should be ok once cleaned up. i haven't been able to find a NOS replacement overlay and there are no reproductions available, so i guess i'll have to work with those!
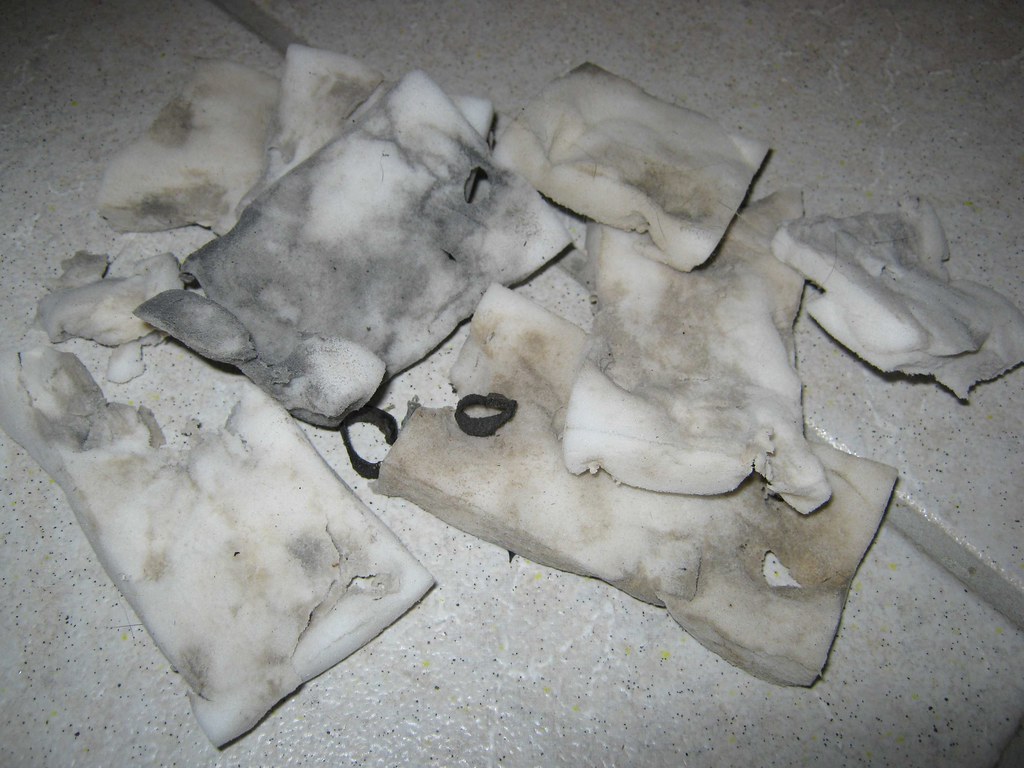
here's what i started with


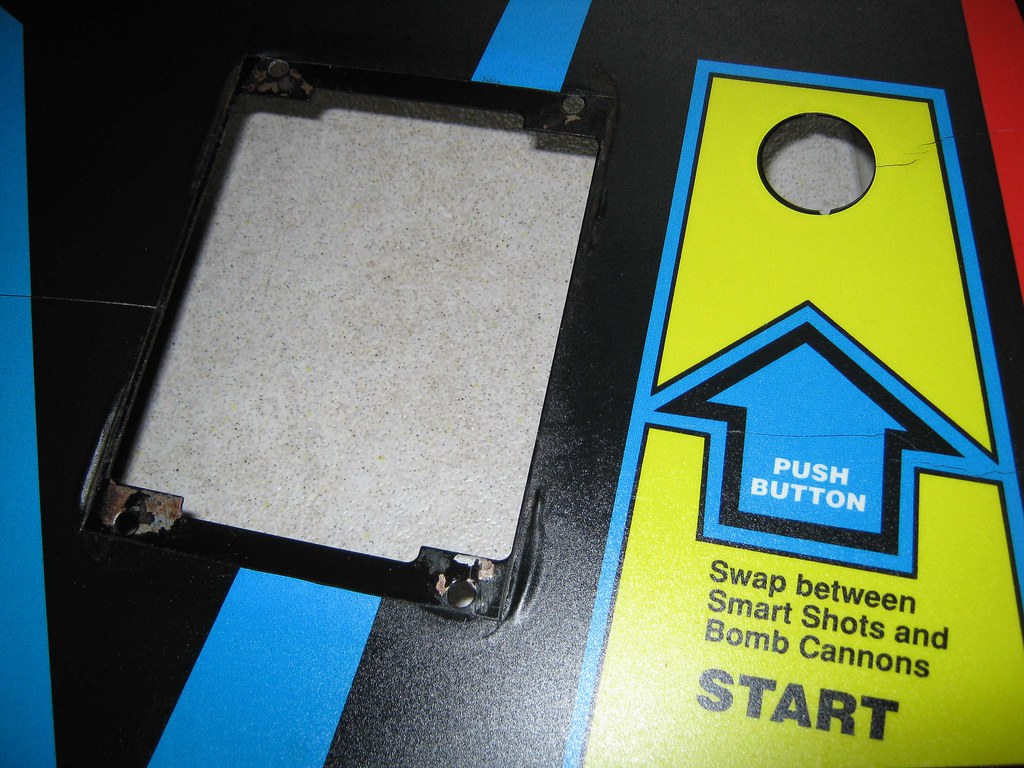
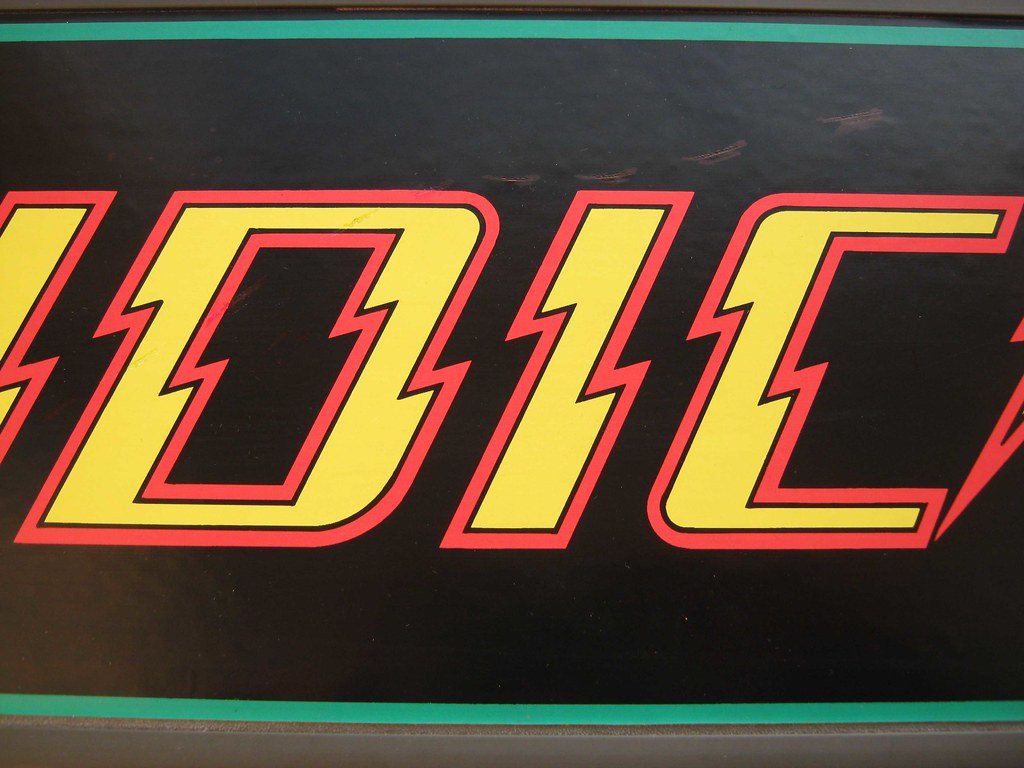
some rounds of magic china eraser later ...
... the results are in
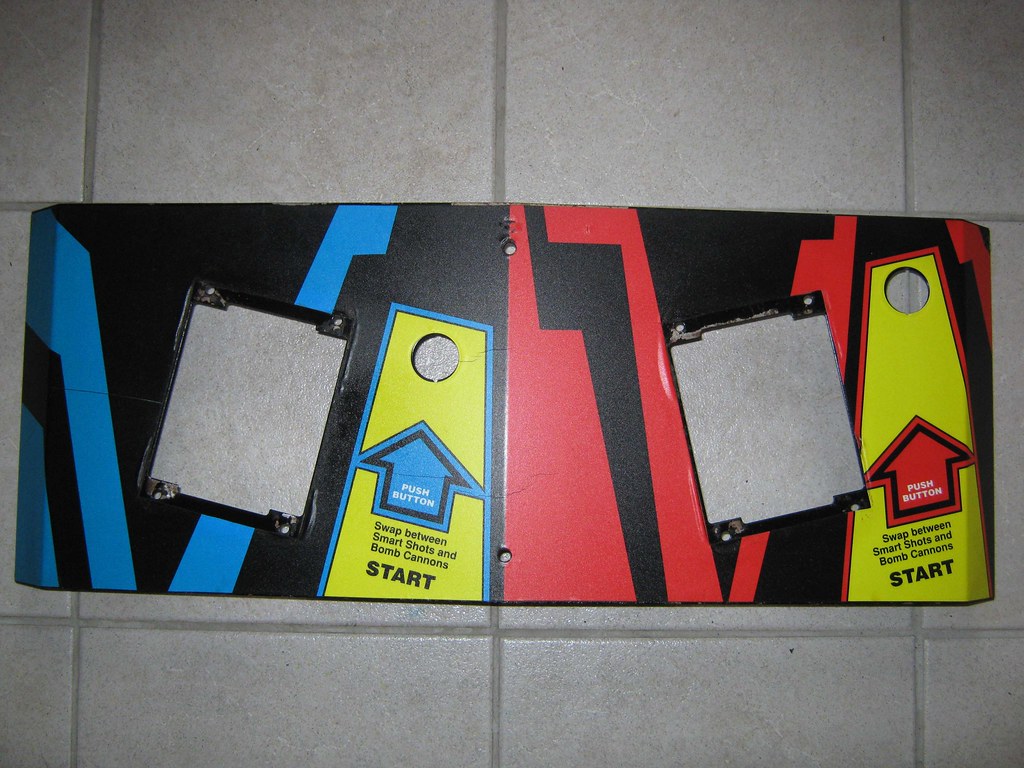
except for the cracks ...

... i'd say it turned out extremely nice and is defintely usable!

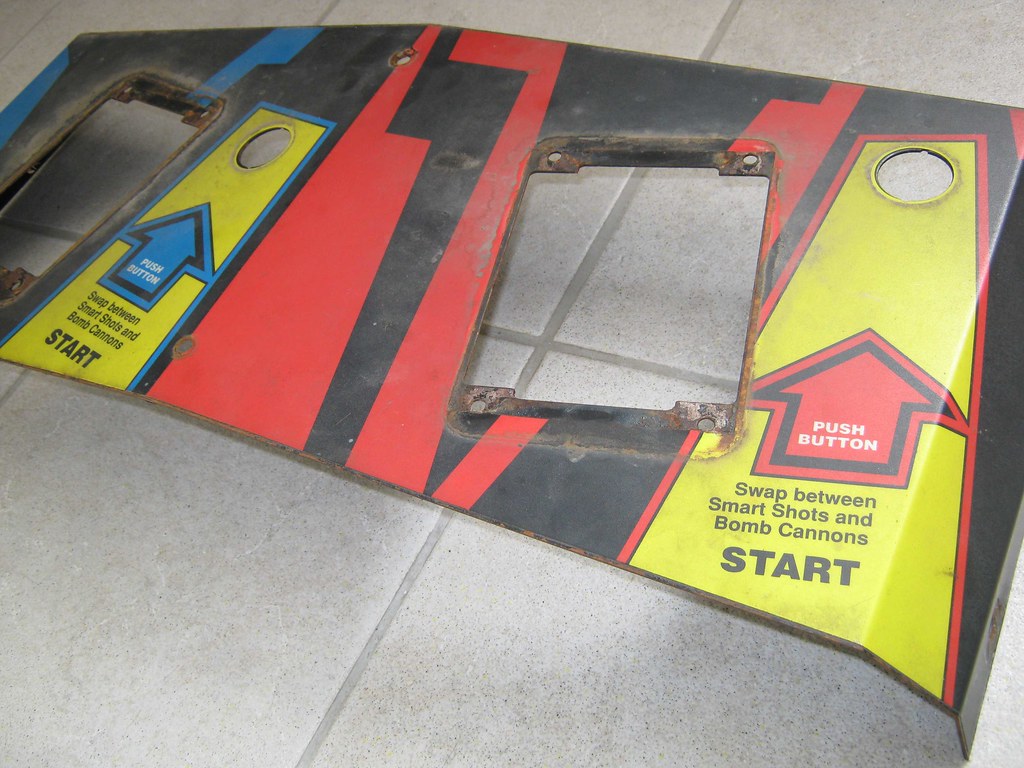
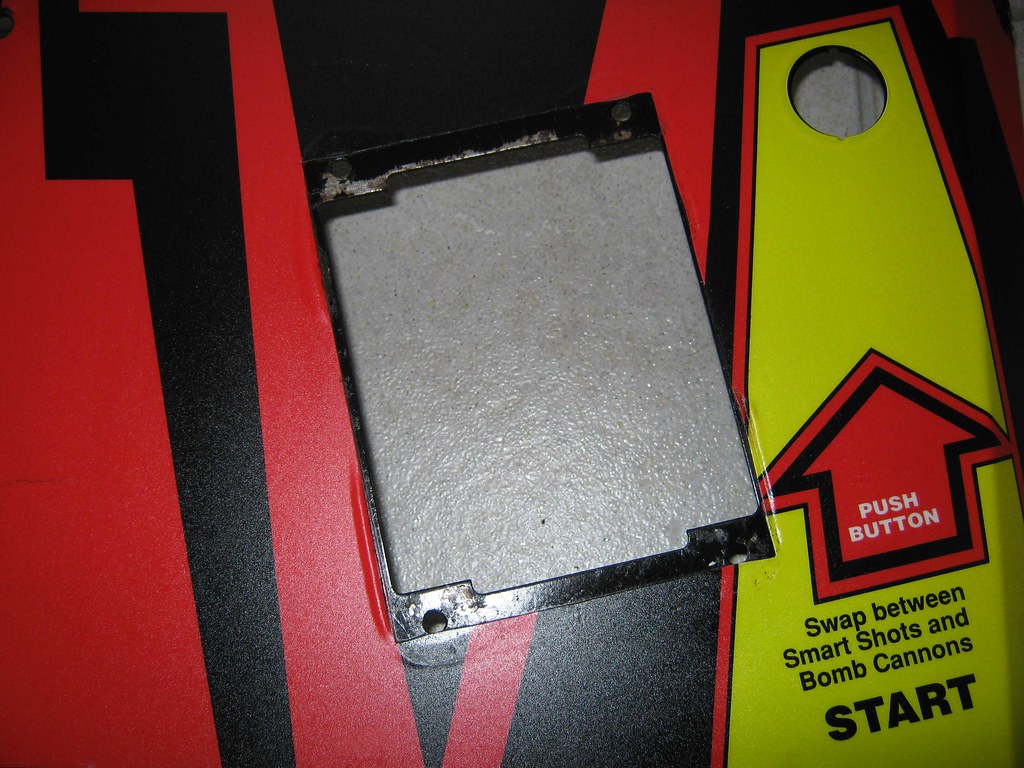
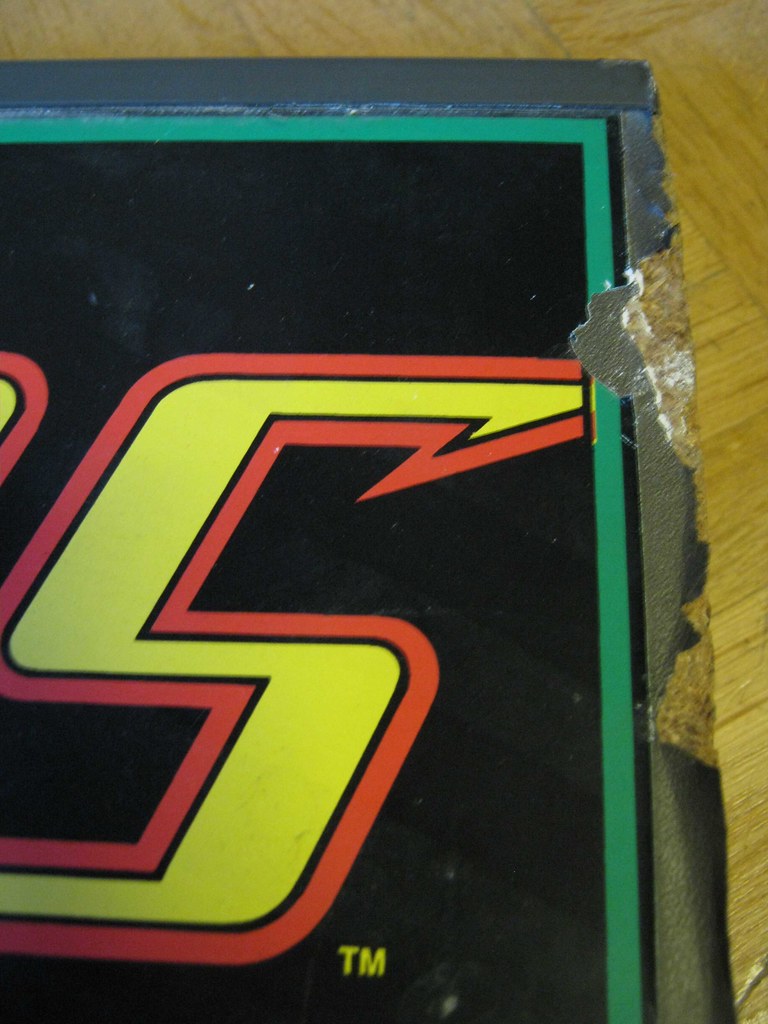
up next: one of the sidepanels (the right one)
as you can see, it has some scratches on the art
out come the famous sharpie pens

and done!
(note that the flash highlighs the freshly-painted colors - in reality the result is close to perfect)
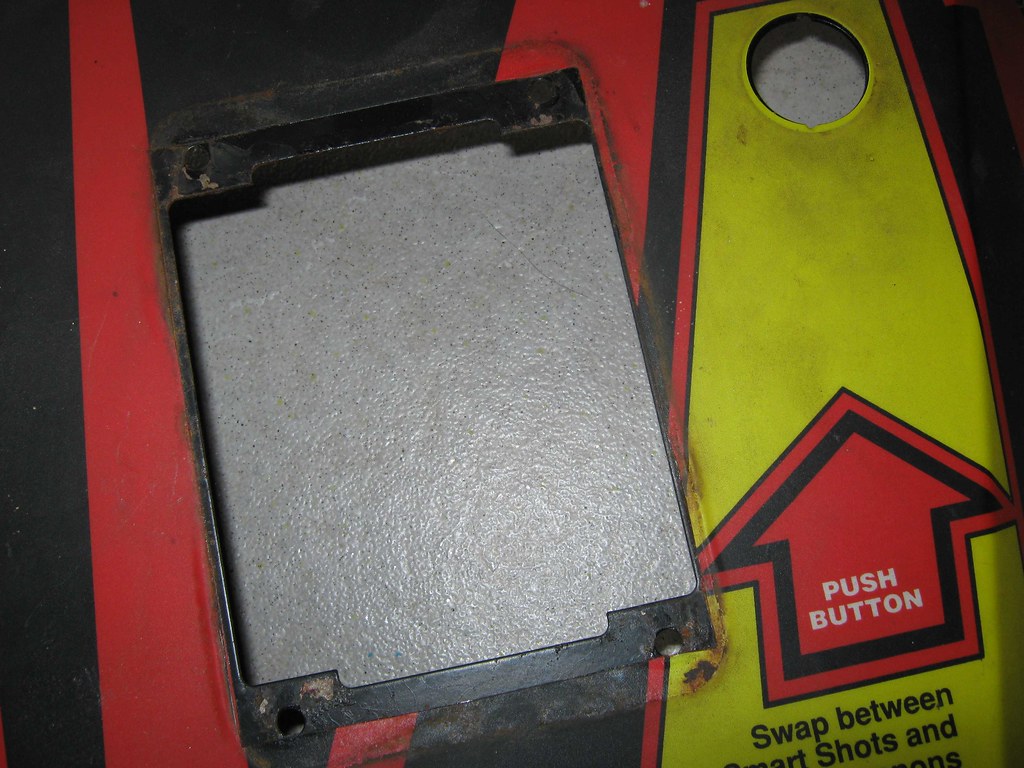
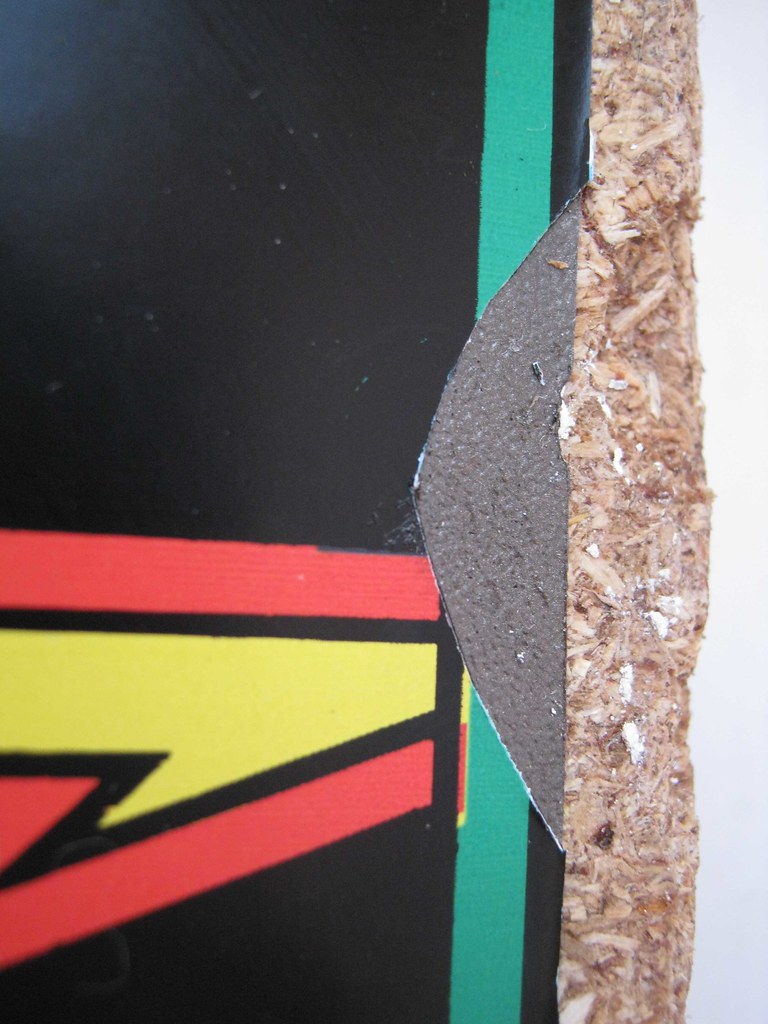
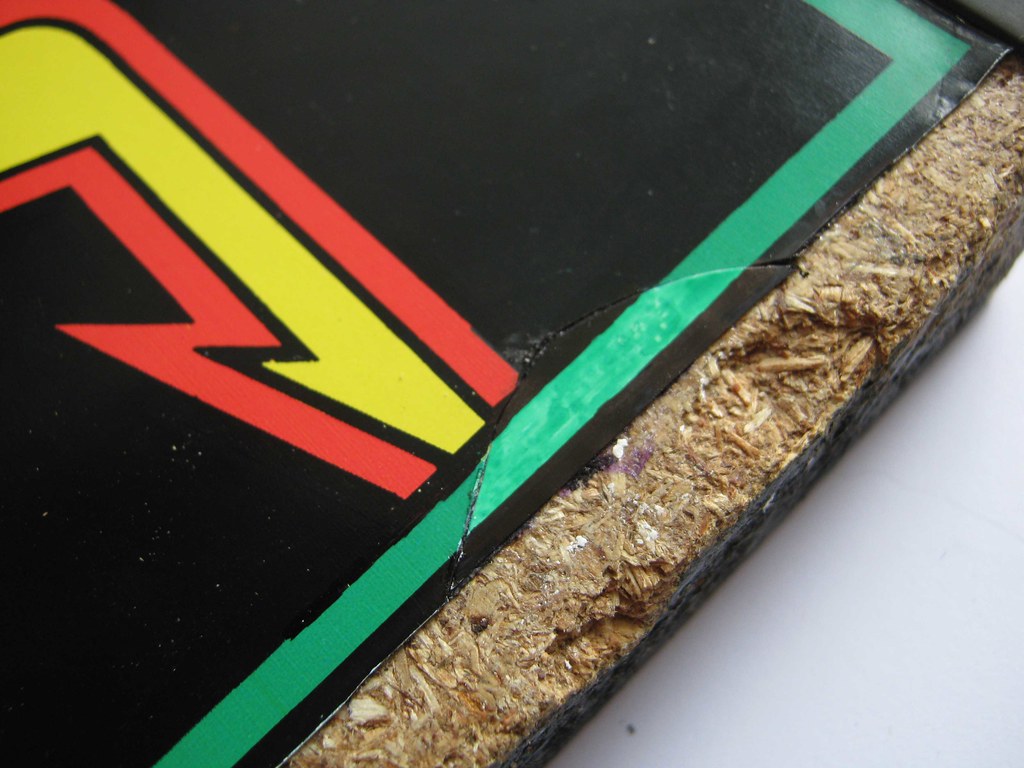
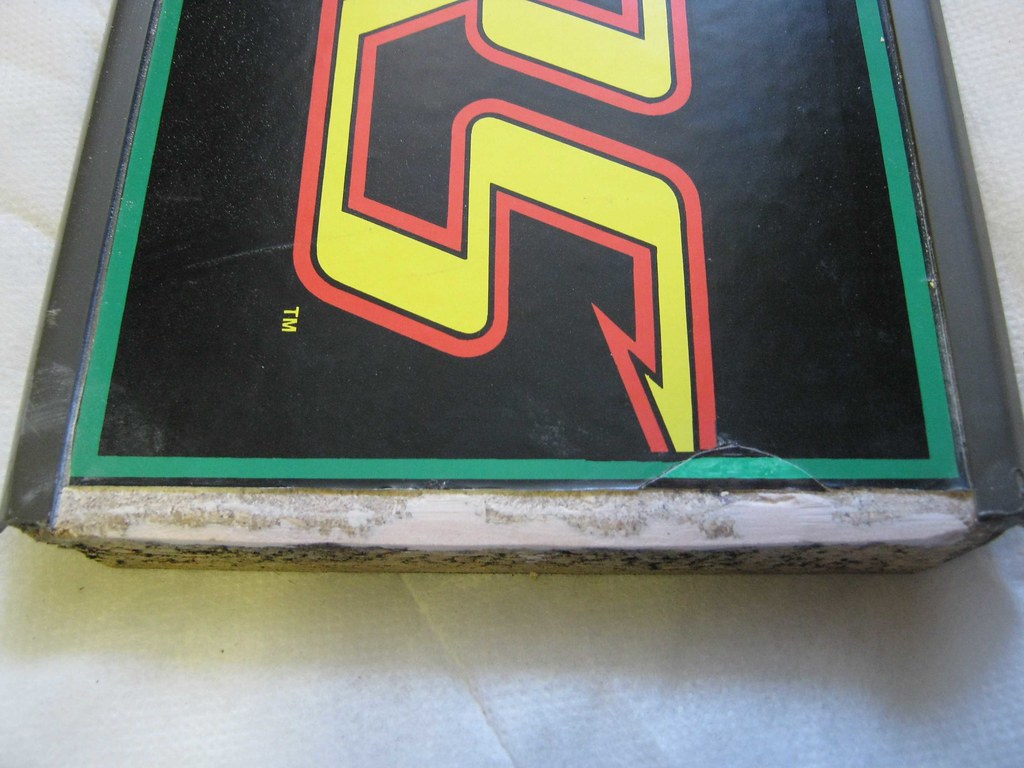
but that was just the beginning (the tip of the iceberg), much more troublesome is the damage to the right


what to do about that? first step: removal of the grey vinyl

second step: cutting the damaged art into better shape
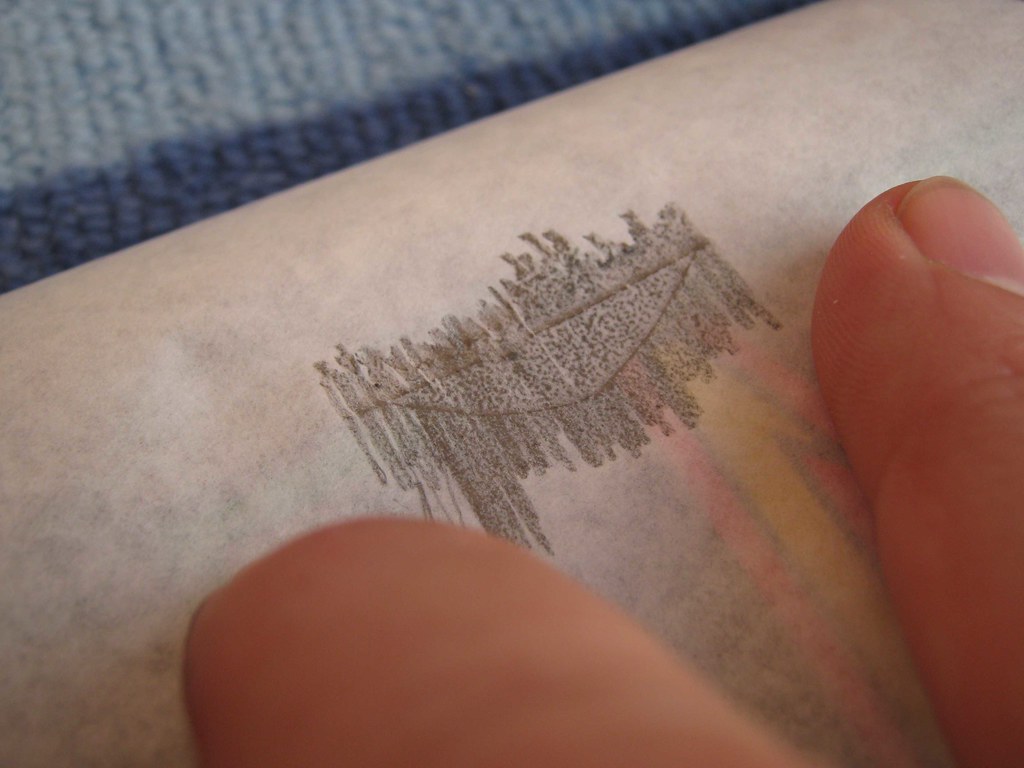
third step: copy the shape onto sandwich paper to create a template
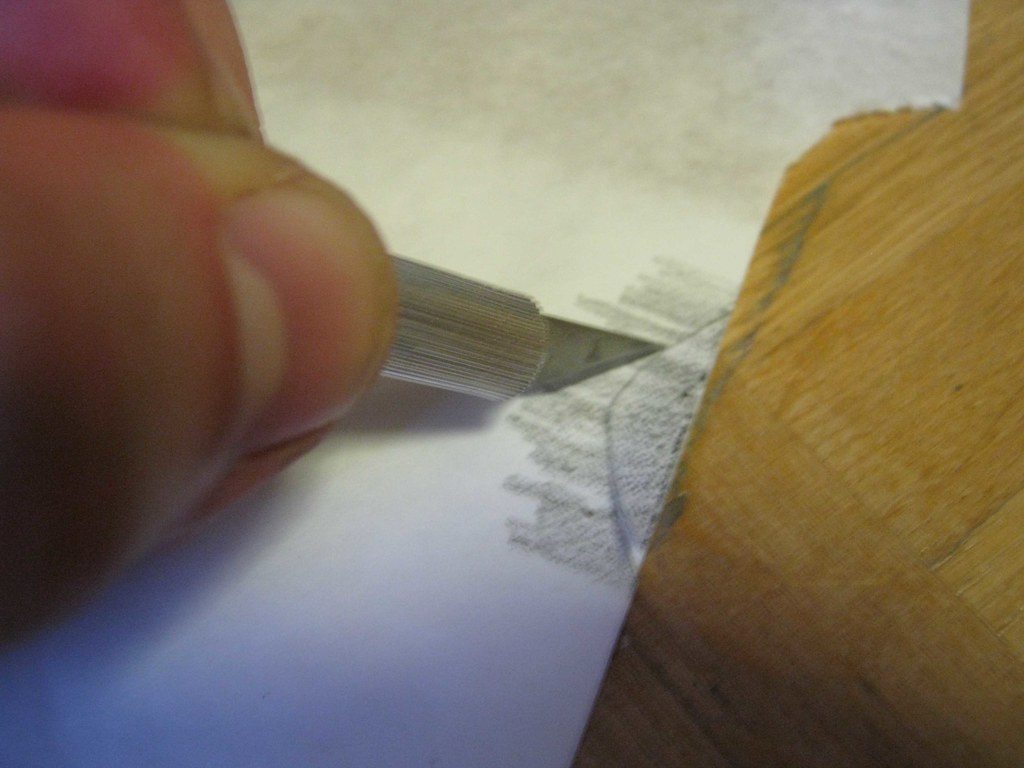
fourth step: cut out the template
fifth step: copy the template onto some self-adhesive vinyl (and cut it out)

sixth step: check for fit and apply the vinyl

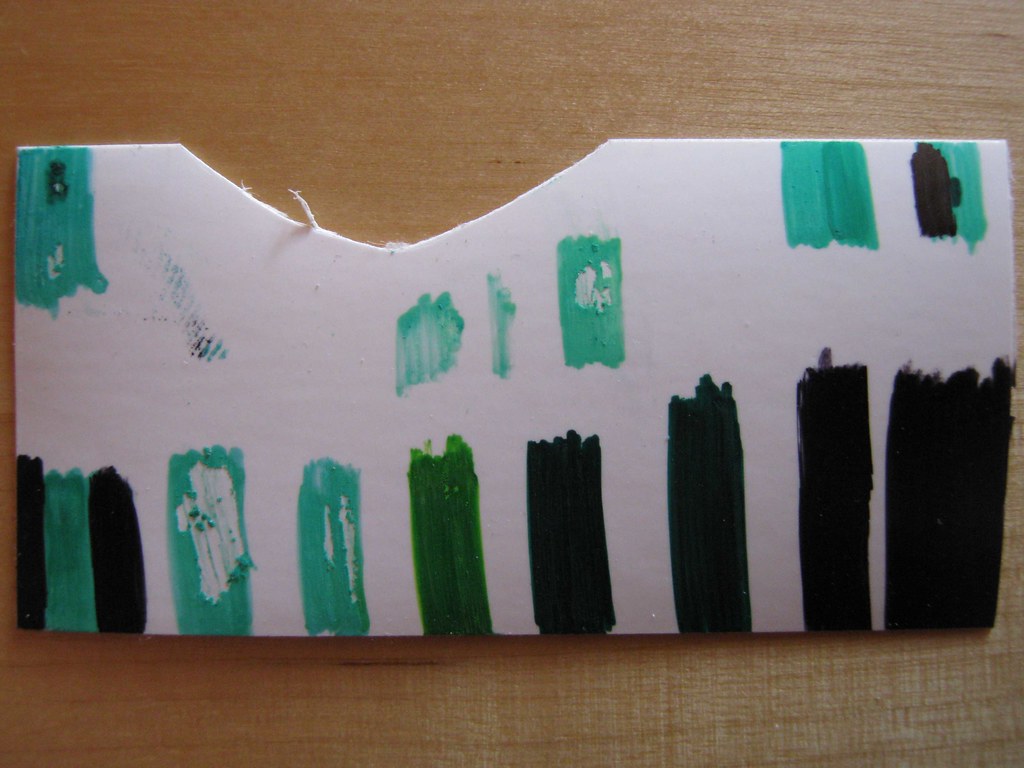
seventh step: perform some sharpie color tests
eight step: paint the white vinyl
ninth step: fill the damages to the wood with bondo


tenth step: sand the bondo to shape
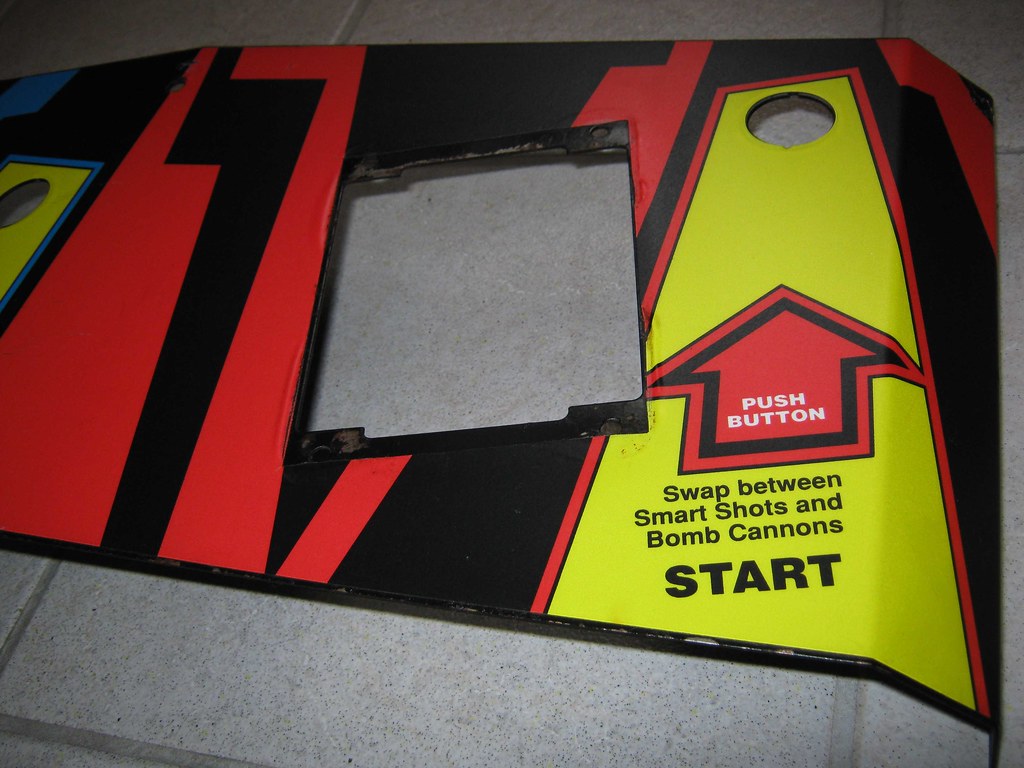
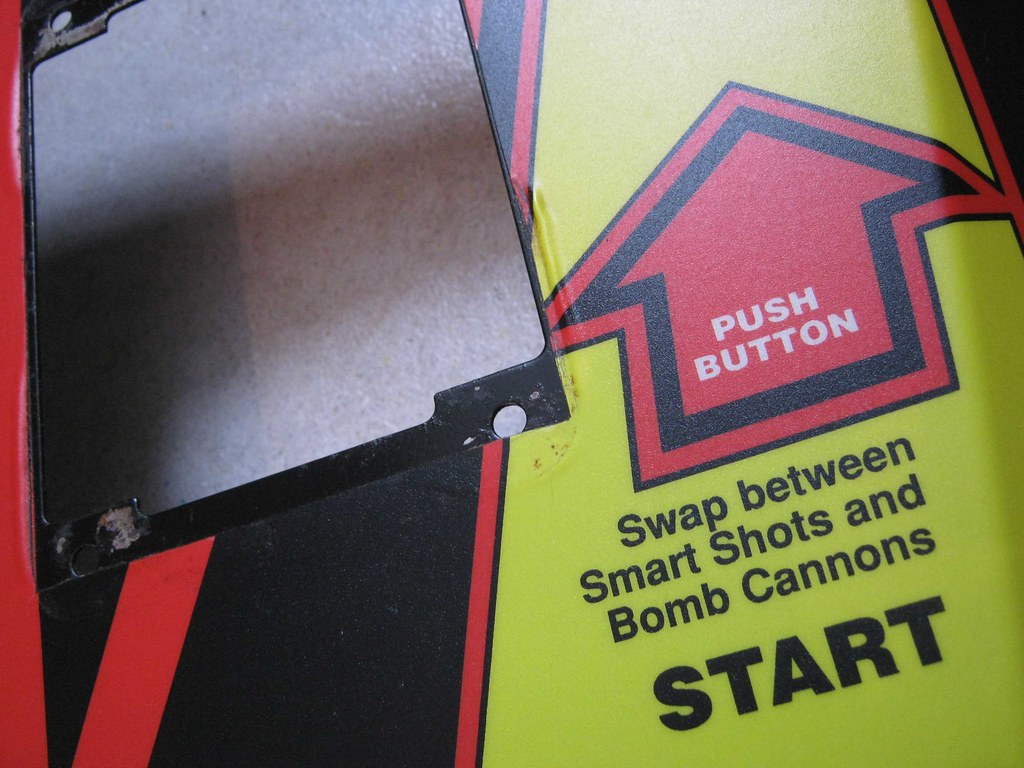
final step: apply new grey replacement vinyl
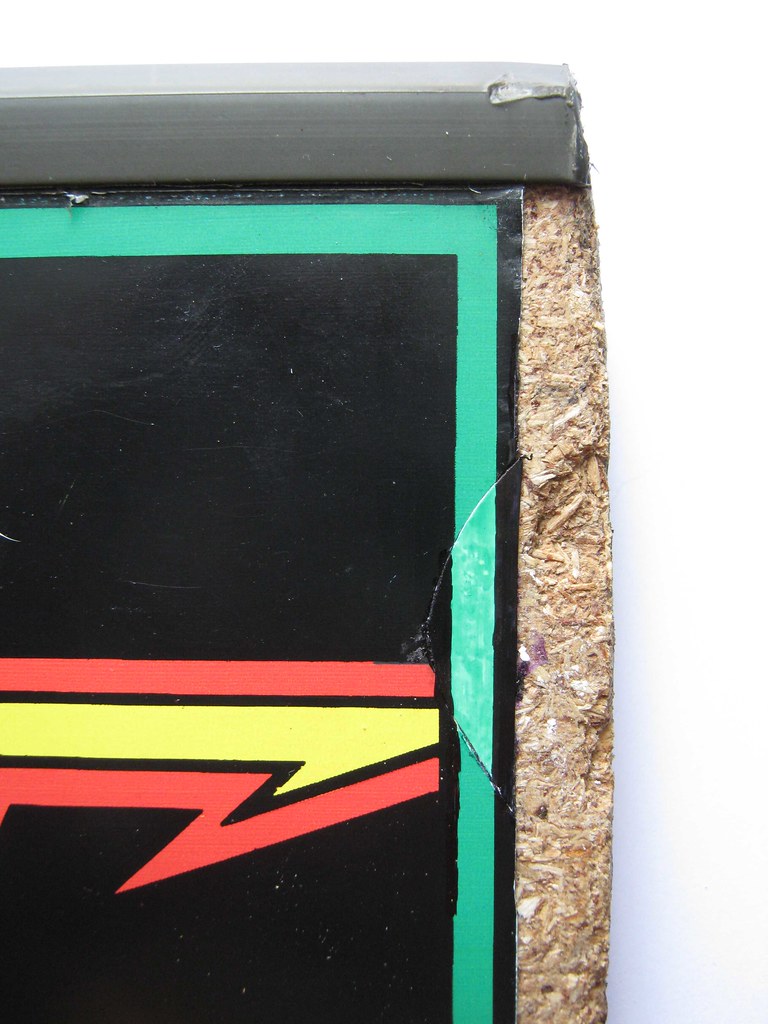
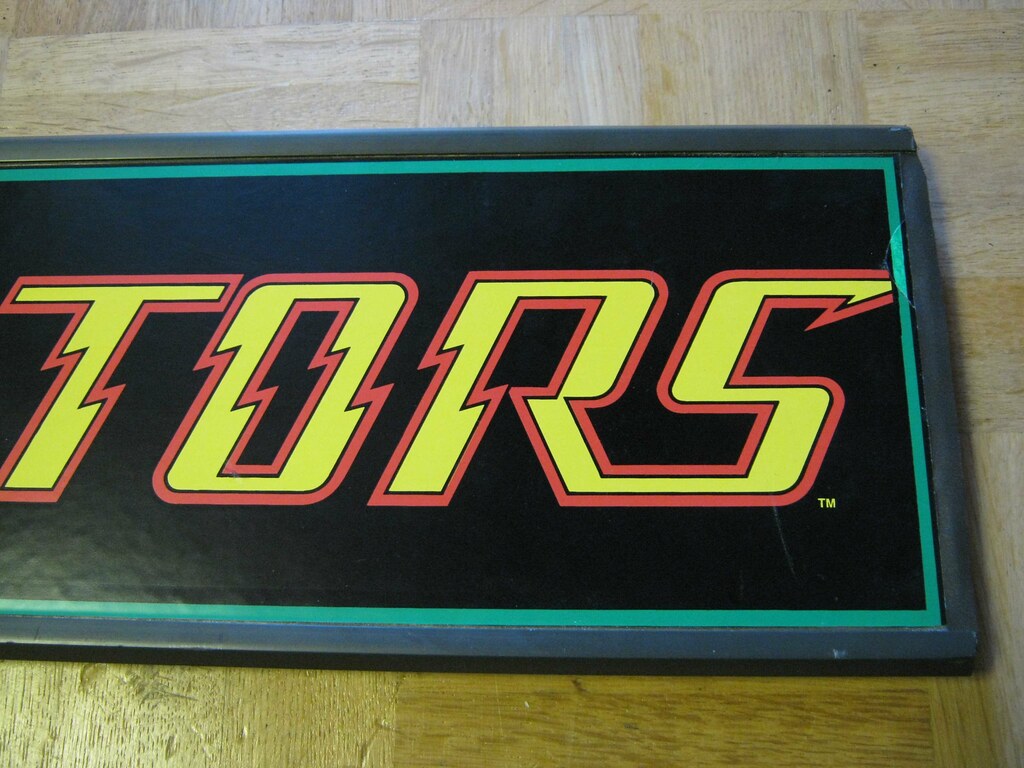 the money shot
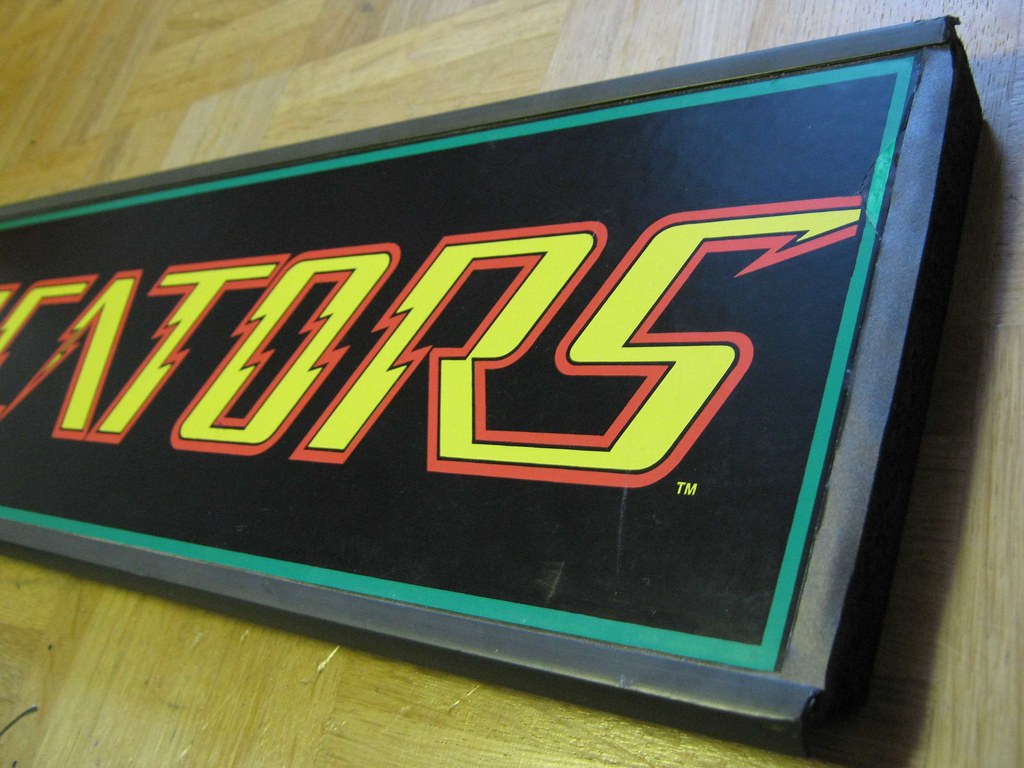
note that once again the flash highlights the sharpie colors, it looks even better "live". i couldn't be happier with the results!
 to be continued ...


