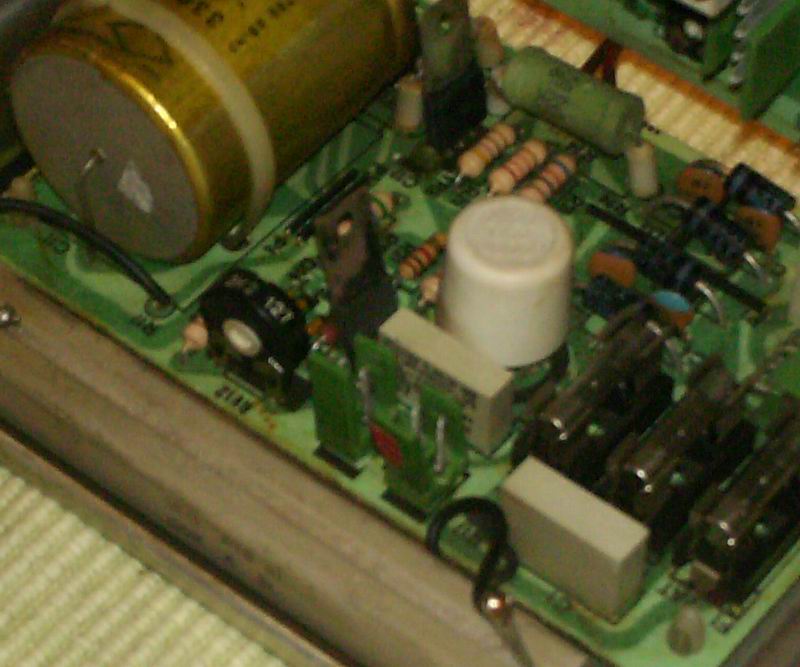
Please solder that wire to it's correct place, unless you don't want an electronic noob to nuke that beautiful monitor. 
Time to come back to this, because chris is picking this up soon

I pulled the chassis from the monitor and grabbed a brush to take out the most of the dust and dirt
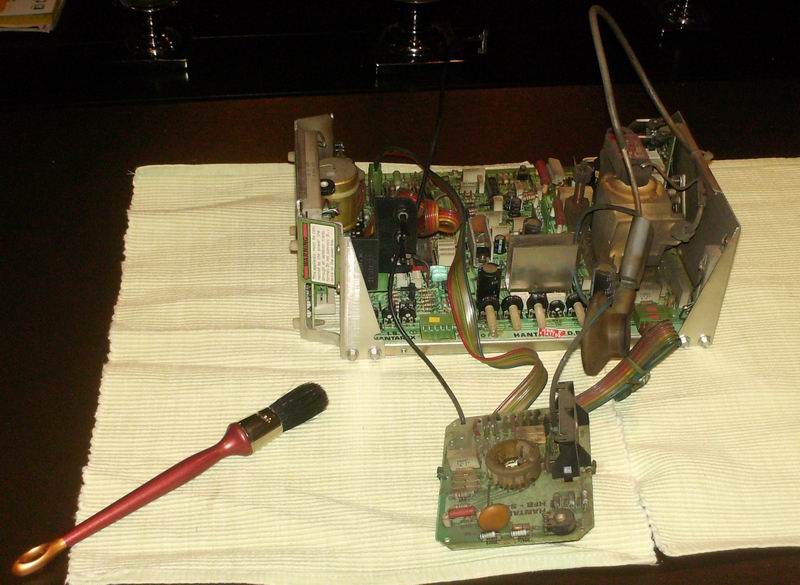
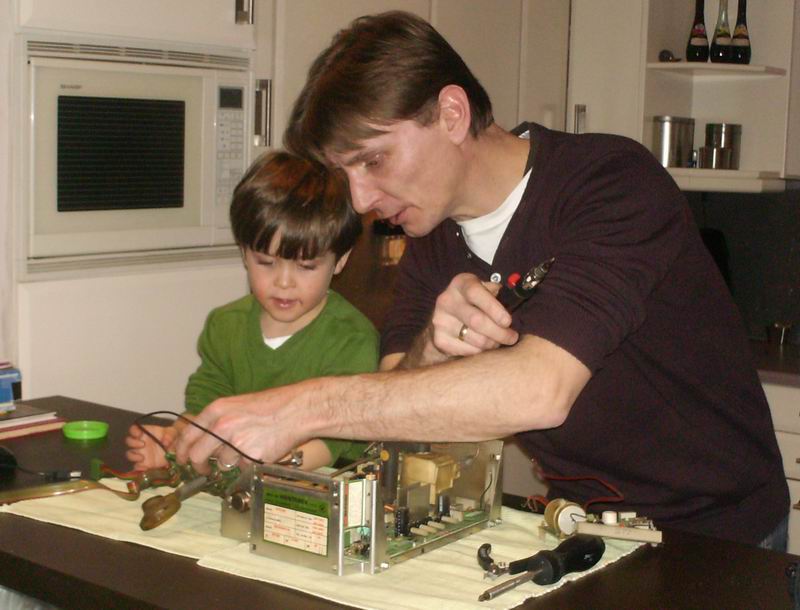
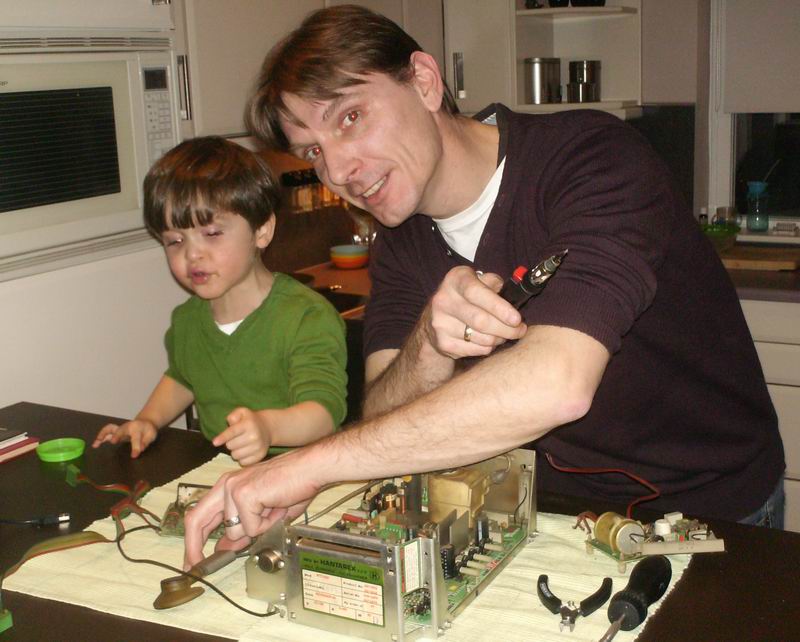
Ofcourse i cannot do the job without the help from my "little Helper"
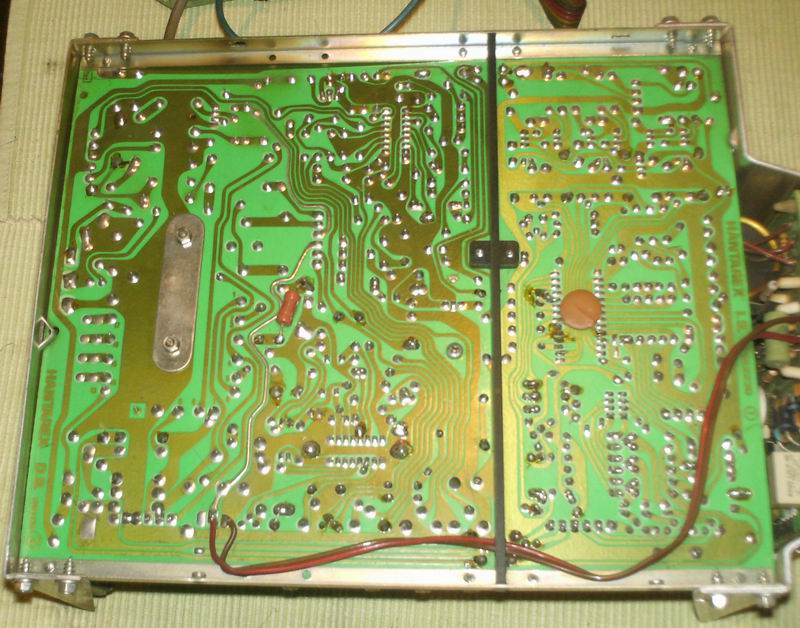
Hmm, this looks very good, i need to do a capkit in the near future on a simular monitor..
i can leave most of the boards in place.. wonderful !
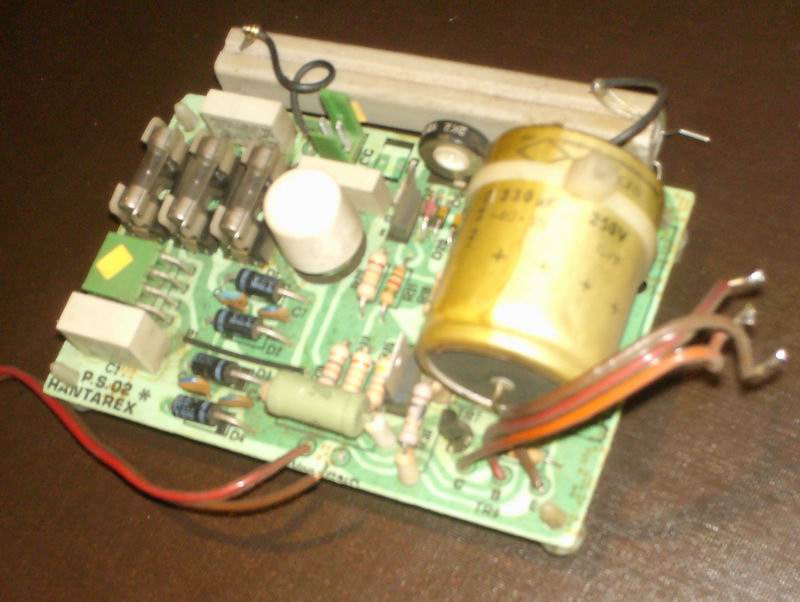
with the help of my little helper i took out the powerboard... ready to fix

Also here a wire was loose in the solderjoint

reflowed that too ofcourse...
After fixing, the connector back in place.
To check if the monitor still works after putting it back together, i shot a little video;
click the pic to play.
I tried the degauss button, and saw a little "bounce" in the screen, but its hardly visible in the video..
But since i already degaussed it manual, i think it will be fine..


