Author Topic: [Restauration] Crazy Kong fase 2  (Read 49933 times)

liquidx

  • Member
  • **
  • Posts: 431
  • Bruxhell, Belgium
    • View Profile
Re: [Restauration] Crazy Kong fase 2
« Reply #30 on: November 12, 2010, 09:03:50 AM »
We Dutchies want 1 guilder inserts ! :)

I've got a file for Atari one's, but now need them f.i. for my Berzerk...

I may have some guilder ones too but they suck because, for some weird reason, they're opaque and don't let the light through. Not sure who had that great idea.

You can't really print these like the atari ones, they're screened straight onto the plexi.

Repros available are here (scroll down) - http://classicplayfields.com/store.html
findapinball.com - The European pinball locator

Etienne MacGyver

  • ArcadeLifeStyler'
  • ***
  • Posts: 7611
  • The Netherlands
    • View Profile
Re: [Restauration] Crazy Kong fase 2
« Reply #31 on: November 14, 2010, 08:12:23 PM »
Since i needed the control panel to test the lately acquired PCB, i decided to create a temporary CPO
The final CPO will take some time because i need to vector that, let it print etc. etc.
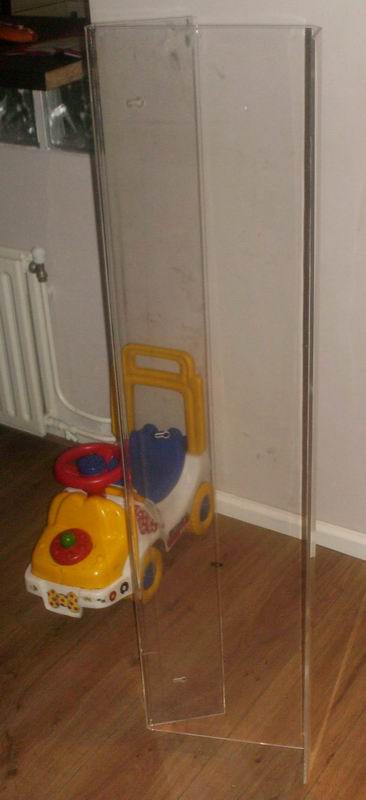
First i found a piece of scrap plexi, big enough to cut out a CPO  8)


I did a query on some DIY fora for possible ways to cut plexi, and the advice was;
1. carve the line you like to cut and "break" it after that
2. saw it with a circular saw
3. melting with a wire

Since i dont have any equipment for option 3, i tried option 1
First i clamped a straight piece, and then i carved the plexi using it as a guide:


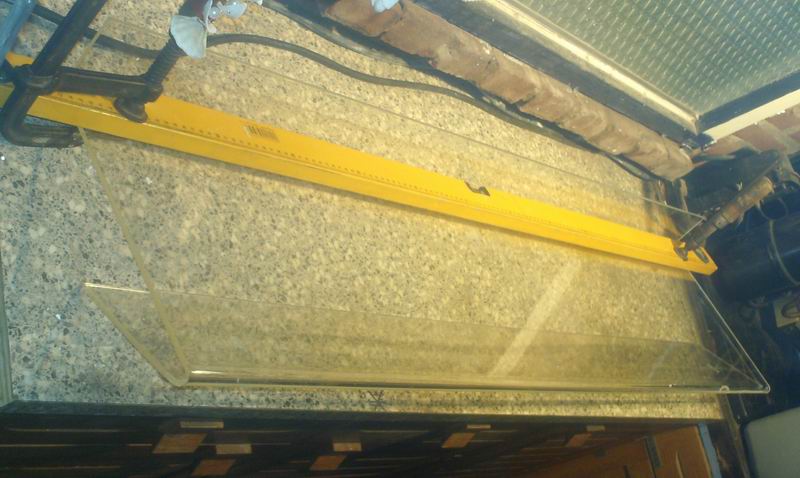
It dit not budge!, I jumped even on it, it would not break...
I dont know if it is because it is 5 mm plexi , or that i did not carved deep enough.
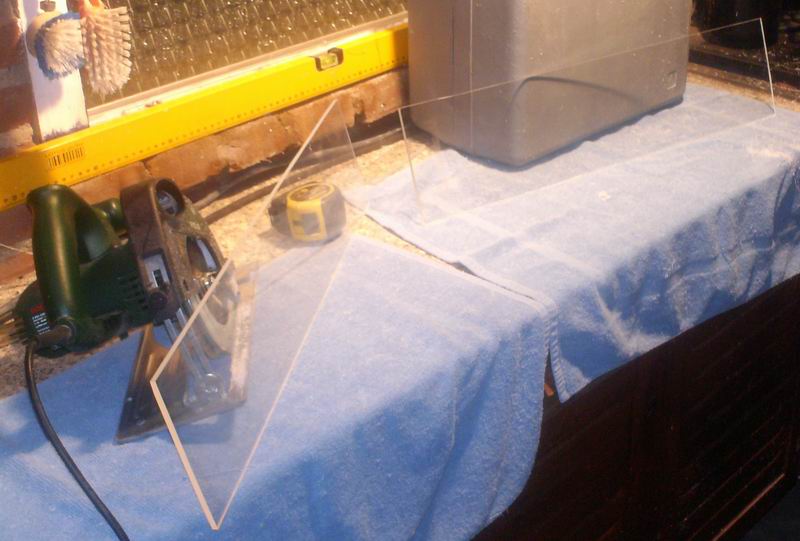
Anyway, that screems for option 2, lets bring in the powertools  8)


A clean cut  :-*
I measured the cutted piece and it was long enough for 2 CPO's, so if i screw up with the holes, i have a spare  8)


Time for another powertool  :)


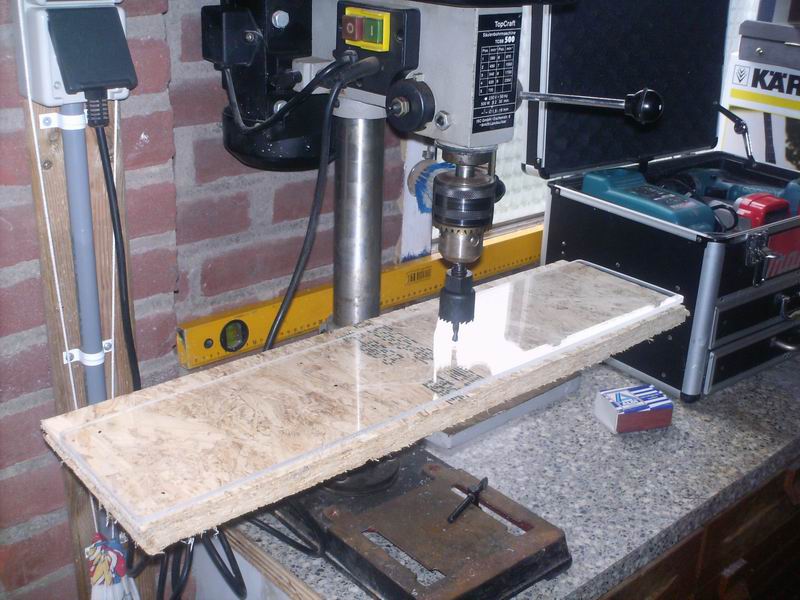
Also here no trouble!, a perfect round hole..


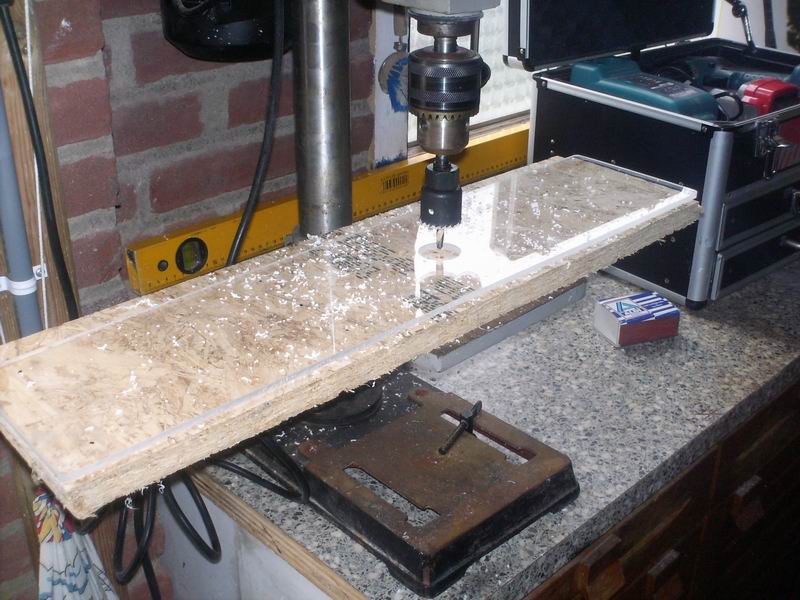
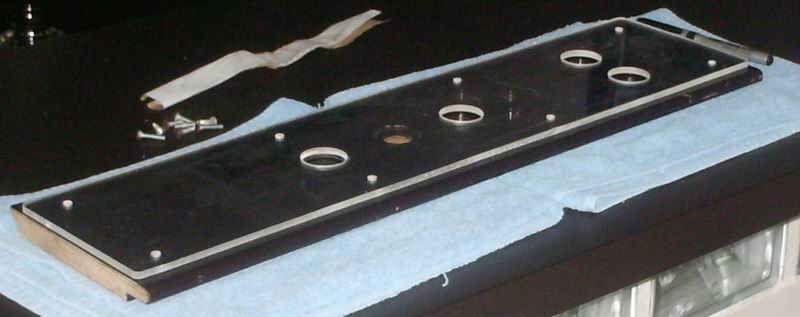
The temporary cp with all the holes is the result..


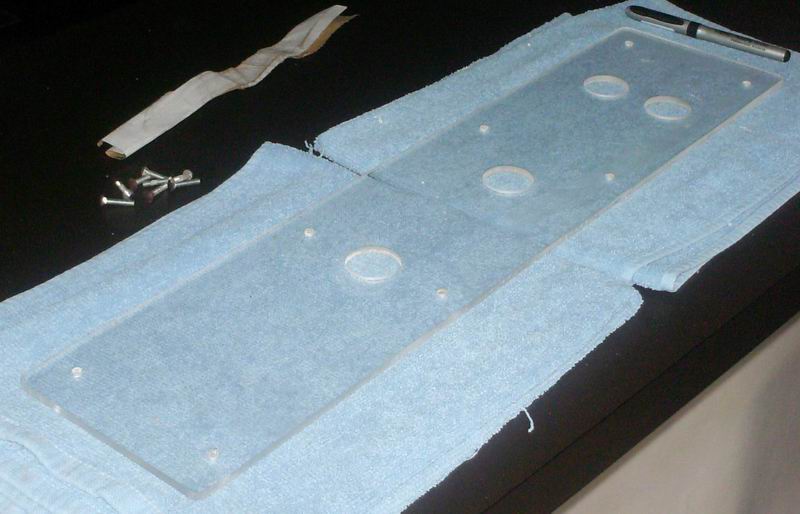
Because i marked all the holes in this position, the holes are perfectly accurate..


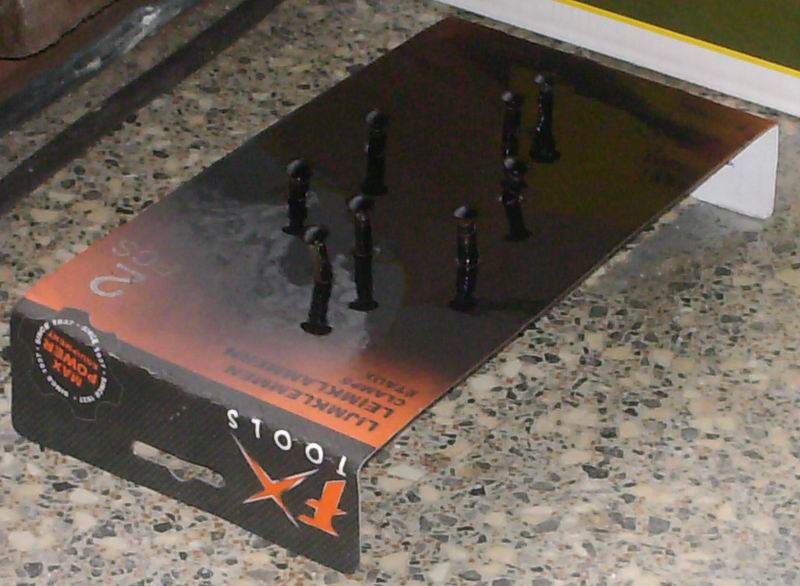
After sanding the original bolts, the are ready for painting..


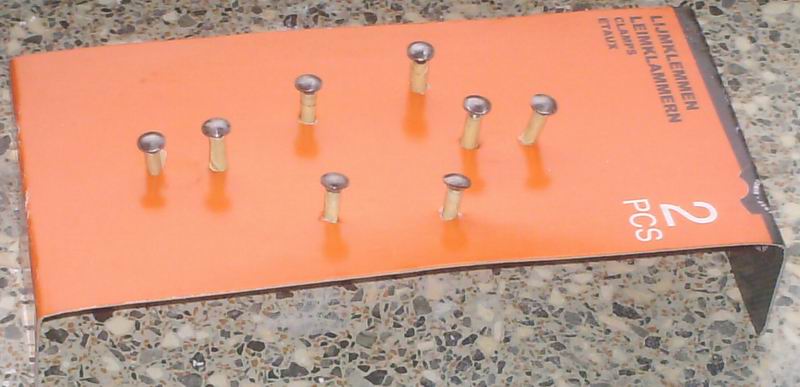
As you can see i am using the famouse pattented "darthnuno mushroom painting technic"  ;D


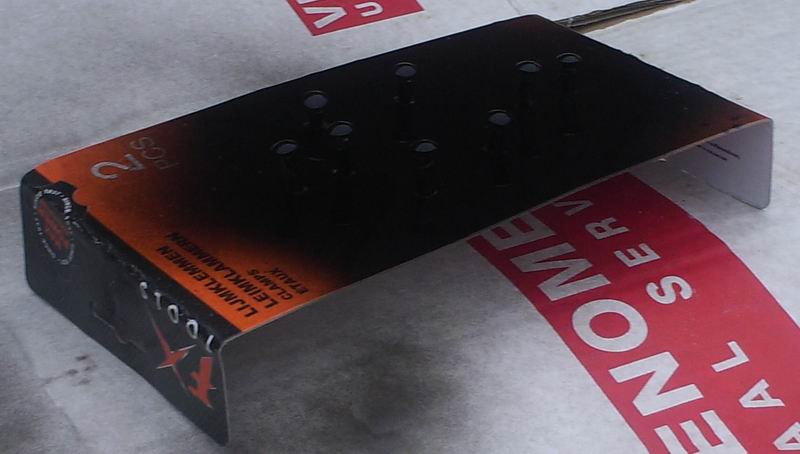
After the spraypaint wich i did outside, i put them to dry in the shed (it started to rain so i was in time)


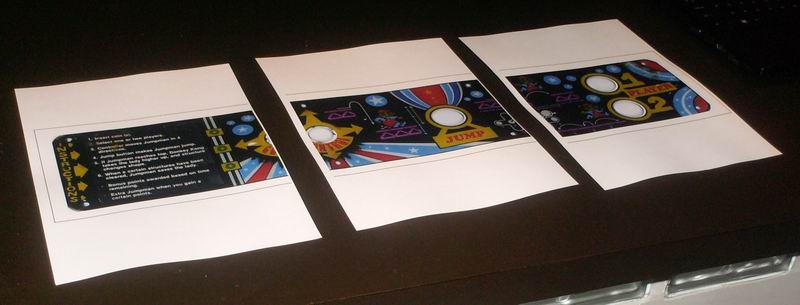
Ok, lets see, i got the original stuff, and a piece of plexi, whats missing ?
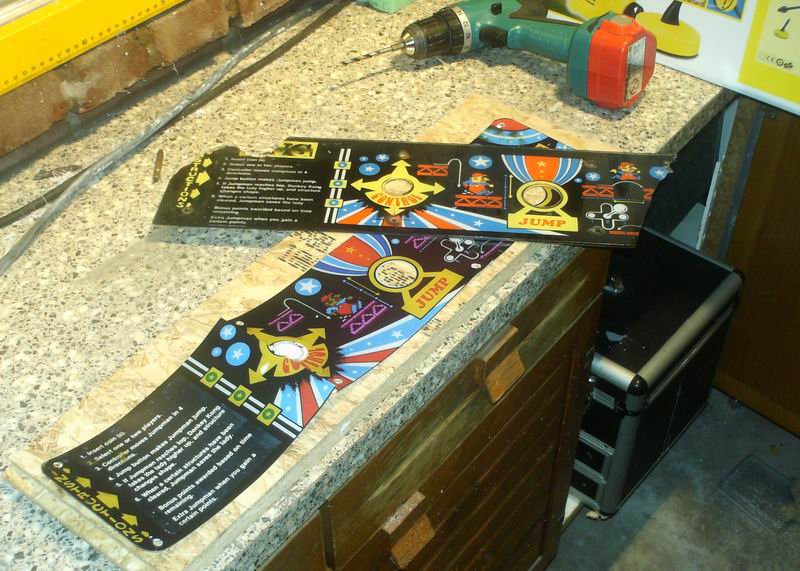
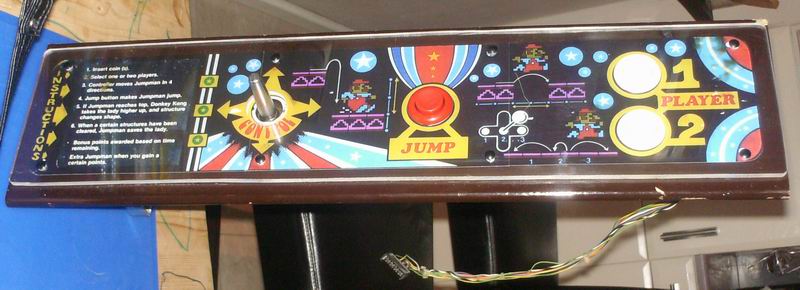
Yes, a temporary print of the artwork, so i printed the scan from bela on 200 grams cardboard


To make the holes, i used the old CPO as a guide, the bigones with a scalpel, and the small holes with a drill


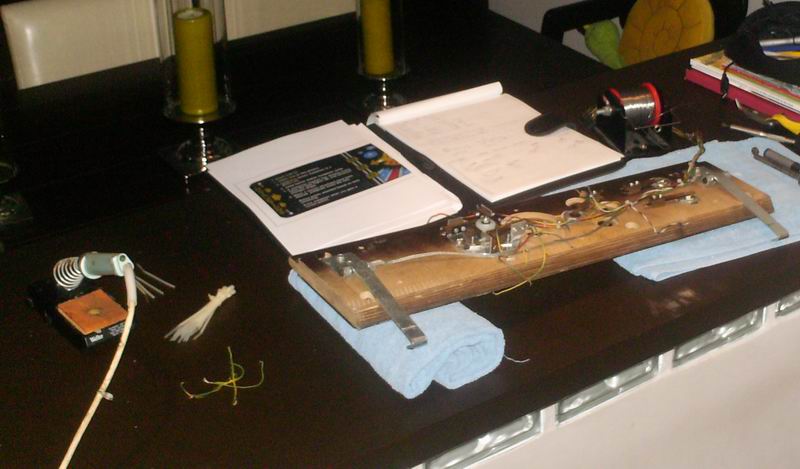
after assembly of the parts i rewired the wireharness


Assembly complete, including the bottomcover


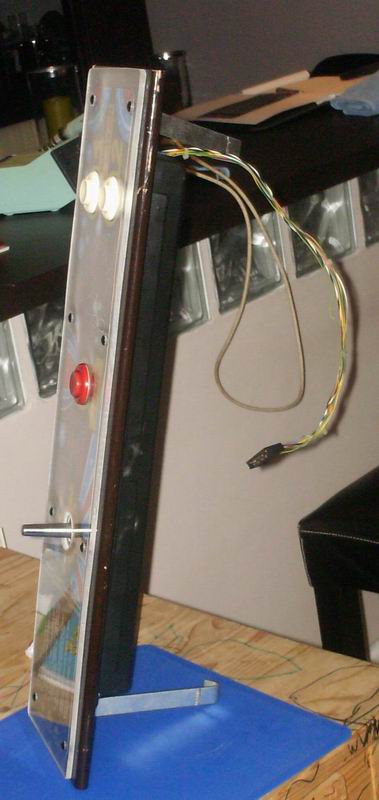
Not so bad for a temporary CPO if you ask me  :)


Time for the coindoor resto...
« Last Edit: November 16, 2010, 12:10:31 PM by Etienne [NL] »

Superully

  • ArcadeLifeStyler'
  • ***
  • Posts: 6300
  • Southern Part of Germany
    • View Profile
Re: [Restauration] Crazy Kong fase 2
« Reply #32 on: November 14, 2010, 08:53:09 PM »
great job, etienne! i've never worked with plexi before but it seems there's no problem cutting and drilling it, right?
all i need is ... PONG - and a select few others: TOUCH ME, DRAGON'S LAIR, JOUST, ROBOTRON, MR DO, SAN FRANCISCO RUSH THE ROCK!!!

Belike

  • ArcadeLifeStyler'
  • ***
  • Posts: 4769
  • Budapest, Hungary
    • View Profile
Re: [Restauration] Crazy Kong fase 2
« Reply #33 on: November 14, 2010, 10:06:17 PM »
You have great skills and useful tools for restorations! ;)
Absolutely nice job! ;D

level42

  • ArcadeLifeStyler'
  • ***
  • Posts: 13555
  • Ridderkerk, arcade capital of Europe !
    • View Profile
    • Arcade 42
Re: [Restauration] Crazy Kong fase 2
« Reply #34 on: November 14, 2010, 10:18:26 PM »
You do need to be careful drilling perpex. Too high speeds and it will start melting. In theory you should use a special drill, but a specially ground normal drill works good too:

http://www.ultimatehandyman.co.uk/ACRYLIC_DRILLING_MACHINING.htm


With my SW cockpit perspex, I was both lazy and didn't want to screw up (pretty) expensive perspex so I let my Perspex dealer (http://www.stoutperspex.nl/) recreate the bends and the holes with their professional tools. Worth every penny.

Nice work though Etienne !!! Very creative !
« Last Edit: November 14, 2010, 10:20:04 PM by Level42 »

Etienne MacGyver

  • ArcadeLifeStyler'
  • ***
  • Posts: 7611
  • The Netherlands
    • View Profile
Re: [Restauration] Crazy Kong fase 2
« Reply #35 on: November 15, 2010, 10:38:01 AM »
Thanx guys,

The cutting and drilling was no problem, exept for the smell  ;)

Andre is right about the melting, but i did not "forced" the drill in, i let the drill do the job so there was not too much heat from the friction

also a saw with a lot of teeth is recomended, the more teeth in this case the more sharp the cut is

and also there , no force, let the saw do the work  8)

and the case here is that its a temporary CP, so there are also some scratches in the plexi , but they where already there since it was a scrap piece of plexi..

ckong

  • ArcadeLifeStyler'
  • ***
  • Posts: 3177
  • The Netherlands
    • View Profile
Re: [Restauration] Crazy Kong fase 2
« Reply #36 on: November 15, 2010, 02:59:49 PM »
Looking good Etienne. And I'm glad that you finally are able to play Crazy Kong. It's one of my favourites games, I played it last Saturday for a few hours, did set the (not too high) High Score. But then again, I really sucked at DK, didn't I André!

scr33n

  • ArcadeLifeStyler'
  • ***
  • Posts: 1674
    • View Profile
Re: [Restauration] Crazy Kong fase 2
« Reply #37 on: November 15, 2010, 03:06:25 PM »
Clean job Etienne  :-* Congrats !!!  :spaceace:
PROJECTS FROM SCRATCH:

Galaga - PacMan - Donkey Kong Red Cab - Track & Field Upright - Tempest - Burgertime - Gyruss - Defender - Track & Field Cocktail - Robotron 2084

RESTORATIONS:

Q*bert - Timber

Etienne MacGyver

  • ArcadeLifeStyler'
  • ***
  • Posts: 7611
  • The Netherlands
    • View Profile
Re: [Restauration] Crazy Kong fase 2
« Reply #38 on: November 16, 2010, 12:09:36 PM »
Last Friday i visited Robert (the marktplaats guy) because i wanted to see wich of the coindoor covers was in the best condition.
I have a little crack in mine, and his was clean as far as i remembered, just a little damage, but no cracks.
After a close investigation i find out that unfortunately his cover was also cracked, and was in much worse condition than mine  :-\
A big chip of chrome was missing next to the "coinslot" i guess there where many guilders that touched that part and "scraped" it off..

There was a big  :spaceace: after all, his had a guilder instert !, so i exchanged my 5DM instert for his 1 guider one..

its a little different than my 1 guilder inserts, but i will put it in the middle position so it does not look strange.
The rest of the coindoor was stripped exept for some steel plate wich was assembled with original screws.

I missed some screws, and Robert was so kind to donate them to me   :-* Thanks robert !


Then i figured, its a plastic chromated cover, so why not try to polish it  ???
I started with the bottom, to test if it was possible using silverpolish..


Great results !, totally shiny again! its nice to have some silverpolish around the house  8)


I know you guys like before and after pics, so here they are..

Before:


After:


I glued the crack, and its drying as we speak..
im happy with the result, still there are scratches in it , but hey, what you expect from 30 years of duty  ;)

Time to give that metalcolored coindoor also a go with silverpolish...
But not today, my finger still hurts from this polish job...
maybe i will look for a machine that does the rest of the polishing job  :D


« Last Edit: November 16, 2010, 12:56:21 PM by Etienne [NL] »

liquidx

  • Member
  • **
  • Posts: 431
  • Bruxhell, Belgium
    • View Profile
Re: [Restauration] Crazy Kong fase 2
« Reply #39 on: November 16, 2010, 12:45:11 PM »

Look what I found in my bits & pieces. Yours if you want it.


findapinball.com - The European pinball locator

Etienne MacGyver

  • ArcadeLifeStyler'
  • ***
  • Posts: 7611
  • The Netherlands
    • View Profile
Re: [Restauration] Crazy Kong fase 2
« Reply #40 on: November 16, 2010, 12:51:09 PM »
Yes please !, kind of you to think about me !

Thankx!

this fits in an enveloppe i guess ?

Ill send you a PM with adress details.
do you have paypal, so i can transfer the postage to you ?

Superully

  • ArcadeLifeStyler'
  • ***
  • Posts: 6300
  • Southern Part of Germany
    • View Profile
Re: [Restauration] Crazy Kong fase 2
« Reply #41 on: November 16, 2010, 03:55:28 PM »
before and after pics are my favorite! that thing is shiny like hell now :twisted:
all i need is ... PONG - and a select few others: TOUCH ME, DRAGON'S LAIR, JOUST, ROBOTRON, MR DO, SAN FRANCISCO RUSH THE ROCK!!!

gyruss

  • ArcadeLifeStyler'
  • ***
  • Posts: 2332
  • The Netherlands
    • View Profile
Re: [Restauration] Crazy Kong fase 2
« Reply #42 on: November 16, 2010, 06:30:39 PM »
You are doing a great job, that crazy kong is going to shine again.  :D

Etienne MacGyver

  • ArcadeLifeStyler'
  • ***
  • Posts: 7611
  • The Netherlands
    • View Profile
Re: [Restauration] Crazy Kong fase 2
« Reply #43 on: November 20, 2010, 07:52:14 PM »
After the pain in my hand "healed", i thought it was time to do the next step by machine.
Luckily there was a offer in my local Aldi for a "dremel clone"  :D
I went to the store and bought myself a nice gift..


Unpacking and inspecting time  8)


The extention makes it easyer to work precisely


I installed a brass brush, because there is alot of oxidation on the "coin return button" (how you call that in arcade terms ?)


Carefully i polished the oxidation away..
You maybe ask yourself; Why he dont remove that from the door? , well simple, it did not came loose, and i did not want to damage the fromt by using pliers to hold it for the unscrewing of the nut in the other side..


Time to take care of the inside first..
Before polishing:


during polishing: (yes by hand  ;))


After polishing..
Looks like NOS to me  :-*


The front i did with a polish disk in the new machine.
there where some heavy scratches there, and also this side is "brushed stainless steel" so it will never shine like the inside..
Before polishing:


After polishing:
Not spectacular, but good enough for me


Time for the next step.. put it back together again..
« Last Edit: November 20, 2010, 08:00:21 PM by Etienne [NL] »

level42

  • ArcadeLifeStyler'
  • ***
  • Posts: 13555
  • Ridderkerk, arcade capital of Europe !
    • View Profile
    • Arcade 42
Re: [Restauration] Crazy Kong fase 2
« Reply #44 on: November 20, 2010, 08:21:07 PM »
Very nice. Euro stainless doors rule !  ;D ;D ;D