the restoration continues ...... at the very bottom of the cab
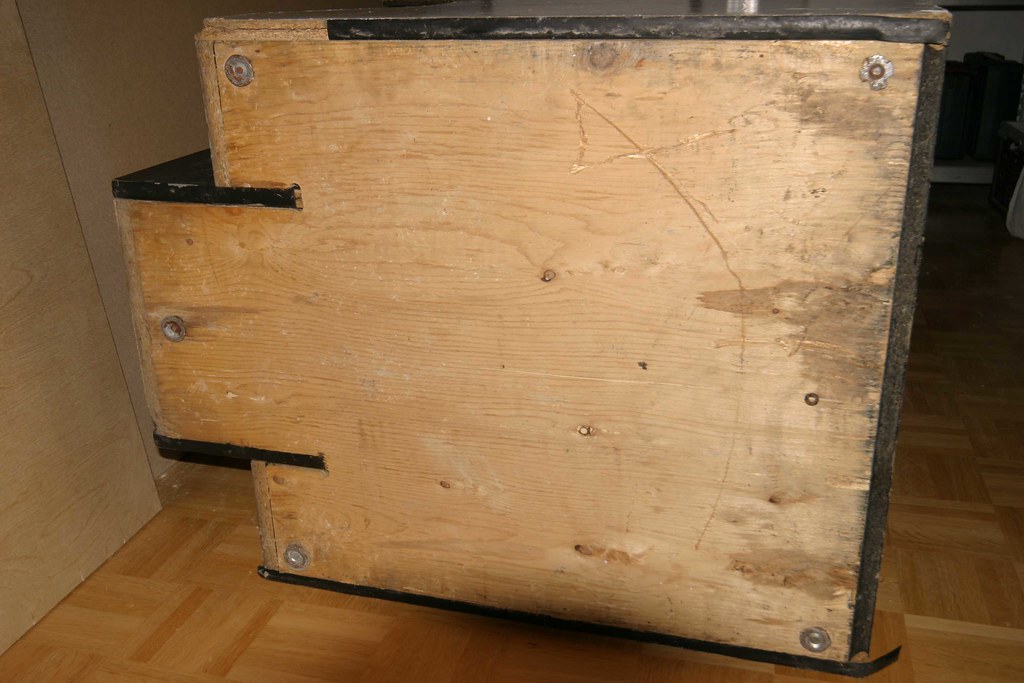
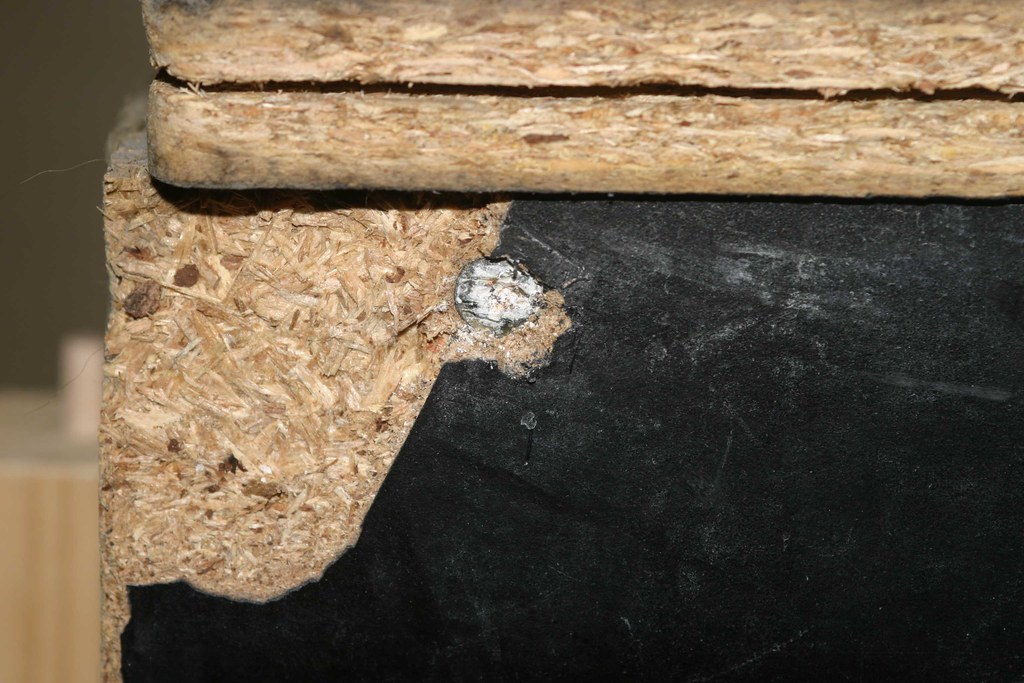
as you can see, splintered wood and rusted leg levelers
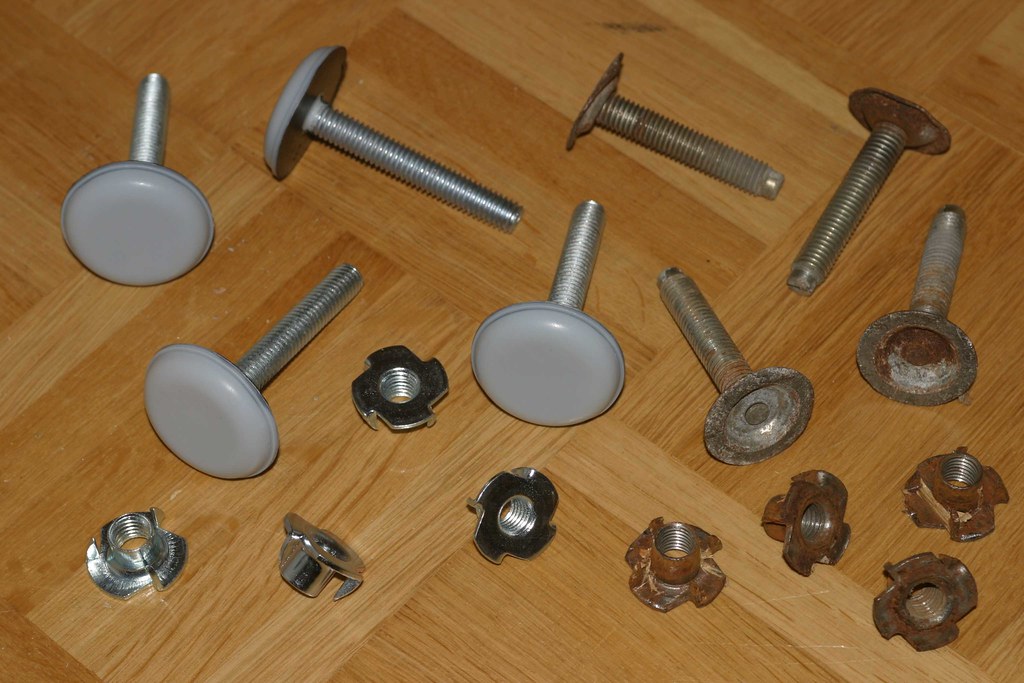
new vs. old
i'm moving upwards from the bottom to the top

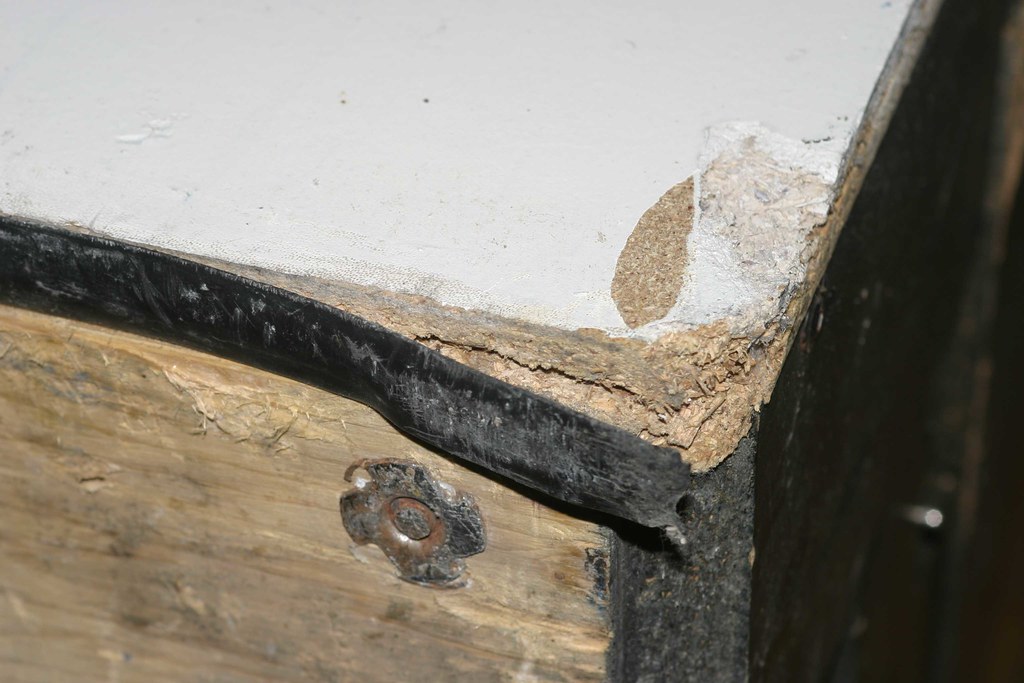
the lower front part to which the security bar has been screwed to also suffers from damages to the wood
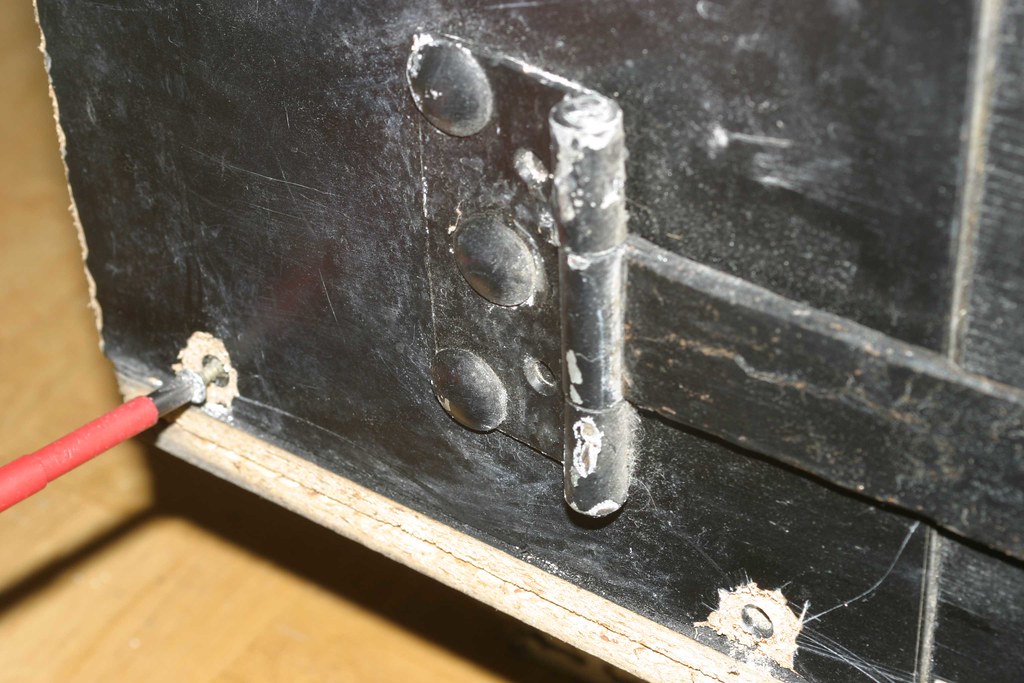
in order to remove the security bar, i have to remove the entire piece of wood. the screws are hidden "deep in the wood" and have to be uncovered first
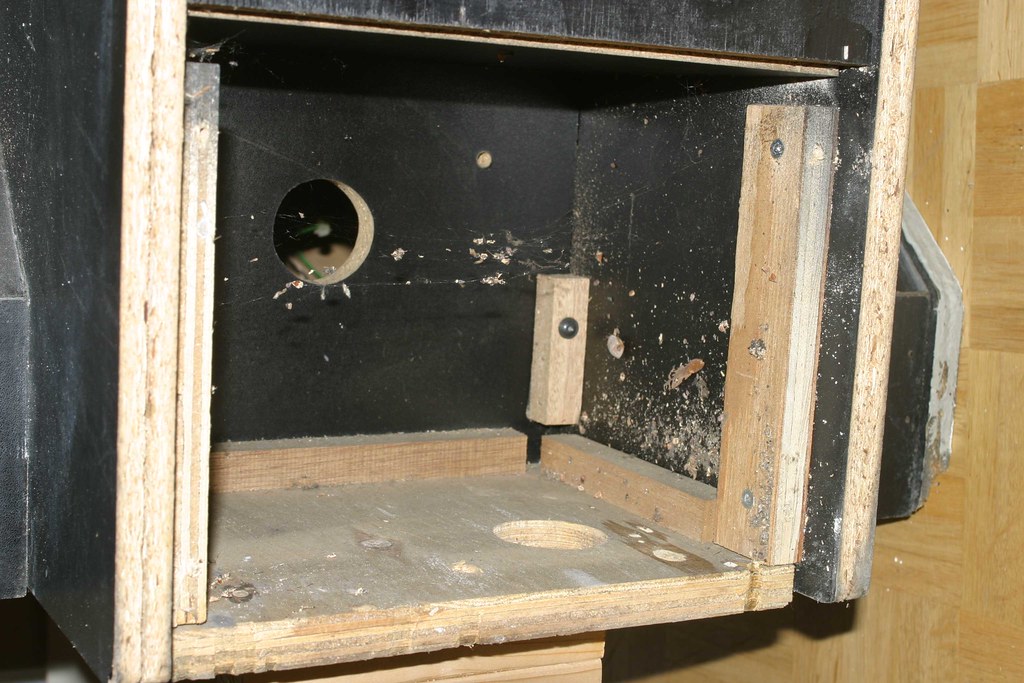
the lower piece of wood removed - behind: spider webs and a lot of dirt!
moving one piece up: the wooden coin door frame (screws already uncovered)
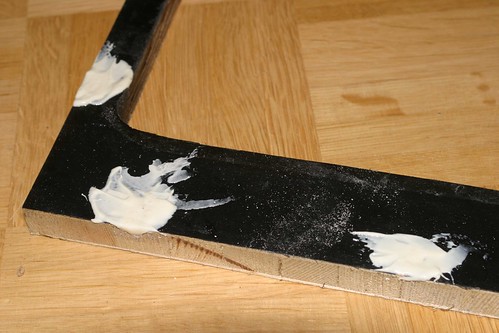
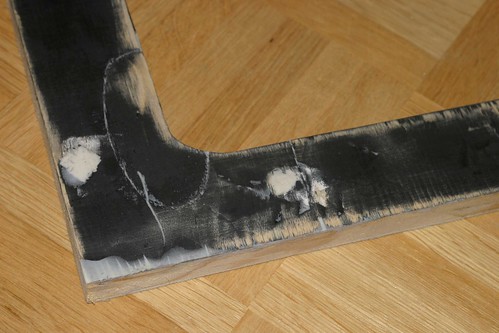
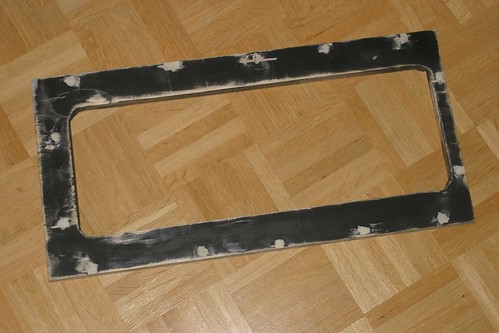
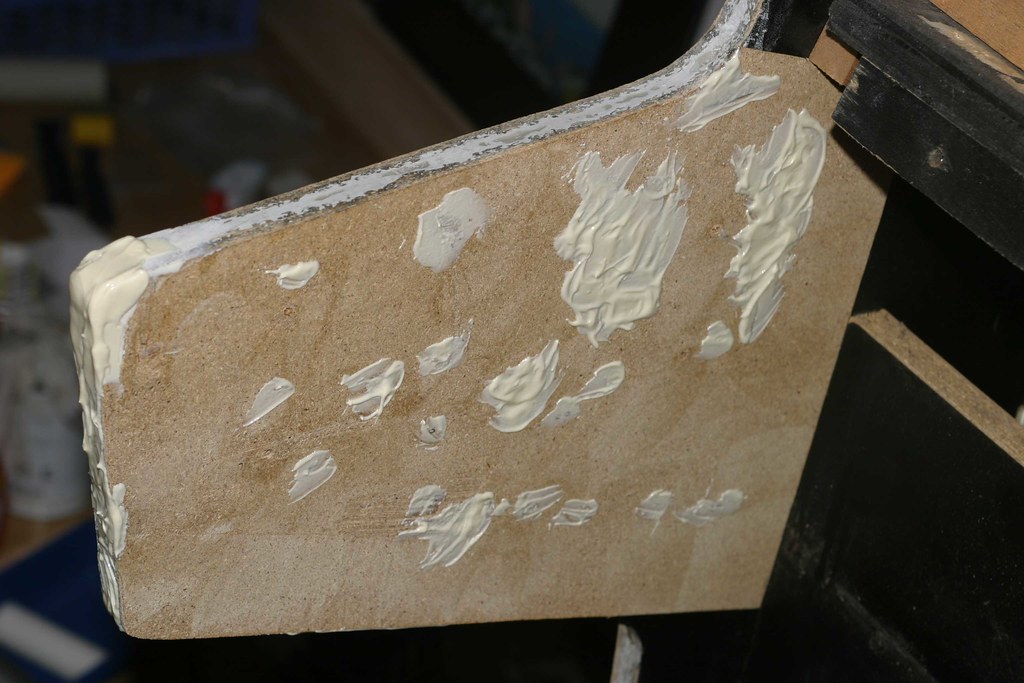
holes filled ...
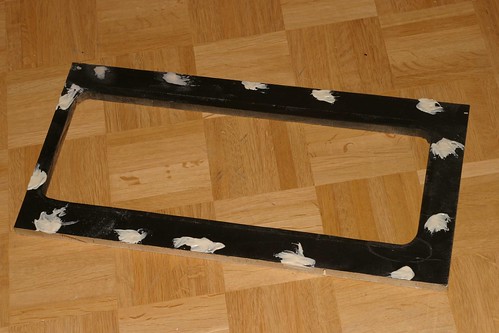
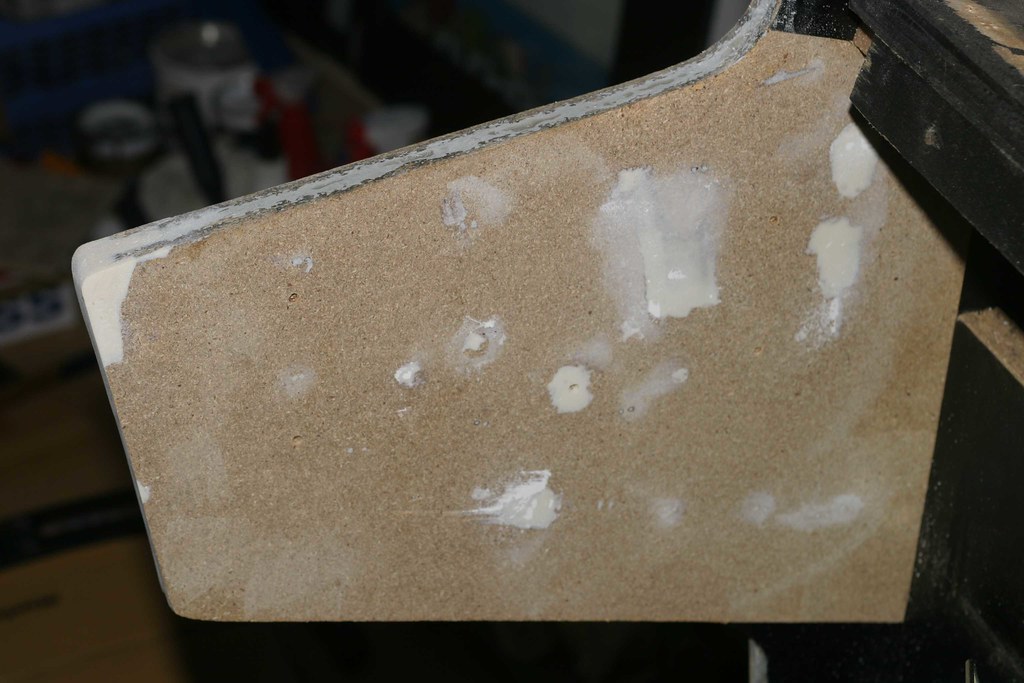
... and sanded down
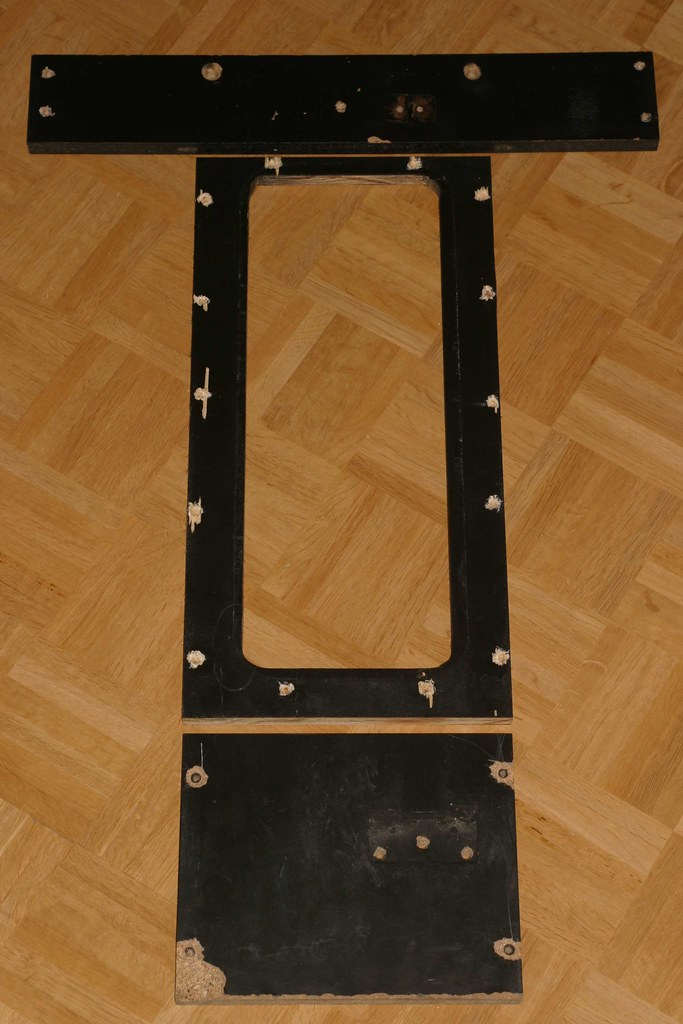
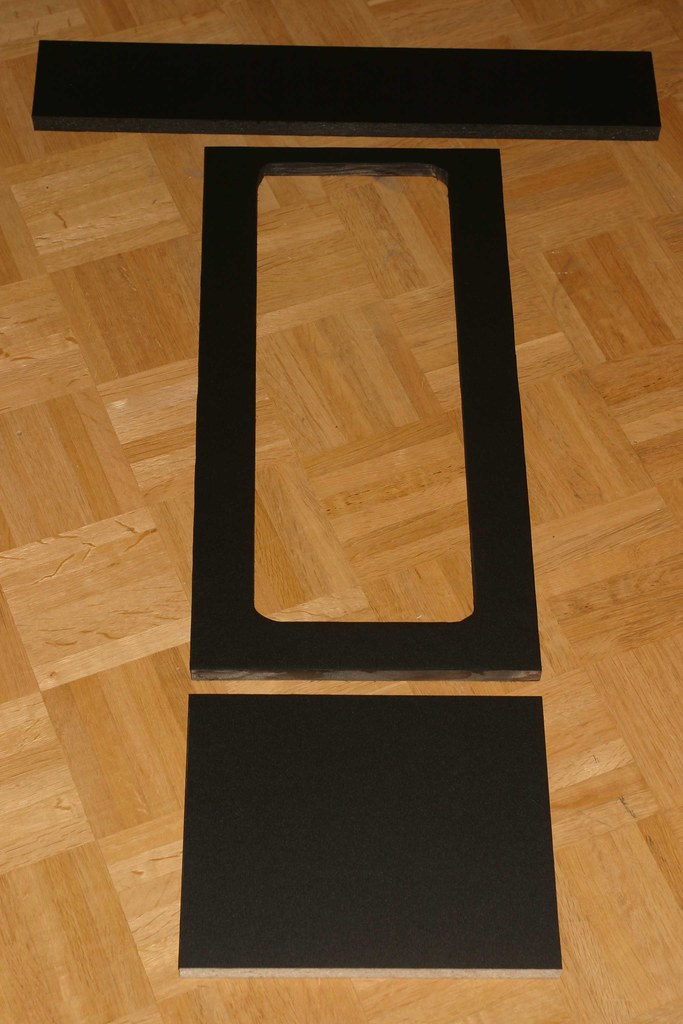
all the pieces of the wooden front BEFORE
and AFTER (new vinyl applied)

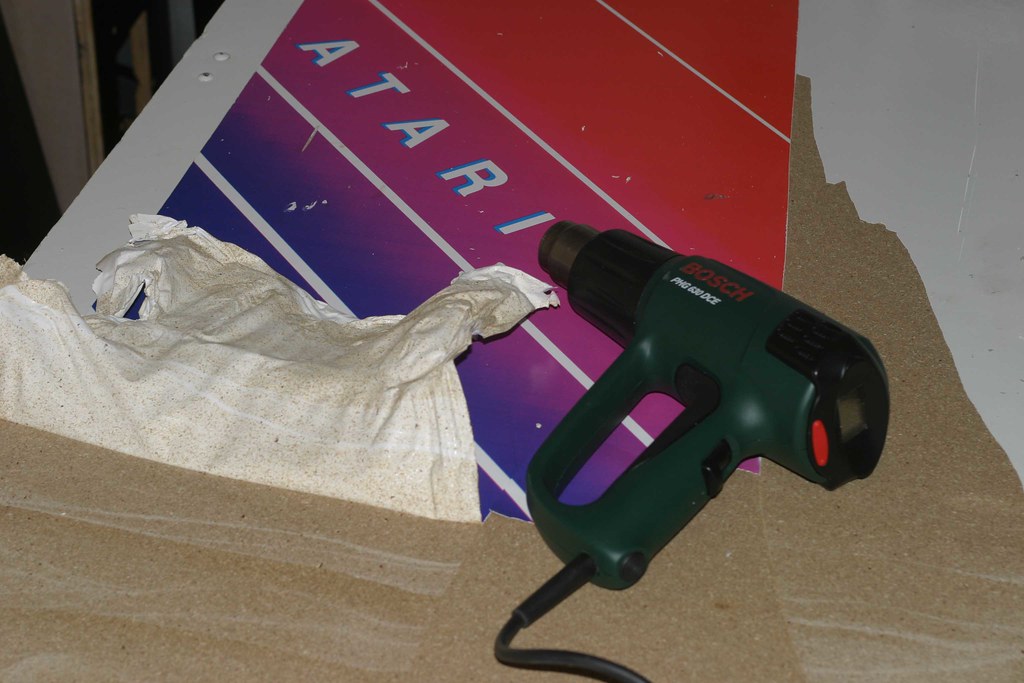
before continuing with the wooden pieces, the entire vinyl and paint is being removed
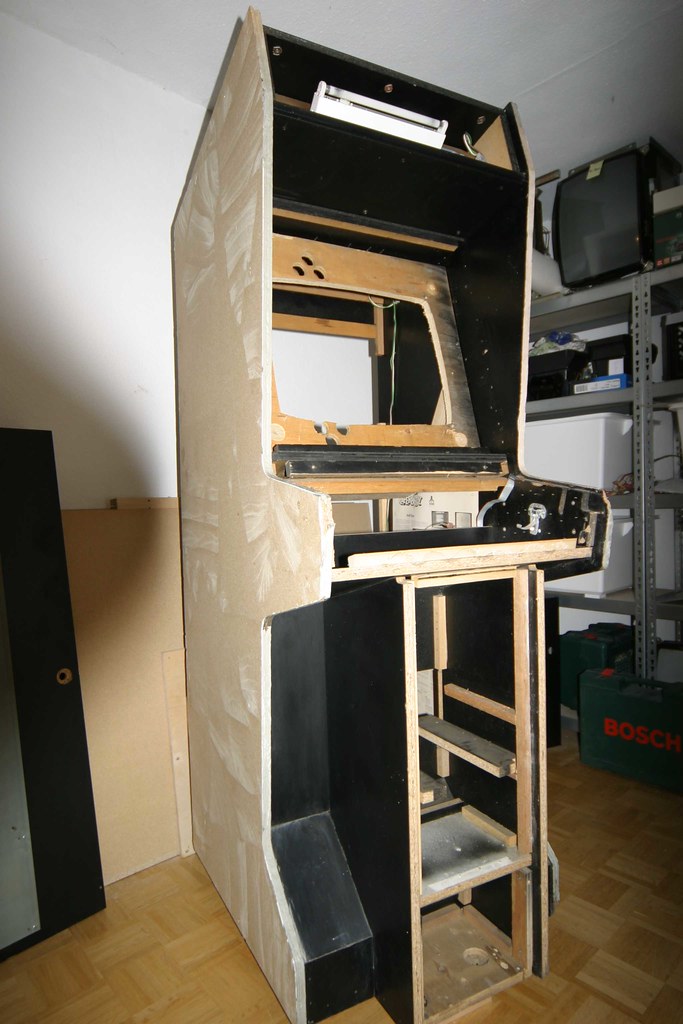
bare and naked
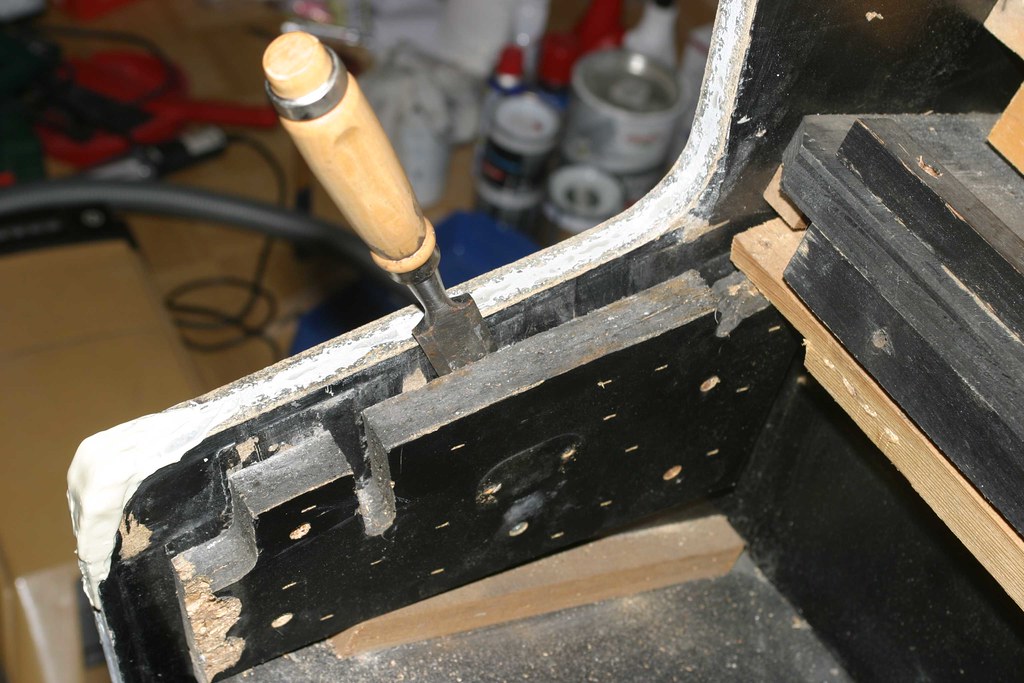
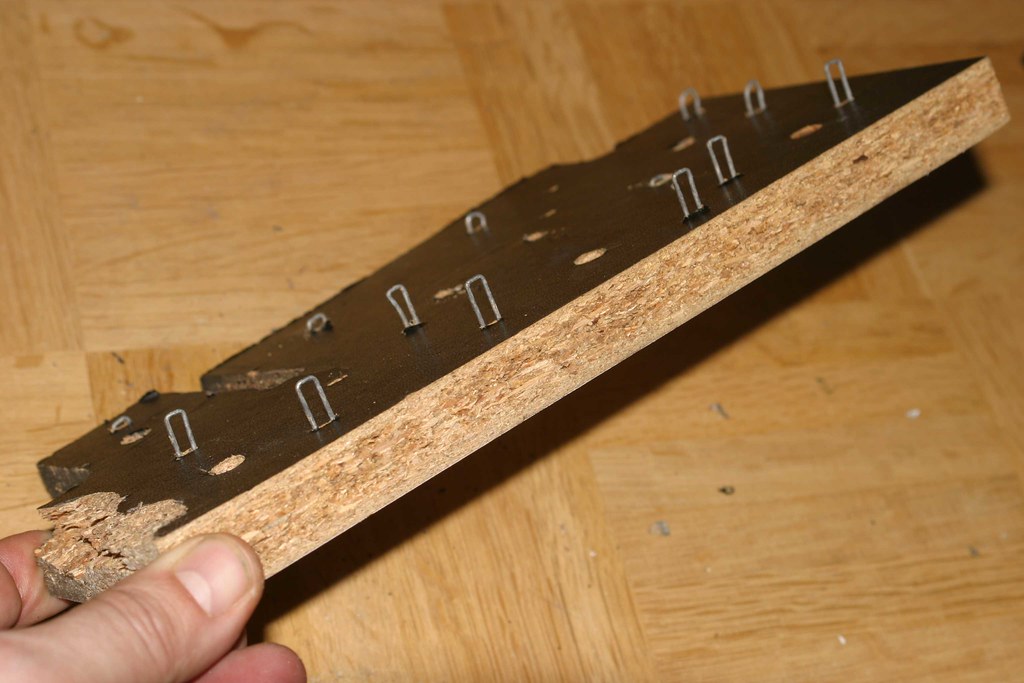
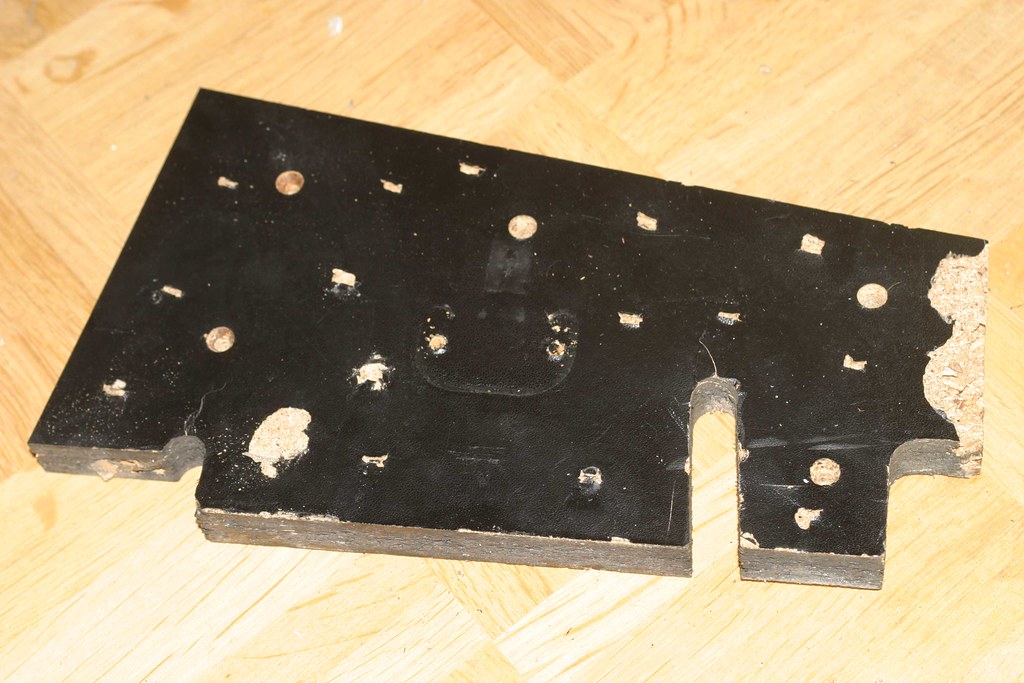
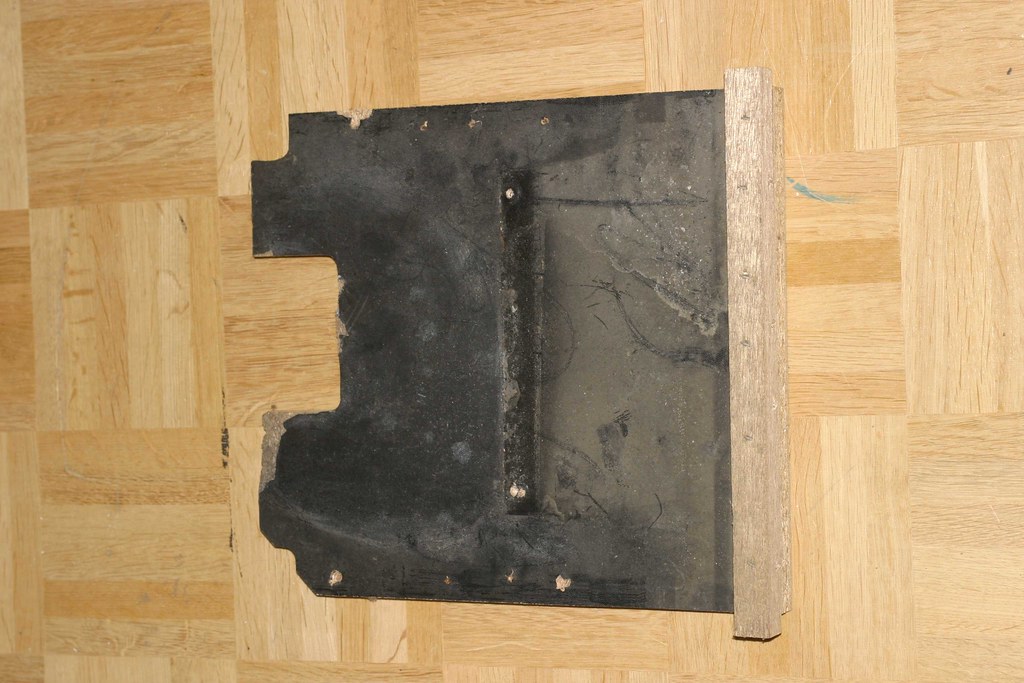
the inner parts where the control panel rests on are also damaged. removing them is not that easy, because they are glued and stapled to the cabinet
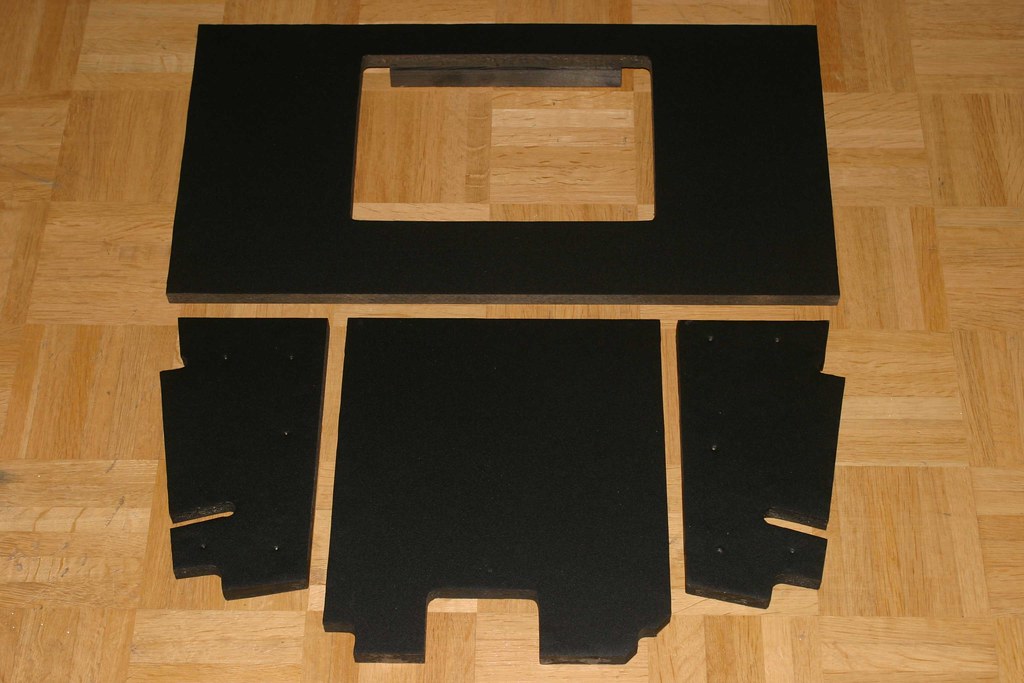
DONE! have a look at all those staples and holes

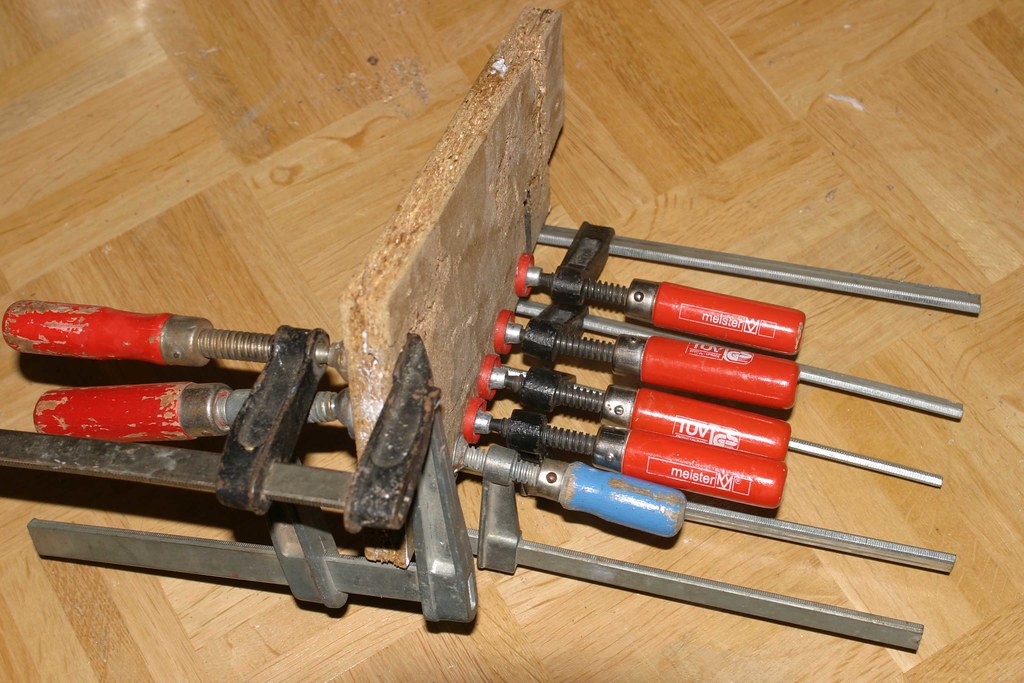
the whole structure of the piece is wobbly, so a lot of glue is needed
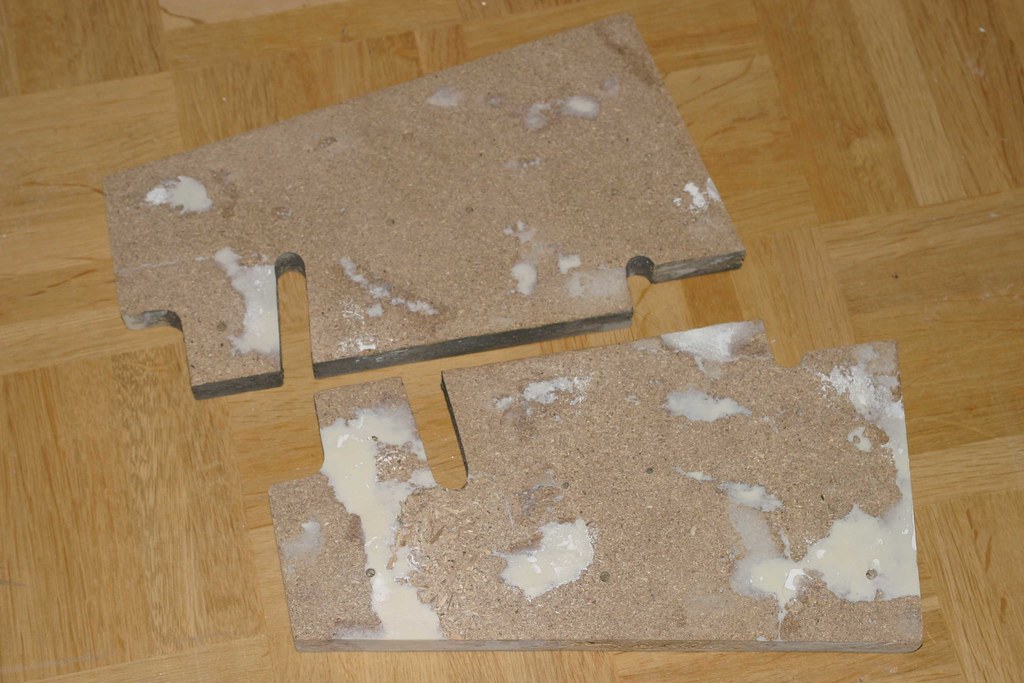
but in the end, the original pieces have been saved

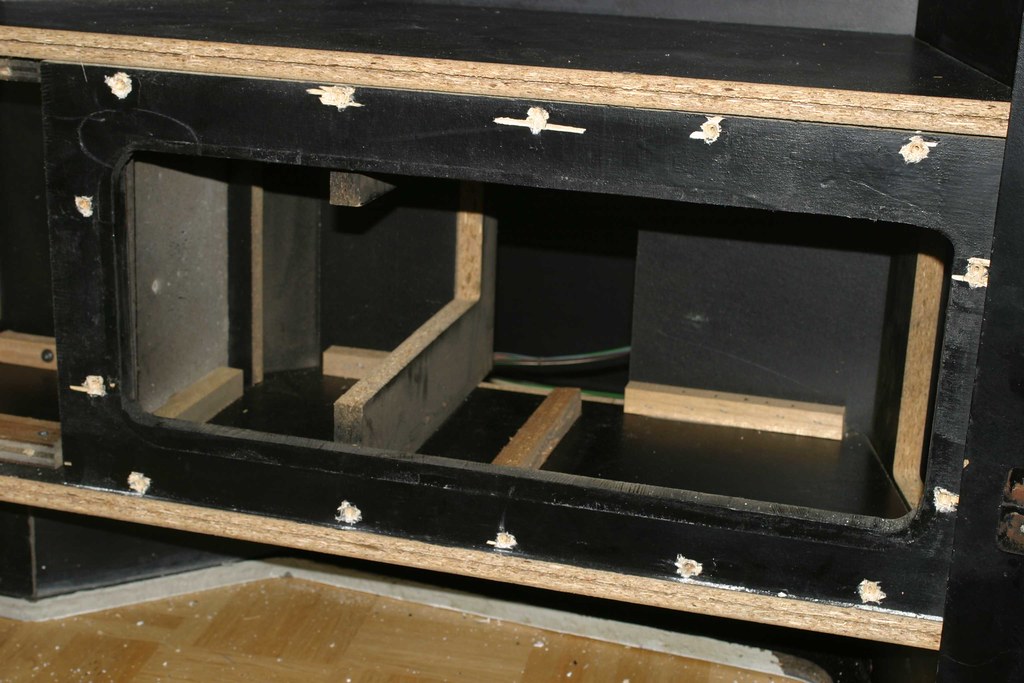
other "internal" pieces of wood also need the full resto treatment - here's just an example
after a lot of work they look like new!
now to the cabinet itself - the control panel part. corners repaired, holes filled ...
... and sanded down!
full frontal control area view - note that the trenches for the t-molding have been "dug out" again

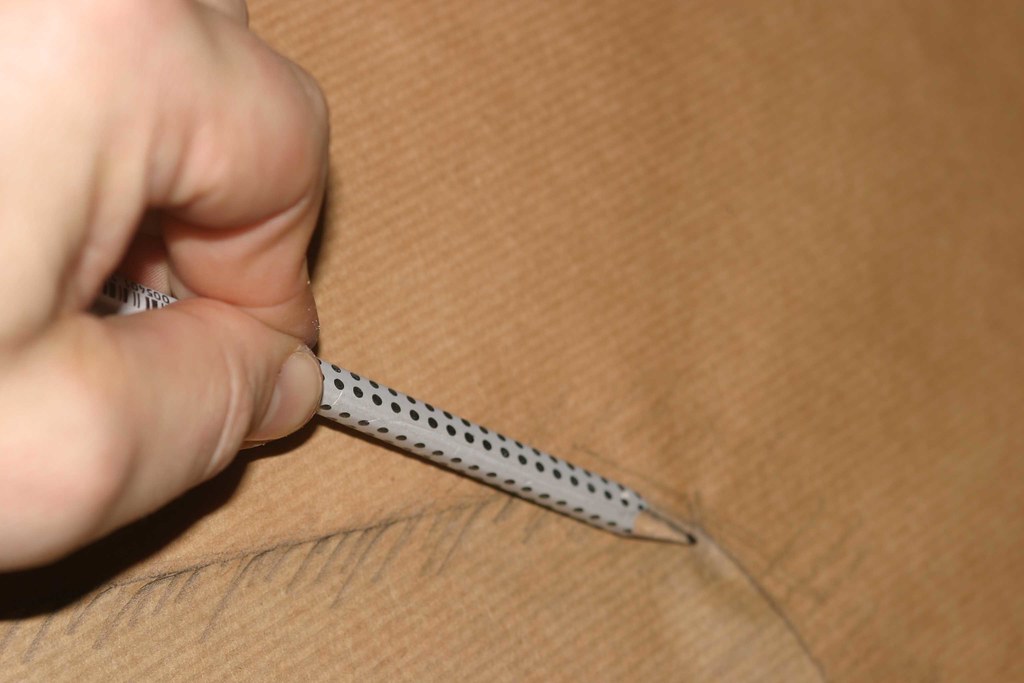
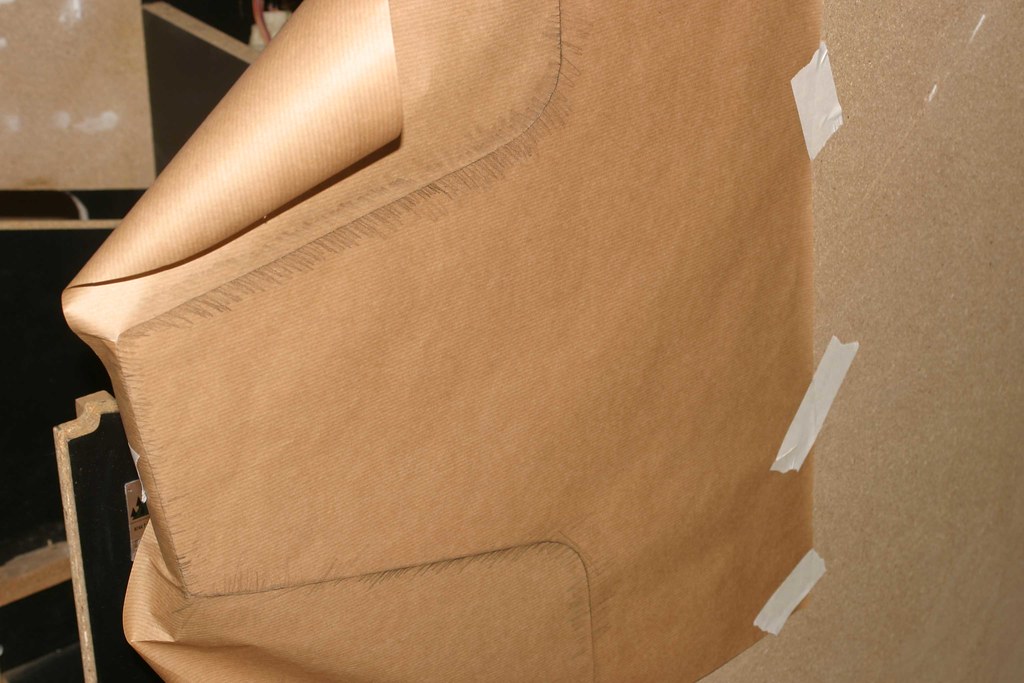
on to a difficult job: cutting new vinyl for the inner cabinet sides. in order to do so i'm using the same method i've used for my toobin' restoration: copying the shape needed on a piece of paper
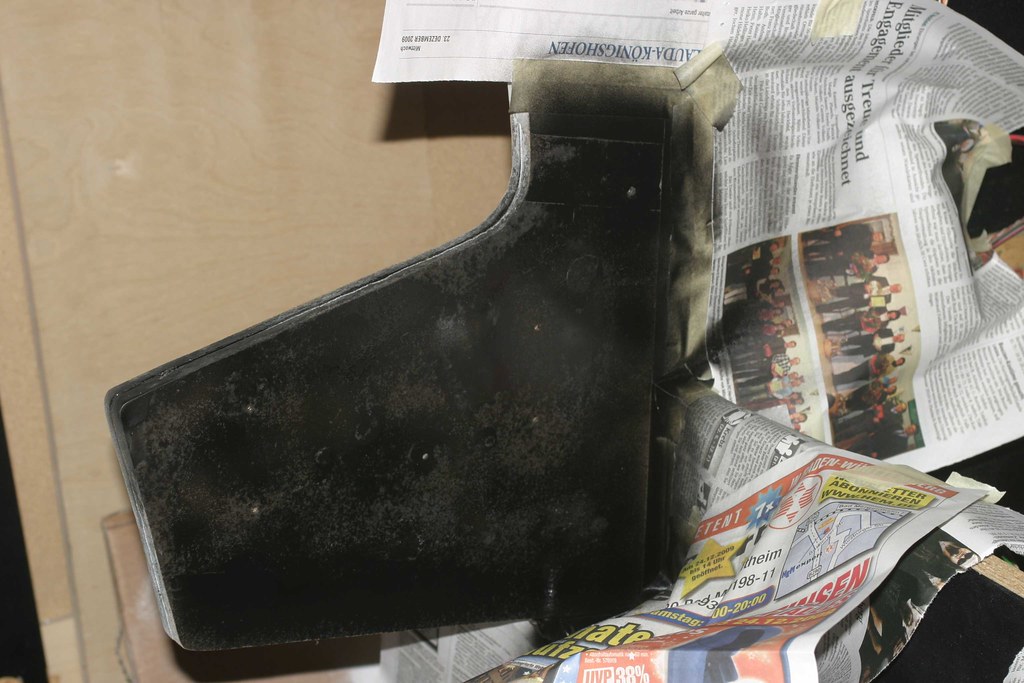
making preparations for a short spray job

i'm using black spray paint in order to cover up any imperfections that might occur when cutting / applying the oddly-shaped vinyl
ladies and gentlemen, the results are in

although there's a very small trench between the old and the new vinyl on that picture (highlighted by the flash), it's barely visible in "real life", has been touched up a little bit further with a black pen and will be covered mostly by the control panel once this gets reinstalled! i'm extremely happy with the result


the cabinet is now ready for its new exterior look
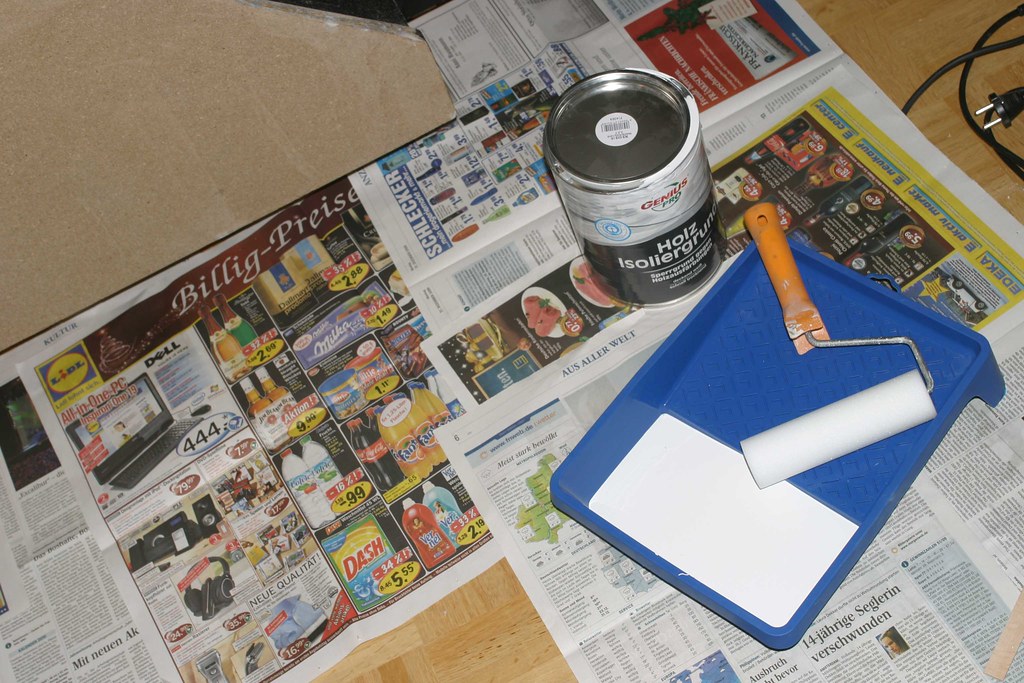
after three layers of wood primer (sorry - bad picture!)
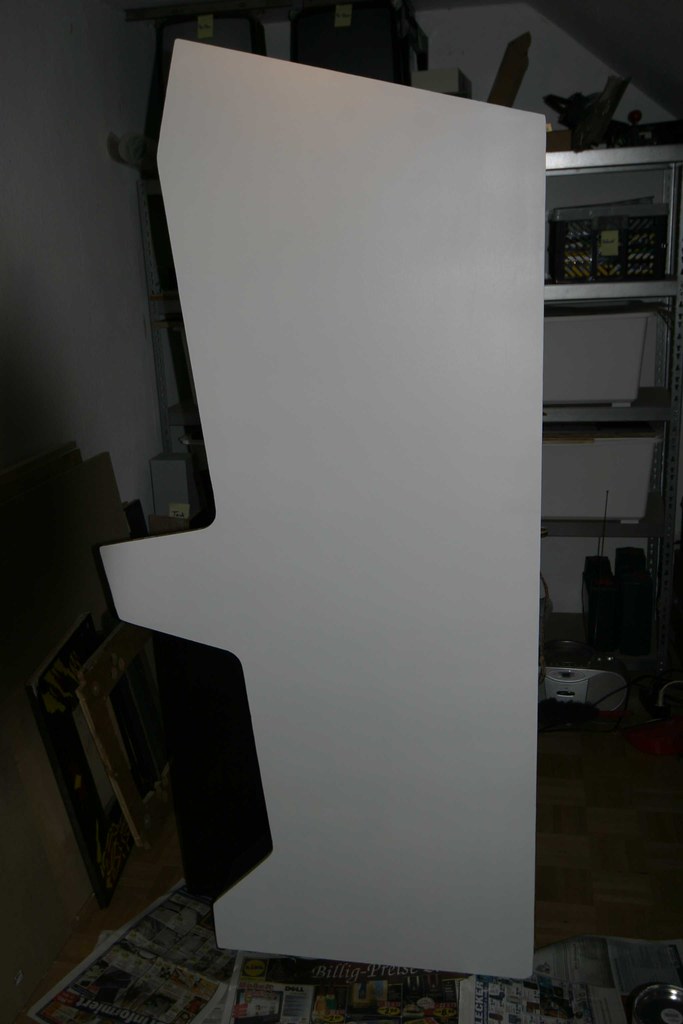 up next: white vinyl and sideart application!to be continued ...


