Author Topic: [Restoration] Pumpin' up the Toobin' Tubes  (Read 19719 times)

Superully

  • ArcadeLifeStyler'
  • ***
  • Posts: 6300
  • Southern Part of Germany
    • View Profile
Re: [Restoration] Pumpin' up the Toobin' Tubes
« Reply #15 on: August 27, 2009, 02:12:58 PM »

the restoration continues ...

not one, but two packages have arrived - finally! inside the black vinyl from happcontrols. this gives me the chance to continue with the cosmetic repairs!


this is how the bottom corners of the cab originally looked like  :shock:  doesn't that H-U-R-T ? :'(


the old t-molding removed - look at those nails! :arrow:


i fixed all the edges with wood filler, now i'm applying two layers of black paint so that
(a) the wood won't shine through
(b) the wood underneath won't be visible in case the vinyl doesn't fit 100%
(c) there is a good basis for the vinyl


after some drying time, i'm using spray adhesive to make the vinyl stick well on the particle wood


here's the roughly cut black vinyl for both sides


with the help of a burnishing tool i'm pressing the vinyl to the wood


then, with the help of a scalpel, the superfluous vinyl is being cut off (man, this pic is out of focus  :()


the result  :)


there are some spare pieces of vinyl (from the first cut) left which i'm using to cover the inside of the repaired control panel. unfortunately, the pieces are not big enough to let me do this job in one part, that's why i have to piece them together. however, that is not a problem since this is only the inside of the control panel which won't be visible once the machine has been reassembled. if you look closely you can see the difference between the original atari vinyl and the happcontrol vinyl which is slightly brighter, but has a nice structure and looks just fine!


next up: the t-molding. originally toobin' used the same type of vinyl as the star wars cockpit. luckily for those cockpit owners, this t-molding has only just recently been recreated from scratch, but i've decided against using it for multiple reasons:
(a) that stuff is quite expensive
(b) i think it doesn't fit the style of the toobin' cab that well
(c) nicolas (from who i bought the cab) was kind enough to provide me with some spare wide black t-molding for free which should look nice once installed


this replacement t-molding is so thick and inflexible i'm having trouble getting it around those sharp edges. with the help of a heat gun i'm making it more bendable and finally manage to get it in - hope it stays there  :twisted:


voilĂ  - a shot of the cabinet's bottom with the new vinyl and the new t-molding  :-*


this restoration is coming to a close, however, i have yet to find the correct white vinyl. i'm afraid i'll have to go with the one which comes closest to the original ...

to be continued ...

all i need is ... PONG - and a select few others: TOUCH ME, DRAGON'S LAIR, JOUST, ROBOTRON, MR DO, SAN FRANCISCO RUSH THE ROCK!!!

Etienne MacGyver

  • ArcadeLifeStyler'
  • ***
  • Posts: 7611
  • The Netherlands
    • View Profile
Re: [Restoration] Pumpin' up the Toobin' Tubes
« Reply #16 on: August 27, 2009, 02:37:01 PM »
Quote
then, with the help of a scalpel, the superfluous vinyl is being cut off (man, this pic is out of focus  :()


Ahh, you was trying to focus on the scalpel, i thougt your fingeprint  ;D ;D ;D

Looking good ully !

DarthNuno

  • Administrator
  • ArcadeLifeStyler'
  • *****
  • Posts: 11711
  • Singe's castle
    • View Profile
    • Dragon's Lair Fans / Arcade LifeStyle
Re: [Restoration] Pumpin' up the Toobin' Tubes
« Reply #17 on: August 27, 2009, 05:20:57 PM »
Very good job Ully  :-*

level42

  • ArcadeLifeStyler'
  • ***
  • Posts: 13555
  • Ridderkerk, arcade capital of Europe !
    • View Profile
    • Arcade 42
Re: [Restoration] Pumpin' up the Toobin' Tubes
« Reply #18 on: August 27, 2009, 07:08:10 PM »
Note to self: Must buy scalpel. (Do I need to wear a white coat when I use it ?) ;)

WHAT, are you NOT keeping it original Ully !?!?!?!? No original T-molding ??

I'm appalled !  ;D ;D

Dave's stuff is not that expensive really.....you just need to order through a BYOAC forum or KLOV forum....not through his website :)


Great work on the vinyl. Doesn't it come with a sticky back ? Or did you want to make absolutely sure it never comes off ;)

Good thinking about the black painting, I was planning to do that too. I'm currently removing the old vinyl from the SW cockpit and it's a hell of a job....
« Last Edit: August 27, 2009, 07:10:42 PM by Level42 »

Superully

  • ArcadeLifeStyler'
  • ***
  • Posts: 6300
  • Southern Part of Germany
    • View Profile
Re: [Restoration] Pumpin' up the Toobin' Tubes
« Reply #19 on: August 28, 2009, 10:14:54 AM »
Note to self: Must buy scalpel. (Do I need to wear a white coat when I use it ?) ;)

or have a doctor as a friend (he can stand by in his white coat and watch you do the operation)  ;)

Dave's stuff is not that expensive really.....you just need to order through a BYOAC forum or KLOV forum....not through his website :)

i'll order some once i get a star wars cockpit  8)

Great work on the vinyl. Doesn't it come with a sticky back ? Or did you want to make absolutely sure it never comes off ;)

it DOES have a sticky back, however
(a) the particle board i applied it do was pretty rought, although i sanded and primed it
(b) there are some sharp edges on this part of the cab and i wanted to make sure the vinyl doesn't come off there first

right now, it's still holding!  :)
all i need is ... PONG - and a select few others: TOUCH ME, DRAGON'S LAIR, JOUST, ROBOTRON, MR DO, SAN FRANCISCO RUSH THE ROCK!!!

Etienne MacGyver

  • ArcadeLifeStyler'
  • ***
  • Posts: 7611
  • The Netherlands
    • View Profile
Re: [Restoration] Pumpin' up the Toobin' Tubes
« Reply #20 on: August 28, 2009, 12:03:59 PM »
Note to self: Must buy scalpel. (Do I need to wear a white coat when I use it ?) ;)

I have some spare scalpelholders here, if you like i can bring one for you when i visit you someday.


you only need knives then, myself i use these:


they are really cheap, like 0,10 € per piece.

here are all the possible shapes that you can think of   :wink:

Superully

  • ArcadeLifeStyler'
  • ***
  • Posts: 6300
  • Southern Part of Germany
    • View Profile
Re: [Restoration] Pumpin' up the Toobin' Tubes
« Reply #21 on: October 25, 2009, 08:39:54 PM »
the restoration continues ...

i have so many projects i can't wait to start working on, but in order to do so i have to finish off some "relics of the past". in case you don't remember (don't worry, i won't blame you if you don't ;)), i couldn't continue with the toobin resto because i hadn't been able to locate a nice match of the structured white vinyl. a couple of weeks ago, 3m (who produce maaaaany different kinds of vinyl) added some new shades of white to their collection and - once again - i asked for some samples. although the perfect match still wasn't amongst those, there was one which was damn close and so i decided to go with it. to be honest, i don't think that it is possible to find THE perfect match, because after 20 year,s vinyl simply slightly changes its colour and when you look at the toobin vinyl, there are different shades of white on the entire side - probably depending on where it stood and by what it was covered. i now have around 20 different samples of white - so if anyone needs a colourmatch ...  ;D

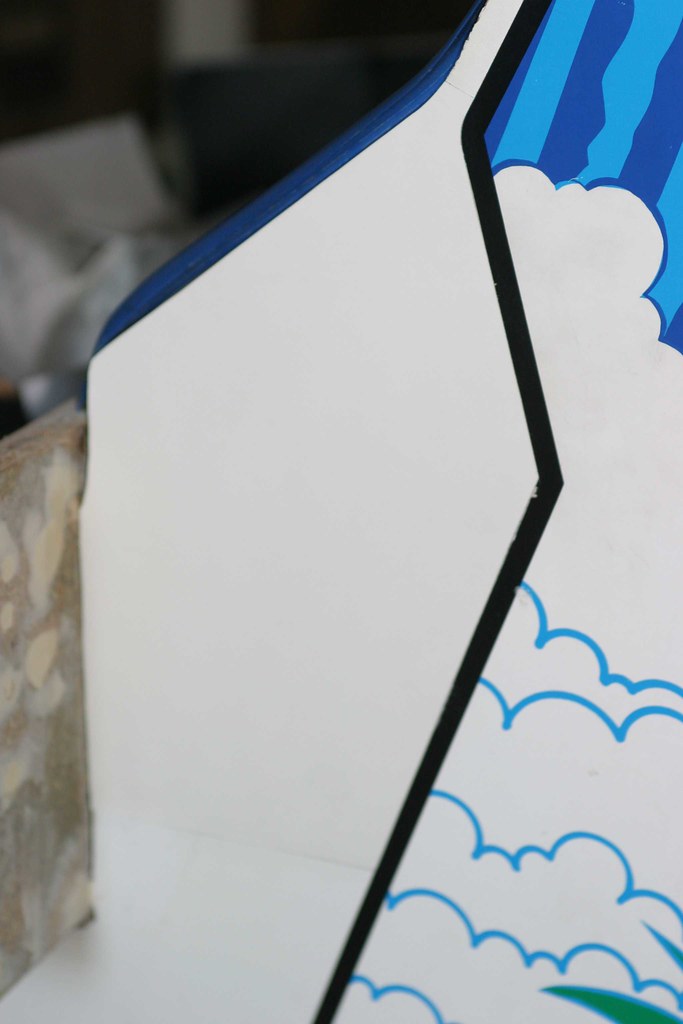
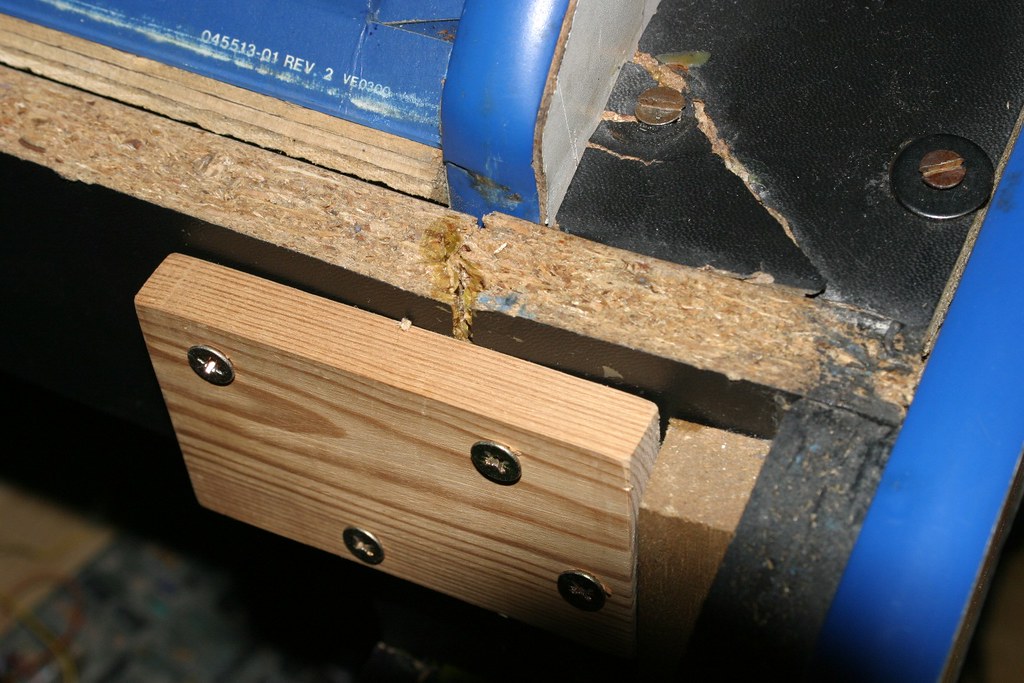
ok, back to the topic: remember: the whole right side of the control panel was broken off and had to be reconstructed. in order to do so, i also had to cut of a big part of the white vinyl. here's where we stood the last time  :arrow:


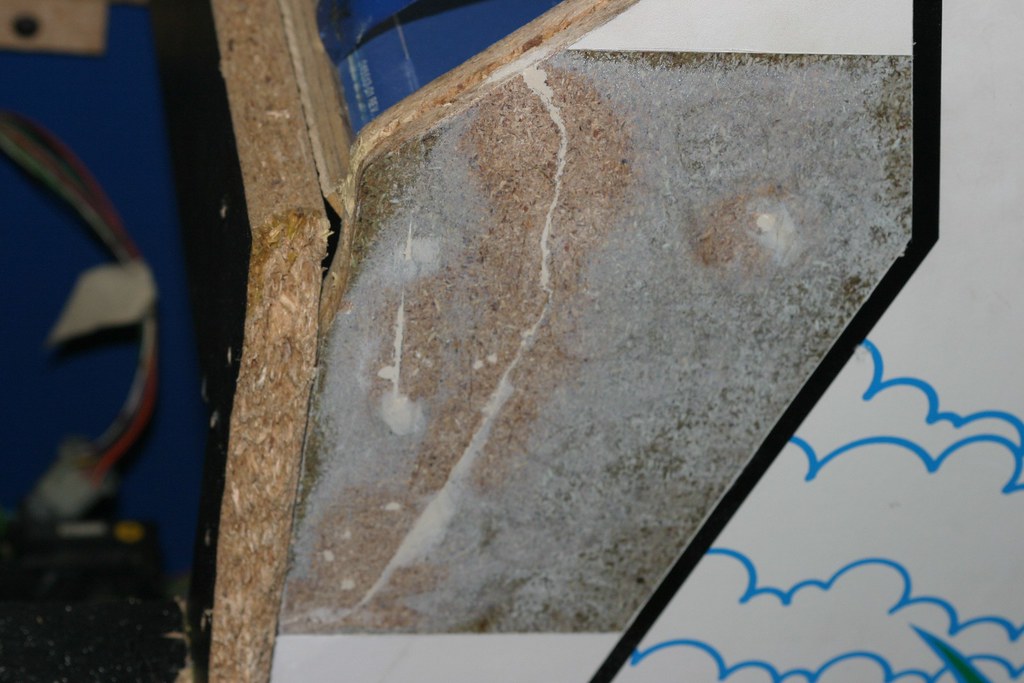
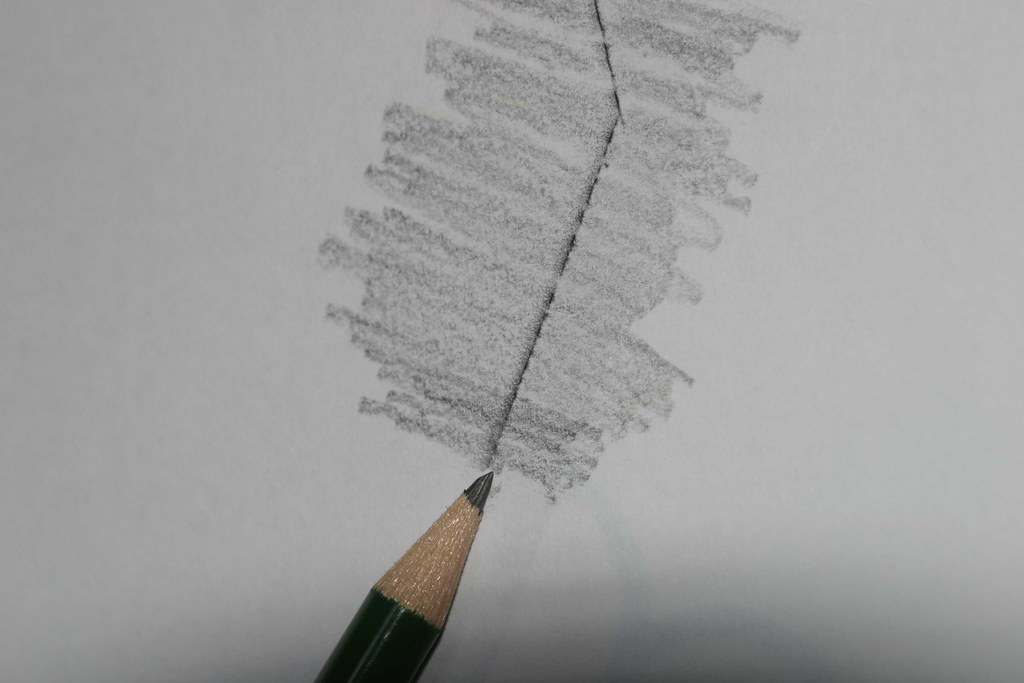
as you can see, this is not a straight shape to cut out, so in order to fit in the new vinyl, i'm making a stencil first. therefore i'm taping a white sheet of paper over the desired area and with the use of a soft pencil i'm tracing the shape of the missing vinyl.


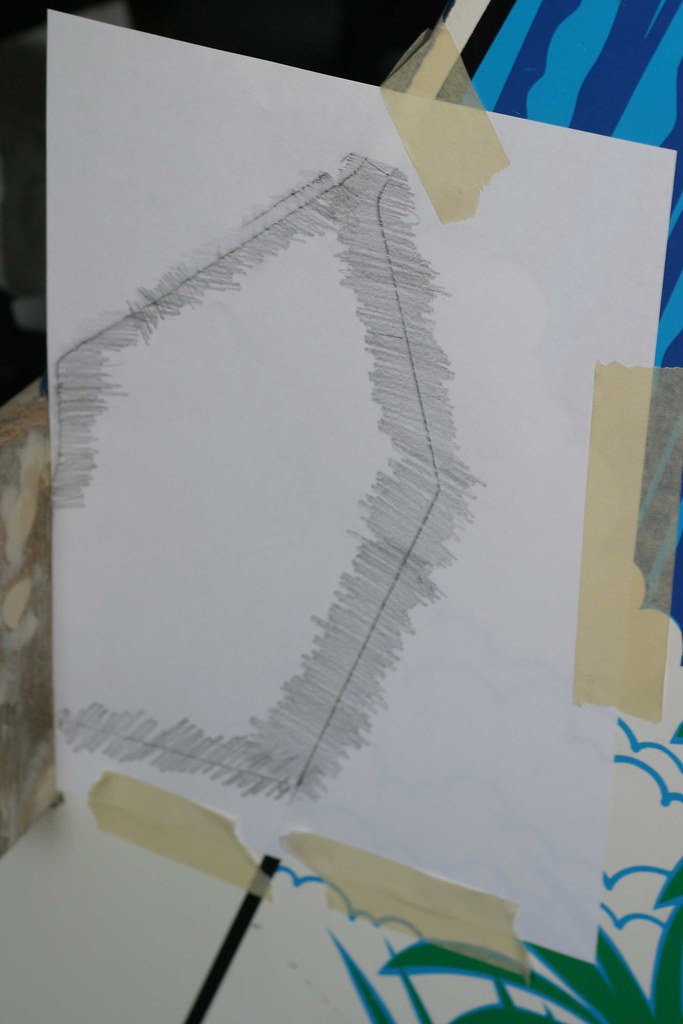
done with the tracing


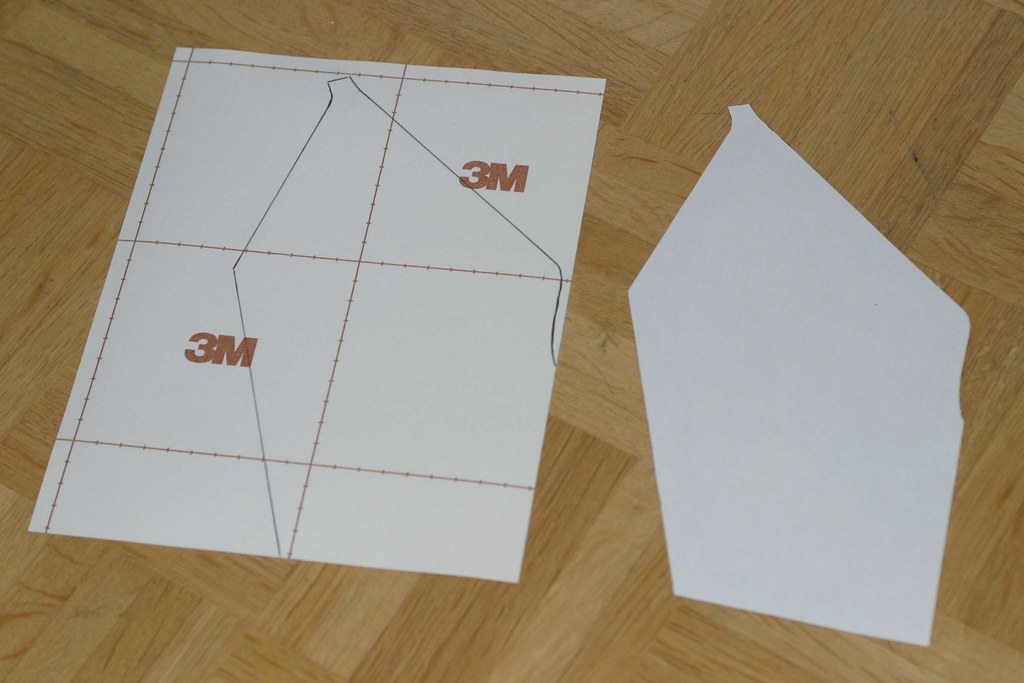
now i can cut out the result and copy it on the 3m vinyl


and here it is, already applied in the correct position. as you can see and as i've said before, it's not a perfect match, but (a) very close and (b) mostly covered by the control panel itself! for me, this is perfect enough :)


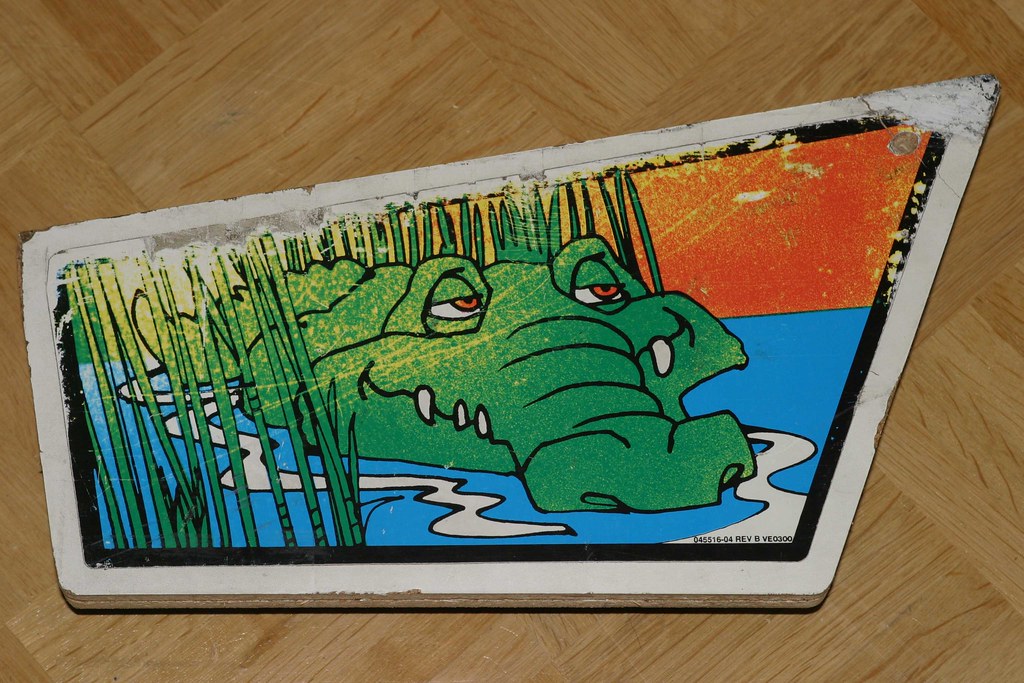
up next: the sides of the control panel where normally the gators lurk in the water :twisted: most of the time those gators are either missing or they are badly damaged. i got the whole package: one missing, one damaged  :'(


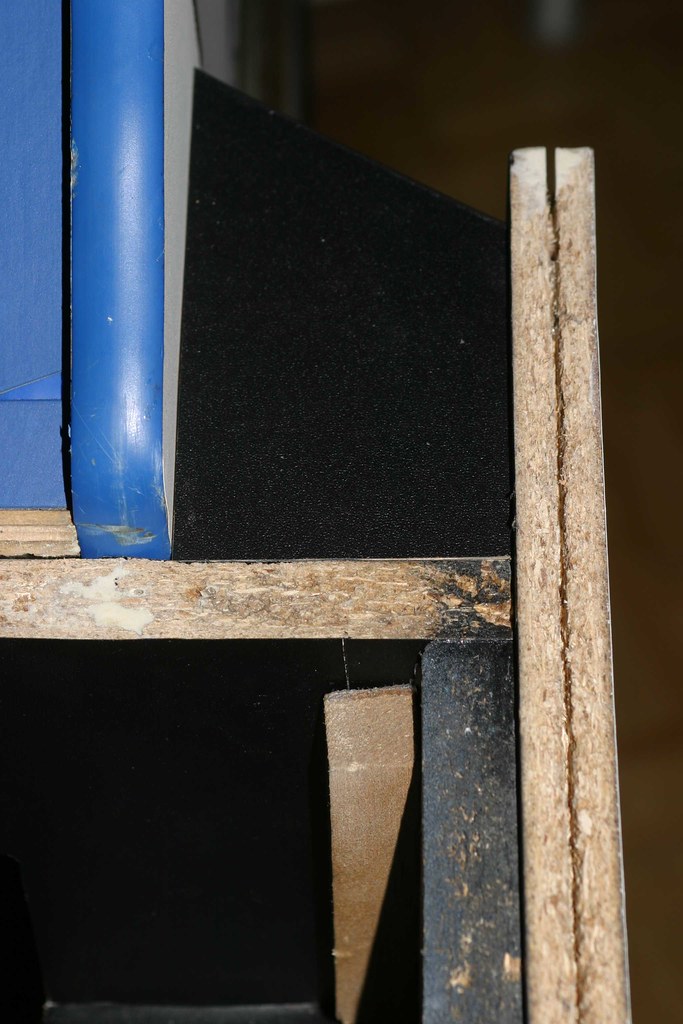
even worse, the wood itself had already taken a heavy beating. check it out  :arrow:


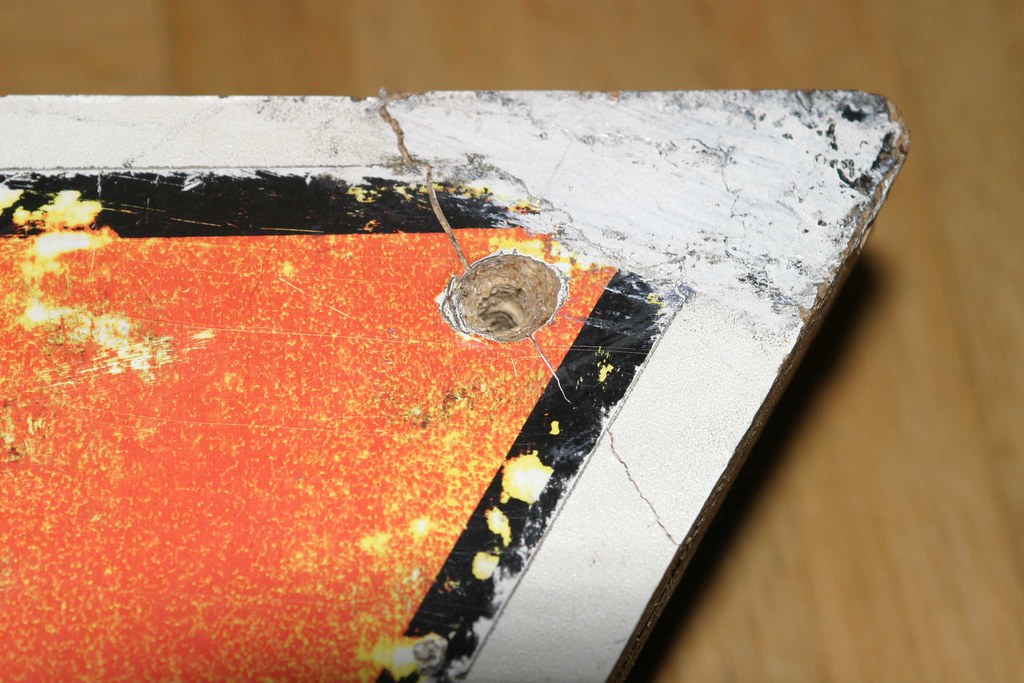
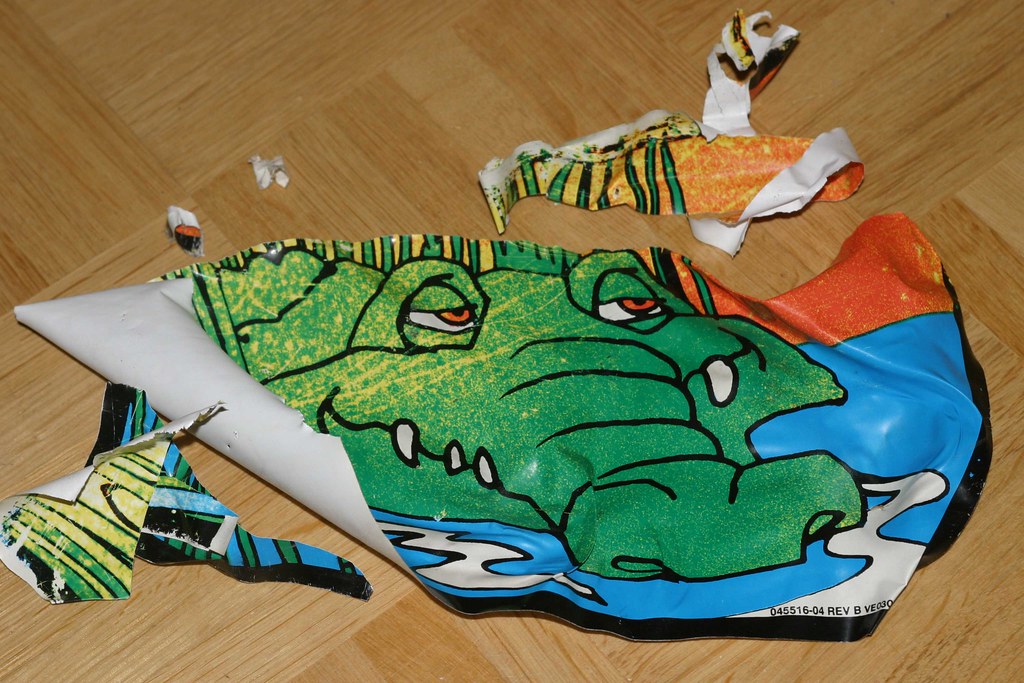
so i have no choice: the remaining gator has to go!


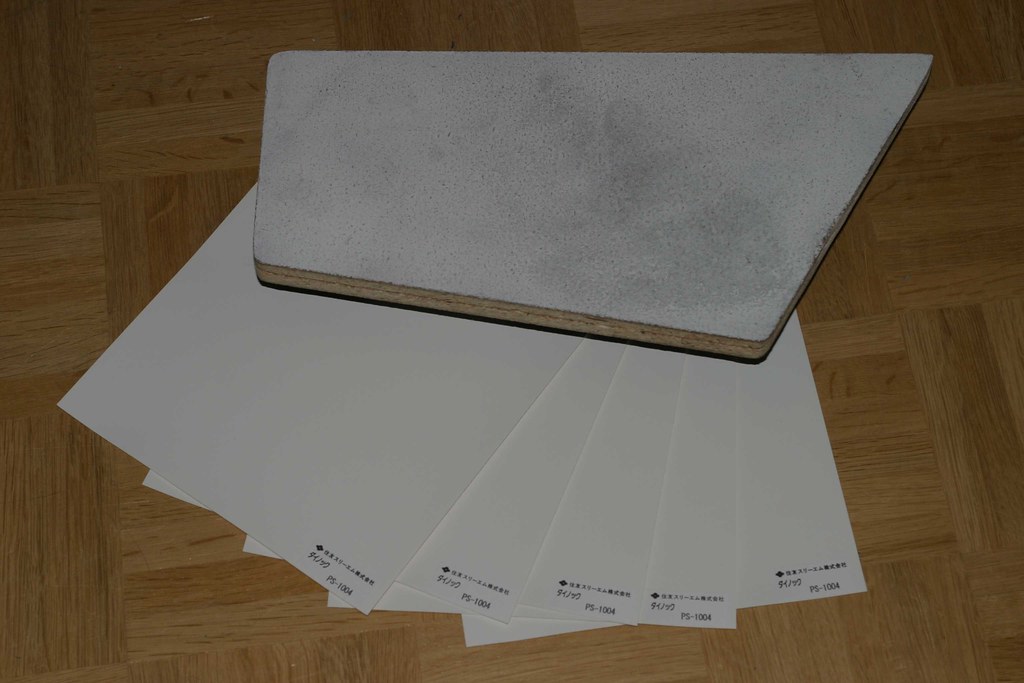
then i had to face a moral issue (or to be more precise: a monetary issue): quality has its price! the 3m-products are simply top-notch, but they cost an incredible amount of money. you get one square meter for around 50 euros PLUS shipping :shock: - and you can't take less than one square meter. however, all i would need are two pieces for the two control panel sides, around 1 sheet of a3 paper each. unfortunately, the sample sheets 3m sends out are only a4 - and they can't do bigger. so i made a decision: i didn't want to spend 50+ euros just to cover the sides of the control panel. i asked "my friends" at 3m for 5 samples of the same white vinyl i had already used for the cabinet sides and decided to stitch them together - hoping that the gap between the seperate sheets wouldn't be apparent. looking back now, i made the right choice and saved some good money. all the white vinyl used to restore the sides was free  ;)  8)

here's the restored wooden side with the free 3m vinyl samples i'm going to use to cover it!


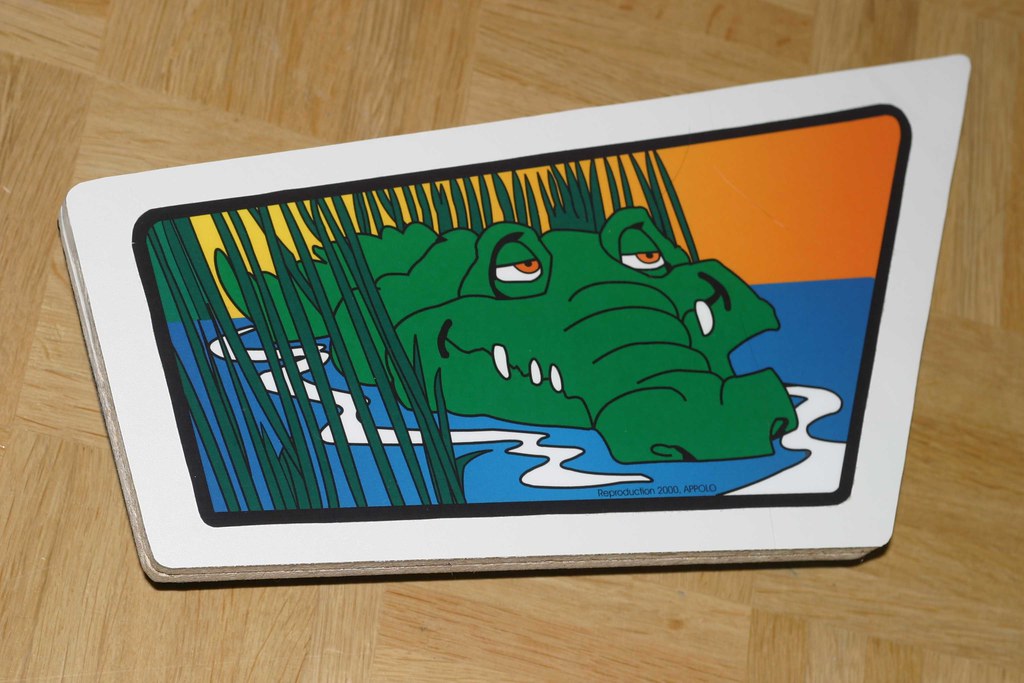
i managed to find some reproduction gator sideart done by appolo a while ago. they look nice, but i don't like that reproduction note at the bottom PLUS they are smaller than the originals were. but since i bought them for good money, of course i'm going to use them. the following picture shows the applied gator sideart on top of the white vinyl. in reality, one can see where i stitched the white vinyl pieces together, but i can easily live with that!


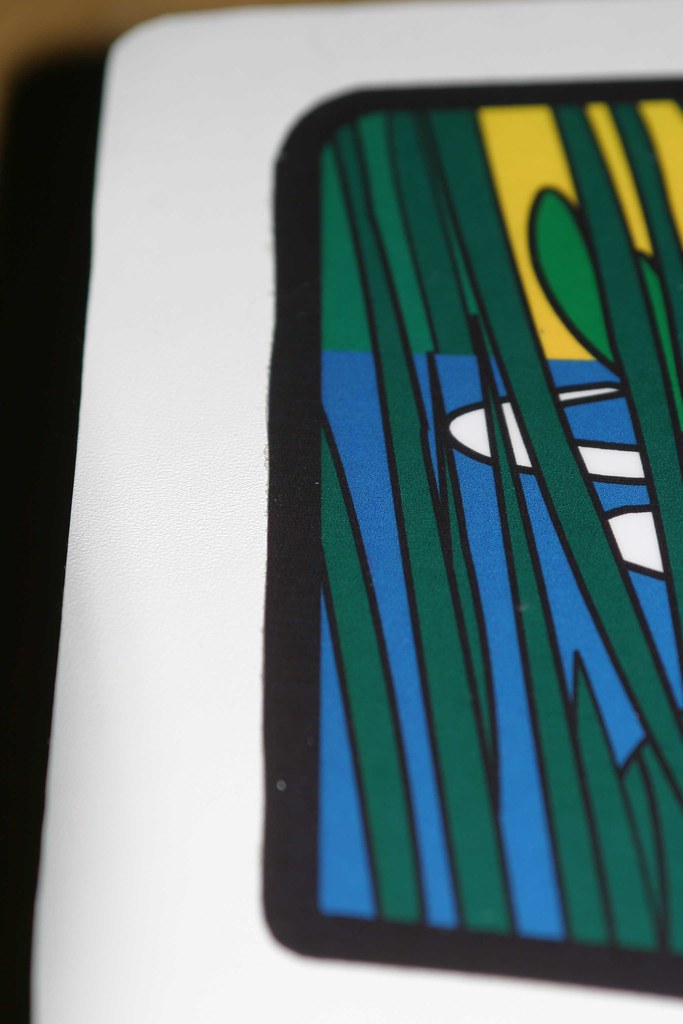
one more thing i don't like about the appolo reproductions is that they have been cut out badly (perhaps he was drunk while doing that :evil:). very shaky  :arrow:


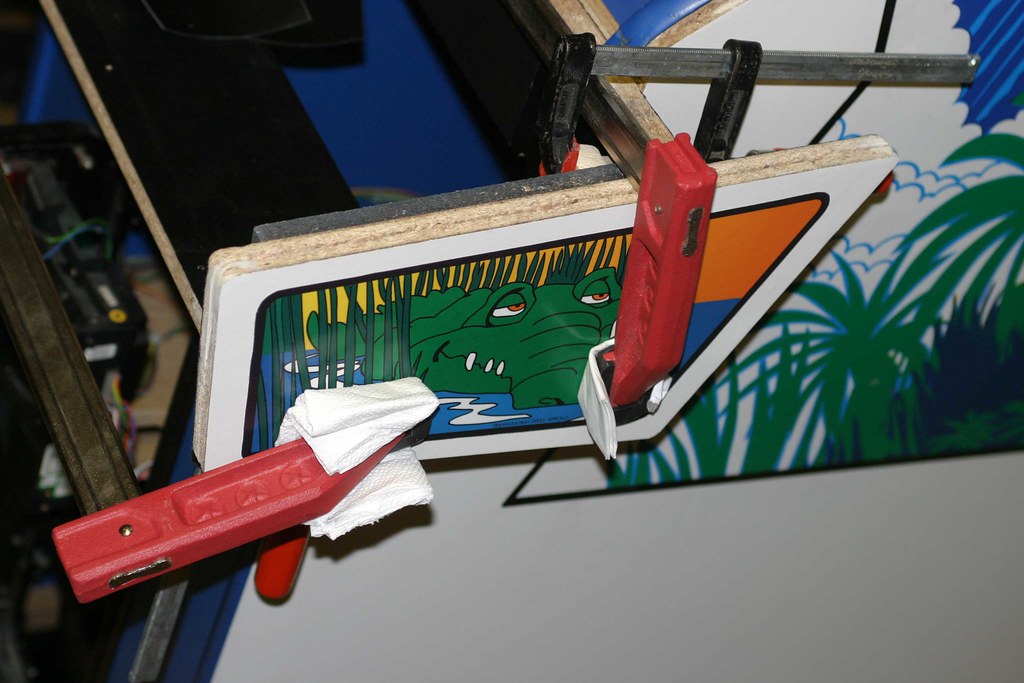
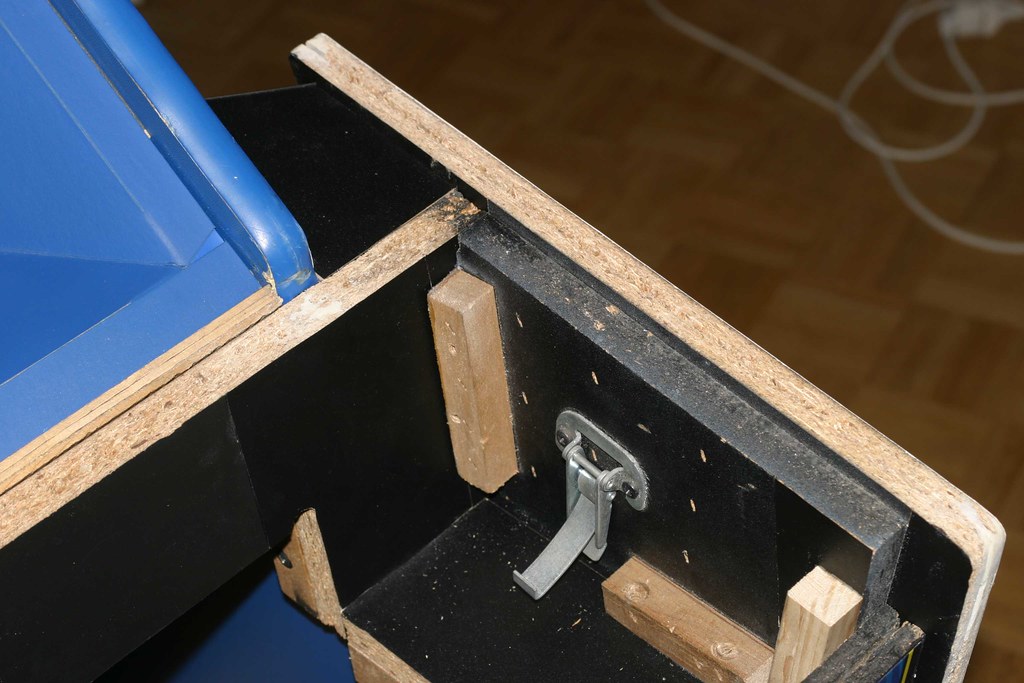
once i'm done with the sides, i'm glueing them back on the control panel


remember: this is what the right side of the control panel looked like when i got the game


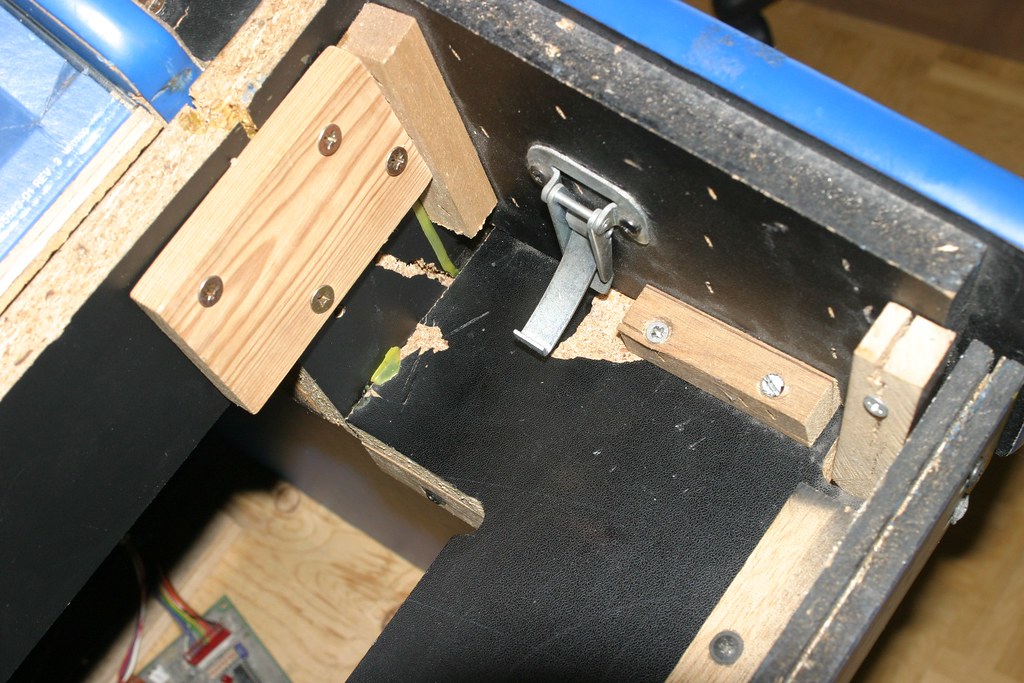
broken pieces of wood, held together by screws


i'm trying to use as many of the original pieces as possible, so after filling all the wholes and putting on new vinyl, the pieces look like new


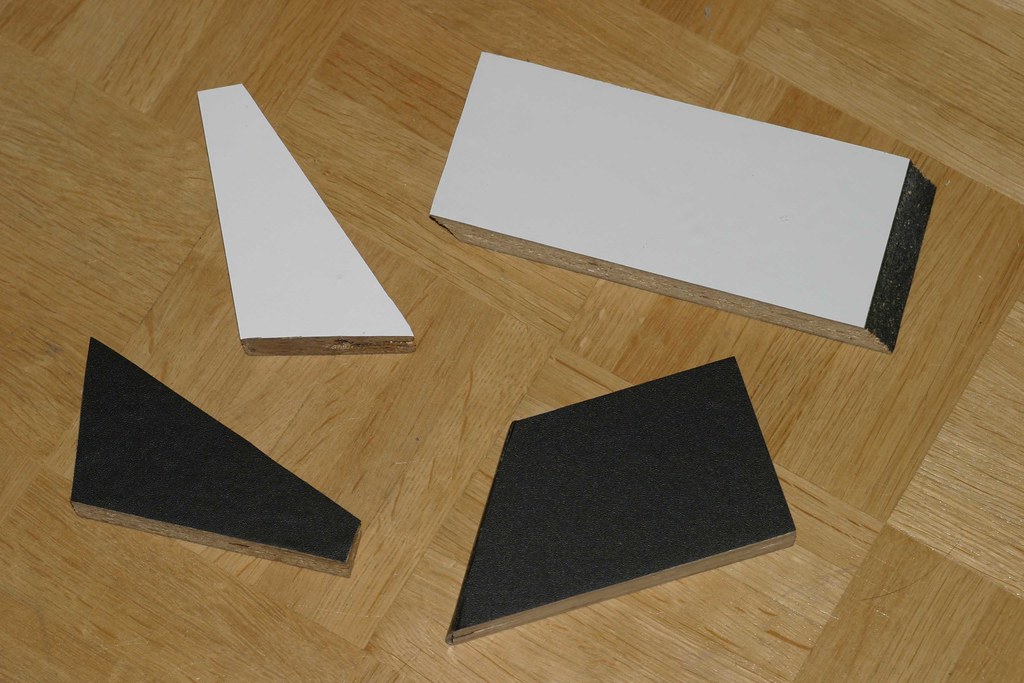
putting the last few pieces together


and the panel looks like new!  :-*


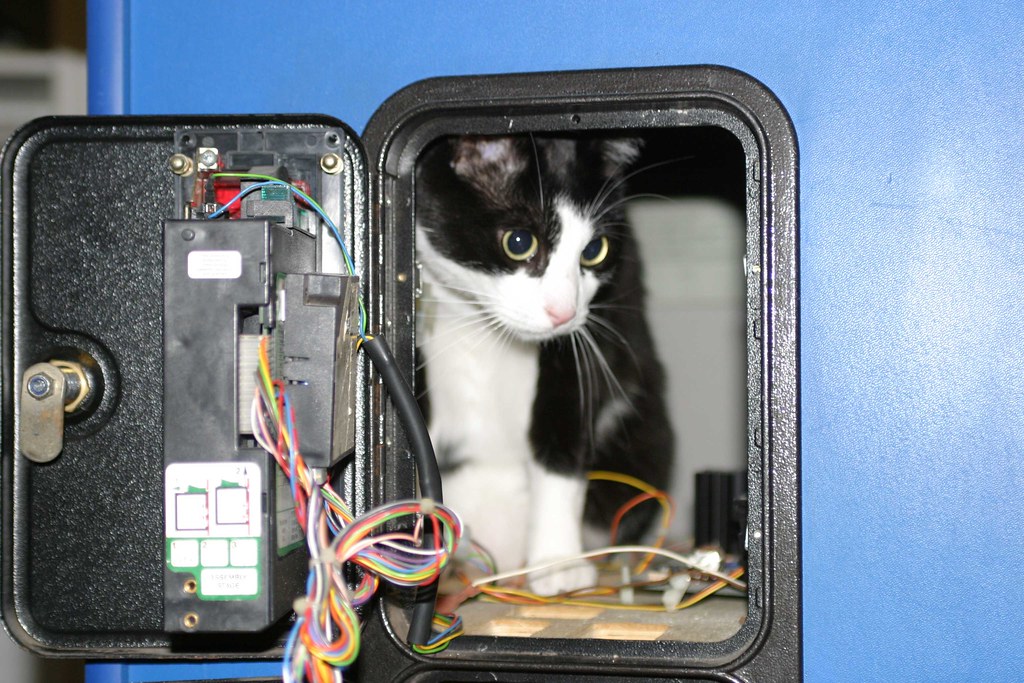
i'm not the only one who's happy  :P


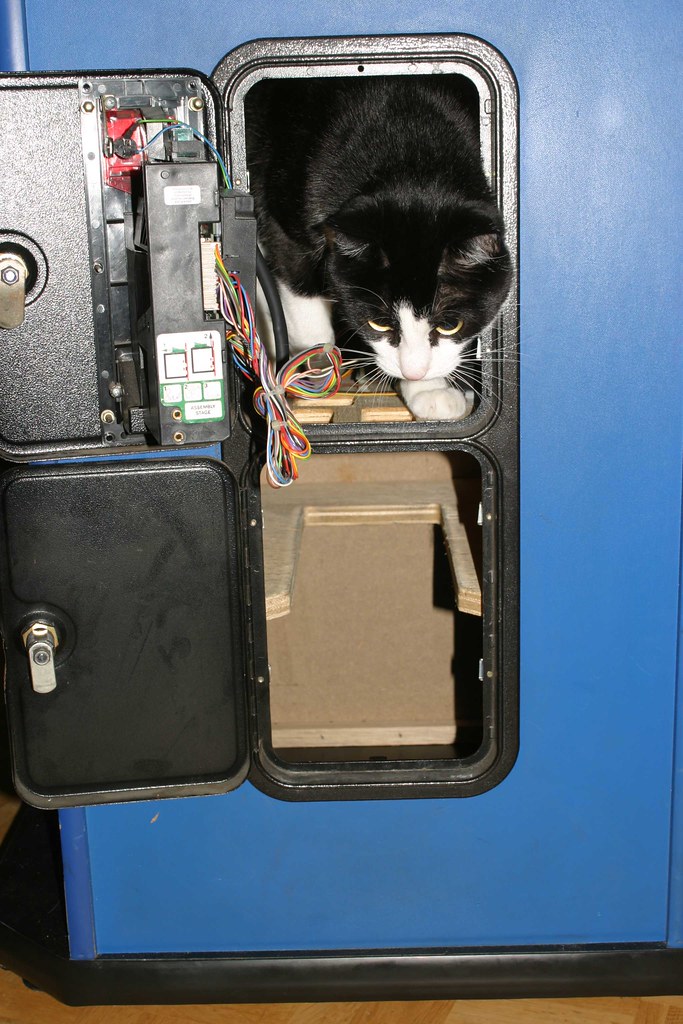
gnocchi's new favourite place


or not!


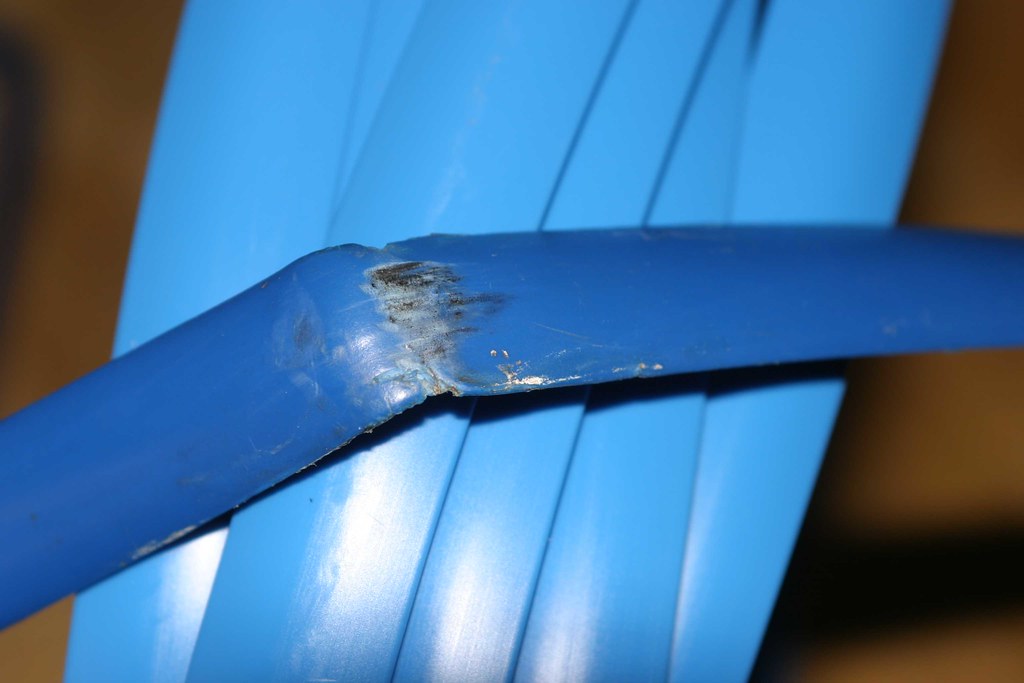
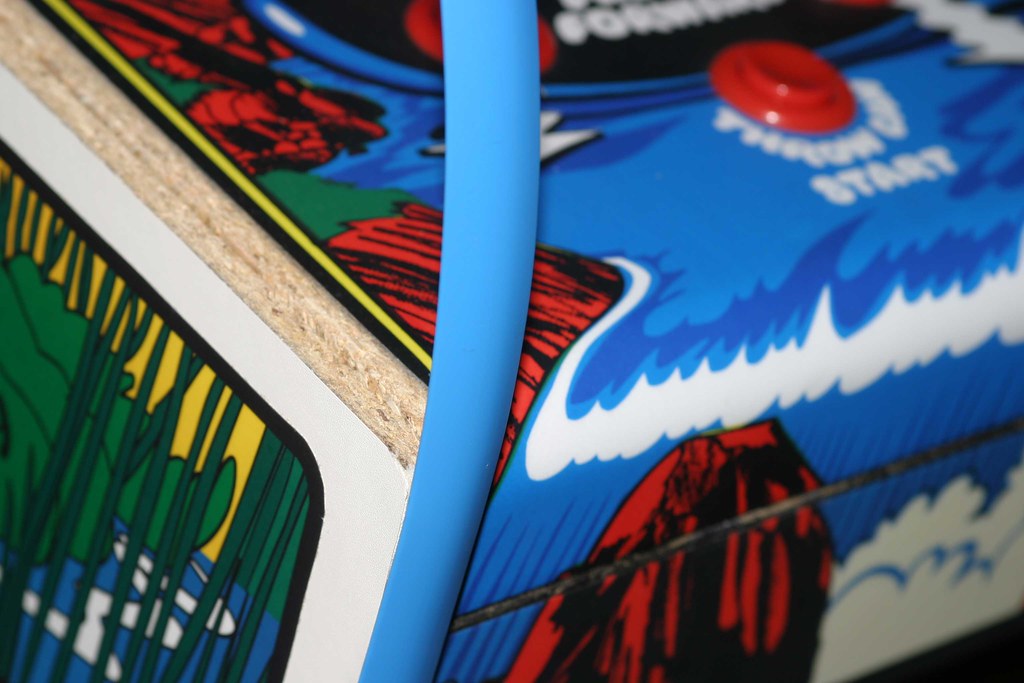
one more thing to do (for now): replace the t-molding on the control panel. although the t-molding on the cabinet isn't perfect, i decide against replacing it, because there is no colour match for the blue t-molding. i'm using the light blue version for the panel because it matched well with the light blue of the overlay.

here's the old (worn) t-molding in comparison to the new light blue version i'm going to use  :arrow:


see how the t-molding blends in with the light blue of the overlay


it took me some time (and money), but these are the moments that outweigh all the rest  :spaceace:


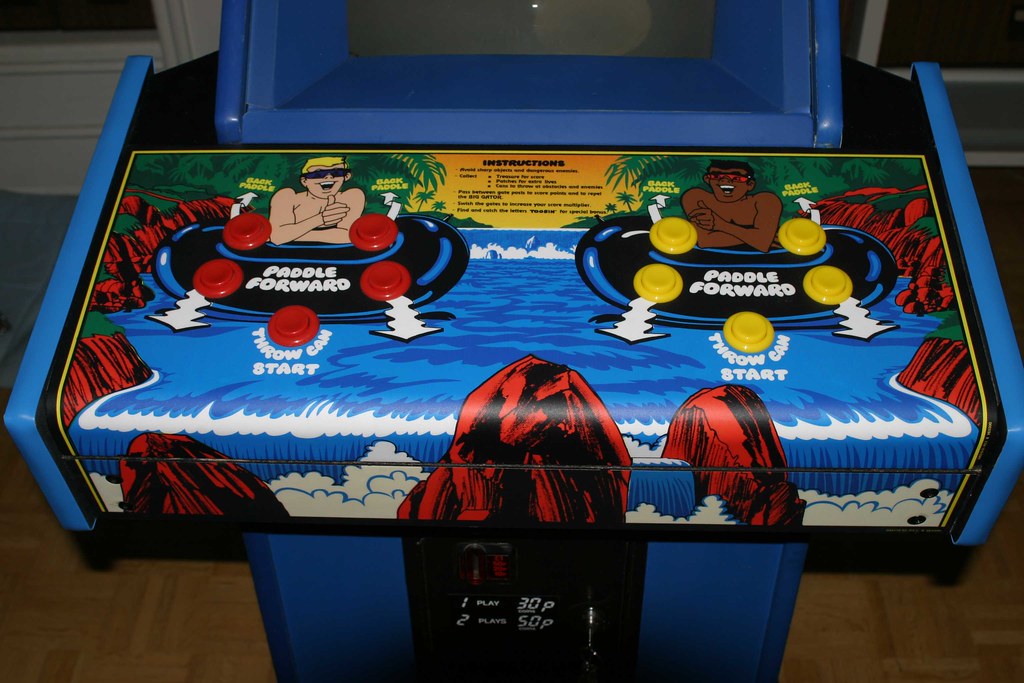
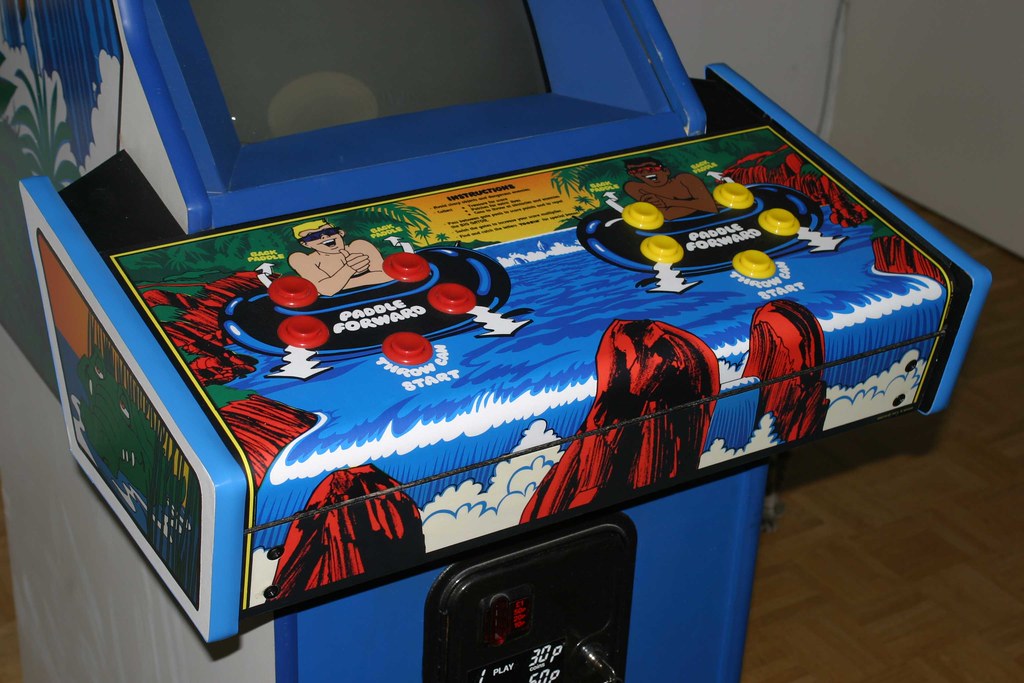
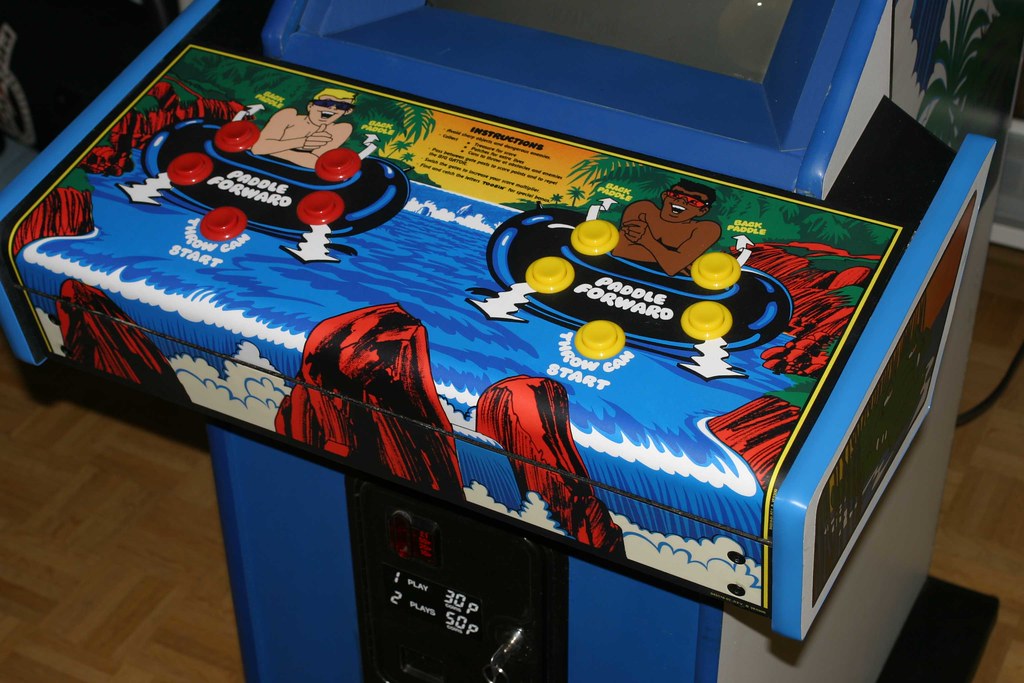
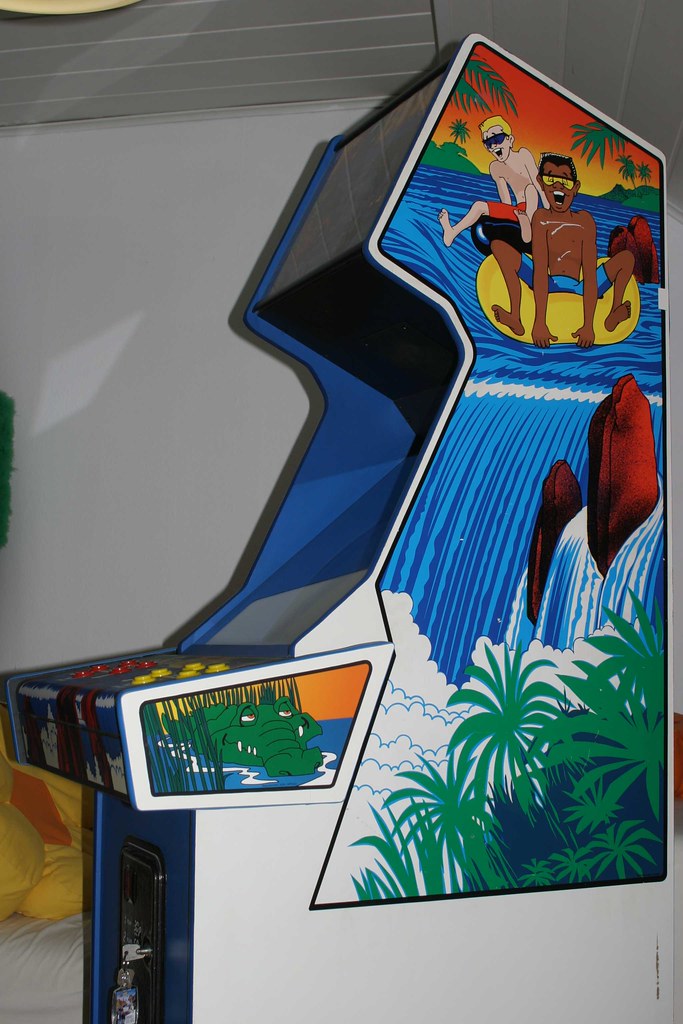
some more shots of the (almost) finished cabinet


as always: the keyring!
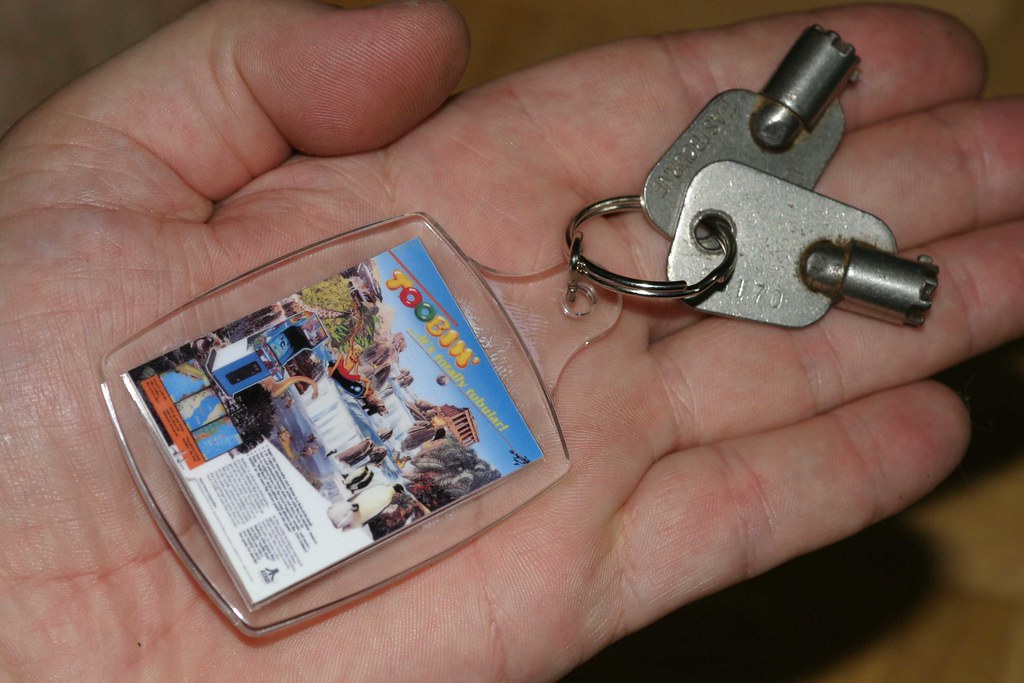


i L-O-V-E  :-* that cabinet


i'm 
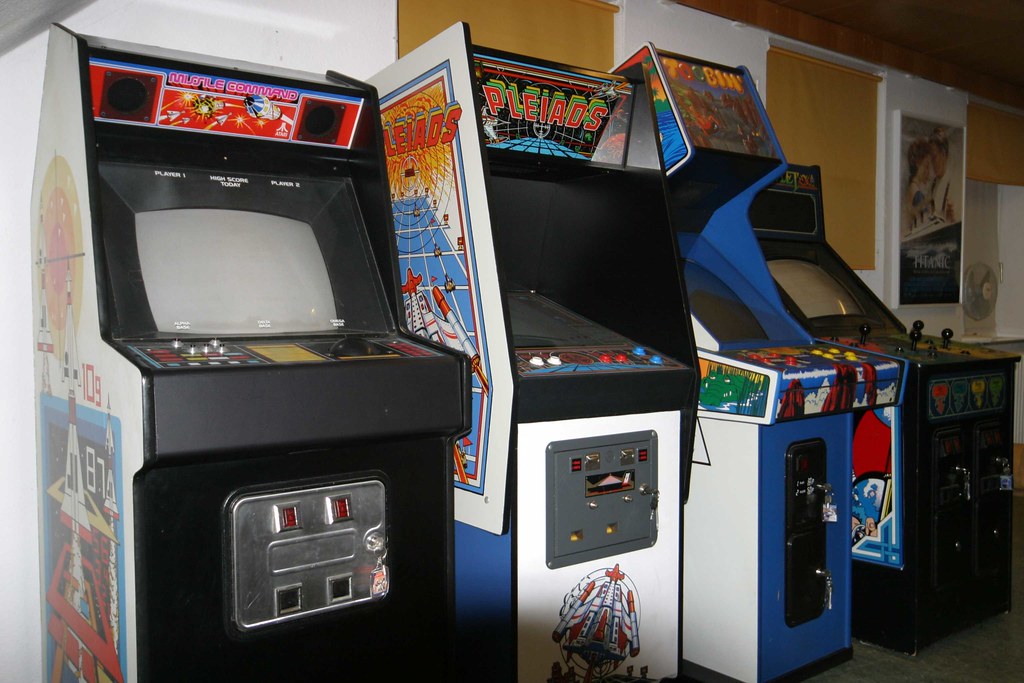
almost done with this restoration, there's only one thing left to do: fix the missing pieces of the sideart. but this is something which can be done "on location", so i'm moving the game into my living-room next to some of the others. isn't that a nice lineup?


stay tuned for the final chapter ...

« Last Edit: October 25, 2009, 08:45:06 PM by Superully »
all i need is ... PONG - and a select few others: TOUCH ME, DRAGON'S LAIR, JOUST, ROBOTRON, MR DO, SAN FRANCISCO RUSH THE ROCK!!!

Muerto

  • ArcadeLifeStyler'
  • ***
  • Posts: 3855
  • Denmark
    • View Profile
Re: [Restoration] Pumpin' up the Toobin' Tubes
« Reply #22 on: October 25, 2009, 08:48:57 PM »
looking good ully! - and i hope my newly bought MC will be as beautyful as yours!
main thing i need is sideart!!! lol!

logan

  • Member
  • **
  • Posts: 200
    • View Profile
Re: [Restoration] Pumpin' up the Toobin' Tubes
« Reply #23 on: October 25, 2009, 10:06:59 PM »
nice job ully!

scr33n

  • ArcadeLifeStyler'
  • ***
  • Posts: 1674
    • View Profile
Re: [Restoration] Pumpin' up the Toobin' Tubes
« Reply #24 on: October 25, 2009, 11:08:23 PM »
Incredible job Ully !!!!

After Bruno another king of resto  :spaceace: :spaceace:
PROJECTS FROM SCRATCH:

Galaga - PacMan - Donkey Kong Red Cab - Track & Field Upright - Tempest - Burgertime - Gyruss - Defender - Track & Field Cocktail - Robotron 2084

RESTORATIONS:

Q*bert - Timber

level42

  • ArcadeLifeStyler'
  • ***
  • Posts: 13555
  • Ridderkerk, arcade capital of Europe !
    • View Profile
    • Arcade 42
Re: [Restoration] Pumpin' up the Toobin' Tubes
« Reply #25 on: October 26, 2009, 03:00:04 AM »
 :spaceace: :spaceace:

Ully, can you bring the 3M samples to the Daddelparty ? I'm sure Luigi has a Galaxian there and I'd like to compare it and see the samples.

Pretty clever trick using the samples, you almost sound like a Dutchman :D But it's incredible why that stuff is so expensive....