i picked this game up during my
village vs. city roadtrip and while it looked ok at first glance, there was
a lot of "hidden stuff" which needed fixing. i started this restoration quite a while ago, having been working on the cabinet on and off and i thought it would be a good time now to share it with you. so let's give that starving warrior some food ...
(unfortunately) here's the only good picture of the cabinet i have in its completely assembled form. it was taken by the seller back then and as i've said: looking nice at first glance, doesn't it?
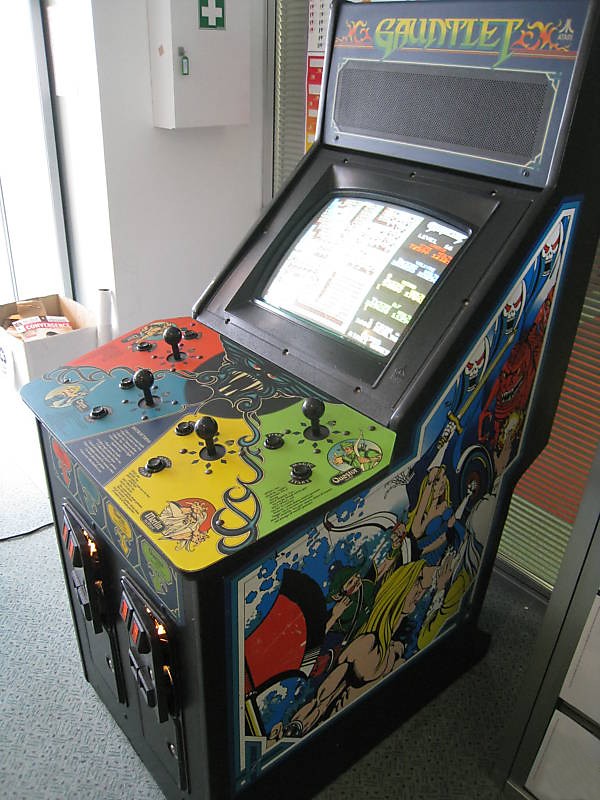
let's examine it a little bit closer: full frontal view! the monitor has some HEAVY

burn-in


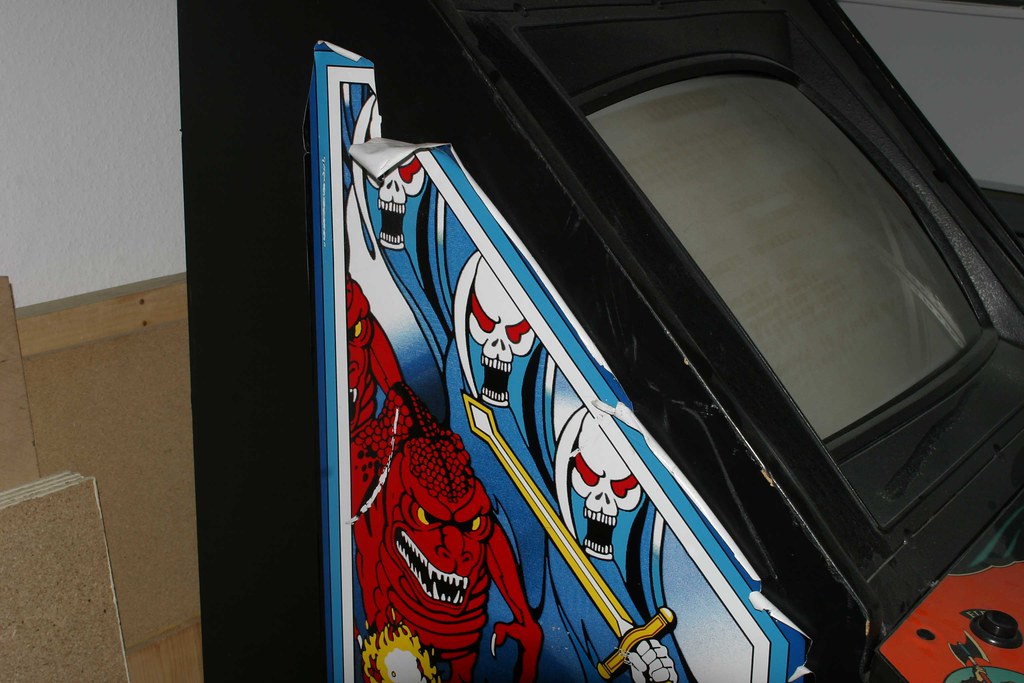
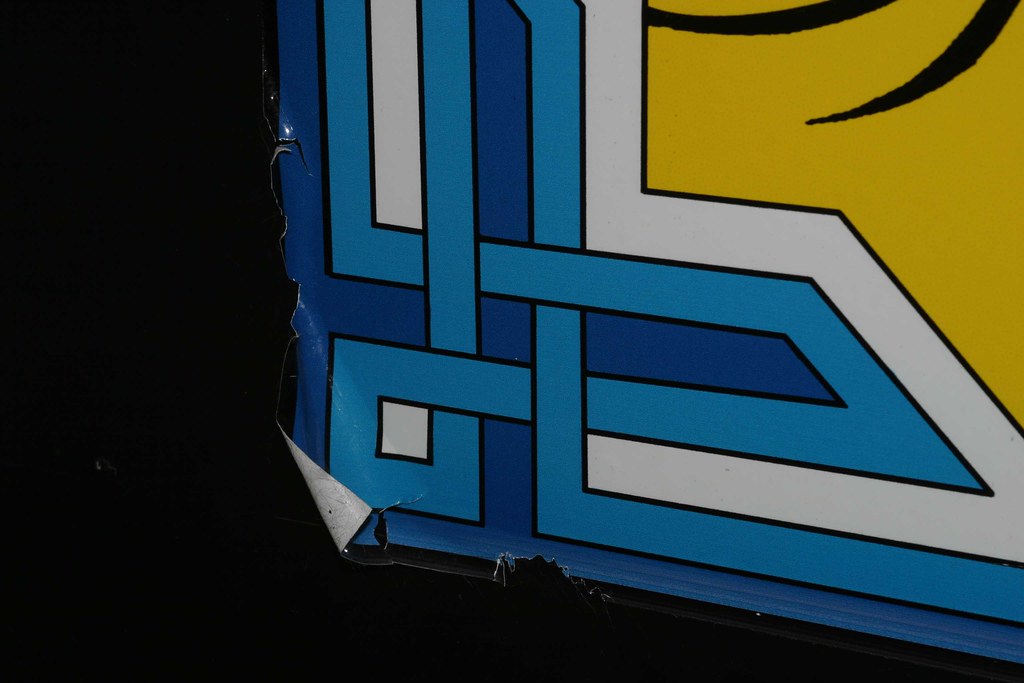
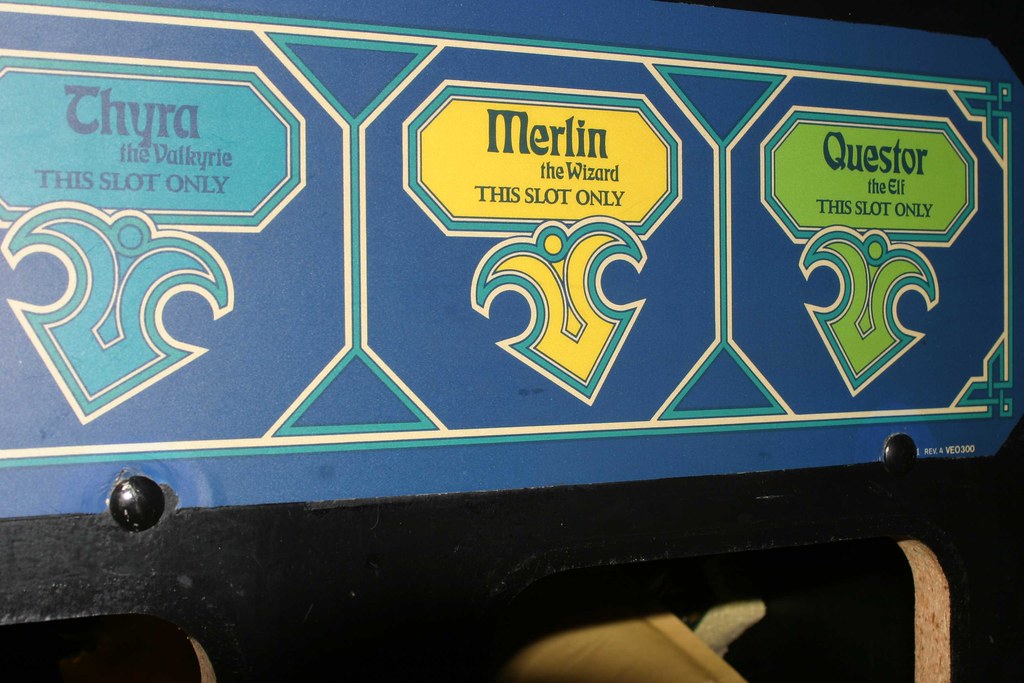
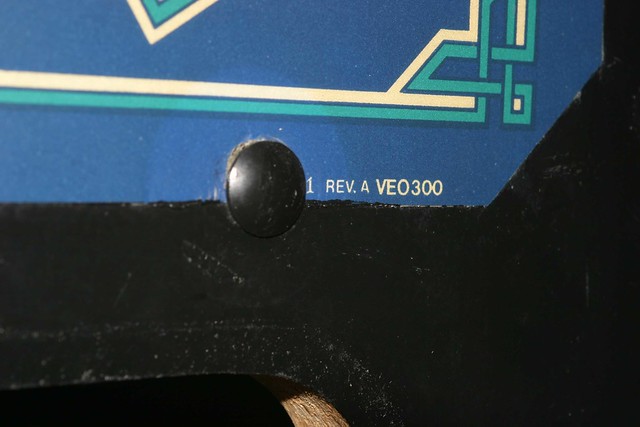
the right-hand side of the cabinet: artwork is intact entirely (sadly not the full sideart that some cabs used, but the cut version

)
there are some scratches, but all in all the condition of the artwork is still good

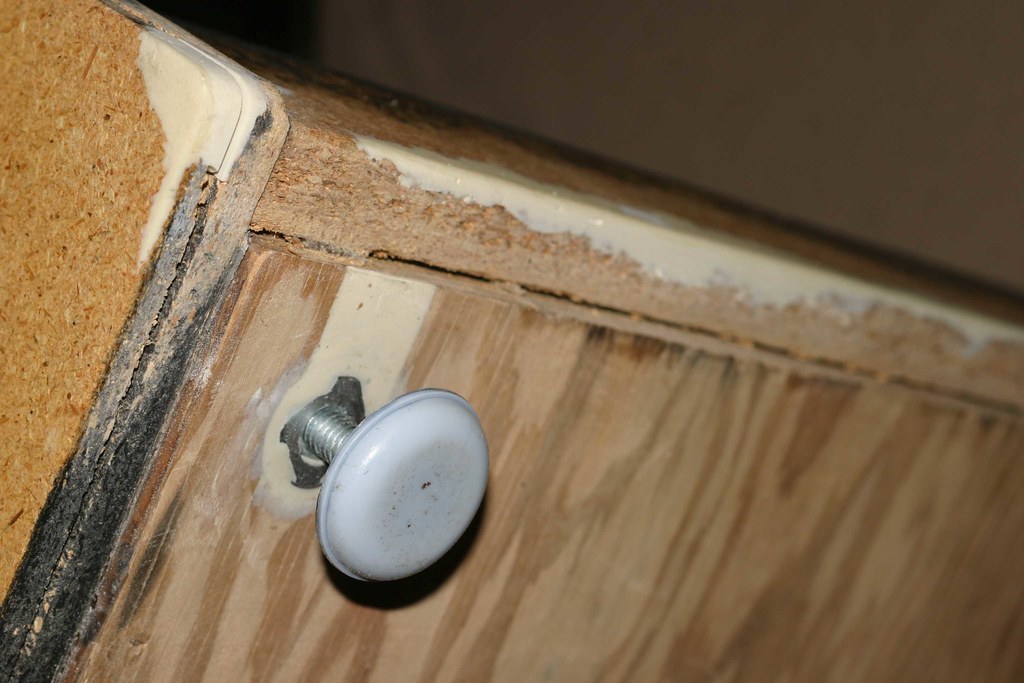
however, for some fixings on the inside of the cab (more on that later), some guy used screws which were too long and simply screwed them right through the wood and through the artwork


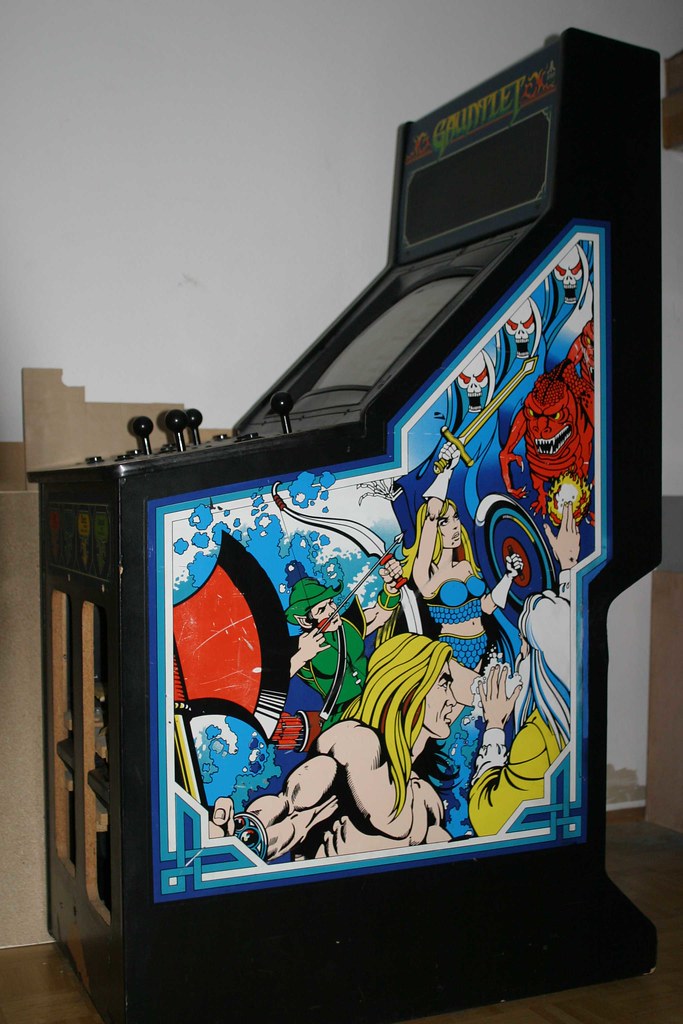
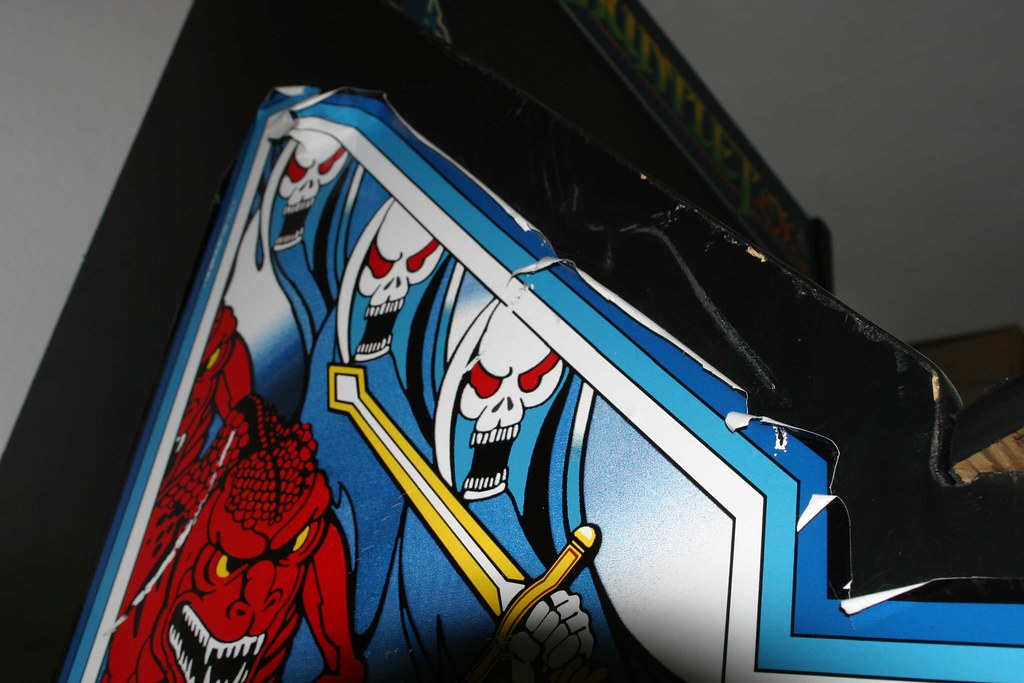
the left side of the cabinet is where the real problems start
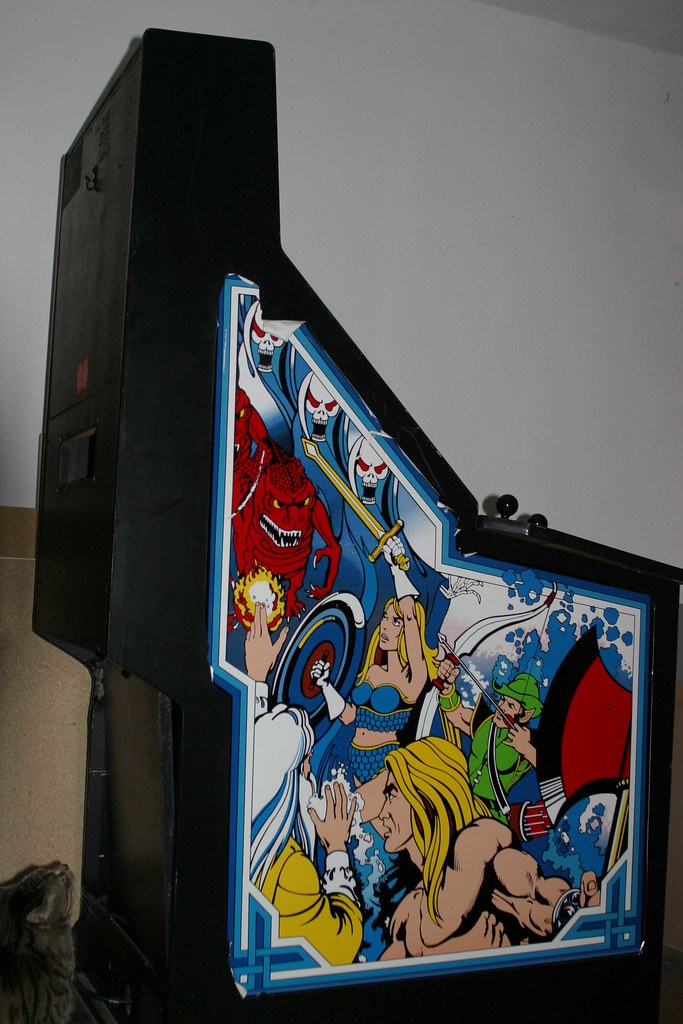
as you can see, the artwork has come off in many places
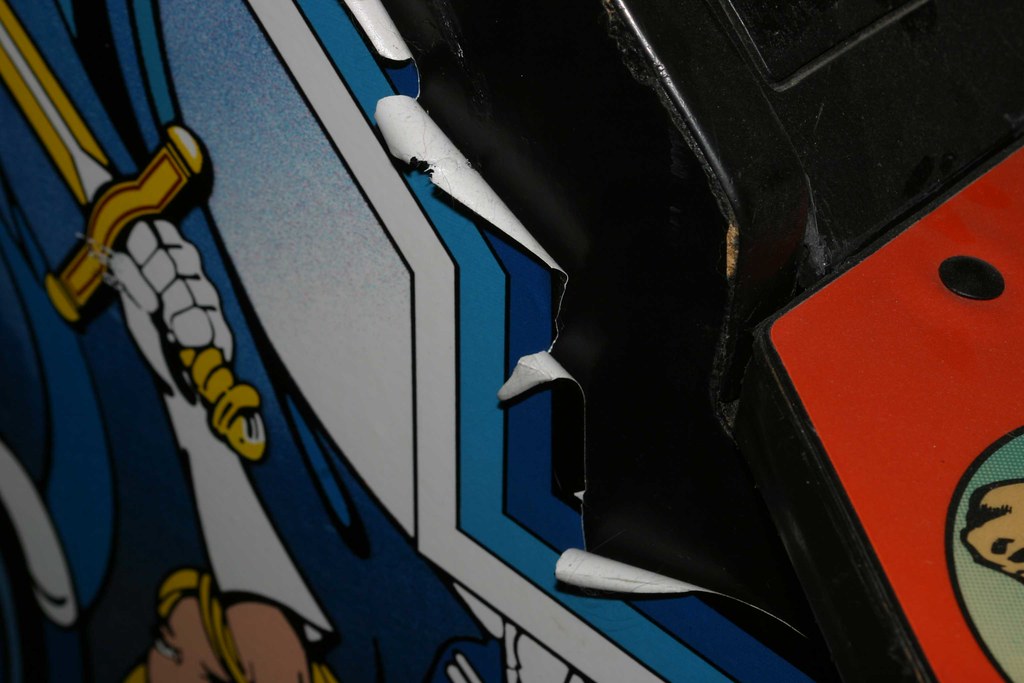
it gets worse: the vinyl on the front comes of easily (note that i removed that bigger piece myself for a replacement vinyl matching). in spaces where the original vinyl had already come off, the wood underneath was colored black with a pen
extremely professional job, isn't it?

the front art looks good, BUT ...
... some idiot has drilled two large screws right through the art for
no apparent reason! there is absolutely
NOTHING fixed to those screws and i've compared my cab with other gauntlet cabinets: none of them has those screws!!!


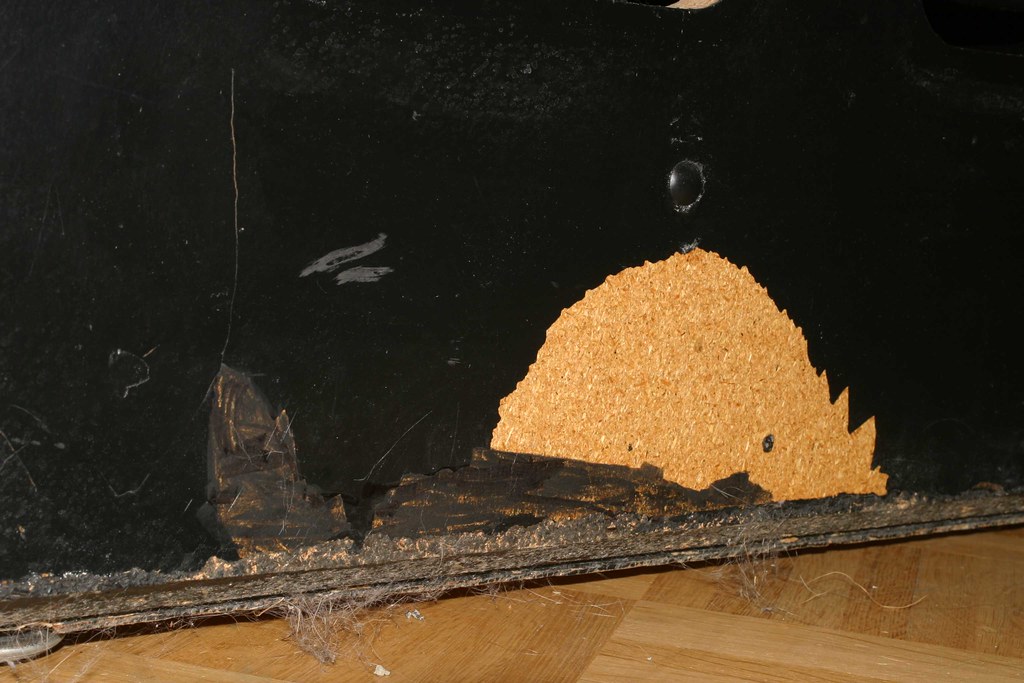
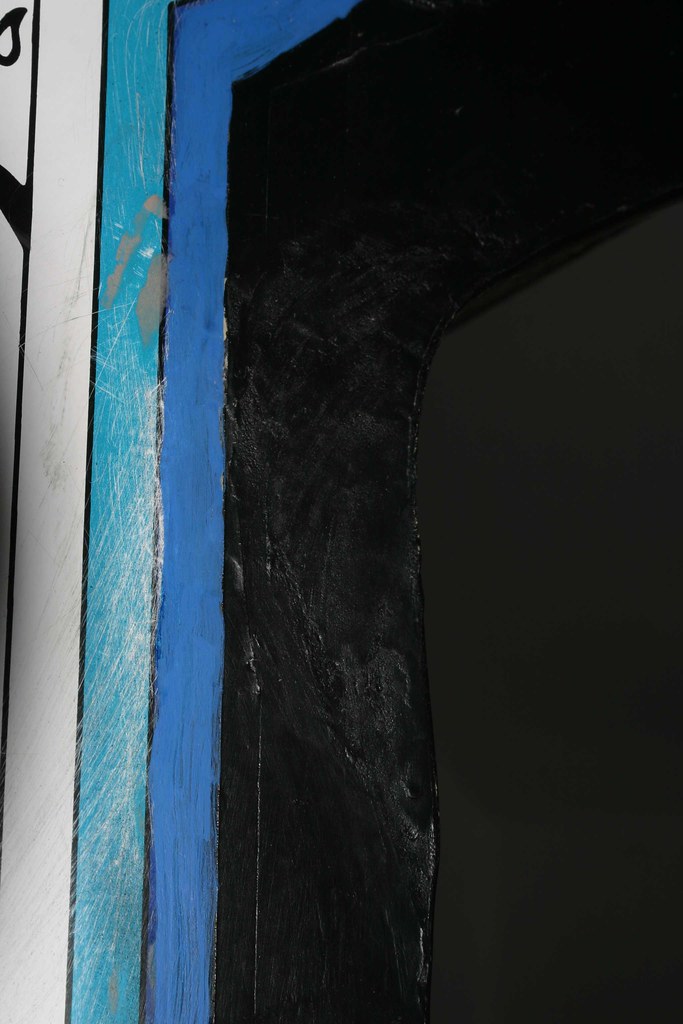
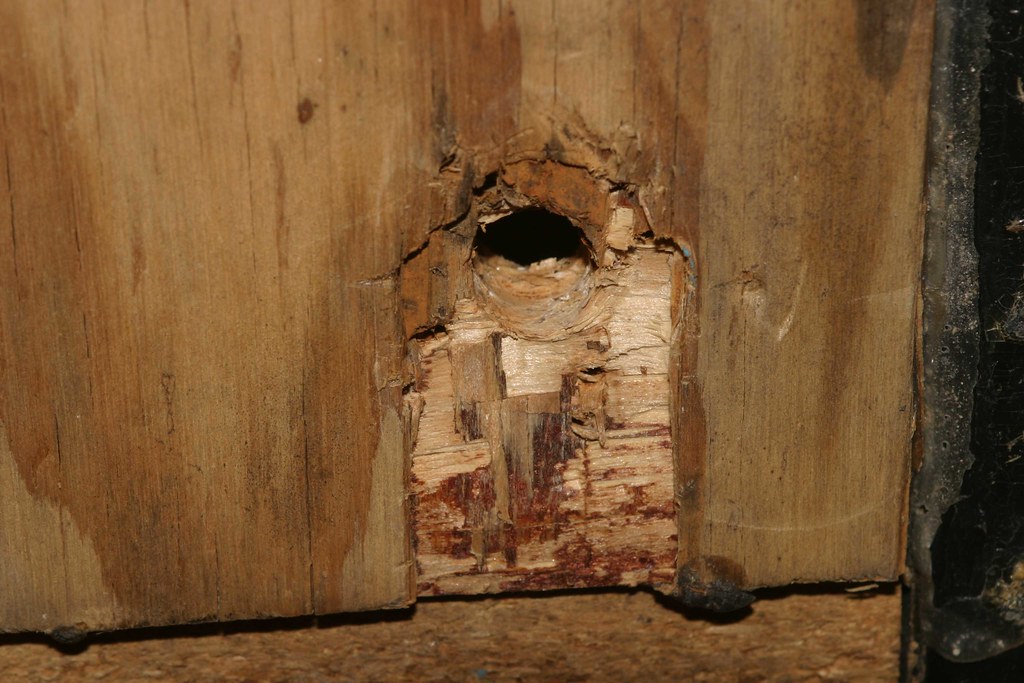
on the sides it gets even more amateurish: obviously the cab had taken a heavy beating in the past, because a huge chunk of wood has been badly reconstructed with wood filler. here's the view from the "inside" - i can't believe how bad this job has been executed!
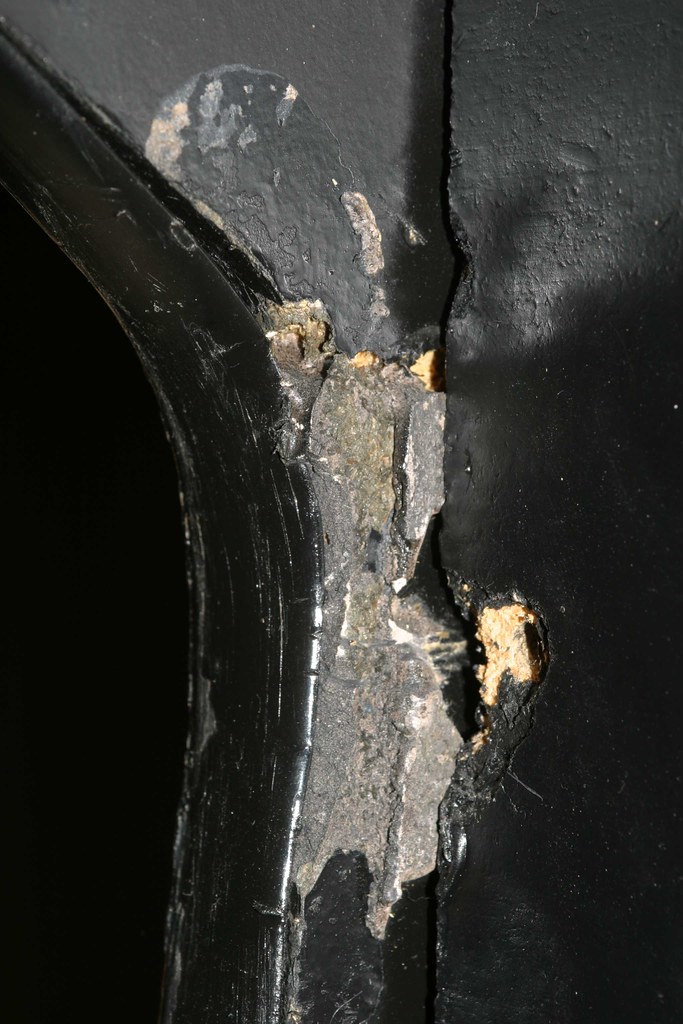
view from the other side: looking a little bit better, but still very bad! check out how they didn't even manage to get it straight PLUS also check out the hand paint job on the blue

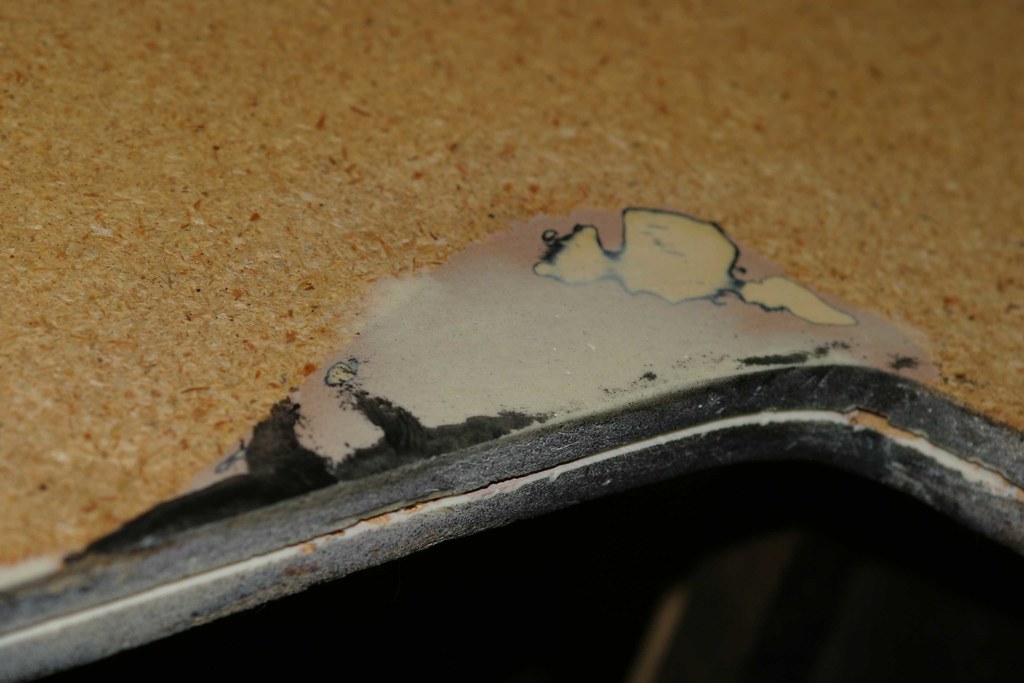
here's that same spot with the black vinyl already removed and parts of the old filling job already scraped off

and here's how i fixed it: straight and smooth now!

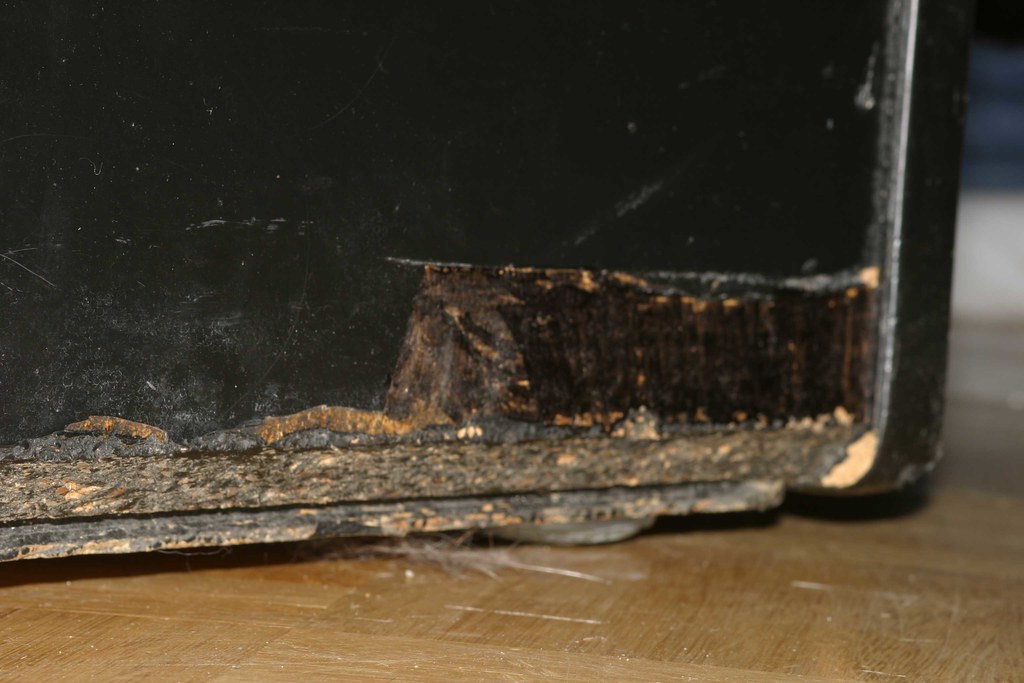
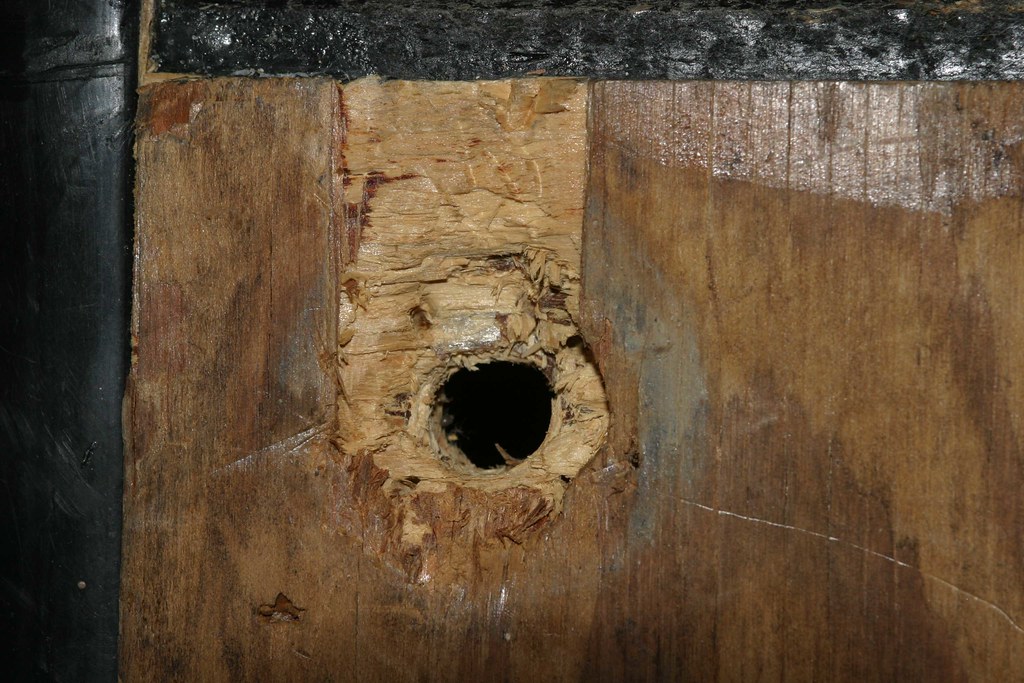
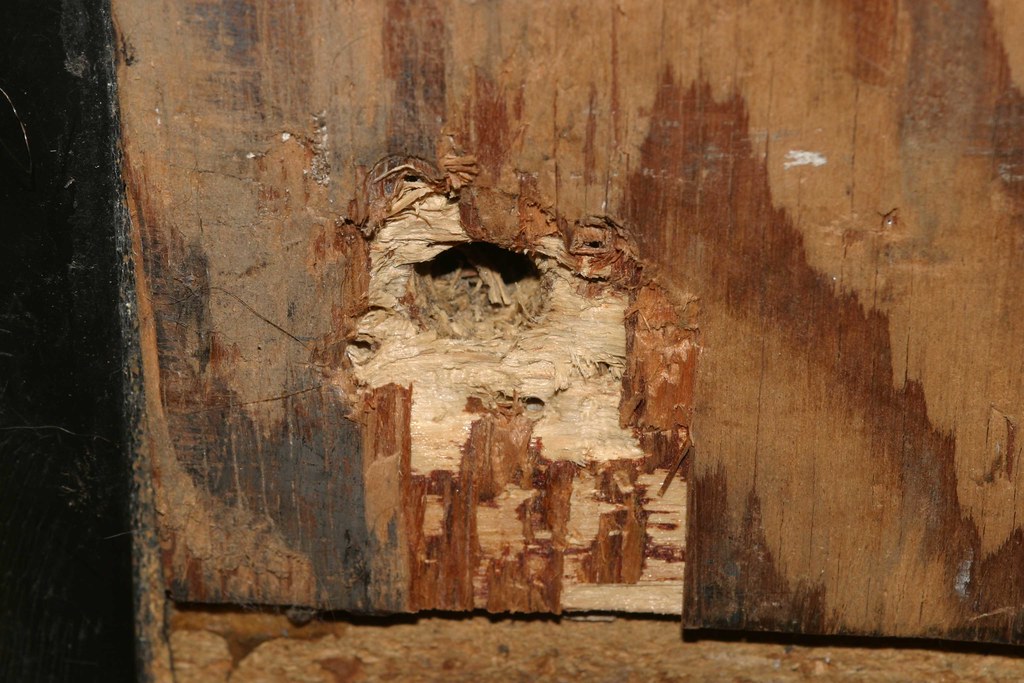
when moving the cabinet around, i realize that it is a little bit "shaky" and i already new that a new drama is unfolding at the very bottom of the cab: the leg levelers are completely worn out, the nuts are being held in place by screws

in the following pictures the screws, the levelers and the nuts have been removed

filled and new nuts installed (partially embedded in the wood filler)

leg levelers installed! as you can see, other parts of the cabinet had been reconstructed as well


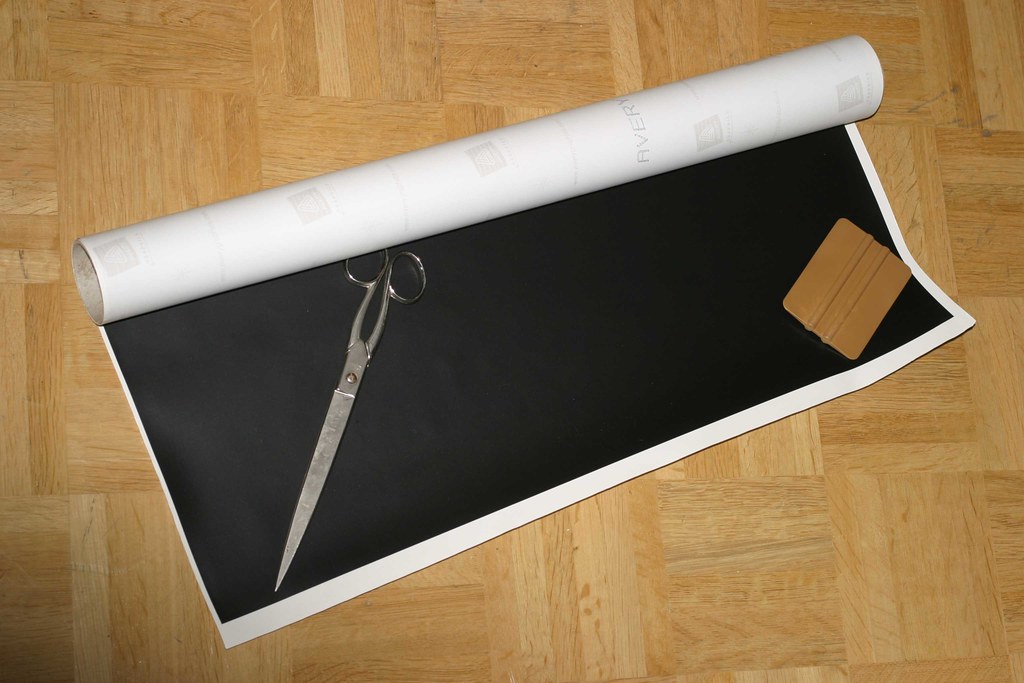
the entire outer shell of the cabinet will be covered in fresh black vinyl! because the cabinet is so deep (more than 1 meter), i was having a hard time finding replacement vinyl in the correct size, but after some searching i found a shop online selling vinyl with a width of 120 centimeters

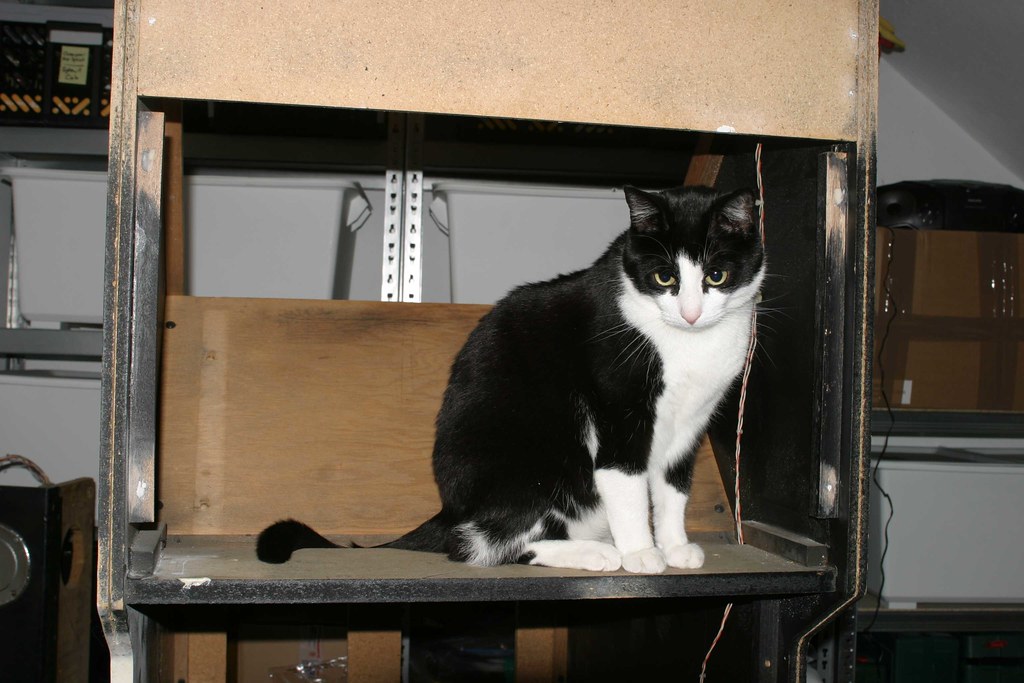
preparations done under the watchful eyes of my cat gnocchi
because it worked extremely well on
my pac-mania restoration, i'm using the same application method again:
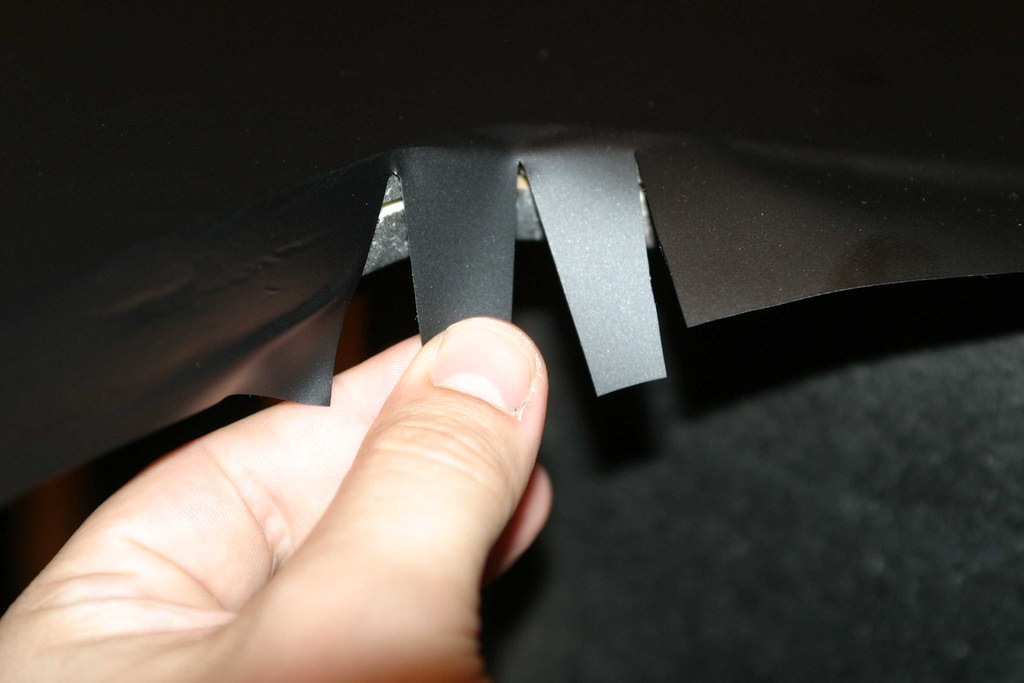
not cutting the vinyl to fit the cabinet's shape, but leaving it a little bit larger and using the heat gun to "fold" it around the edges!
 PERFECT!!!

something easy to finish off this first restoration session: the power block before ...

... and after!
 to be continued ...


